
Good morning and welcome to my build page. Be prepared for a lot of silliness, some whacky ideas and hopefully a lot of fun pulling this poor, neglected old Sparkie van into a respectable and well used explorer wagon.
A bit about my? I’m Jay, a fool with too many spanners, an engineering background and a “if it doesn’t exist, why not?” attitude. I’ve spent the last 30 years building high performance Japanese weapons, focusing mainly on Toyota cars from the nineties but also steering off into Subaru cars as well. But the older I’ve got, the less I’ve used them so I have taken a major fork in the road, returned to VW where my journey started and am going for styling and thinking outside the box with an old T4 van.
So here is Project Violet, a poor old soul with a lot of character but a long list of issues that I have taken on to create the perfect camper for me (NOT the perfect camper, I’m not sure that exists). Growing up in Devon and spending all my time in Cornwall despite being in exile in the Midlands, it’s given me an insight into what works, and what doesn’t.
[img] 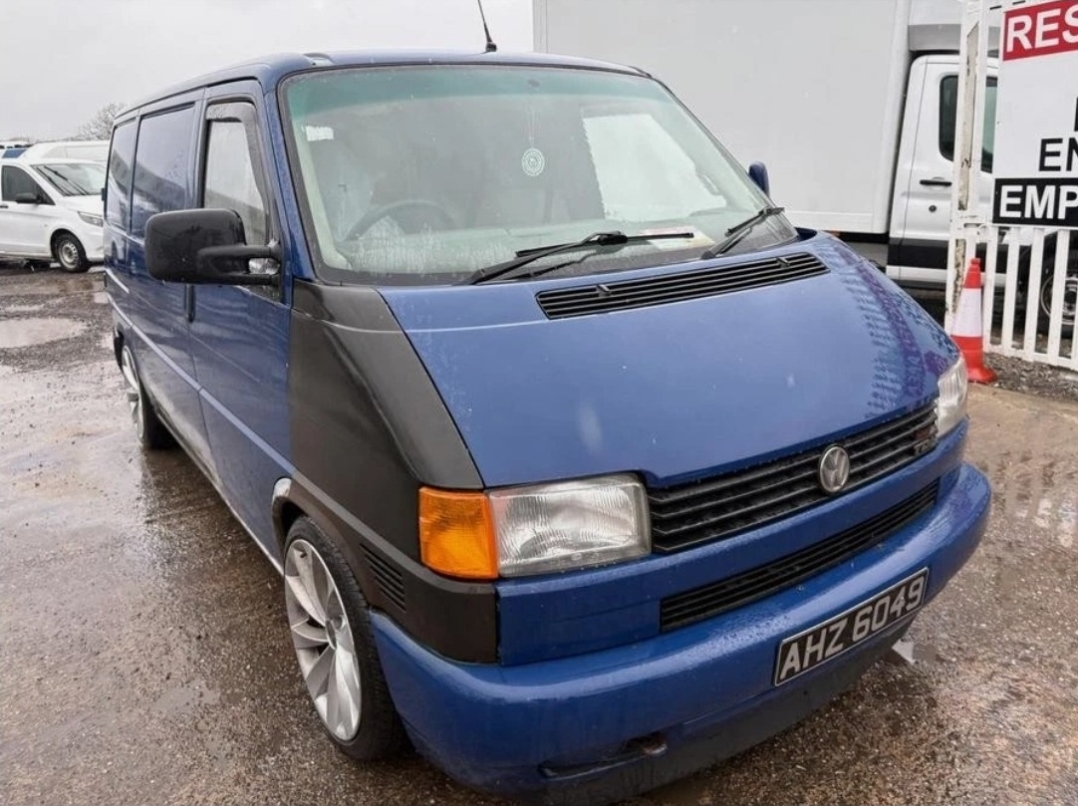 [/img]
[img] 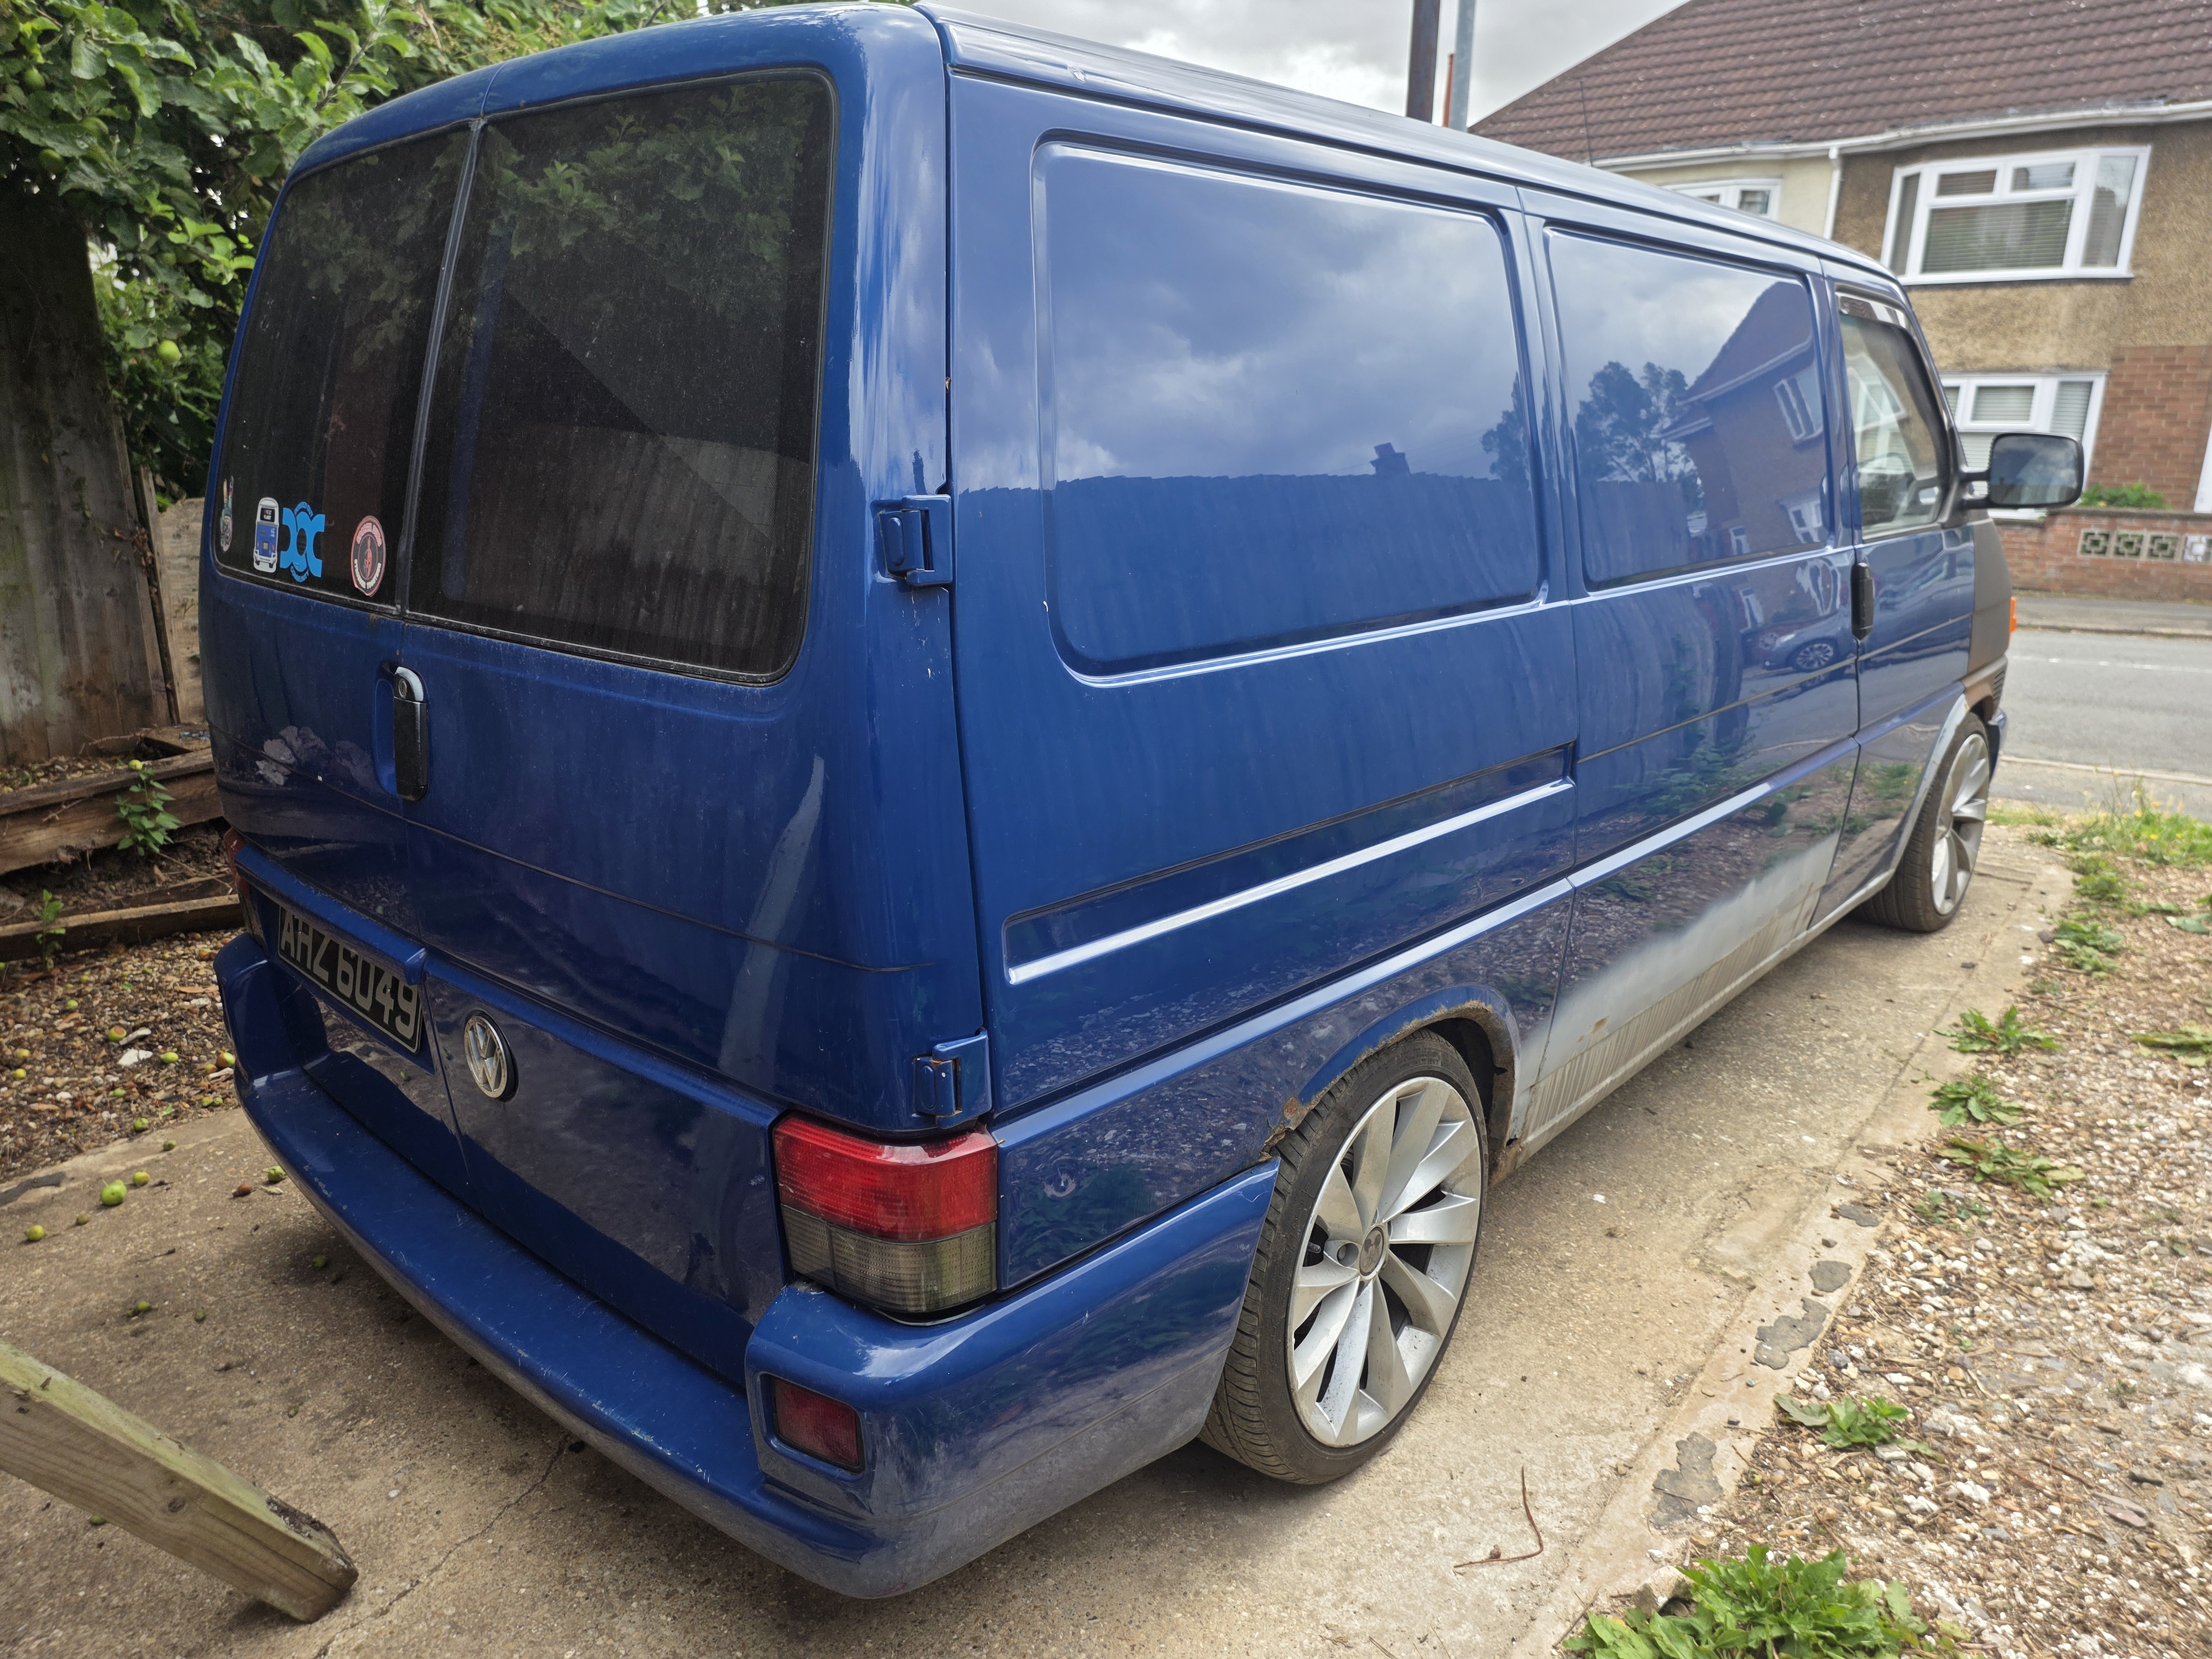 [/img]
[img] 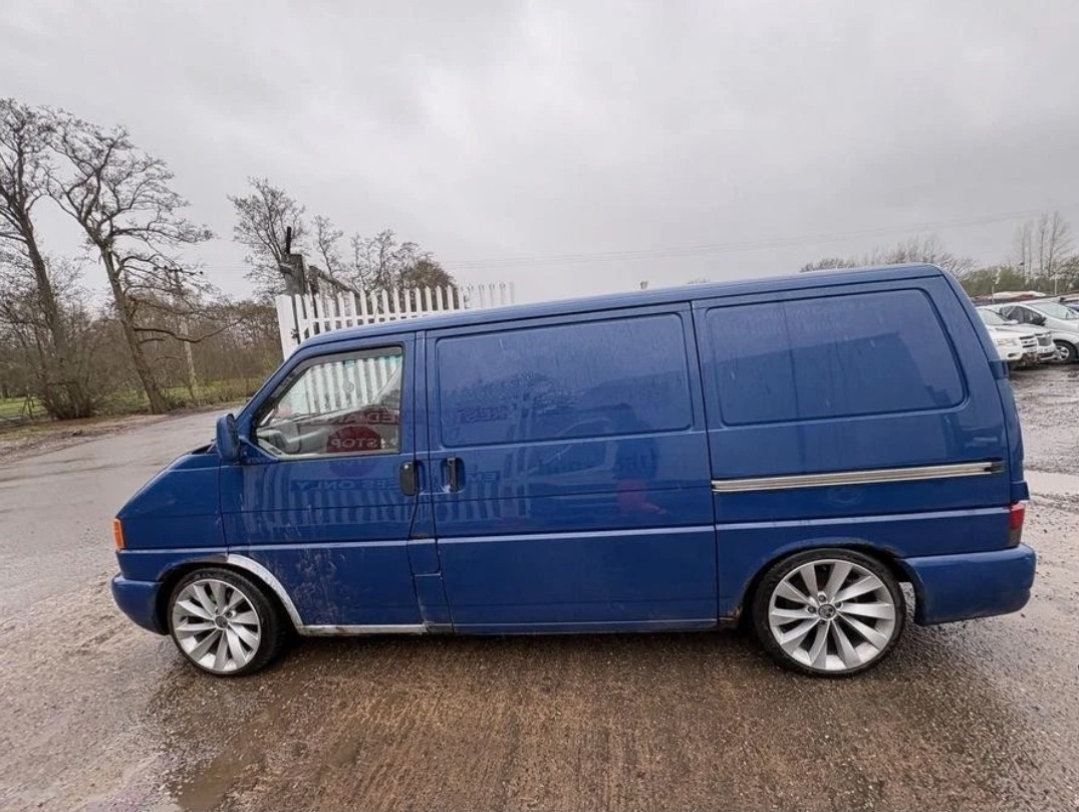 [/img]
So where do we start on this old girl? Had a good look around her and there is certainly some surgery needed on her. The rear needs both rear quarters replacing as well as the back corner of the bed. Both front wings need replacing, the grille garnish is bent all out of shape and doesn’t event fit on the front, the bumper has a tasty dent in the front that needs repairing, various rust bubbles that need sanding back and sorting. Not only that, the rear brake lines are gone so it has no brakes, despite having an MoT until October. The goal is to try and get her as solid and safe as possible to begin with, while also trying to get as much of the external camper works done before the weather turns. Once we reach that point, then focus on the internal fit out over the winter before jumping back on the outside “make it look pretty”.
The target? I’d like to have her roadworthy and MoT’d by the May day Bank Holiday for her virgin trip out, but the bottom line is to use her for the family holiday to Cornwall in August next year. She won’t be completely finished, the bodywork will need a professional finish but I want her to look like she belongs by then. She is a 26 year old van after all and I have no booth for paint.
If I get there, then I’ll start talking to bodywork places for a final flatten and respray just to finish her off, but that is a LONG way off now.
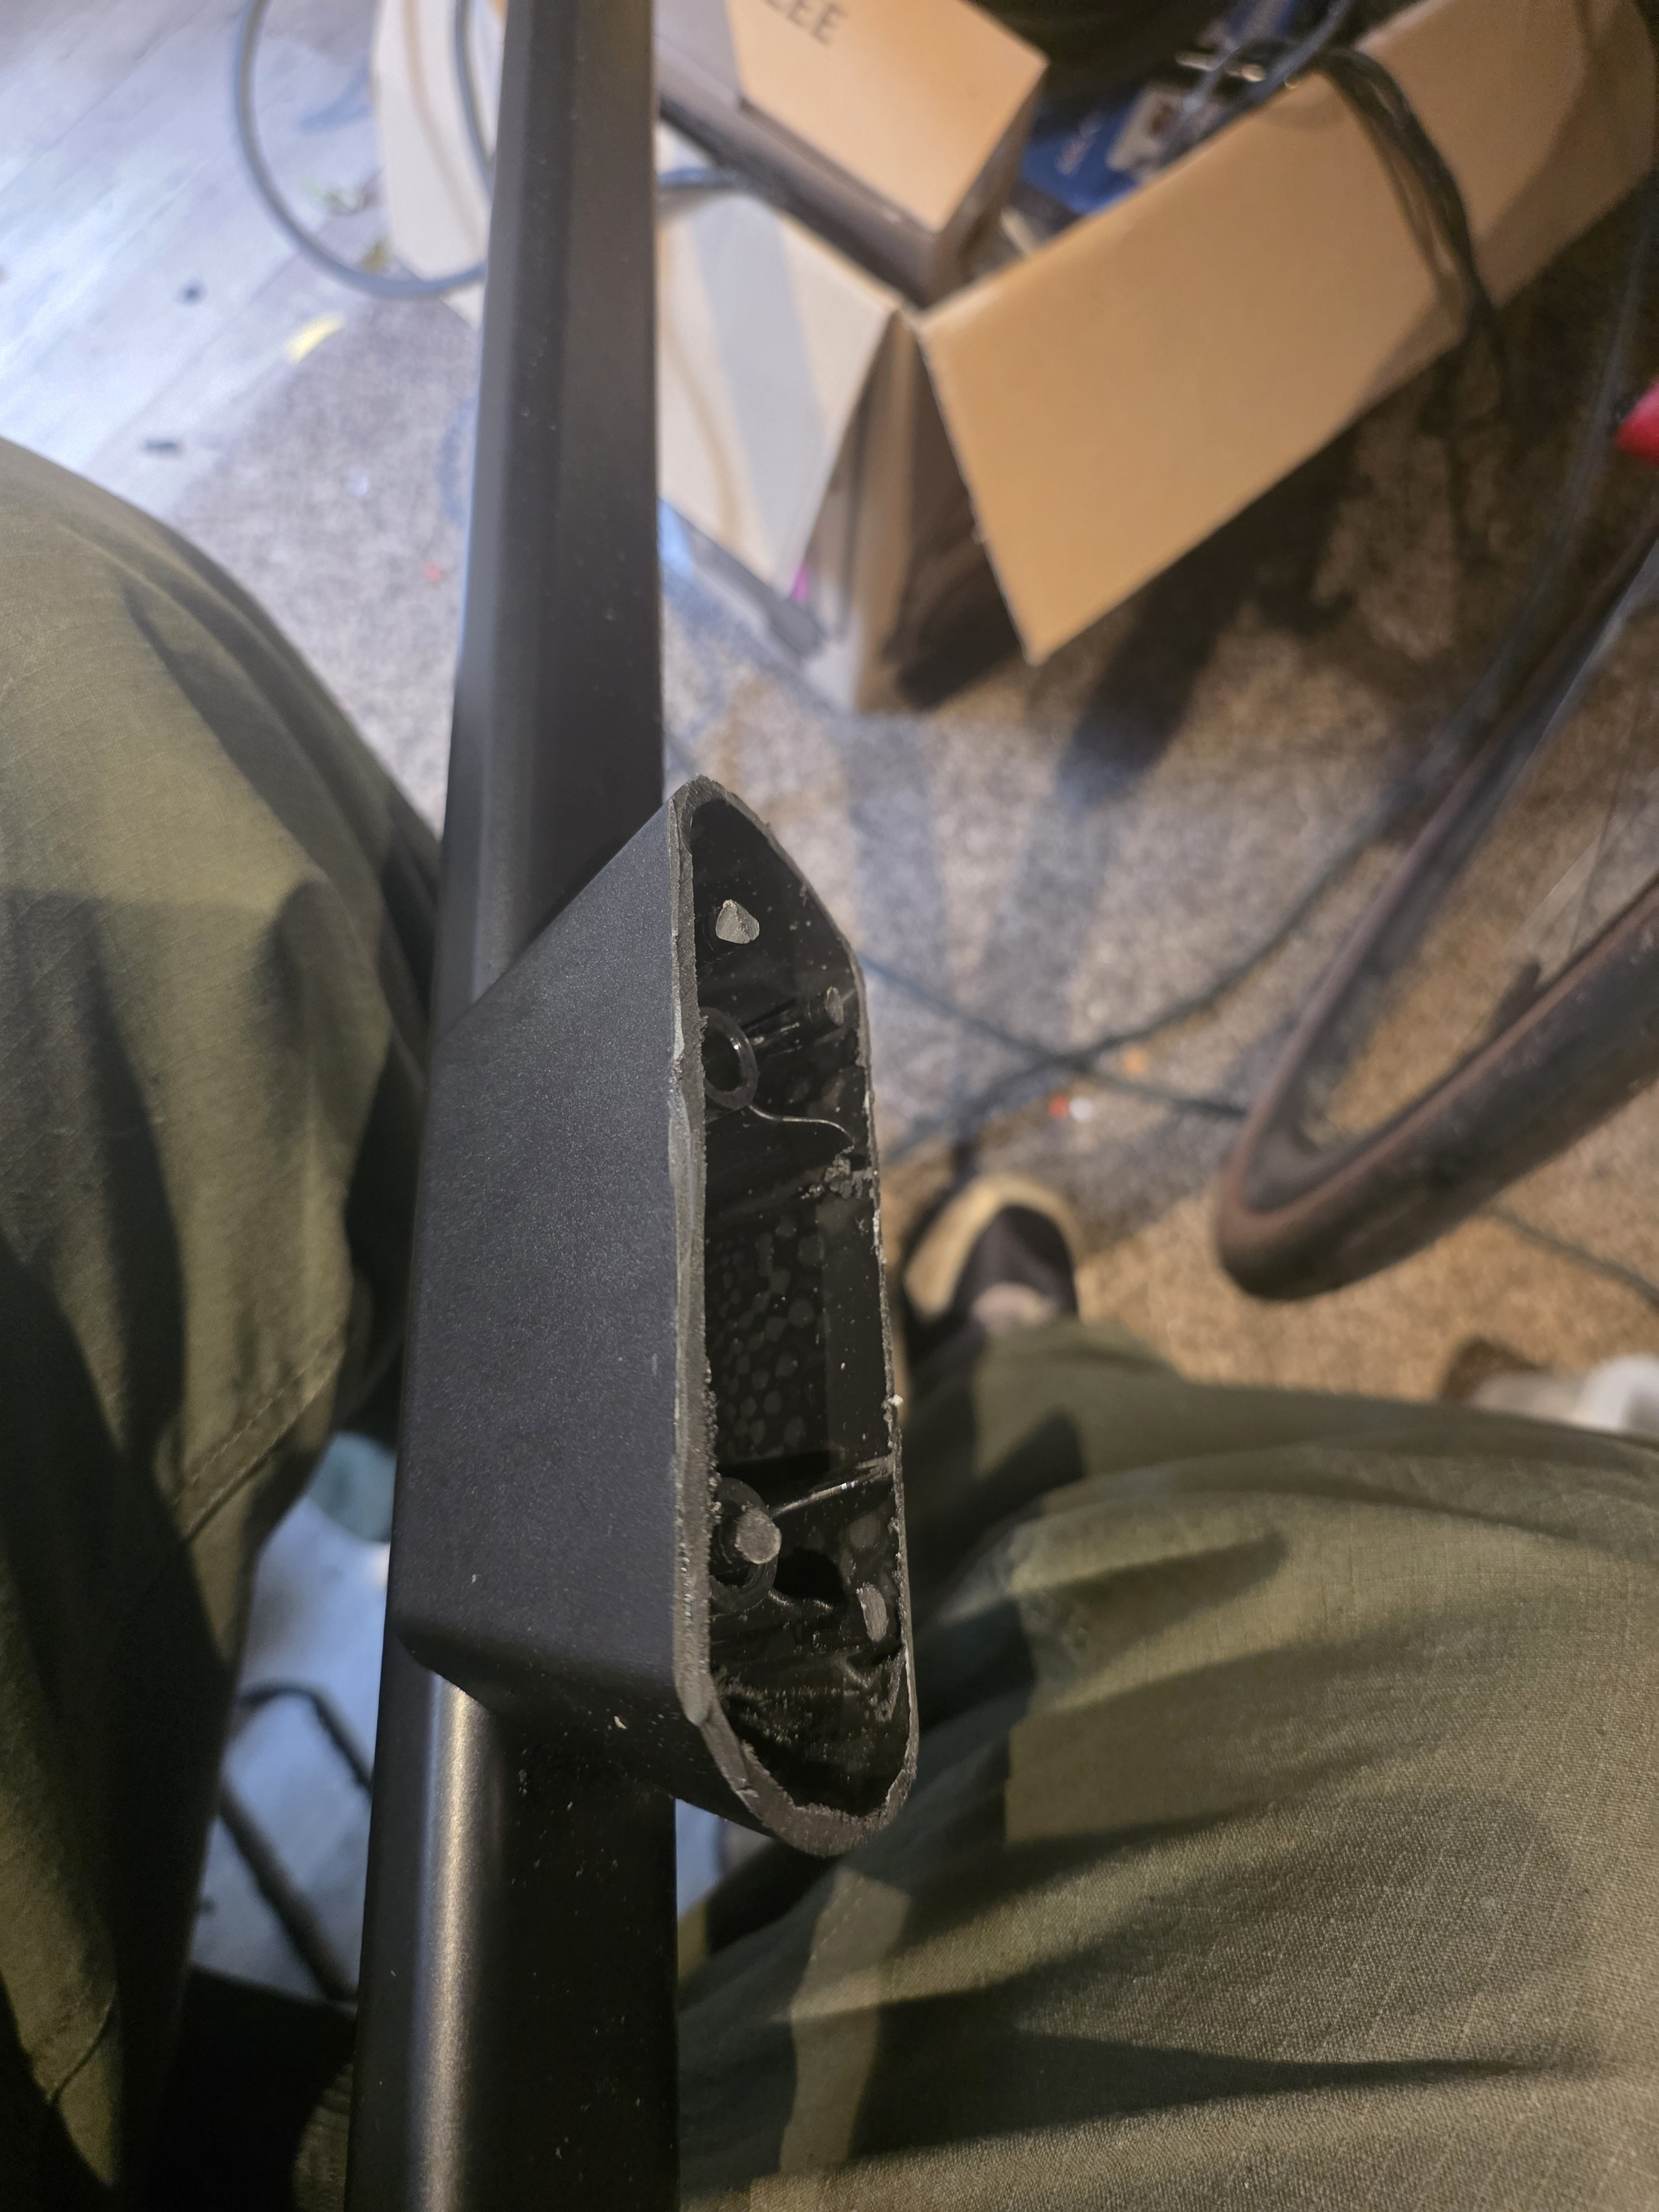
Started simple, with trying to start on the front end of the van and stripping back all of the damage. We’re talking both wings off, the bumper and the grille garnish all removed, along with the slam plate. The garnish on the van was an interesting shape as you can see here
[img] 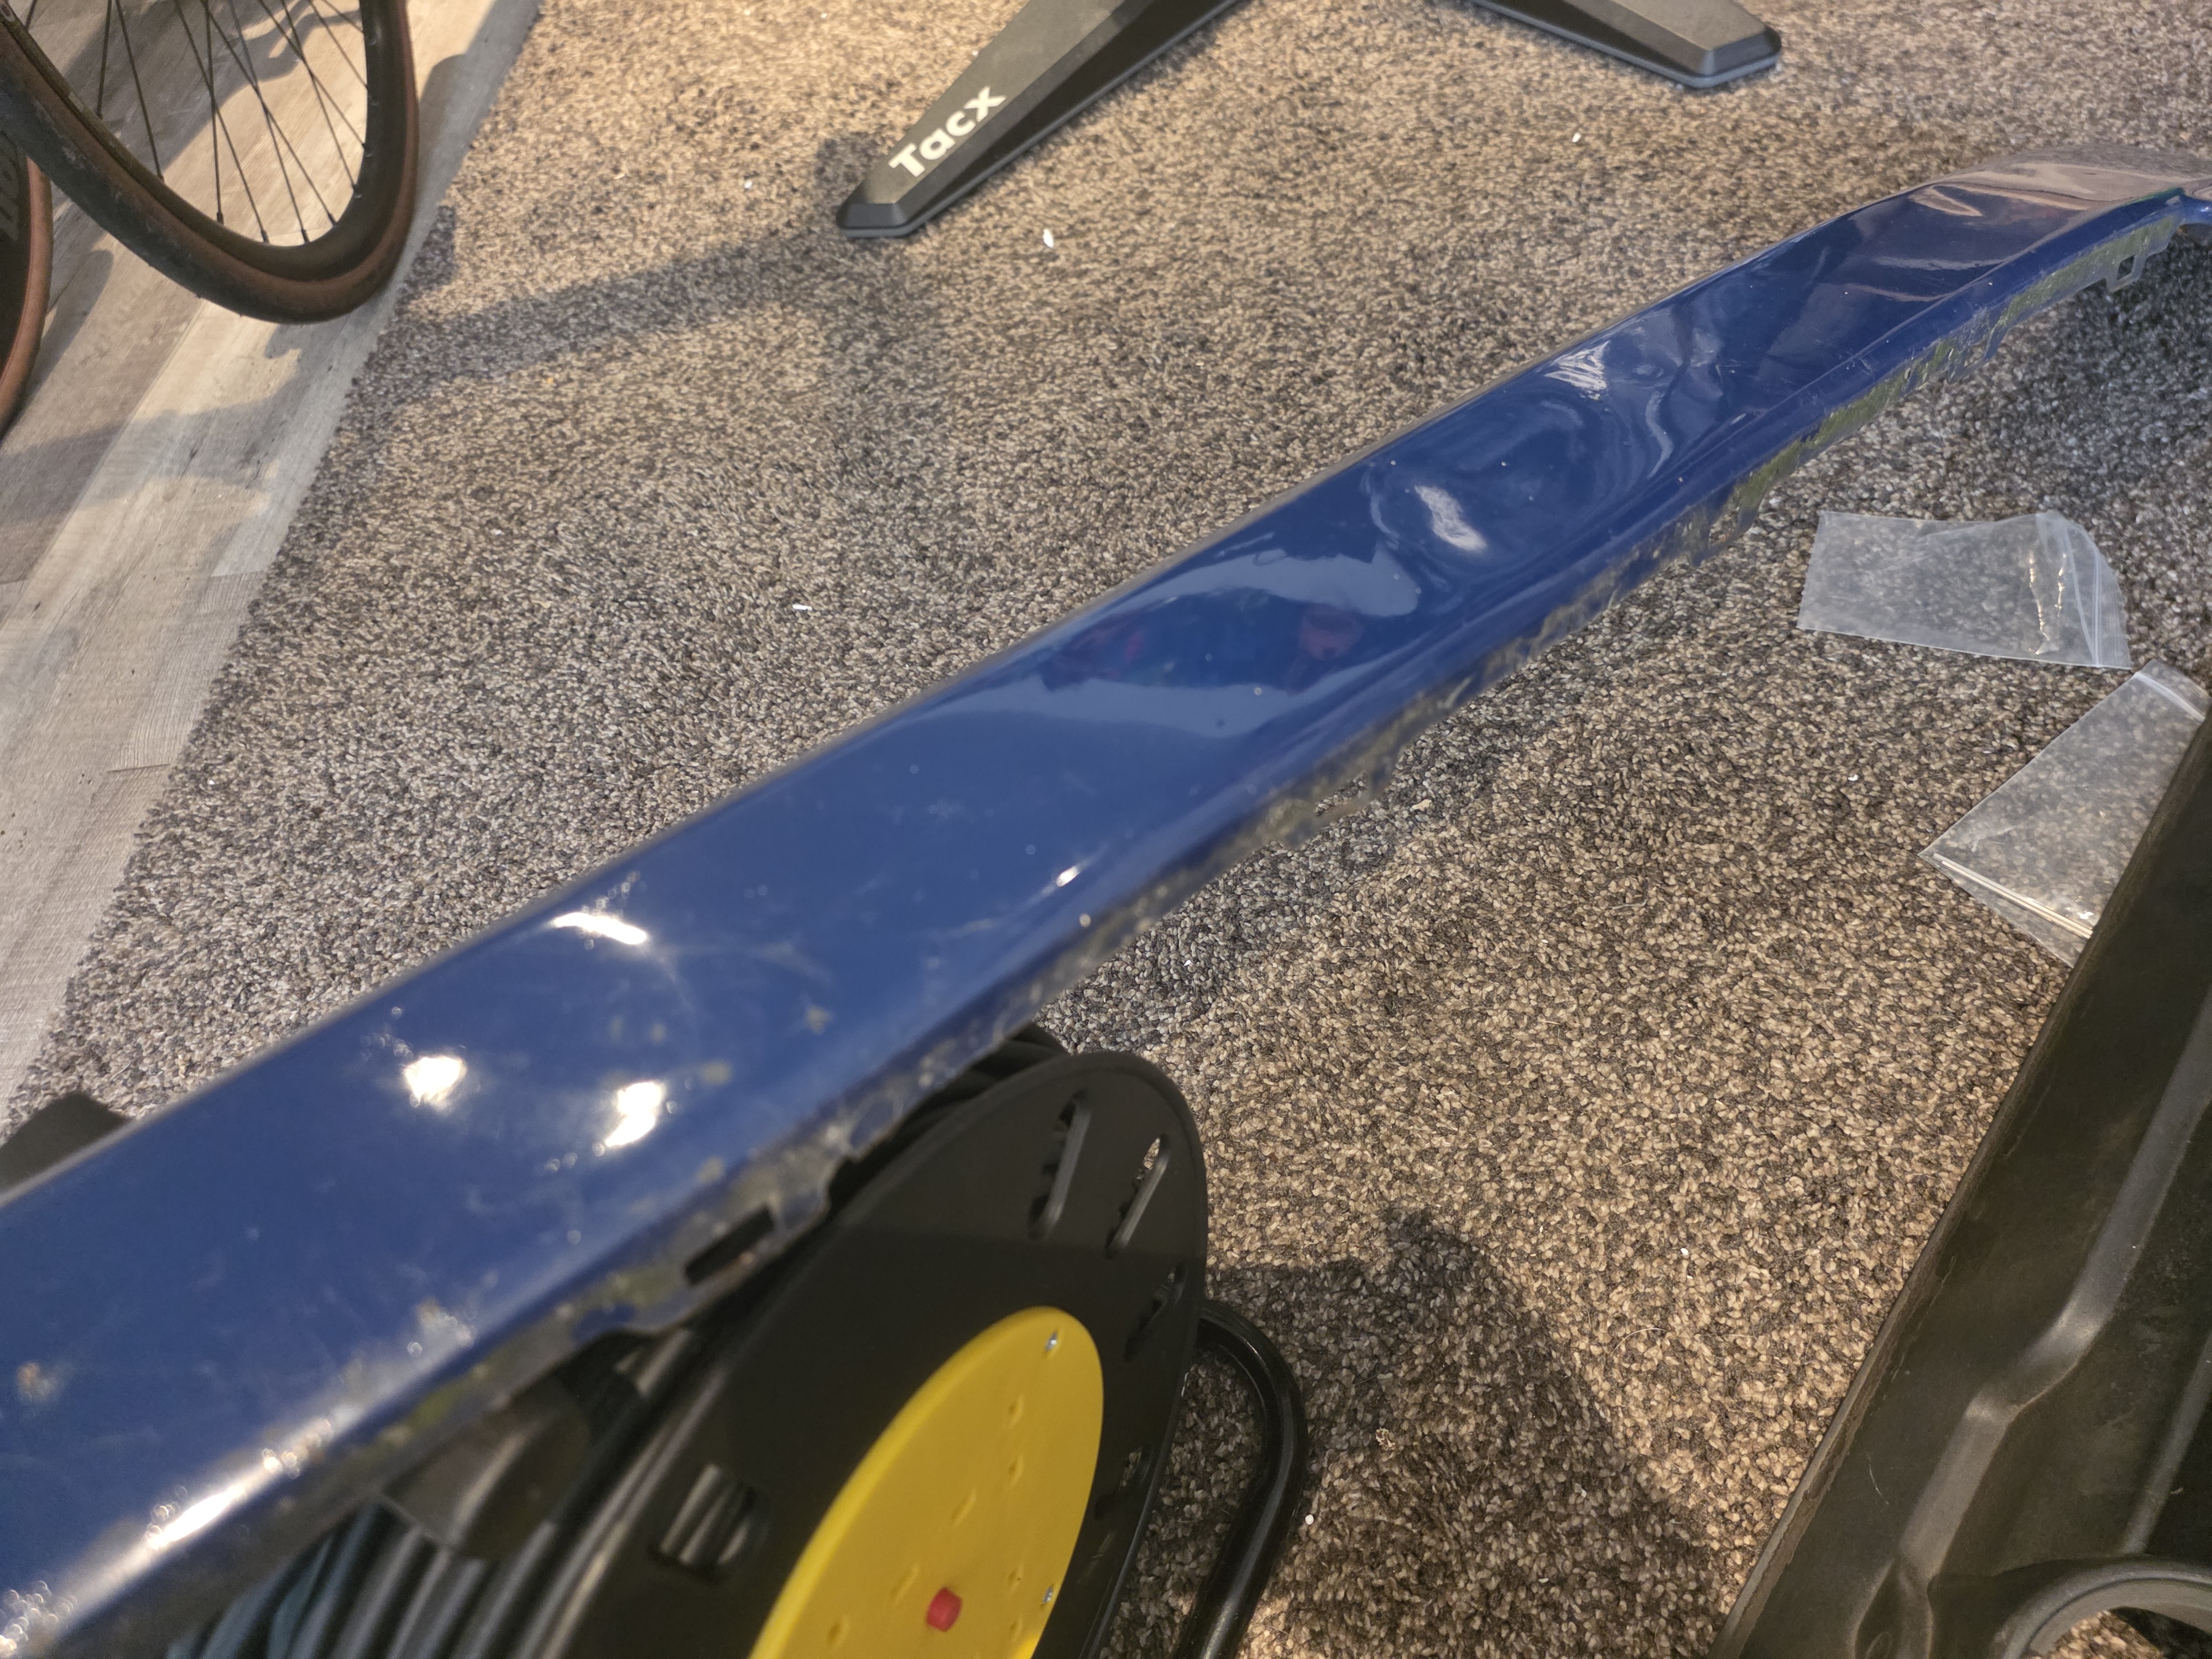 [/img]
Sp Managed to source both new wings (more on that later) and a replacement second hand garnish in a better shape. These were all prepped and primed before laying a fresh coat of LL5M Indian Blue (the colour it is supposed to be)
[img] 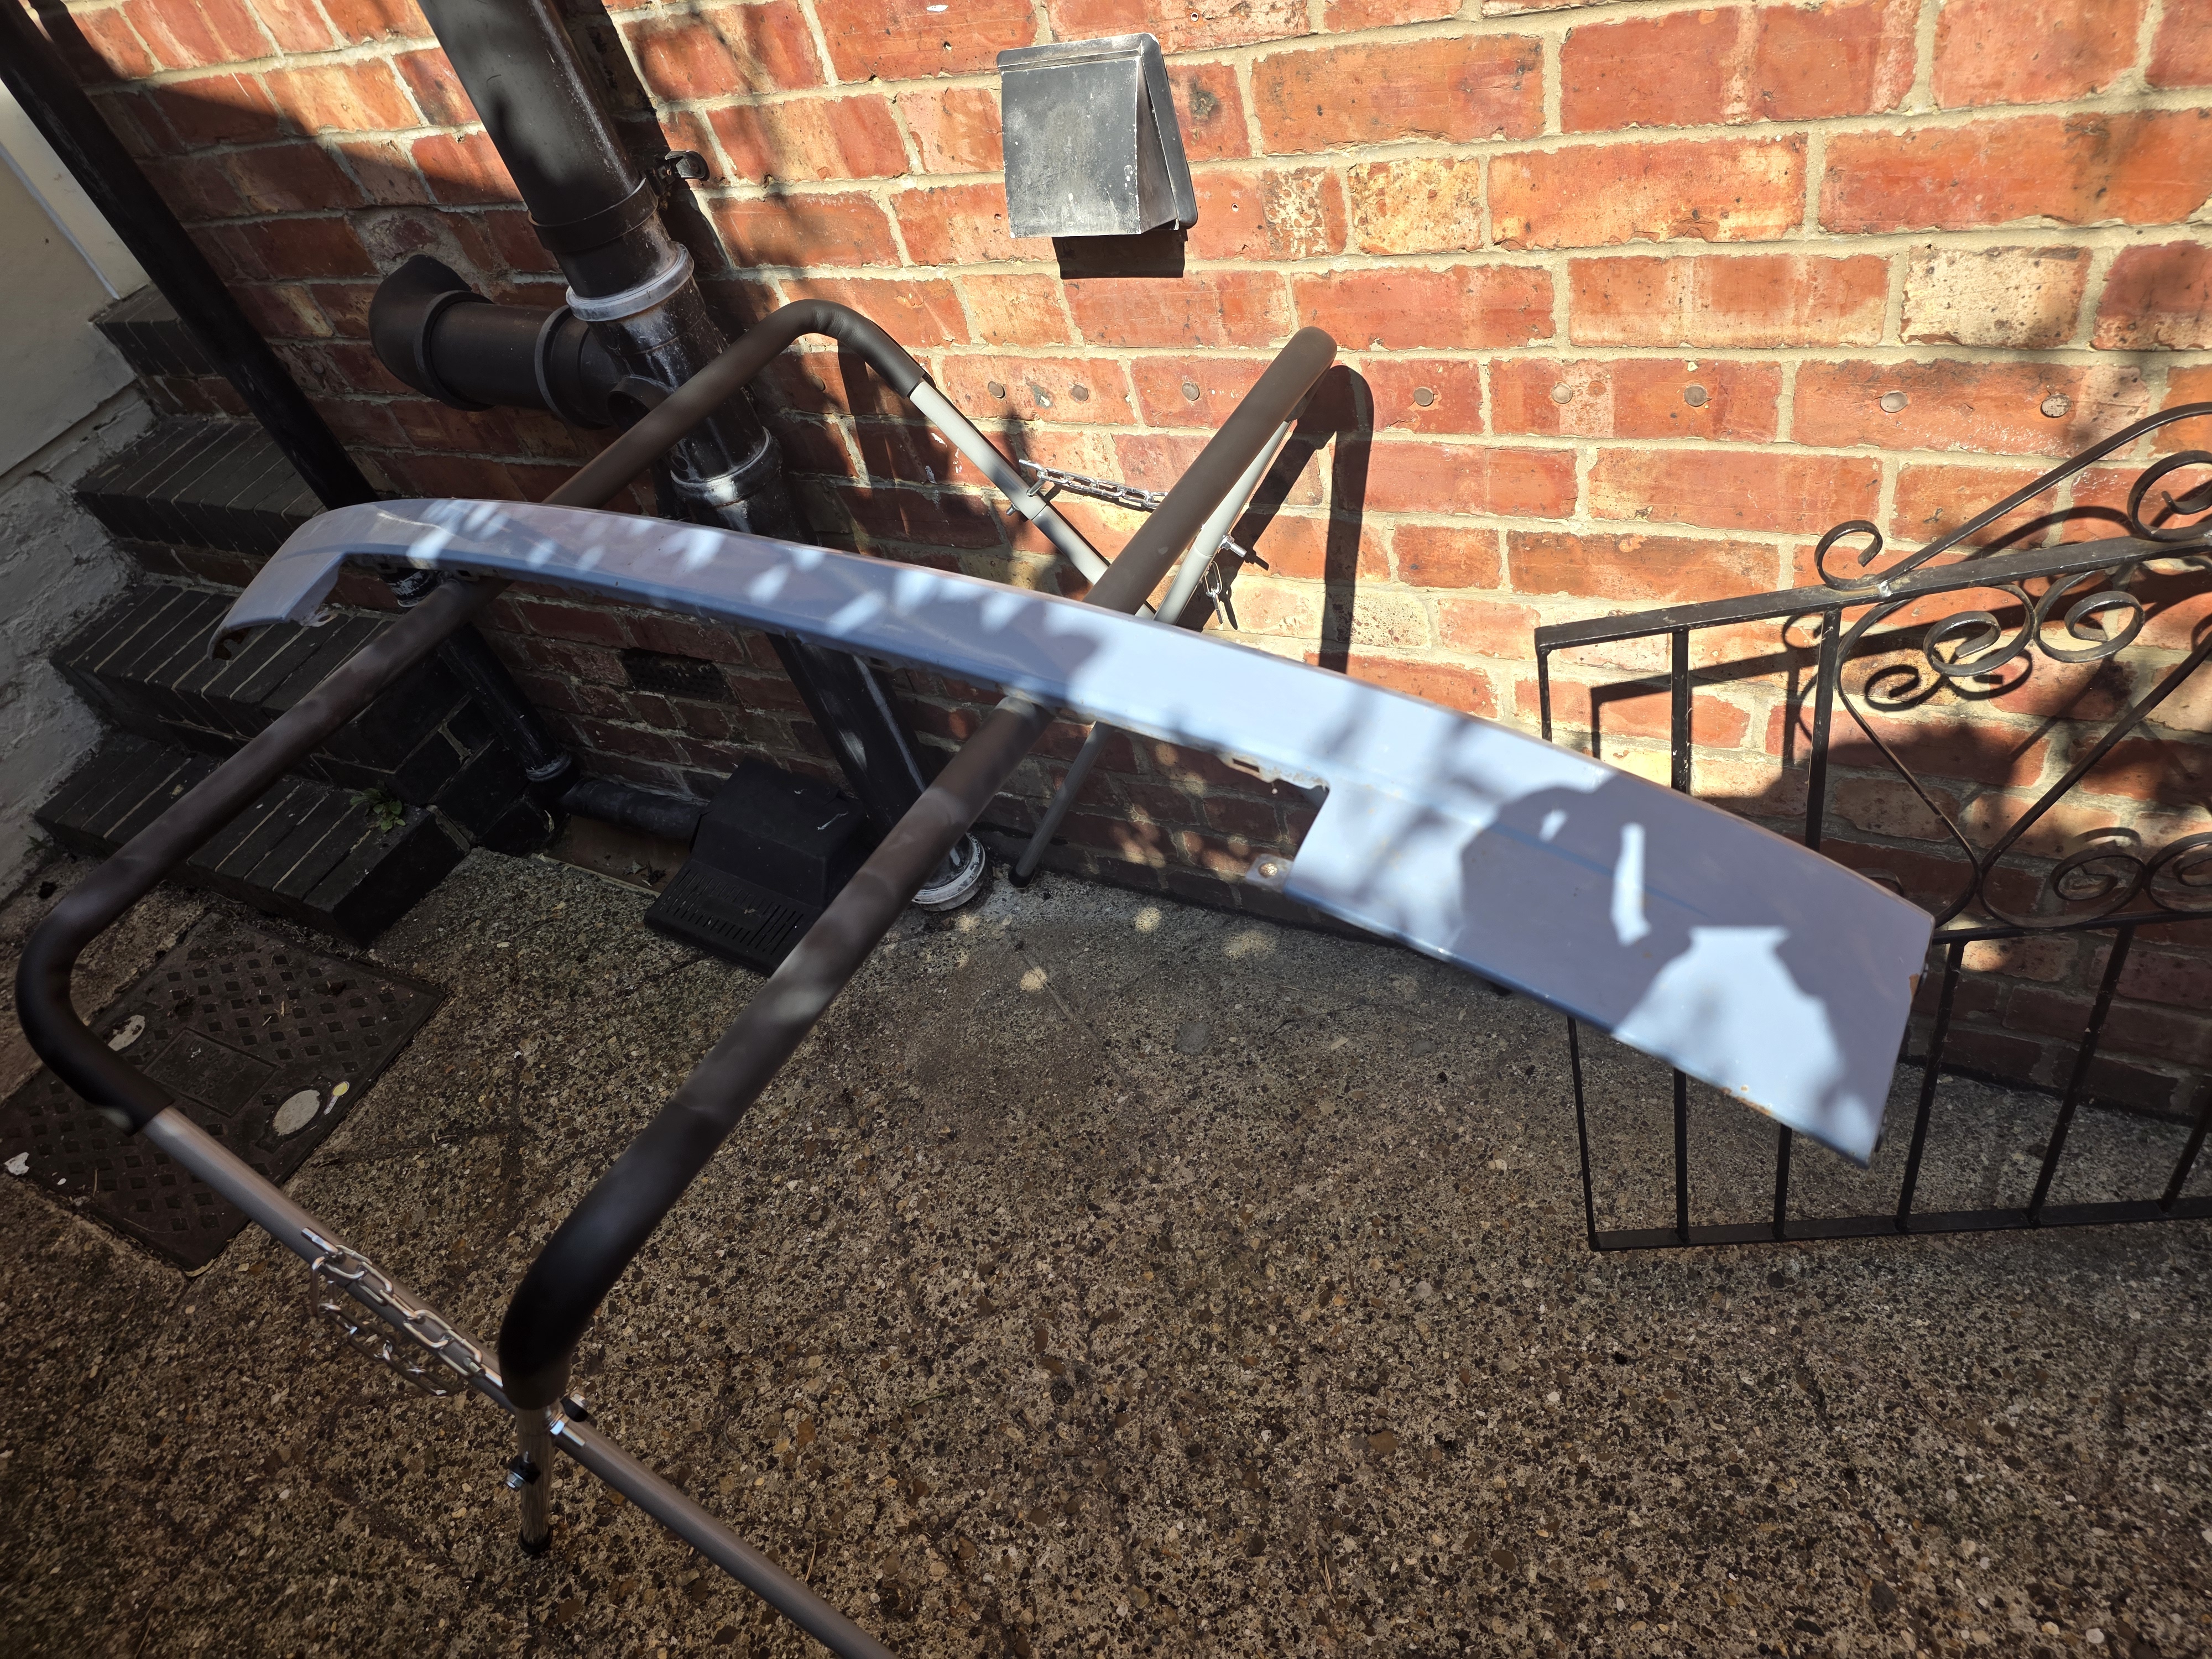 [/img]
[img] 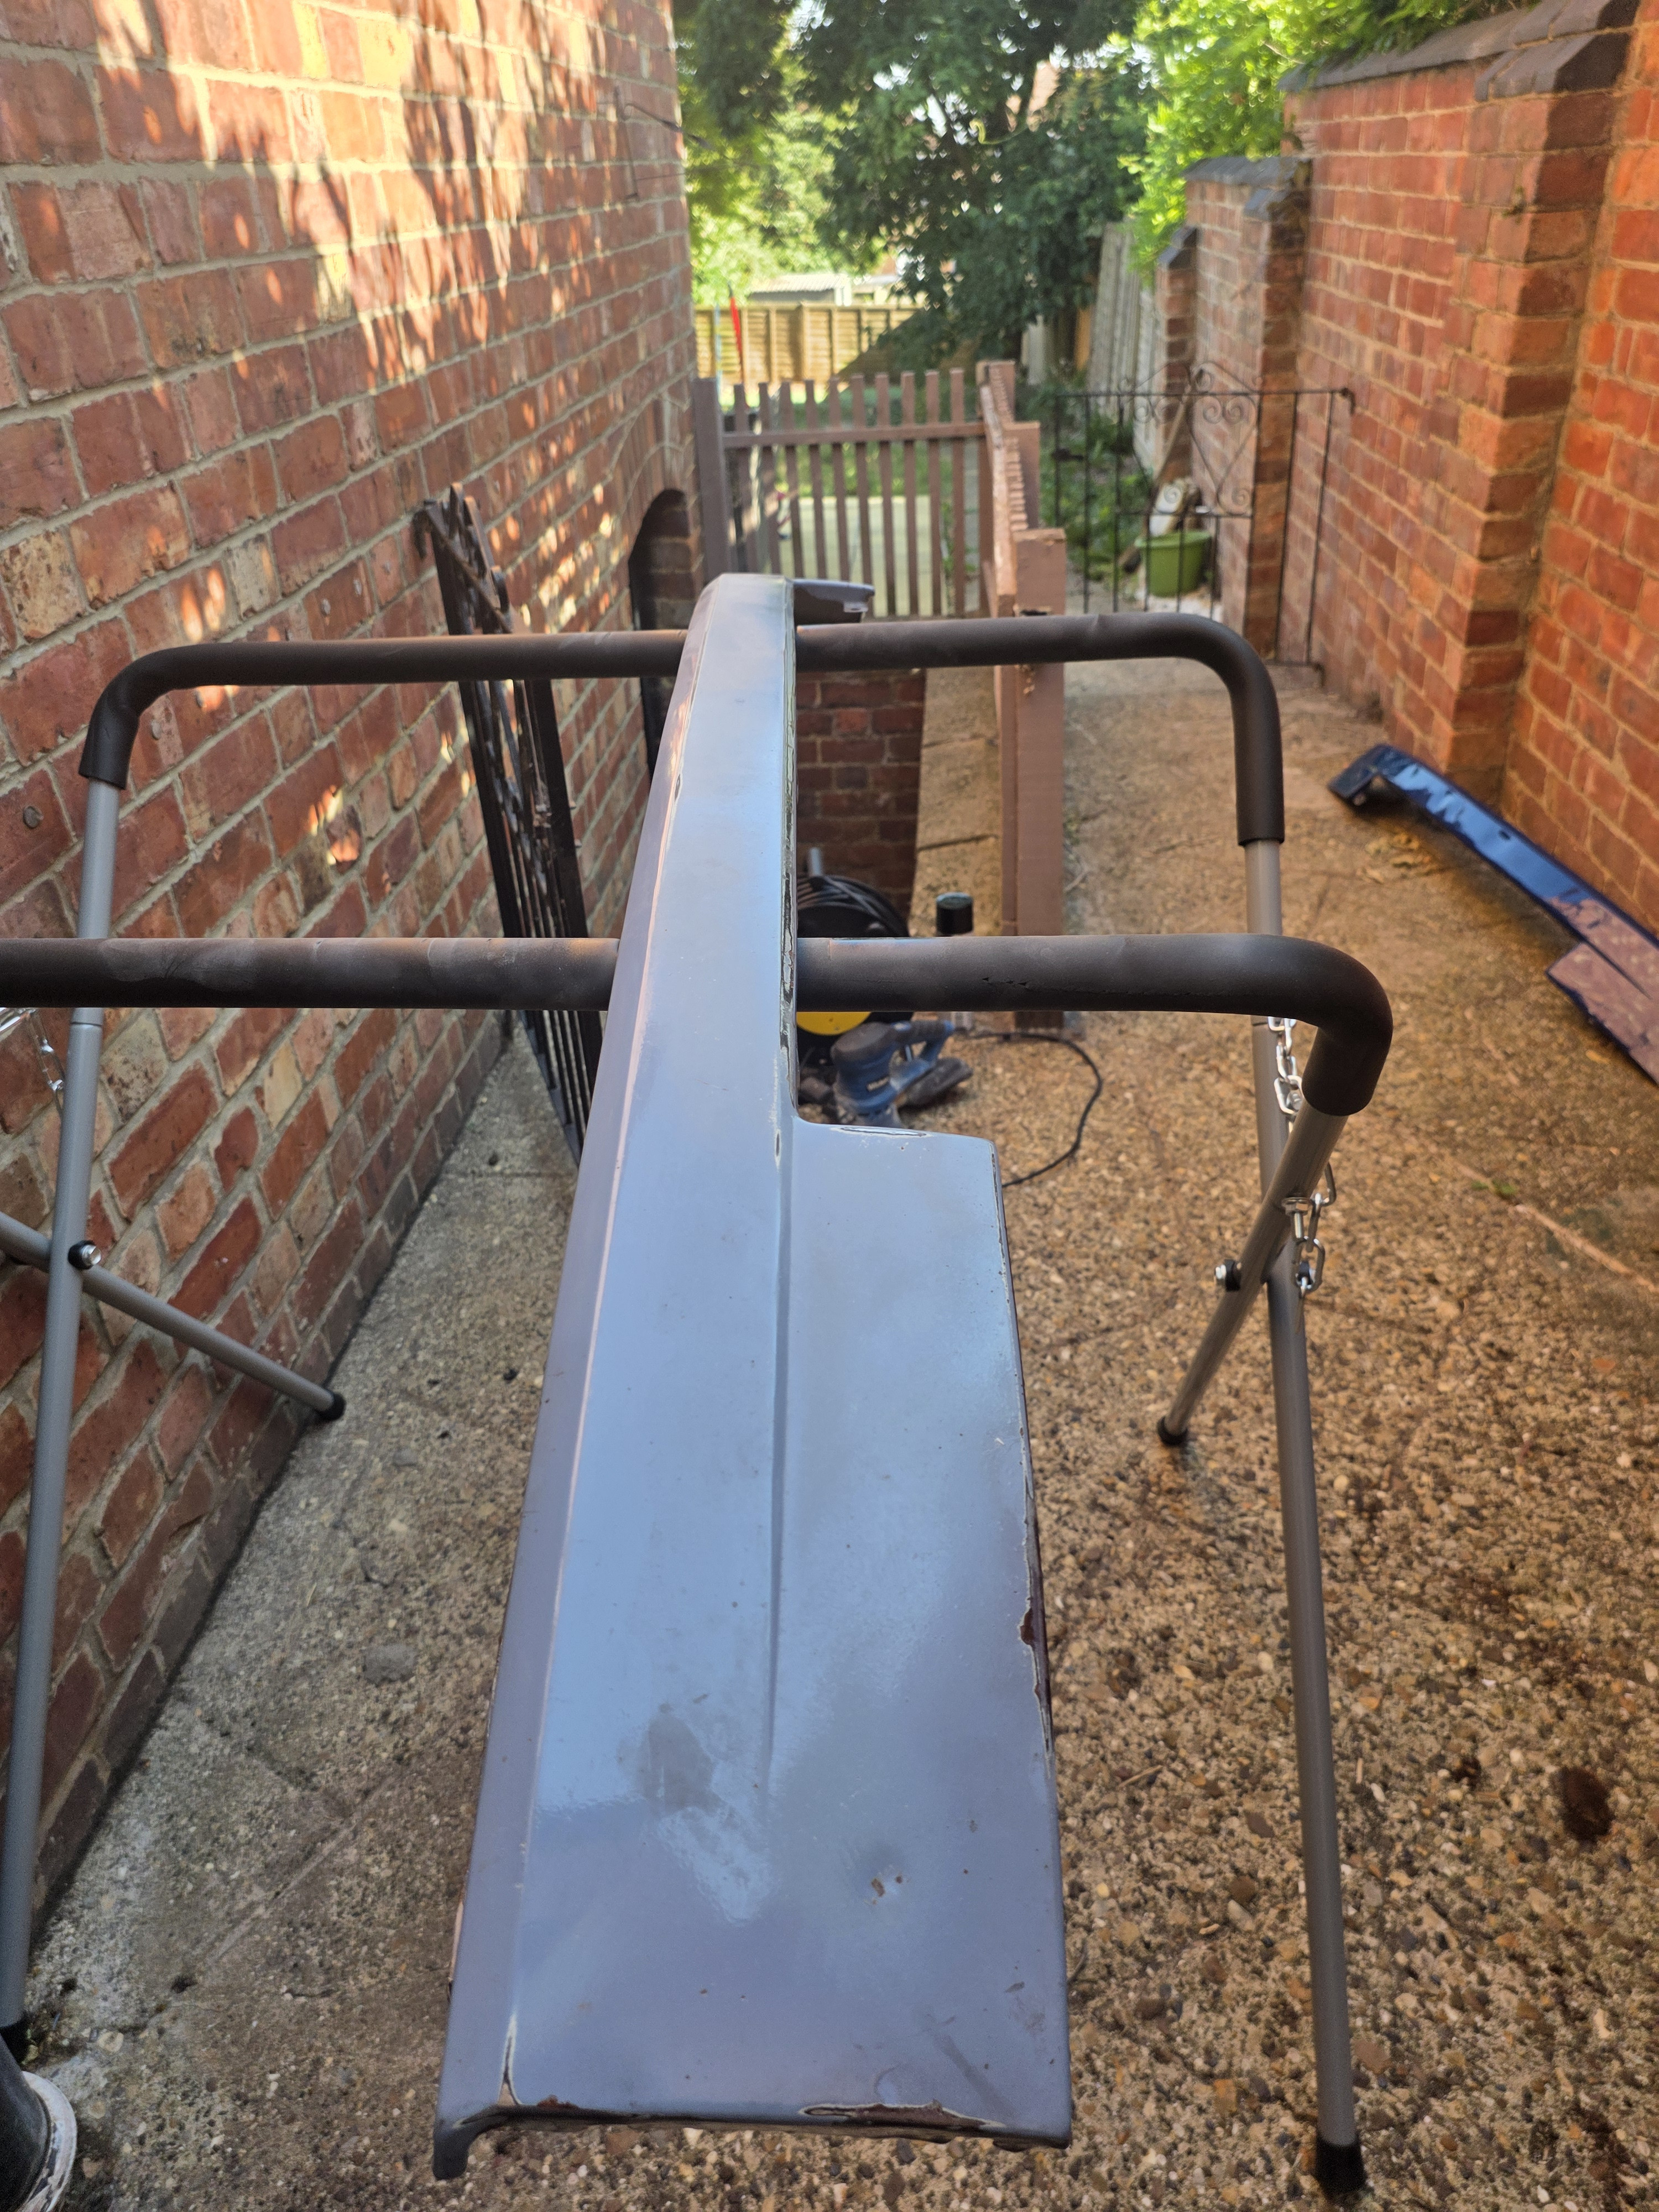 [/img]
[img] 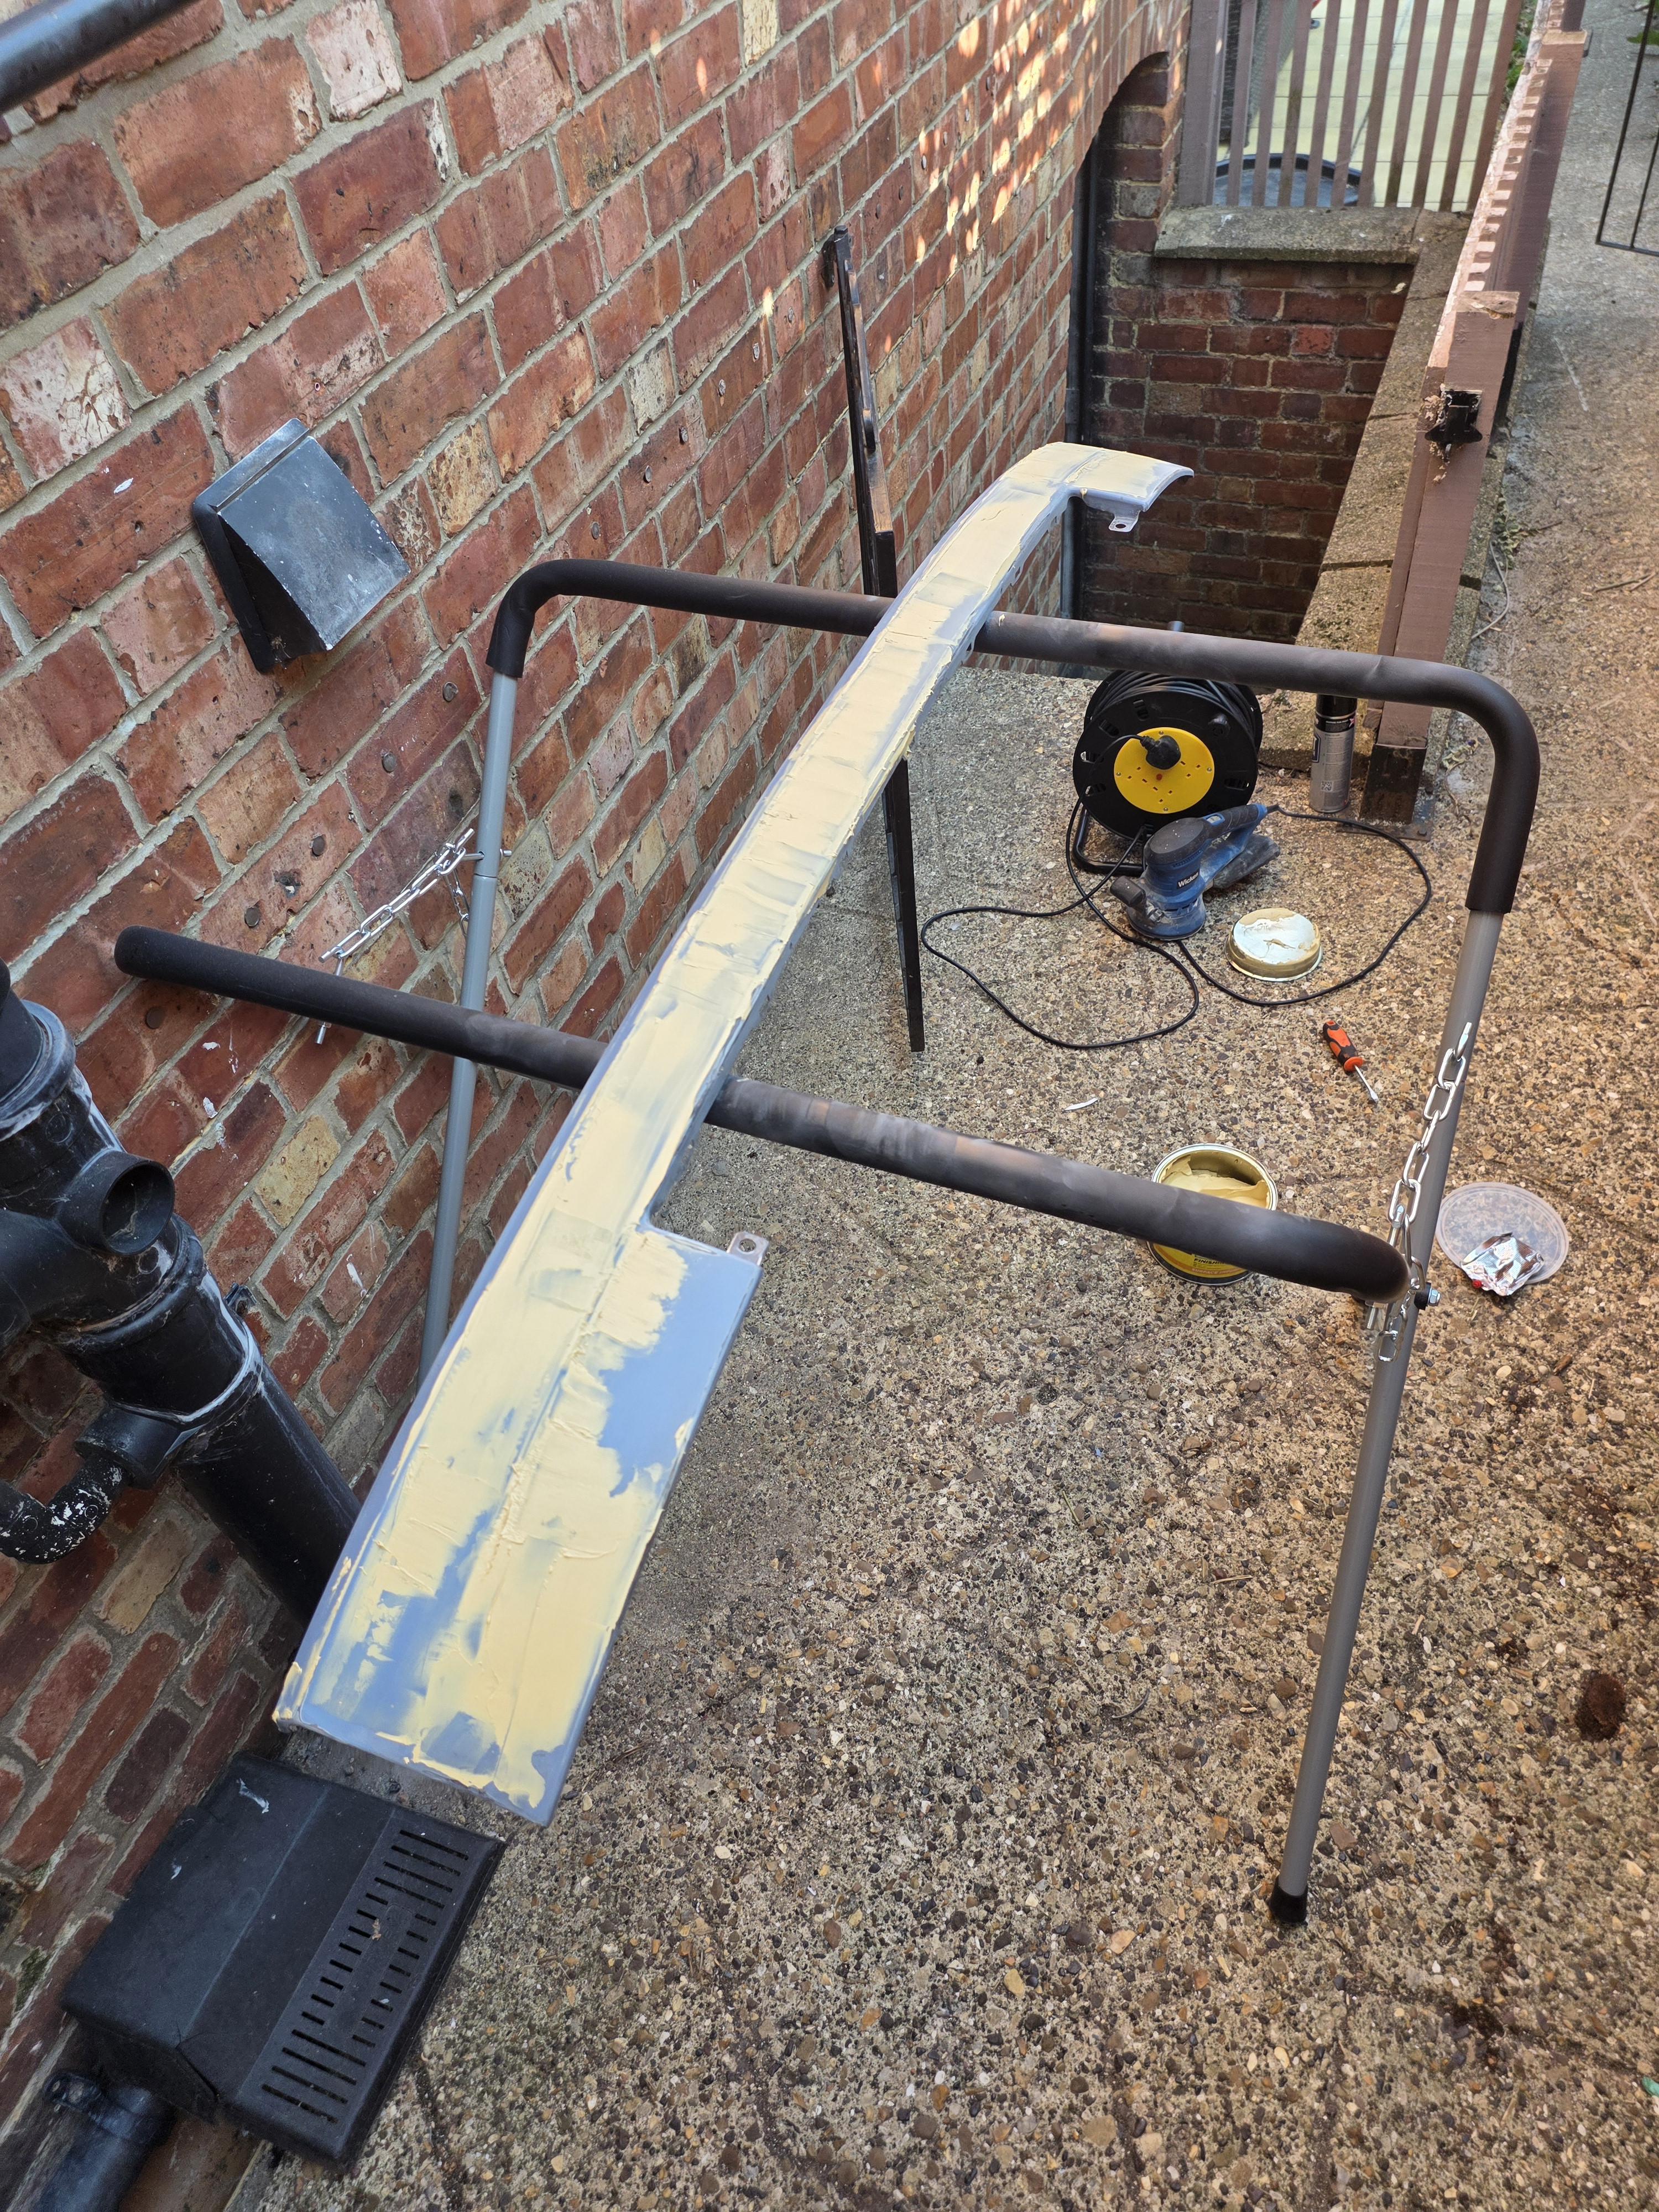 [/img]
[img] 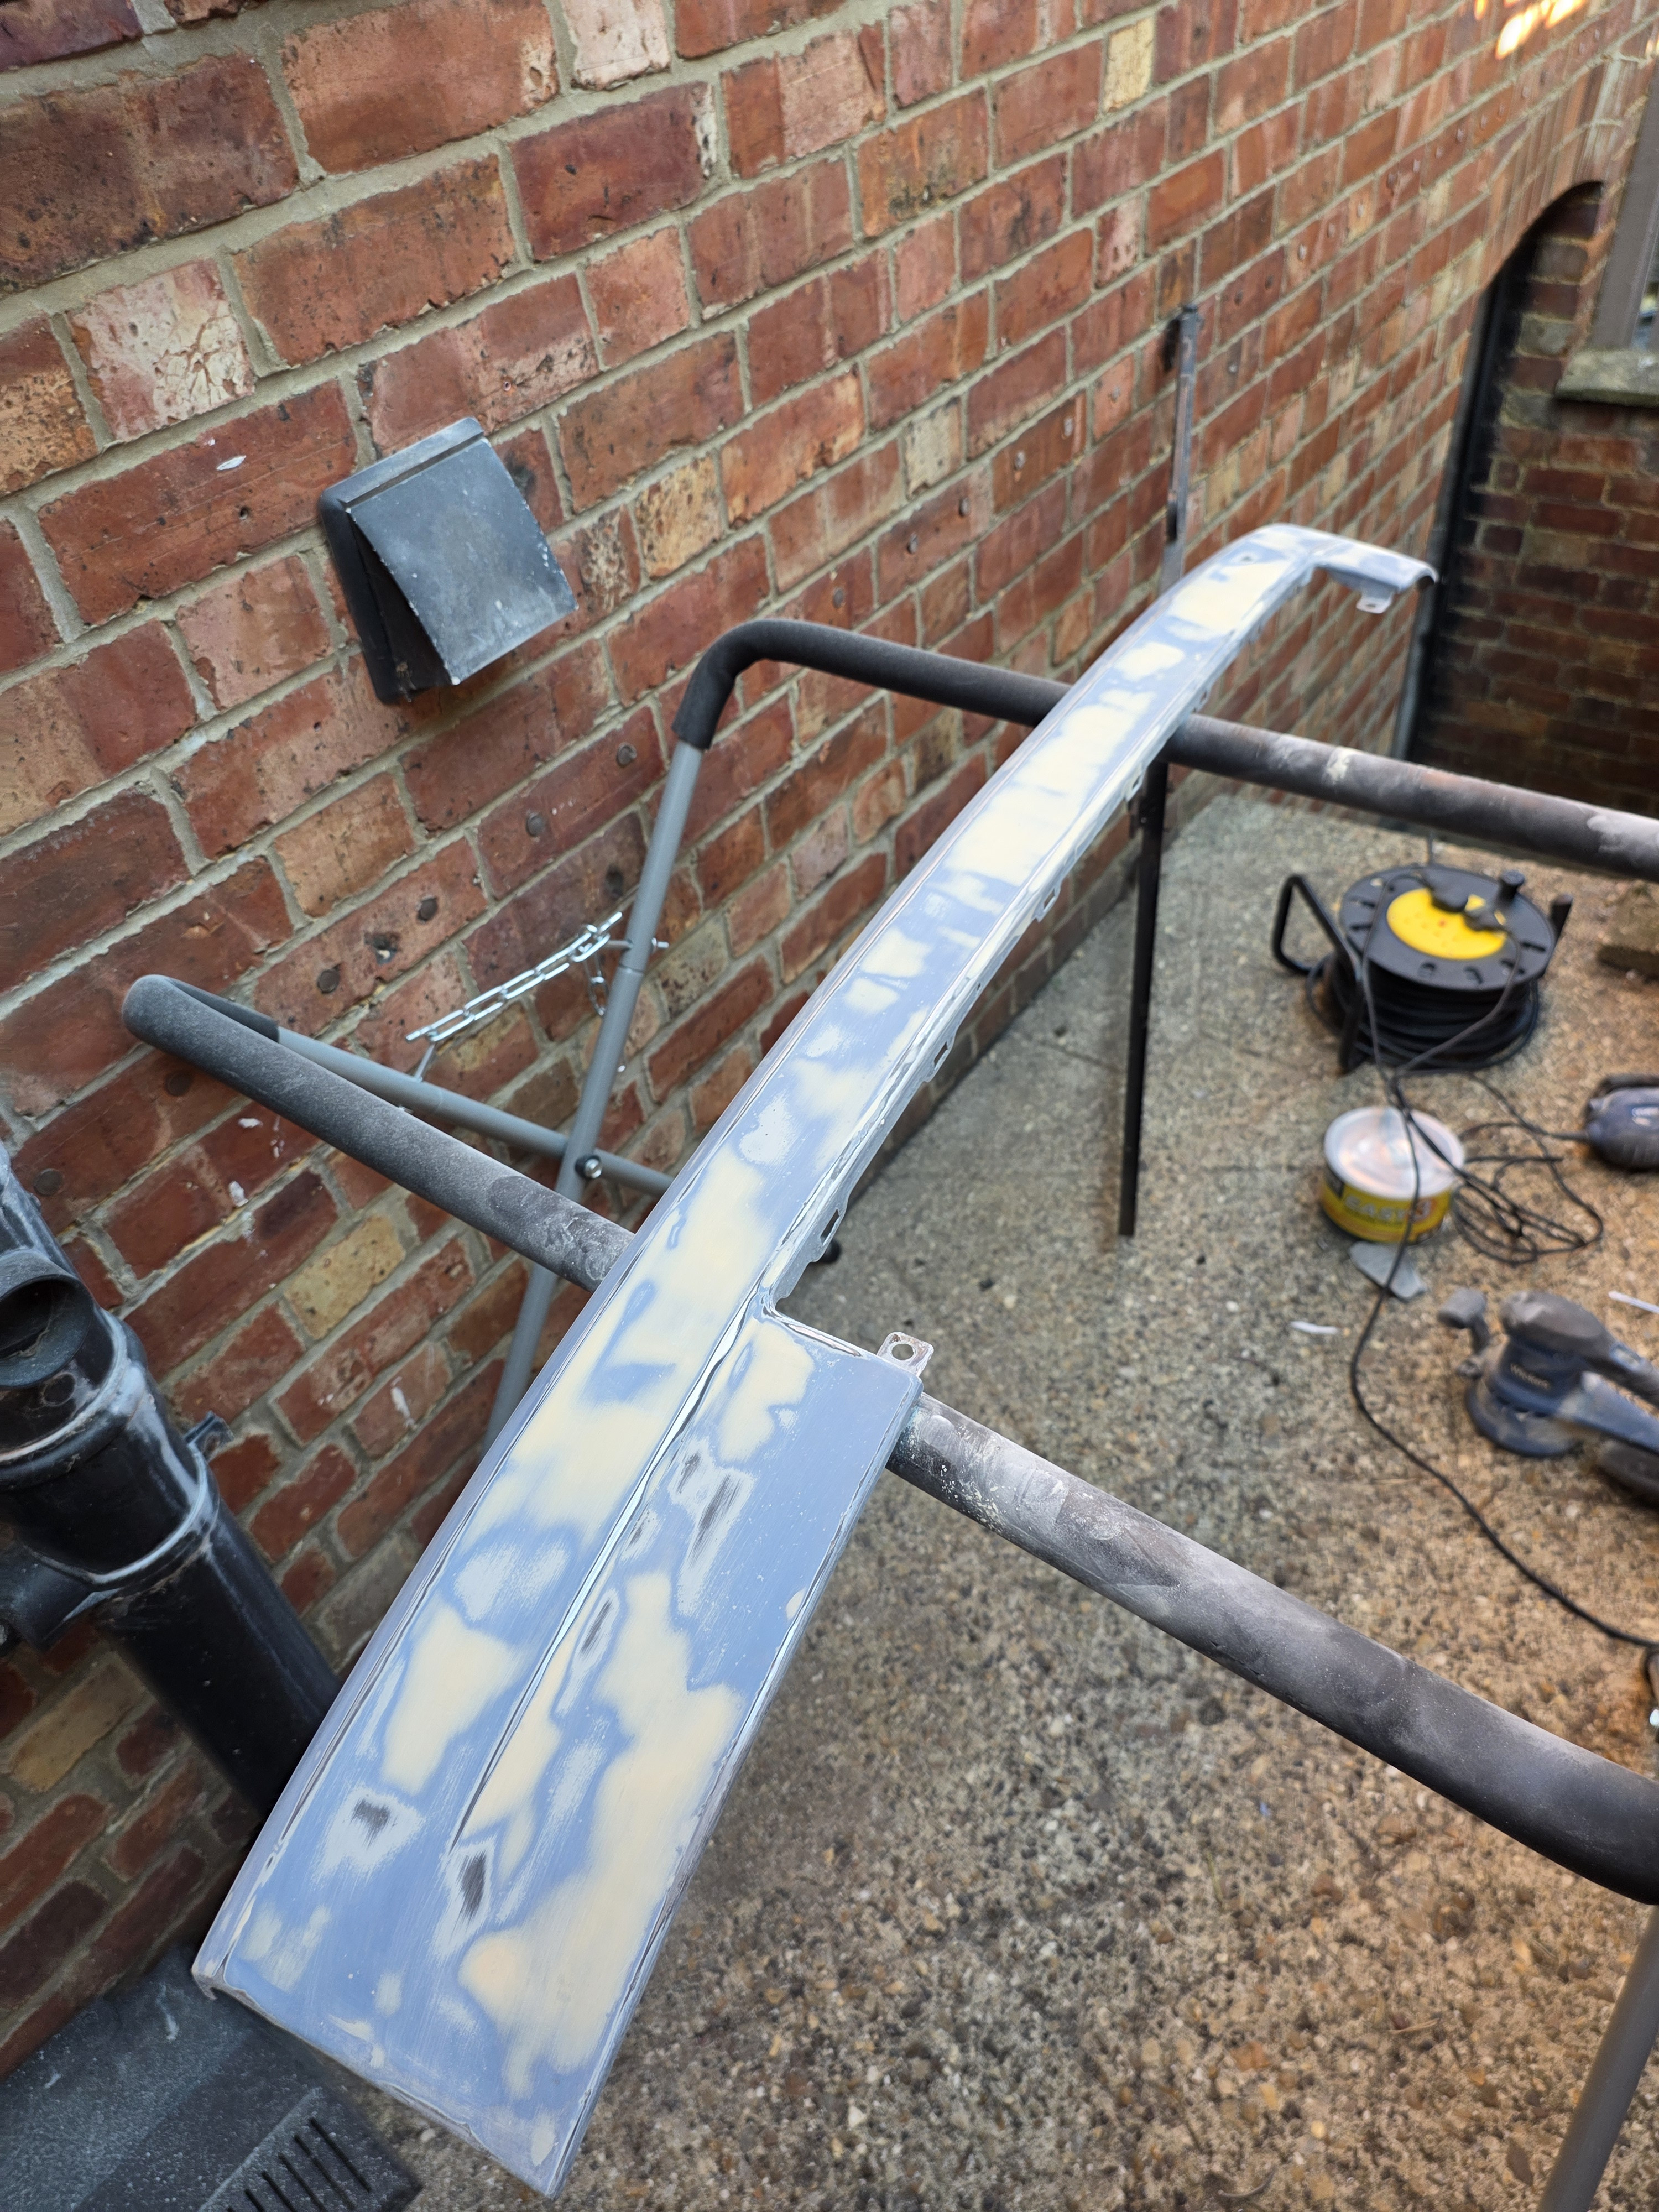 [/img]
[img] 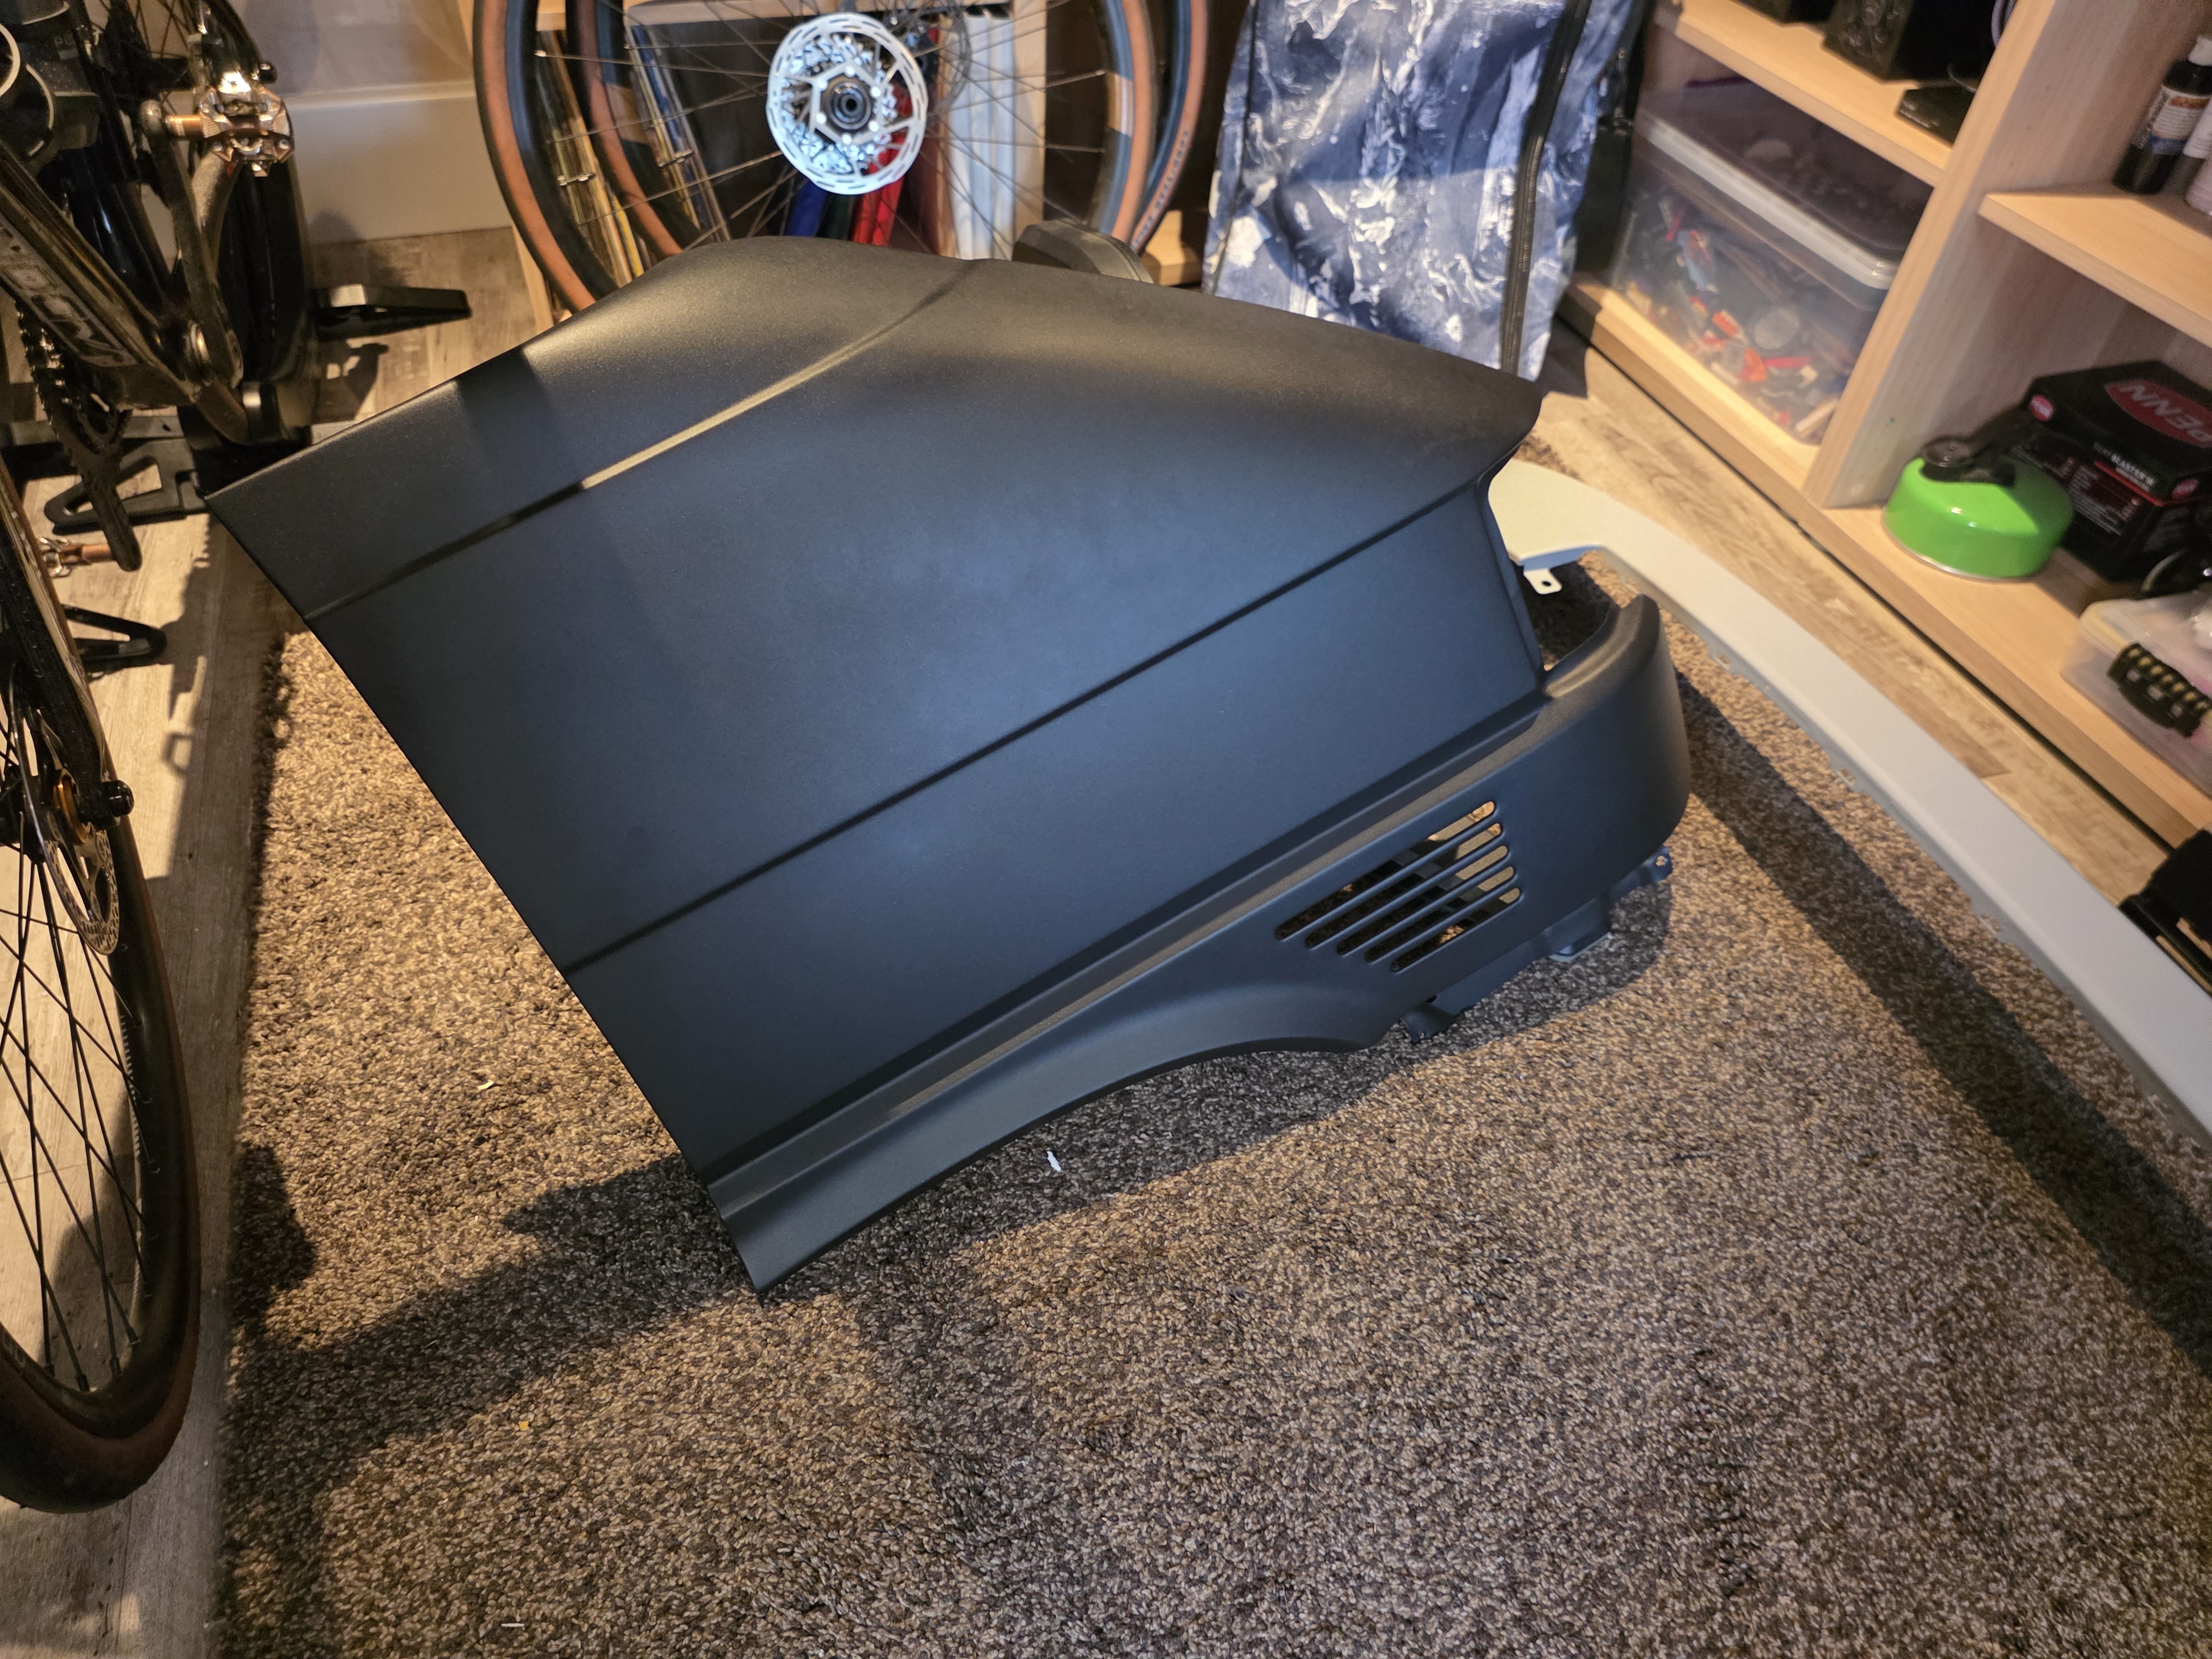 [/img]
[img] 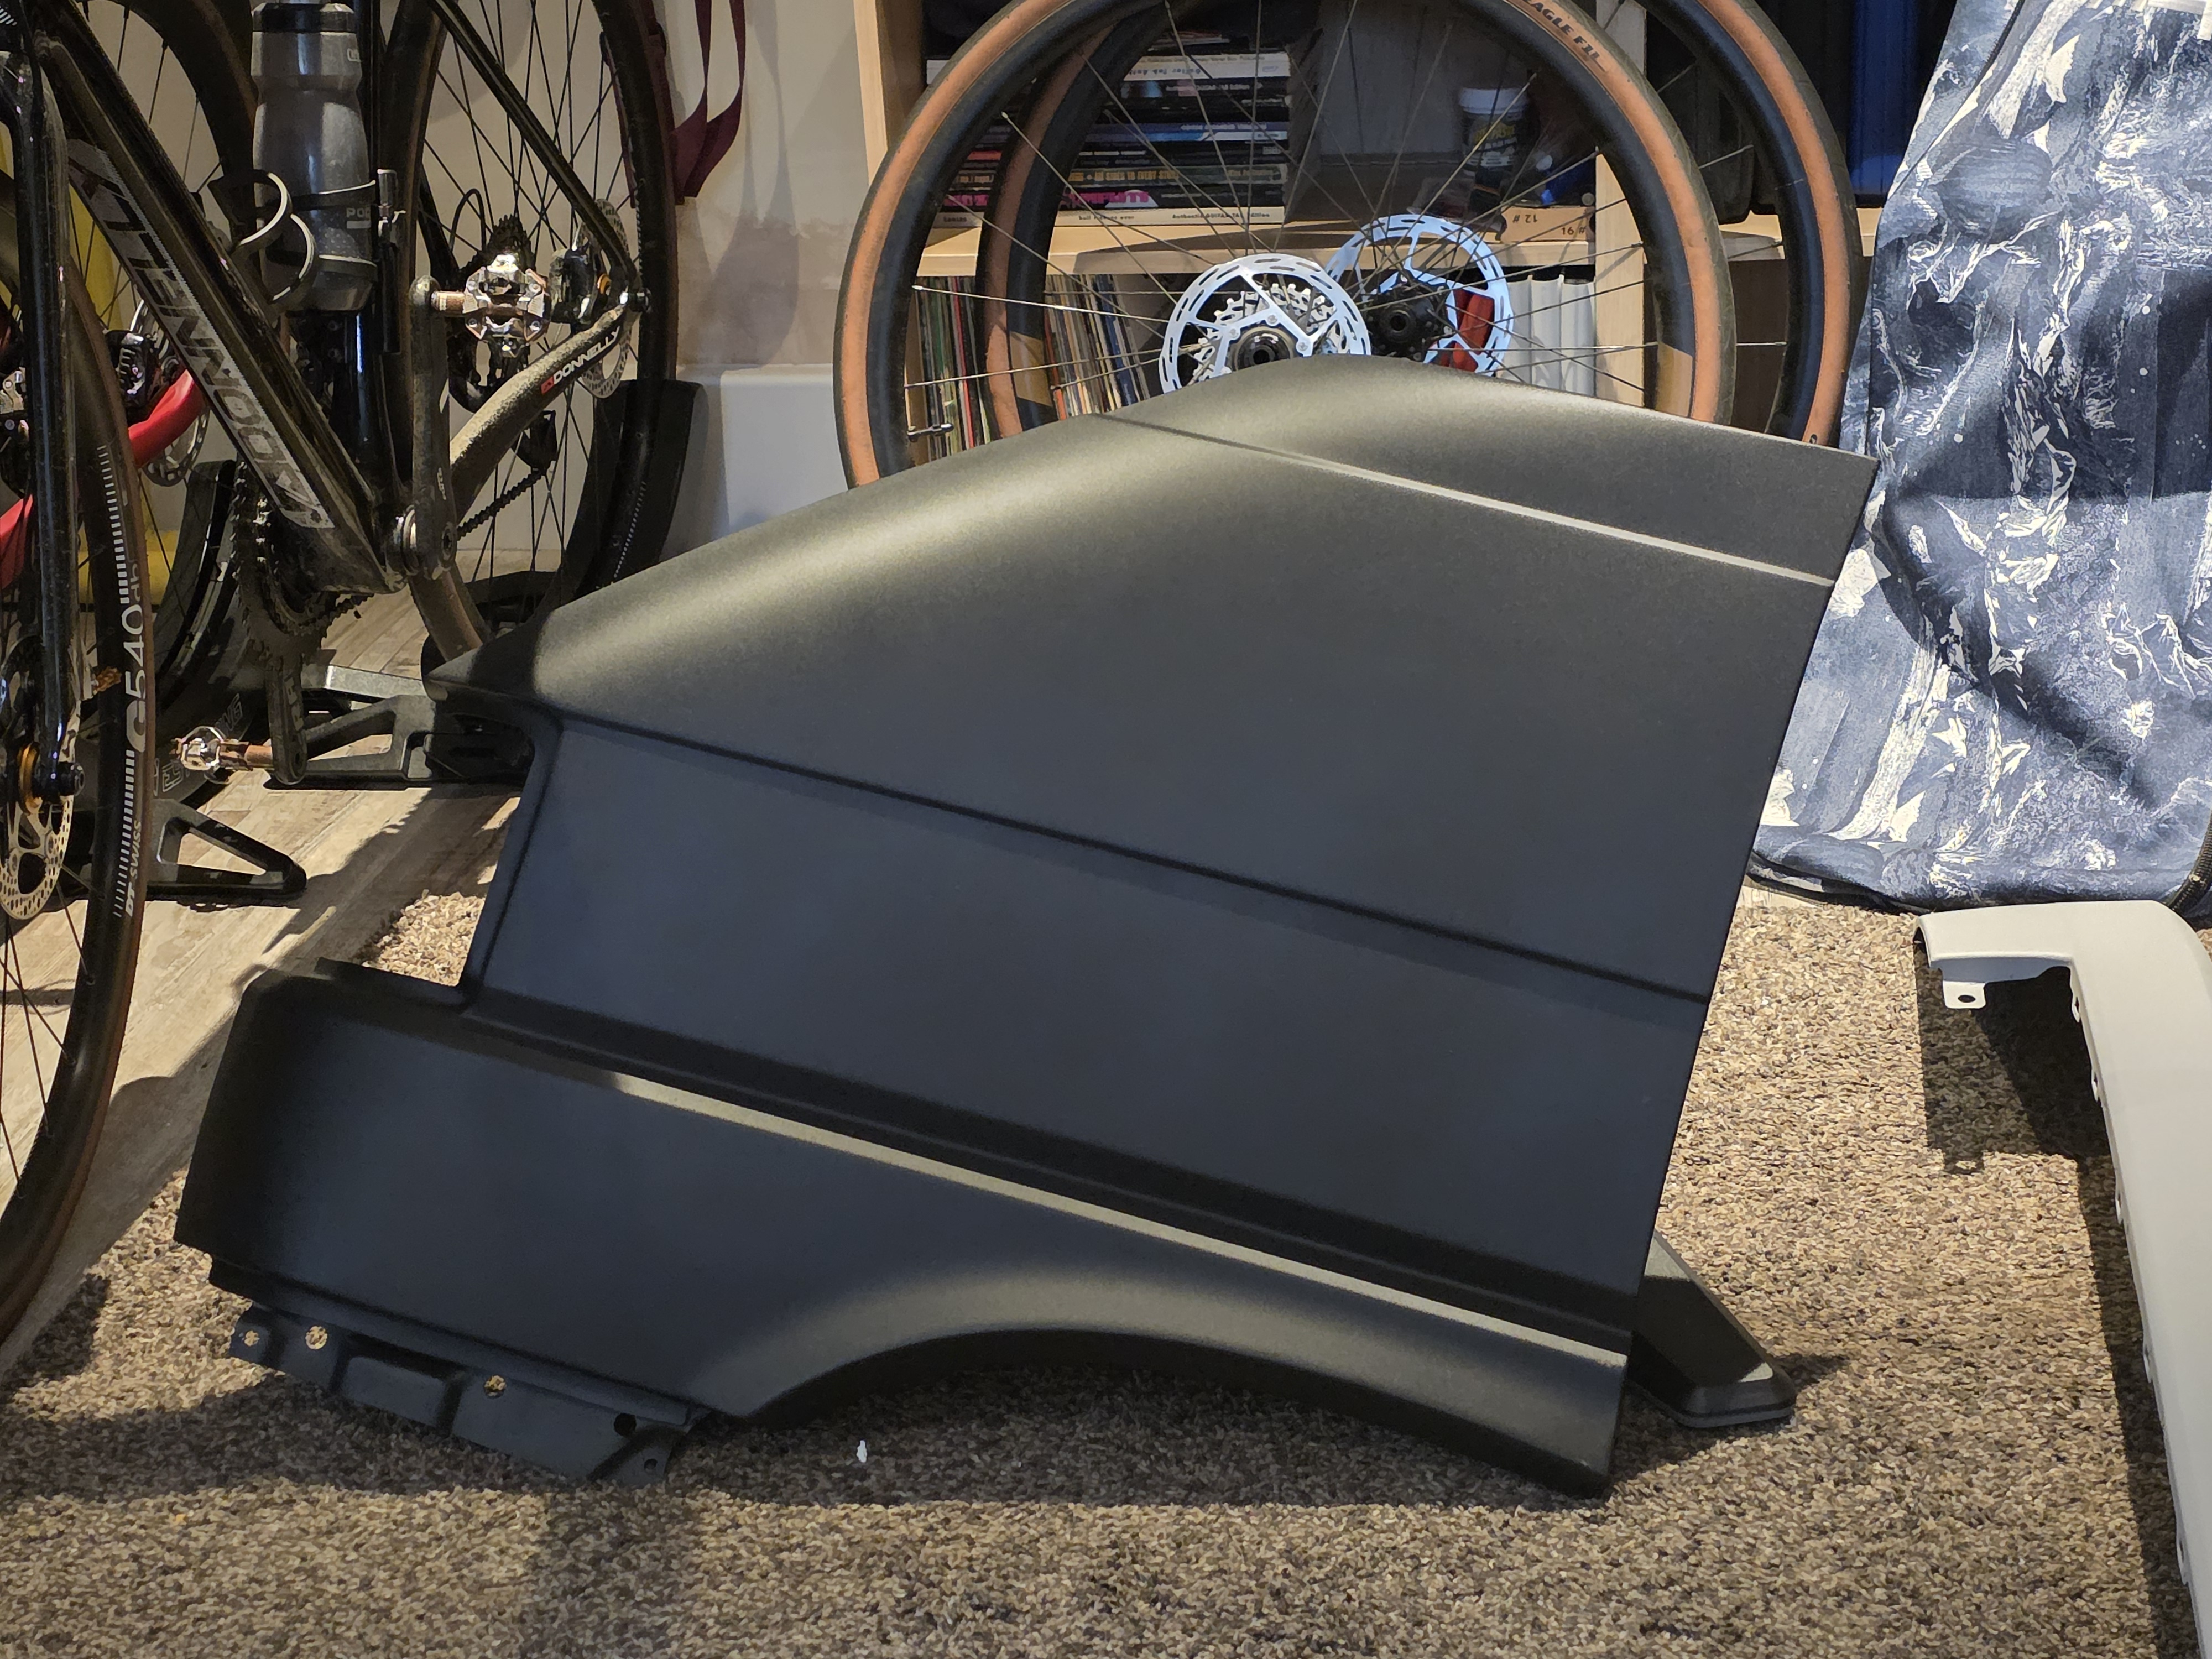 [/img]
[img] 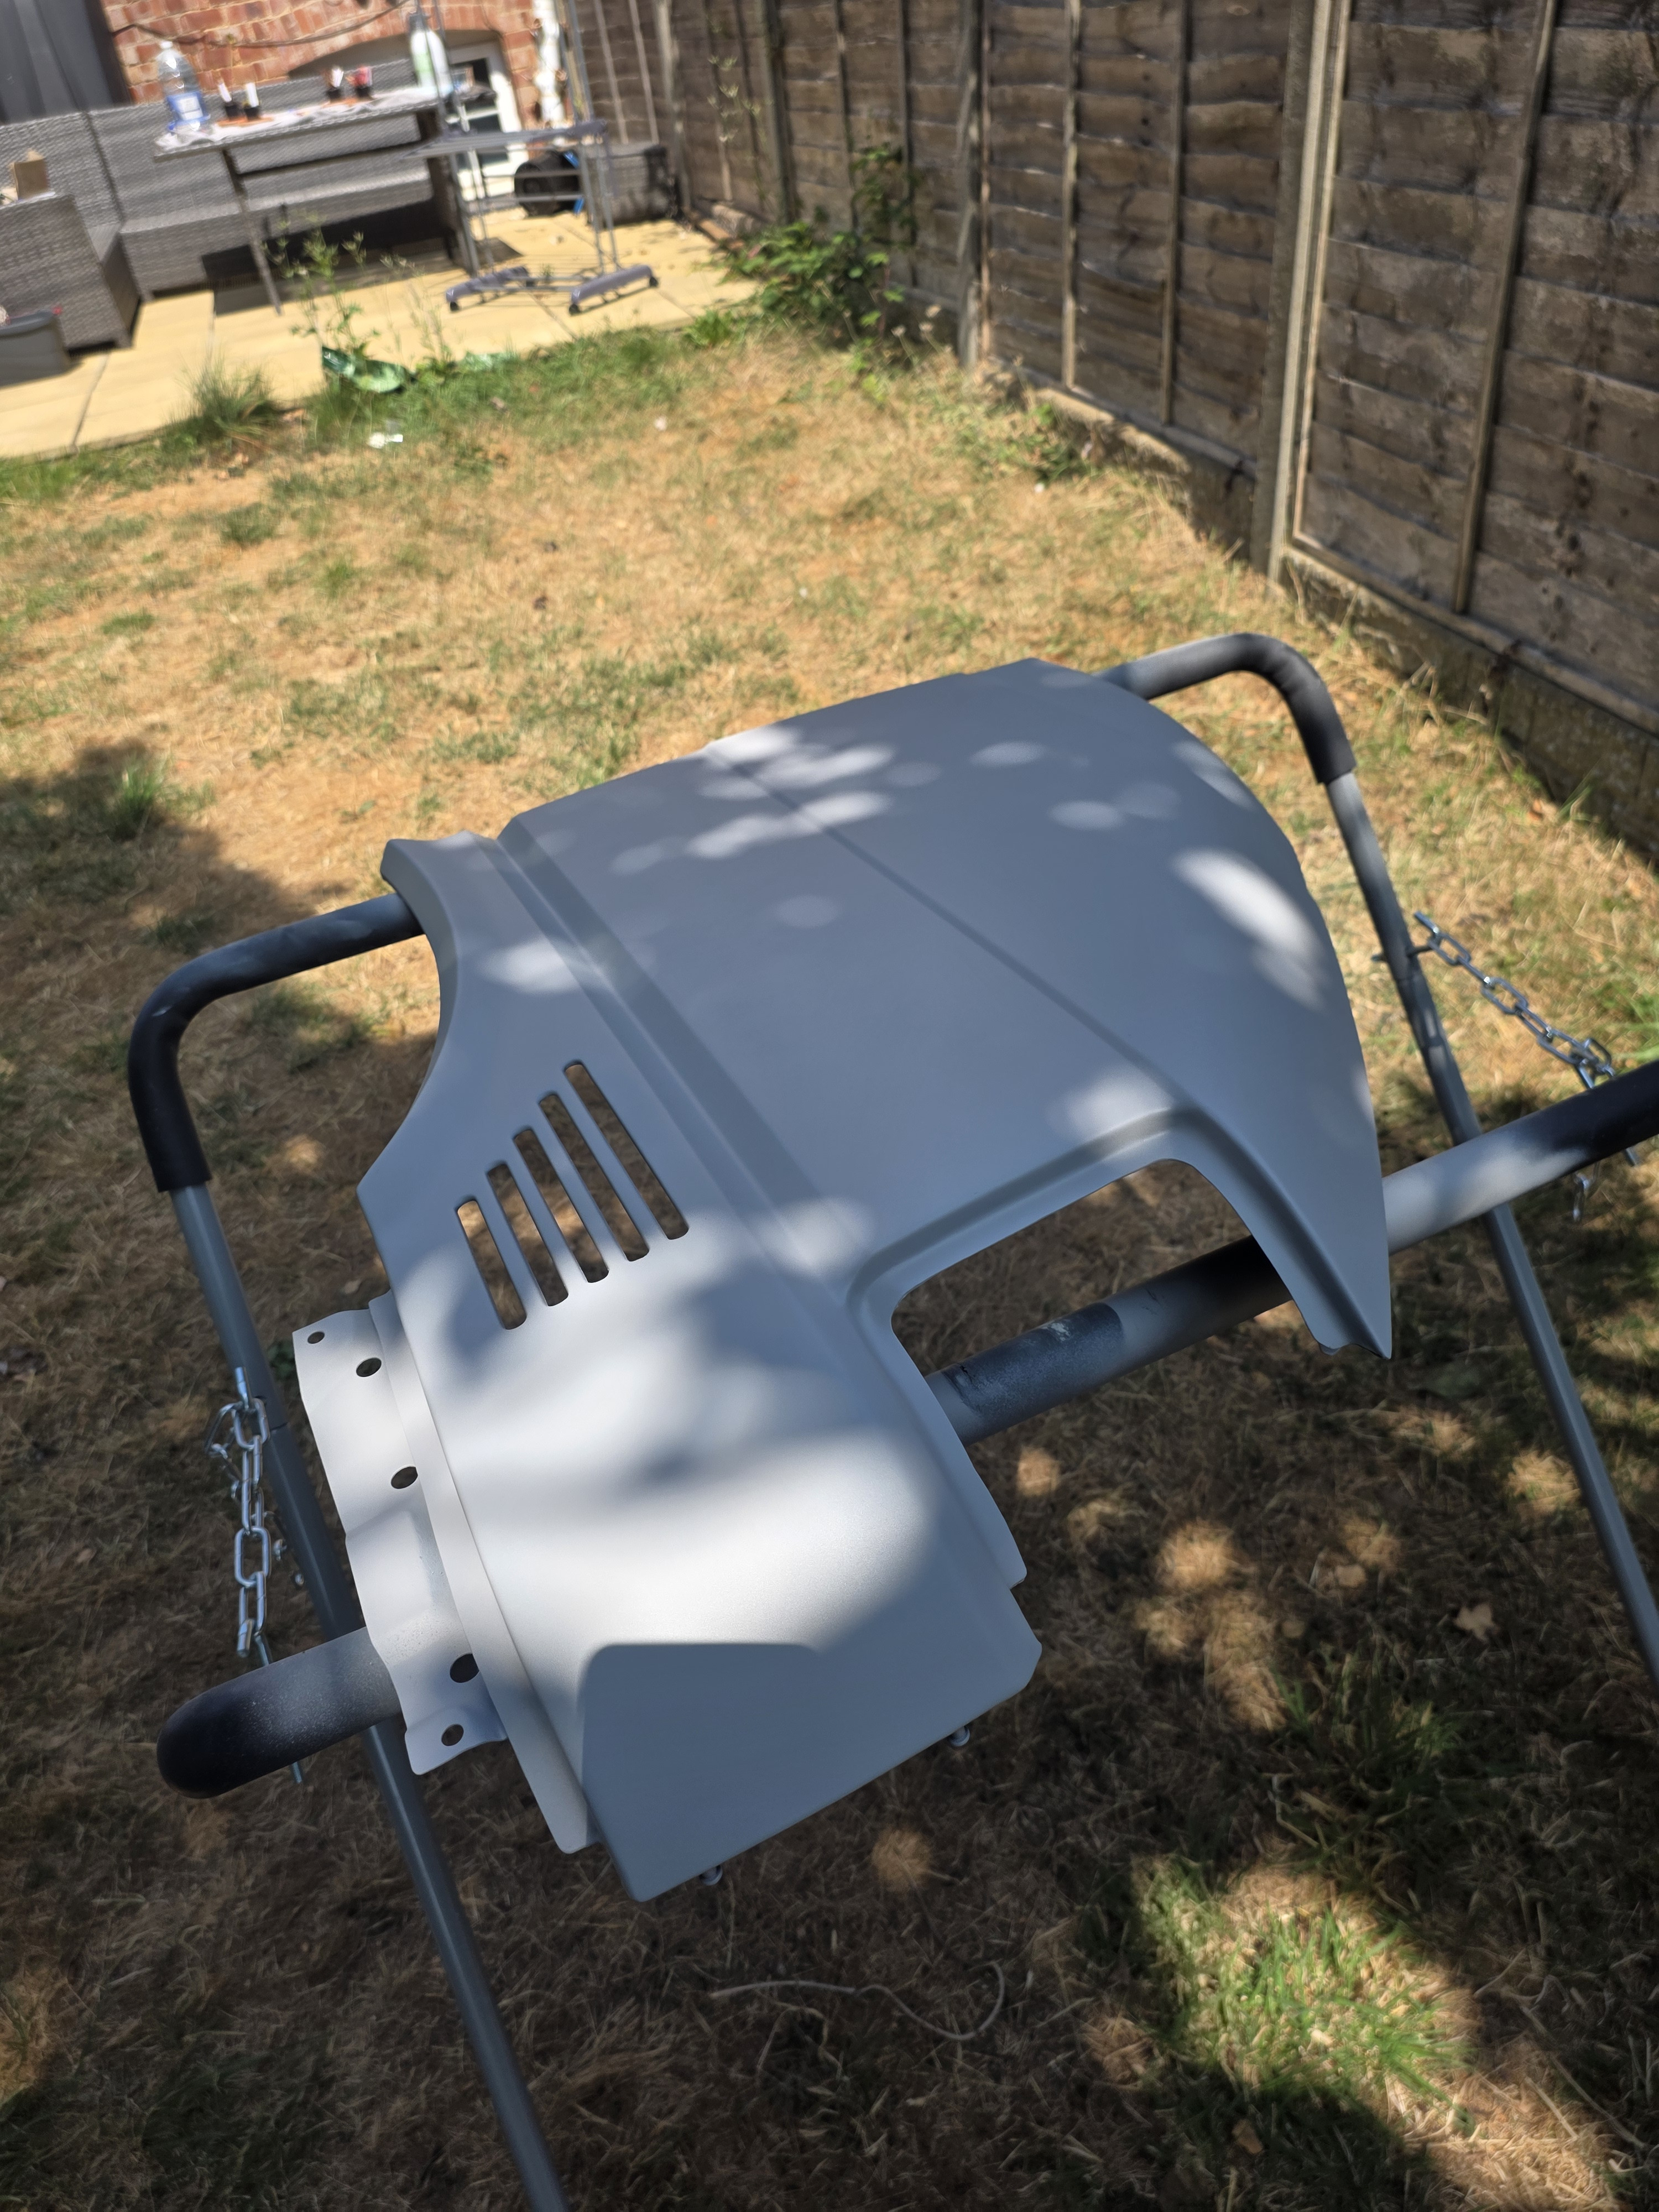 [/img]
[img] 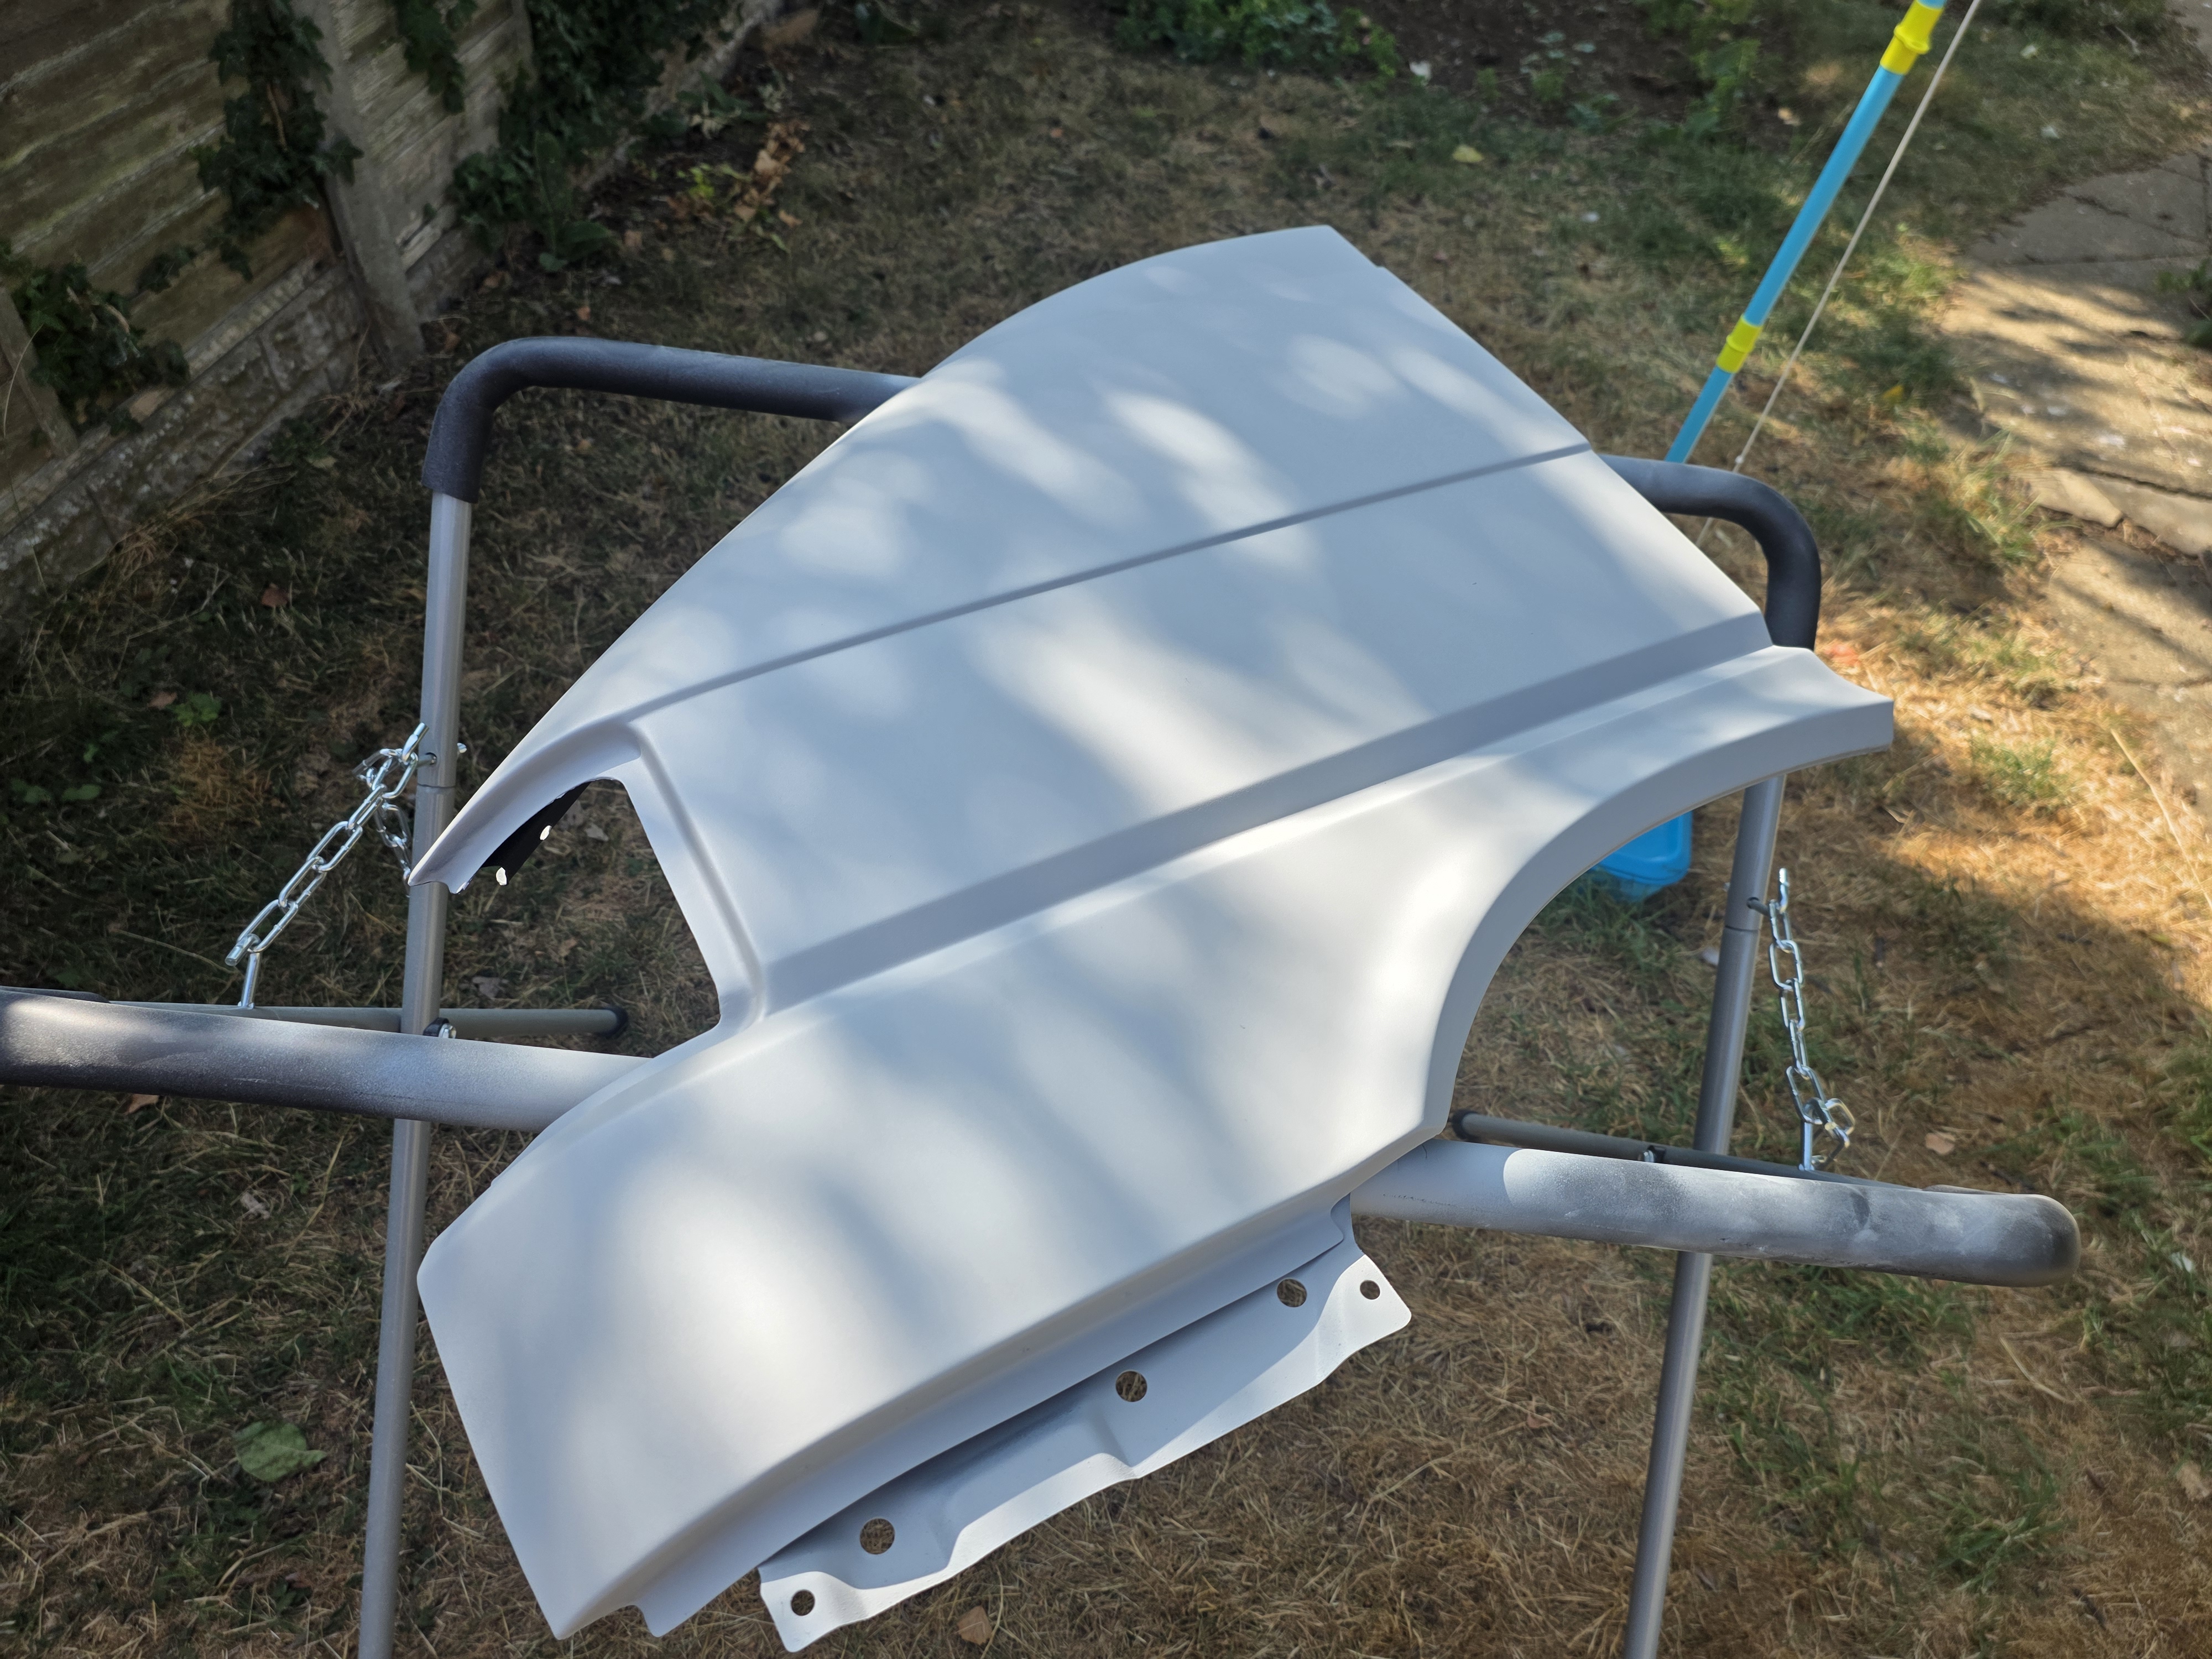 [/img]
[img] 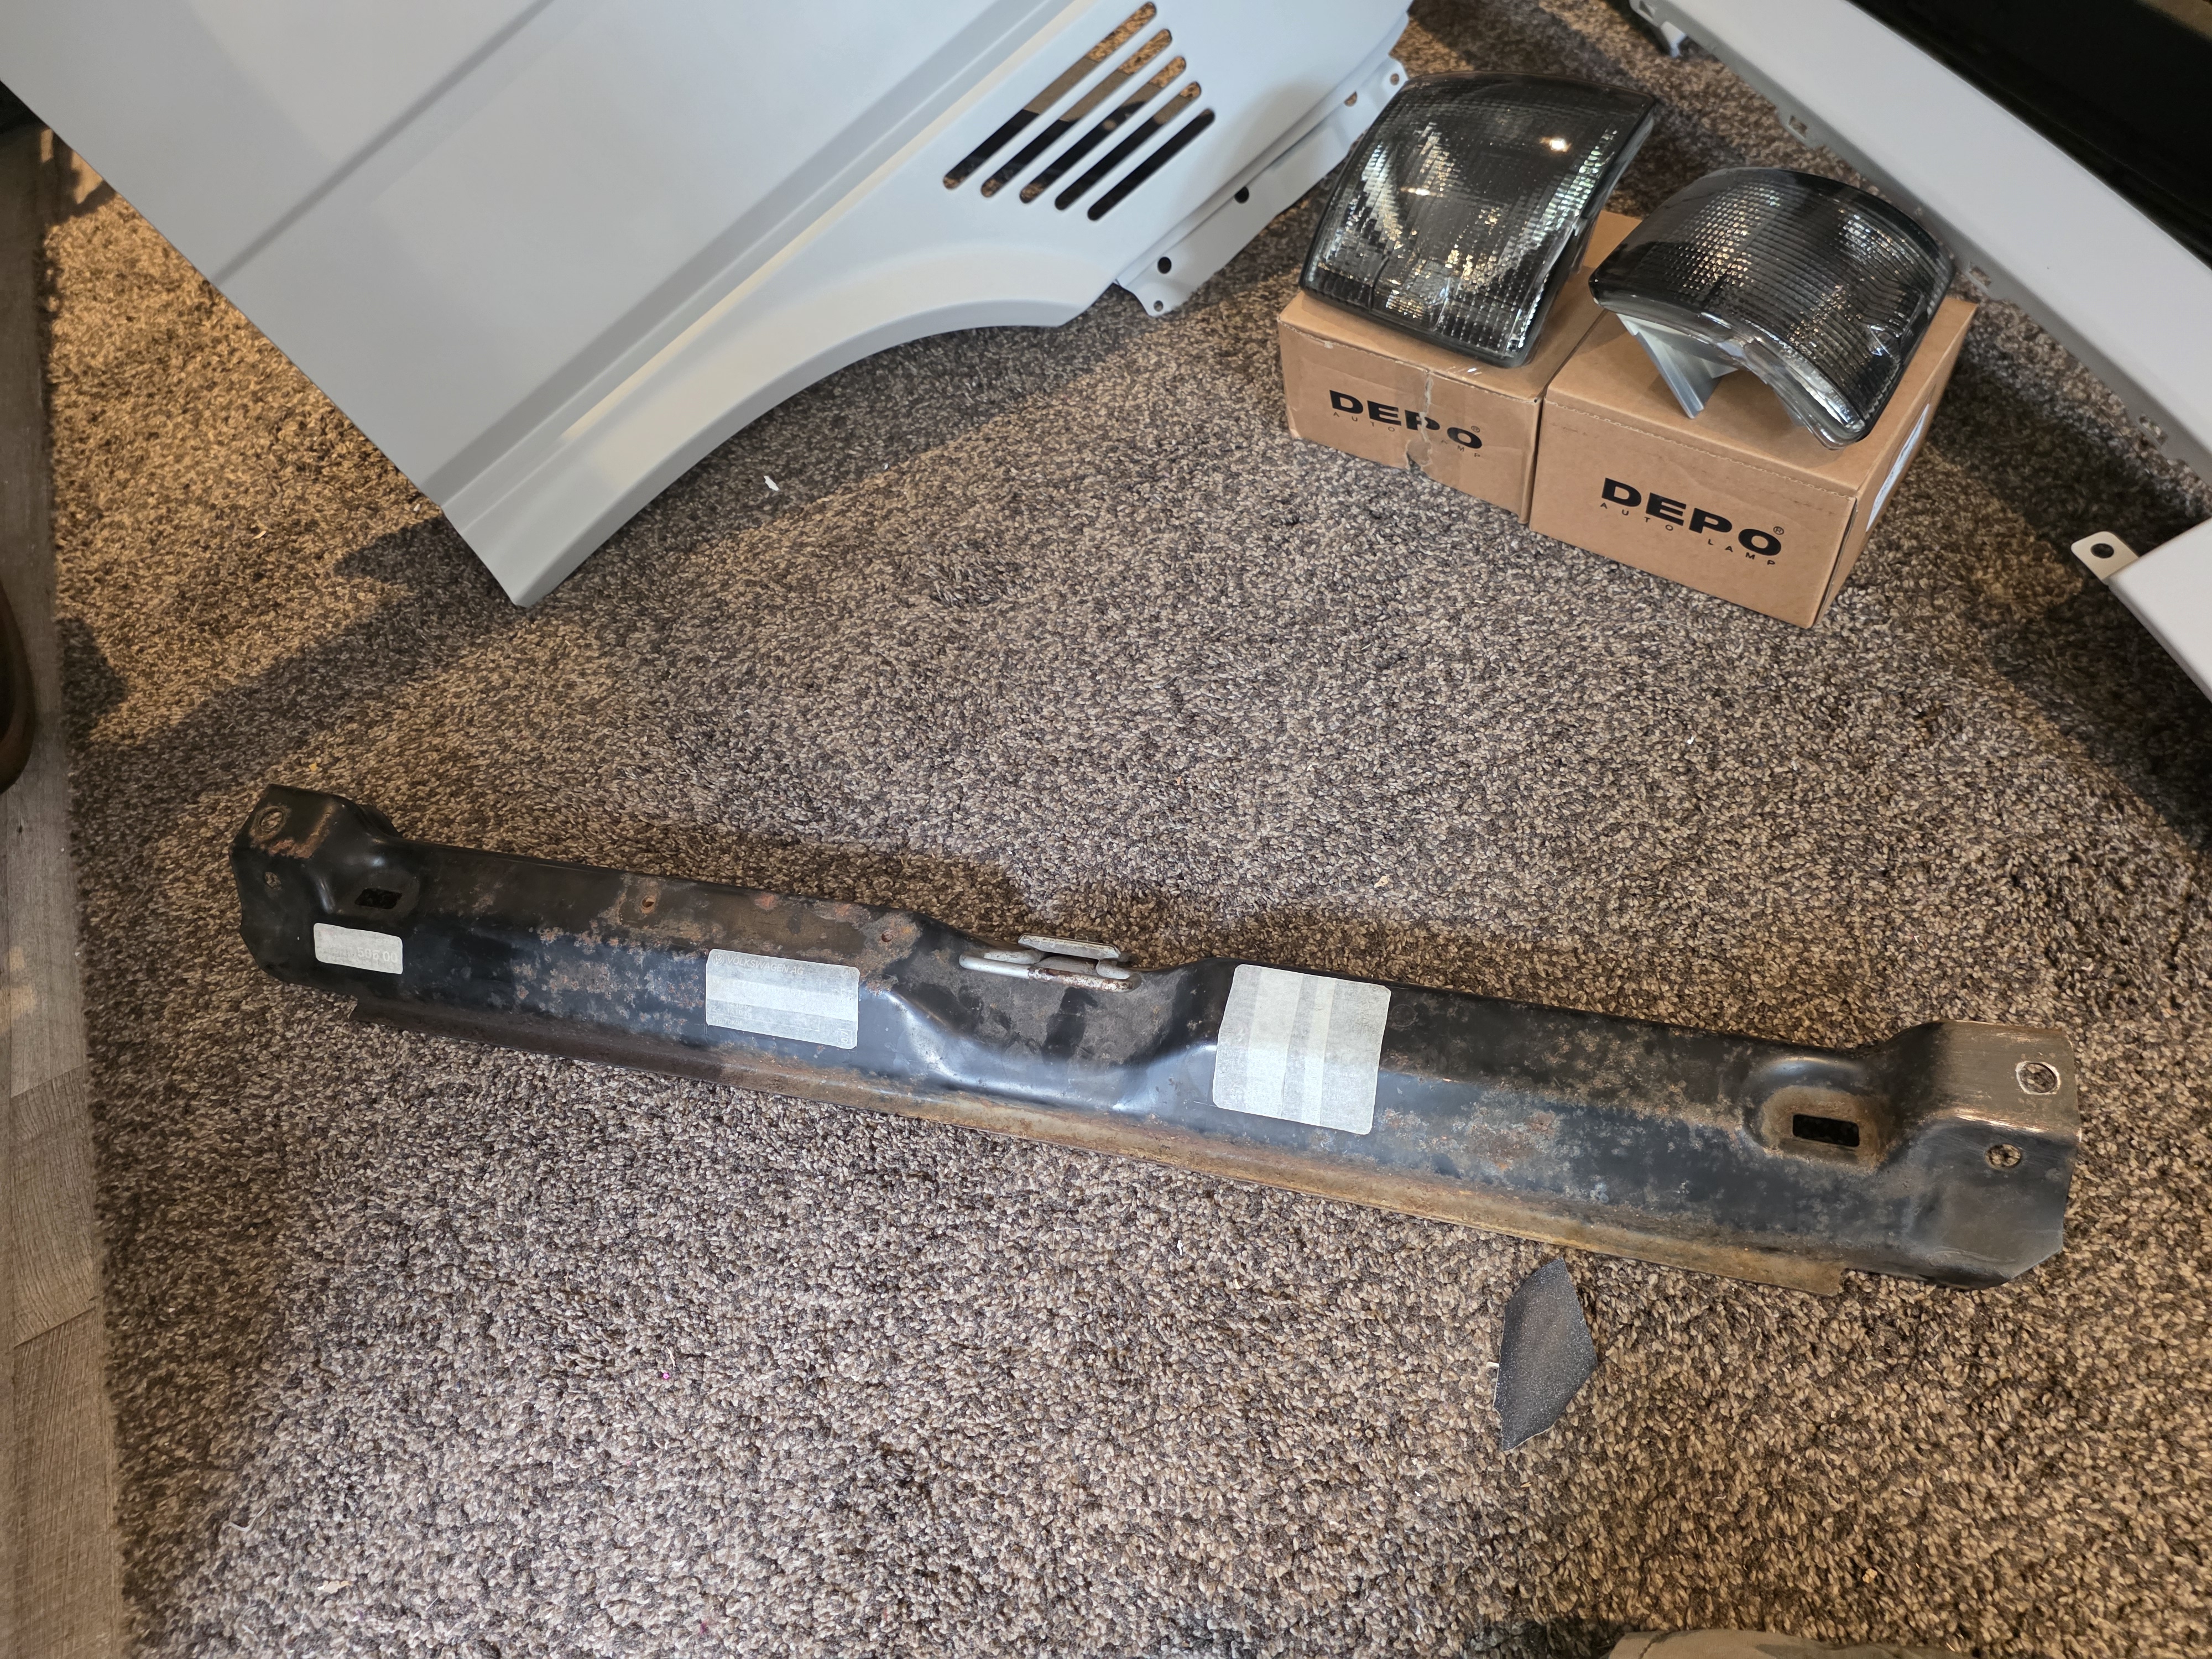 [/img]
[img] 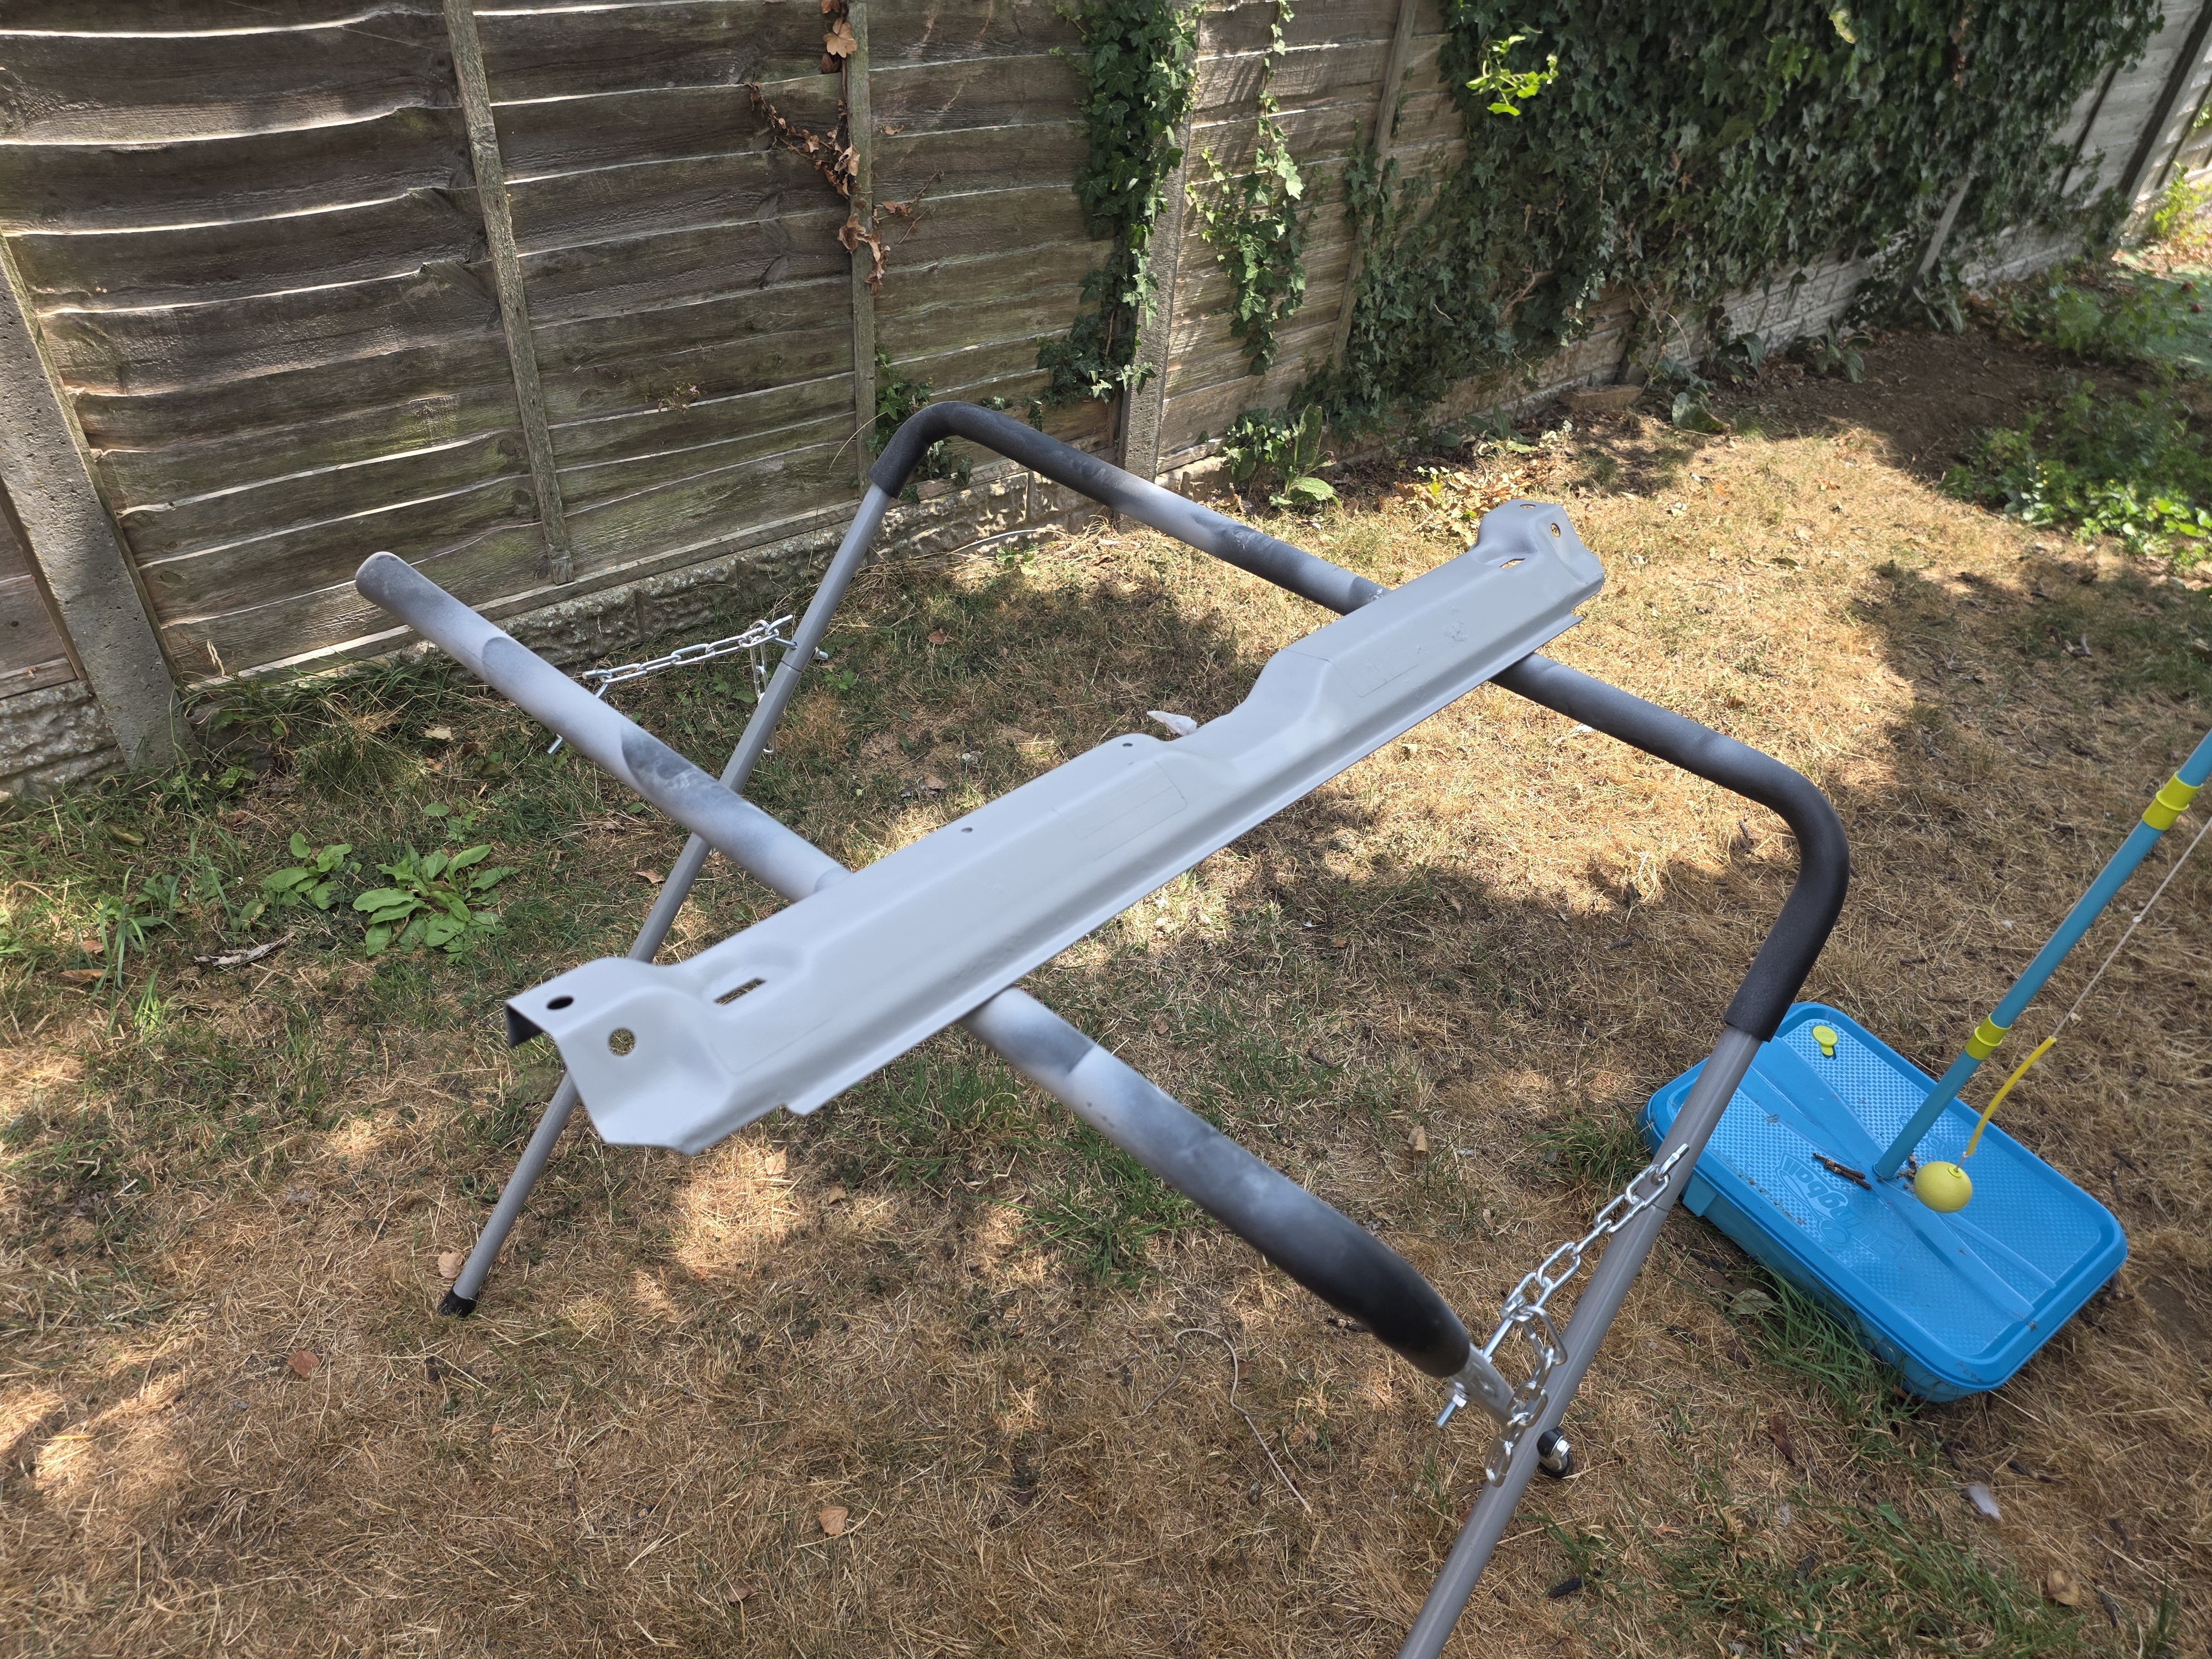 [/img]
[img] 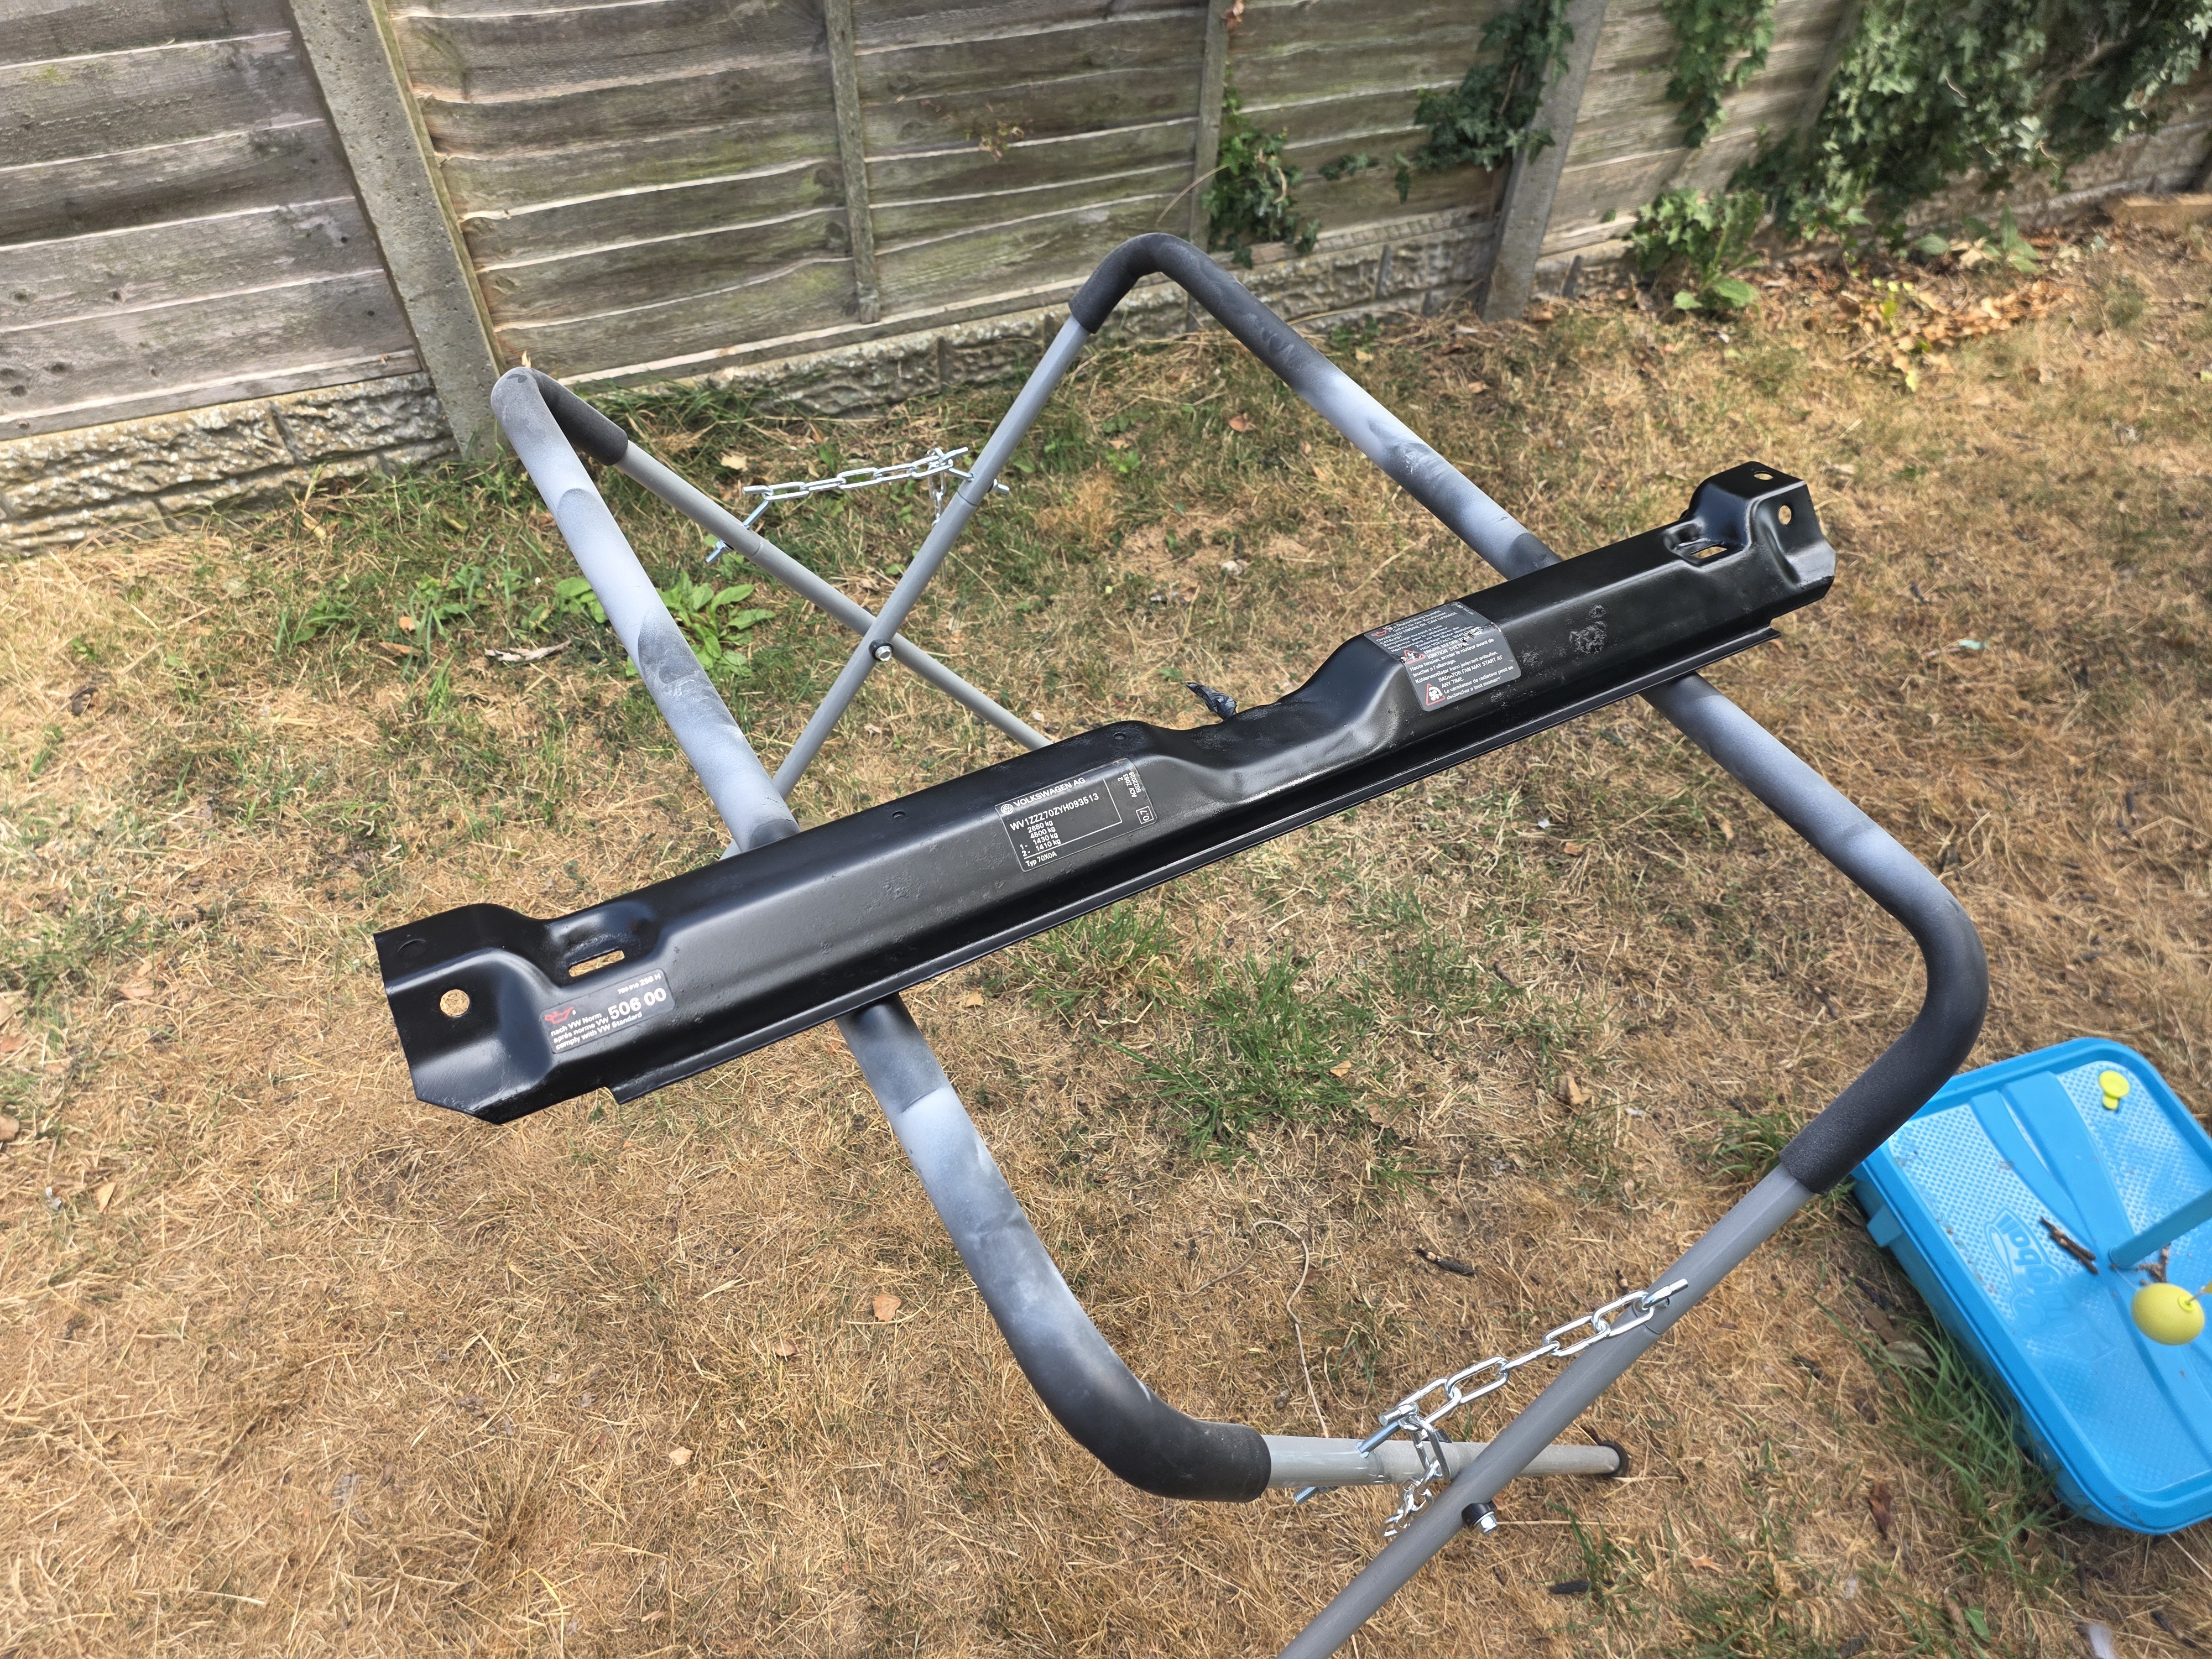 [/img]
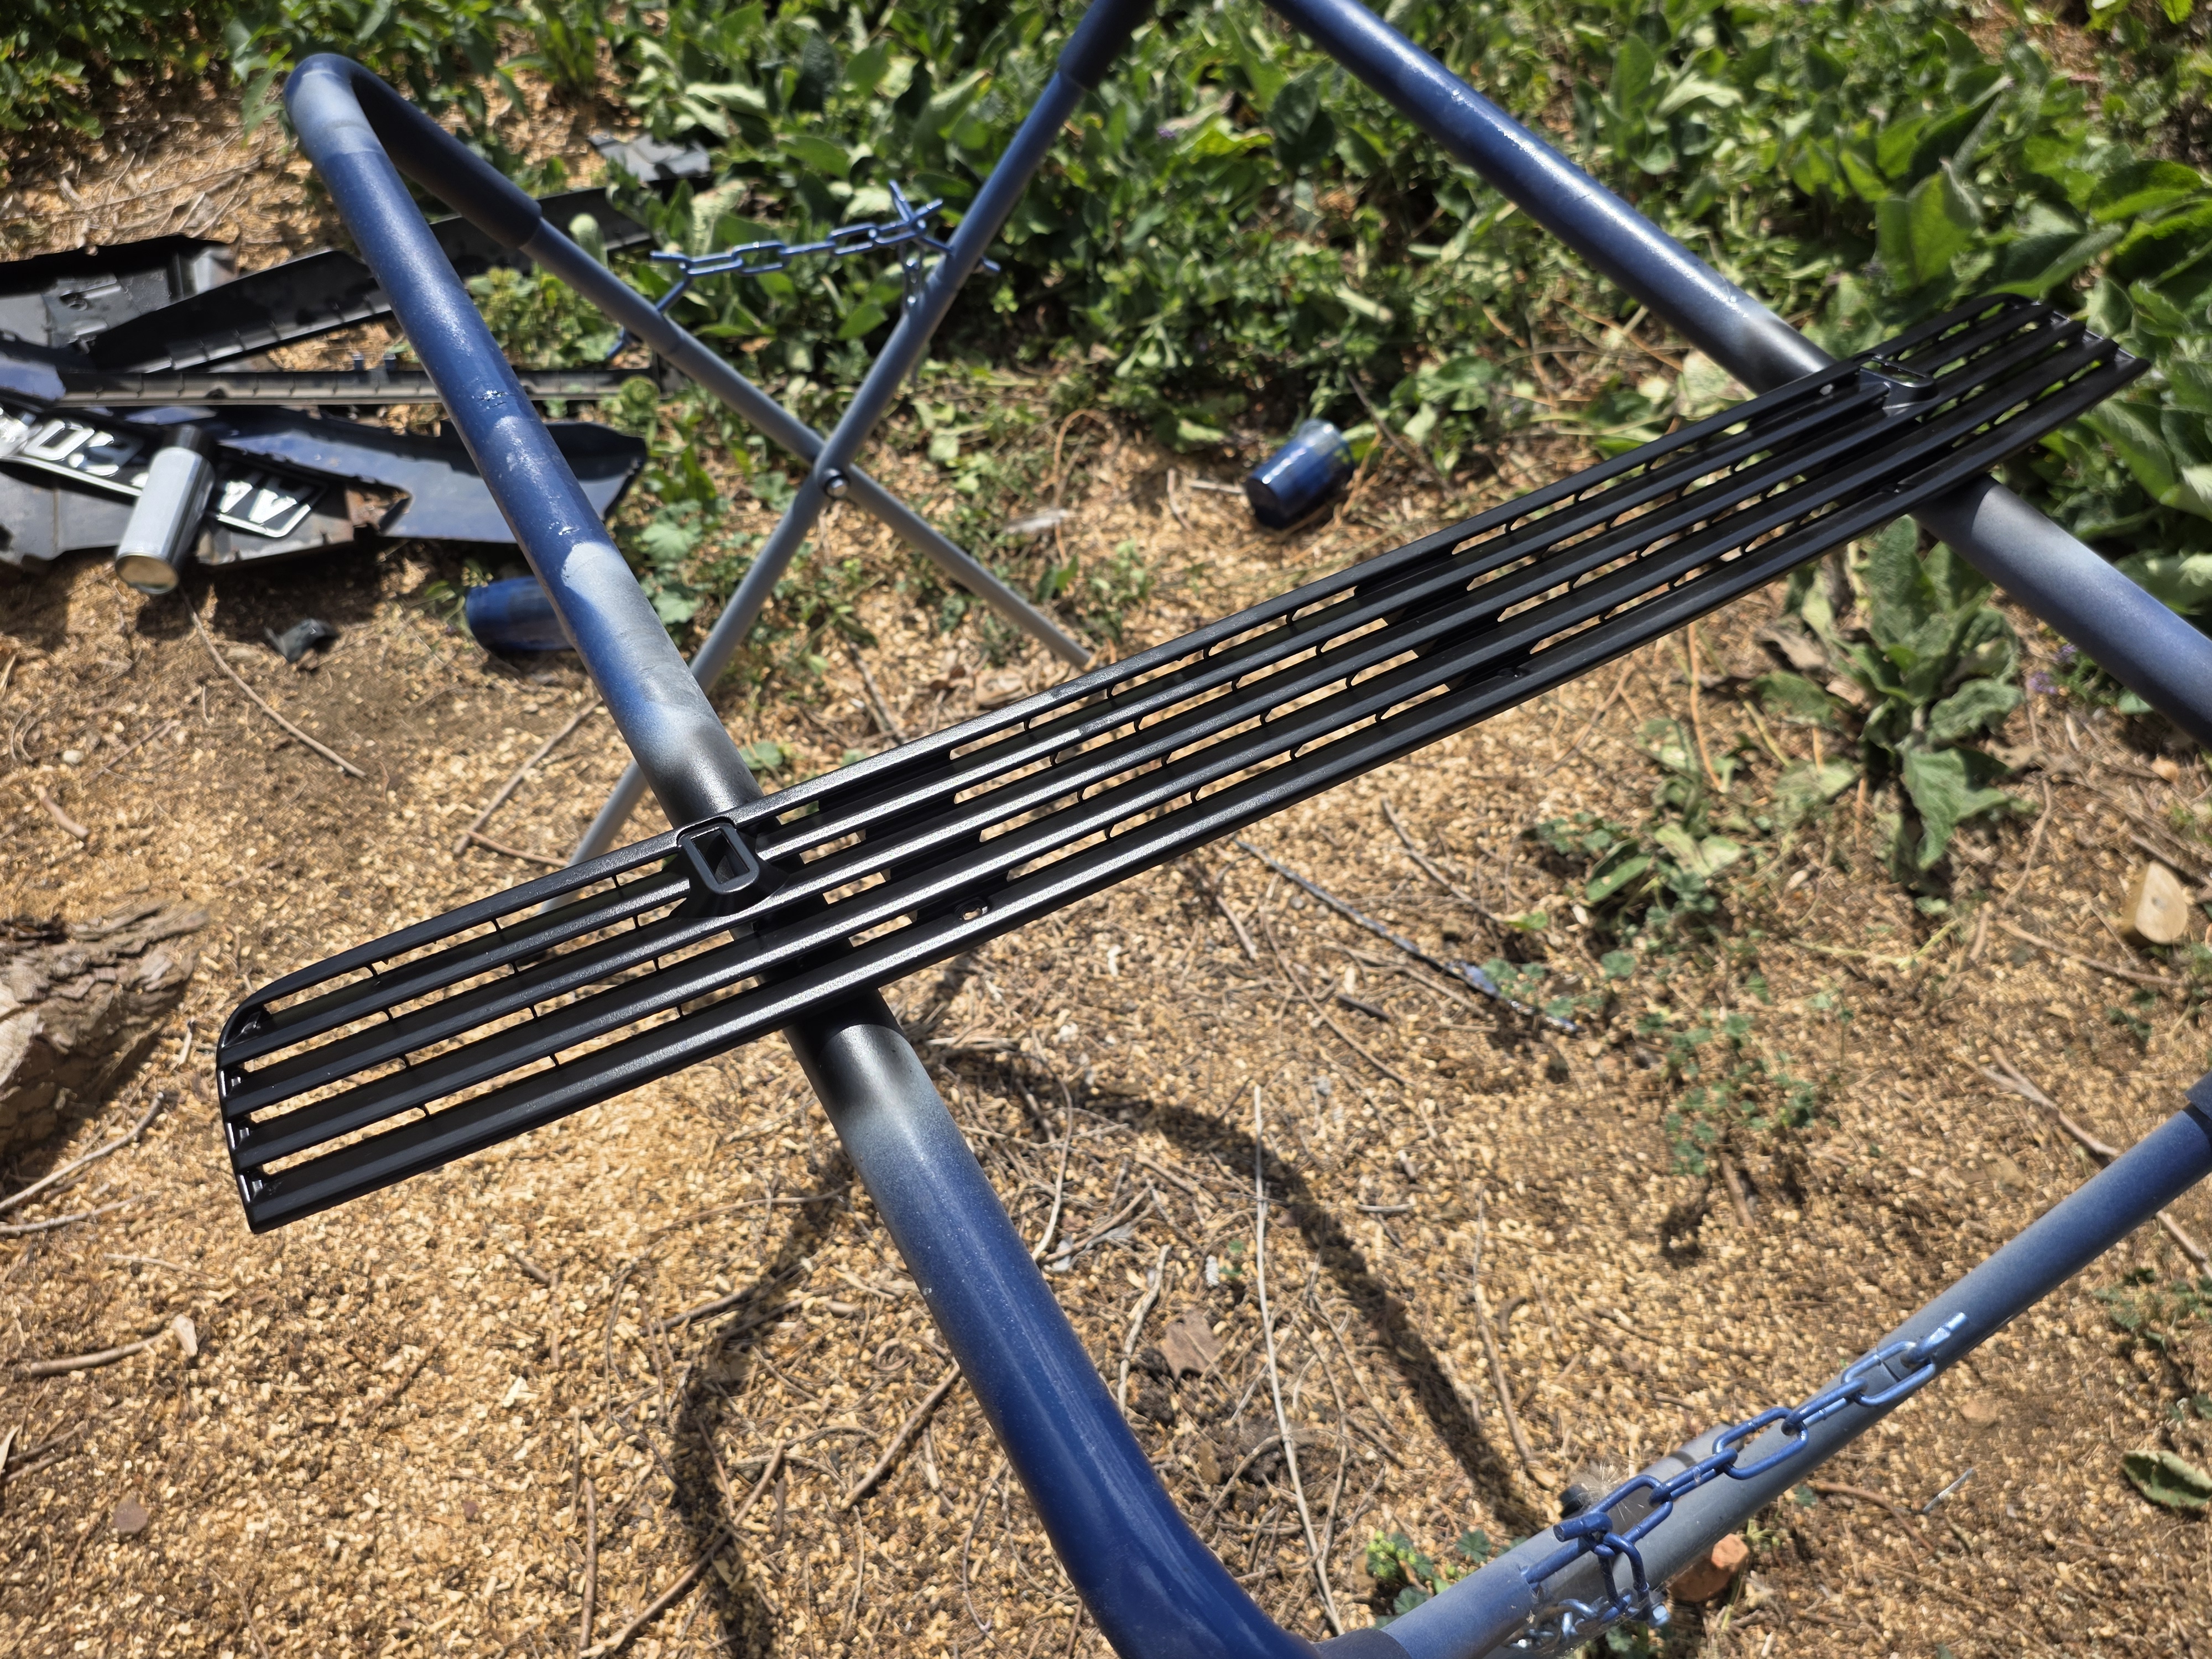
As part of the refresh, decided to take the grille and strip is back, prime it and give it a coat of satin black, just to freshen it all up. Found a quirky badge on the front as well, and I felt I just HAD to keep it
[img] 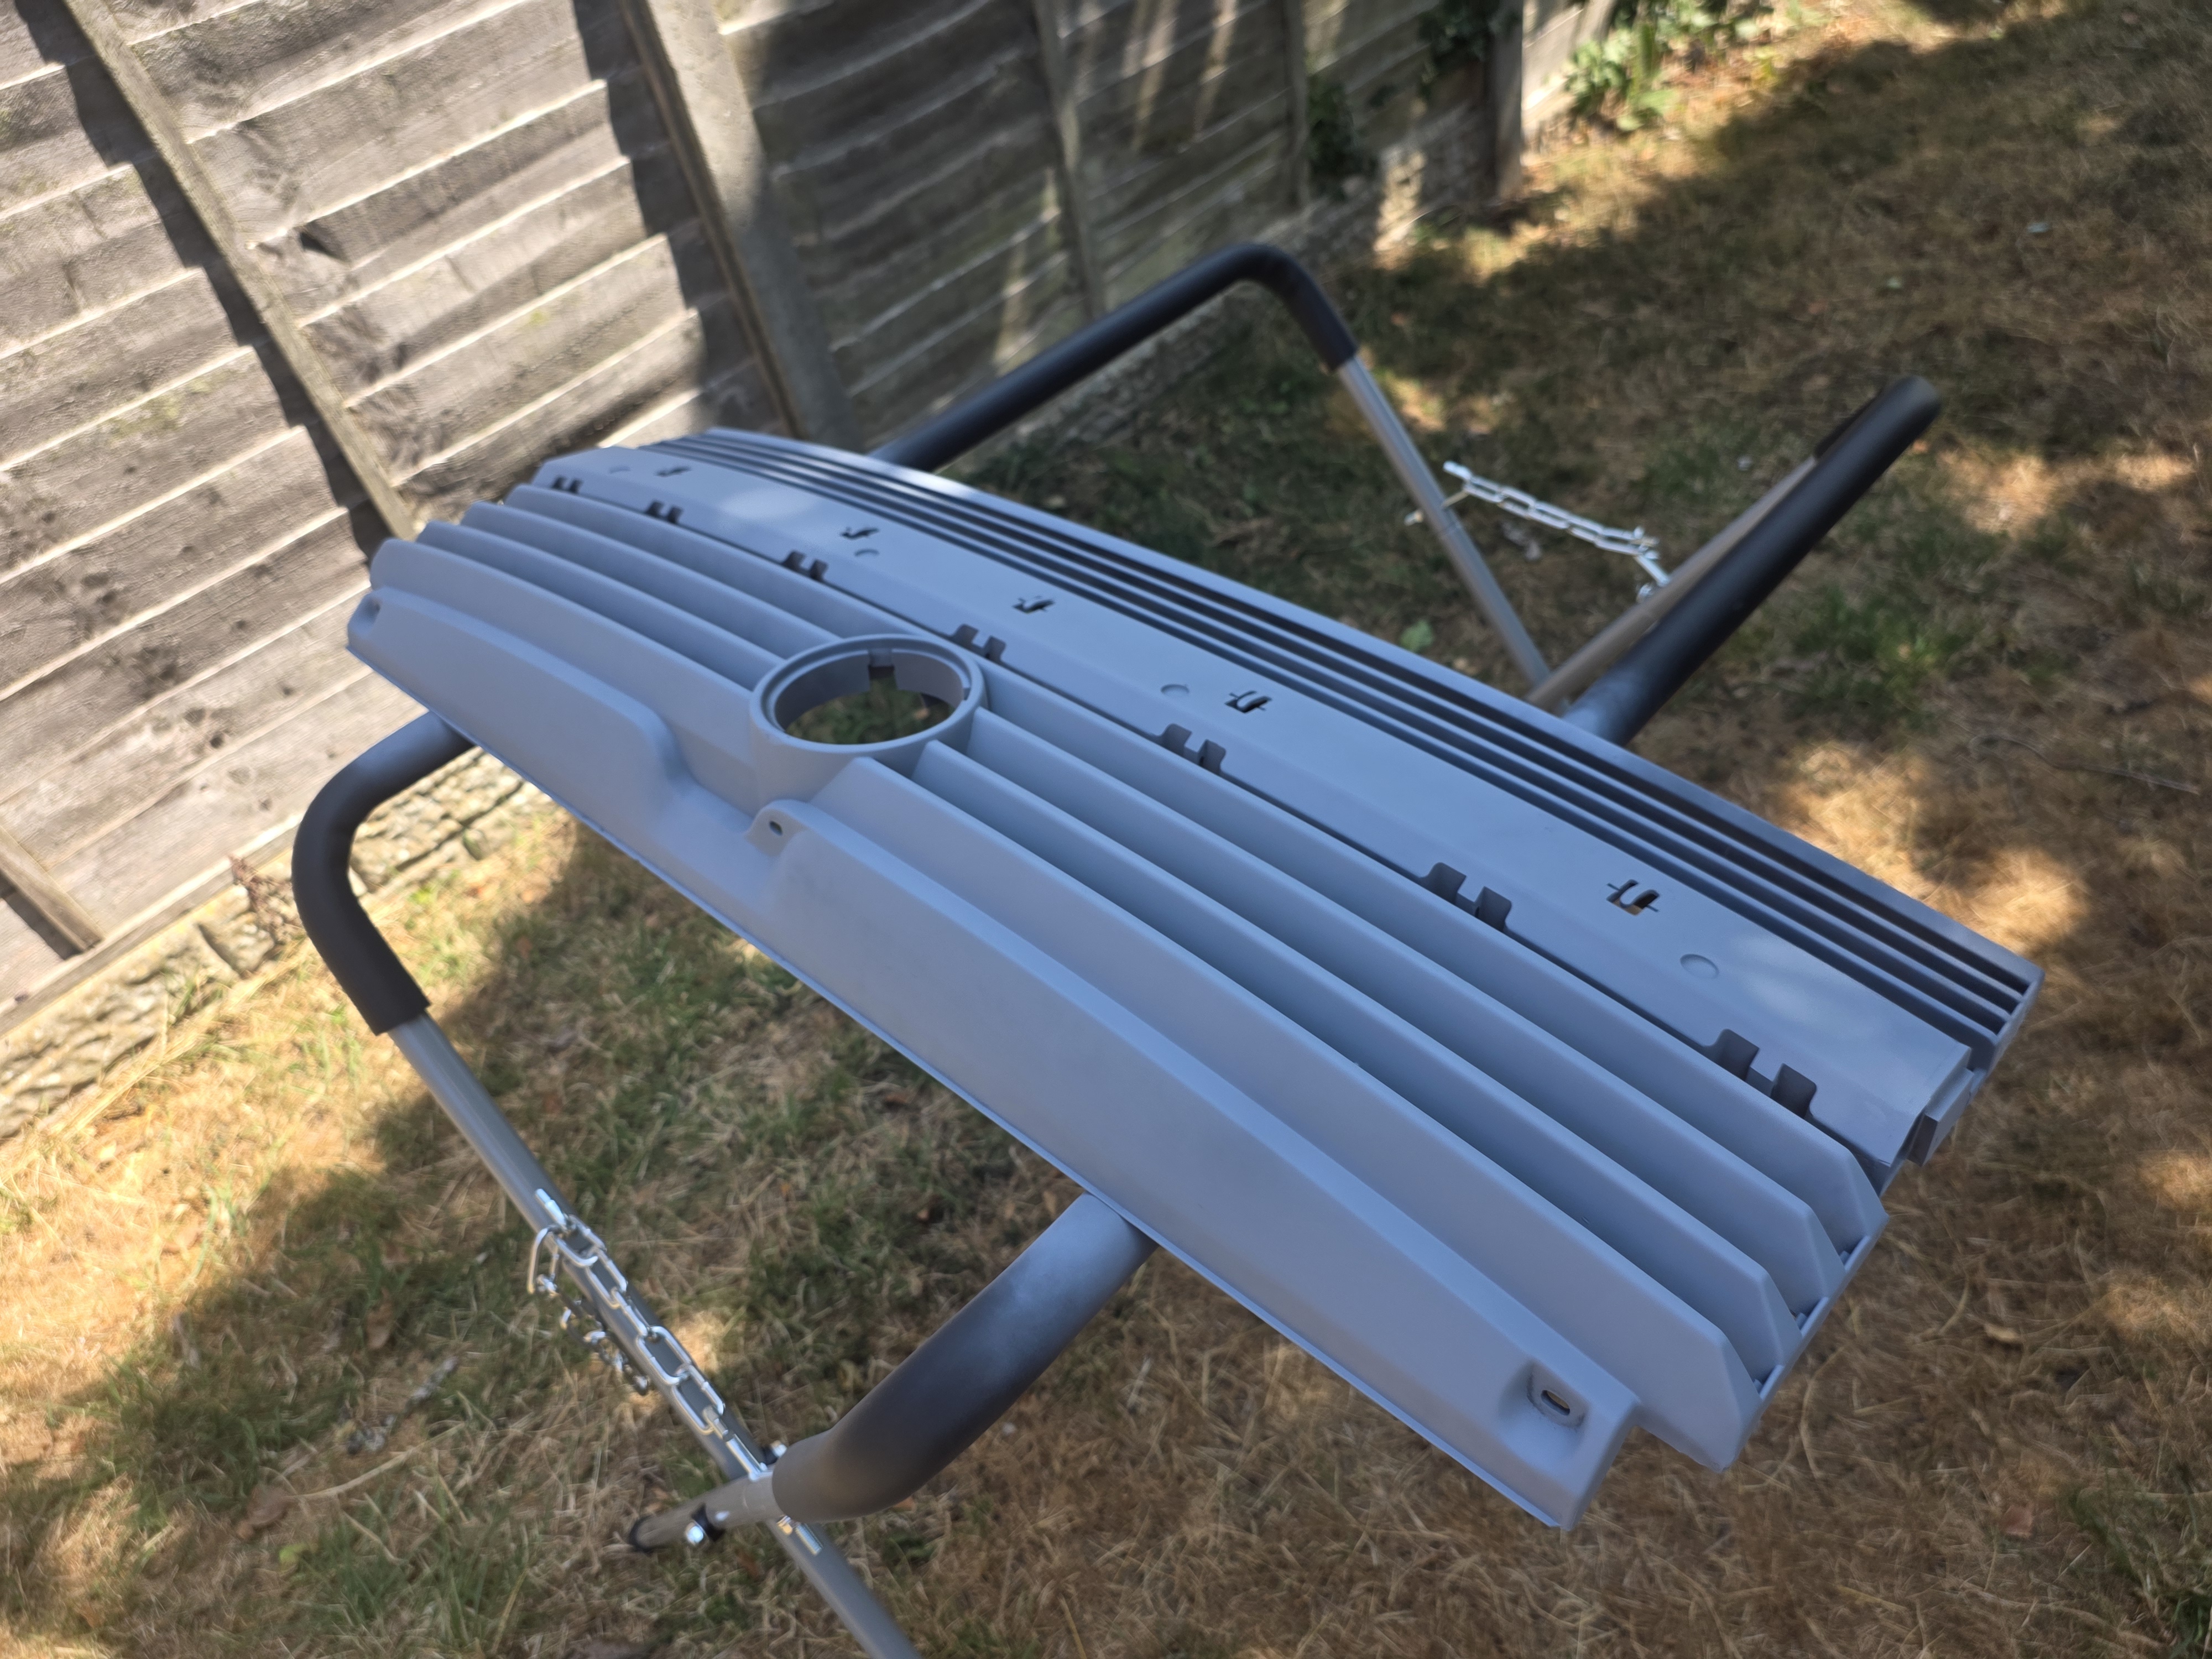 [/img]
[img] 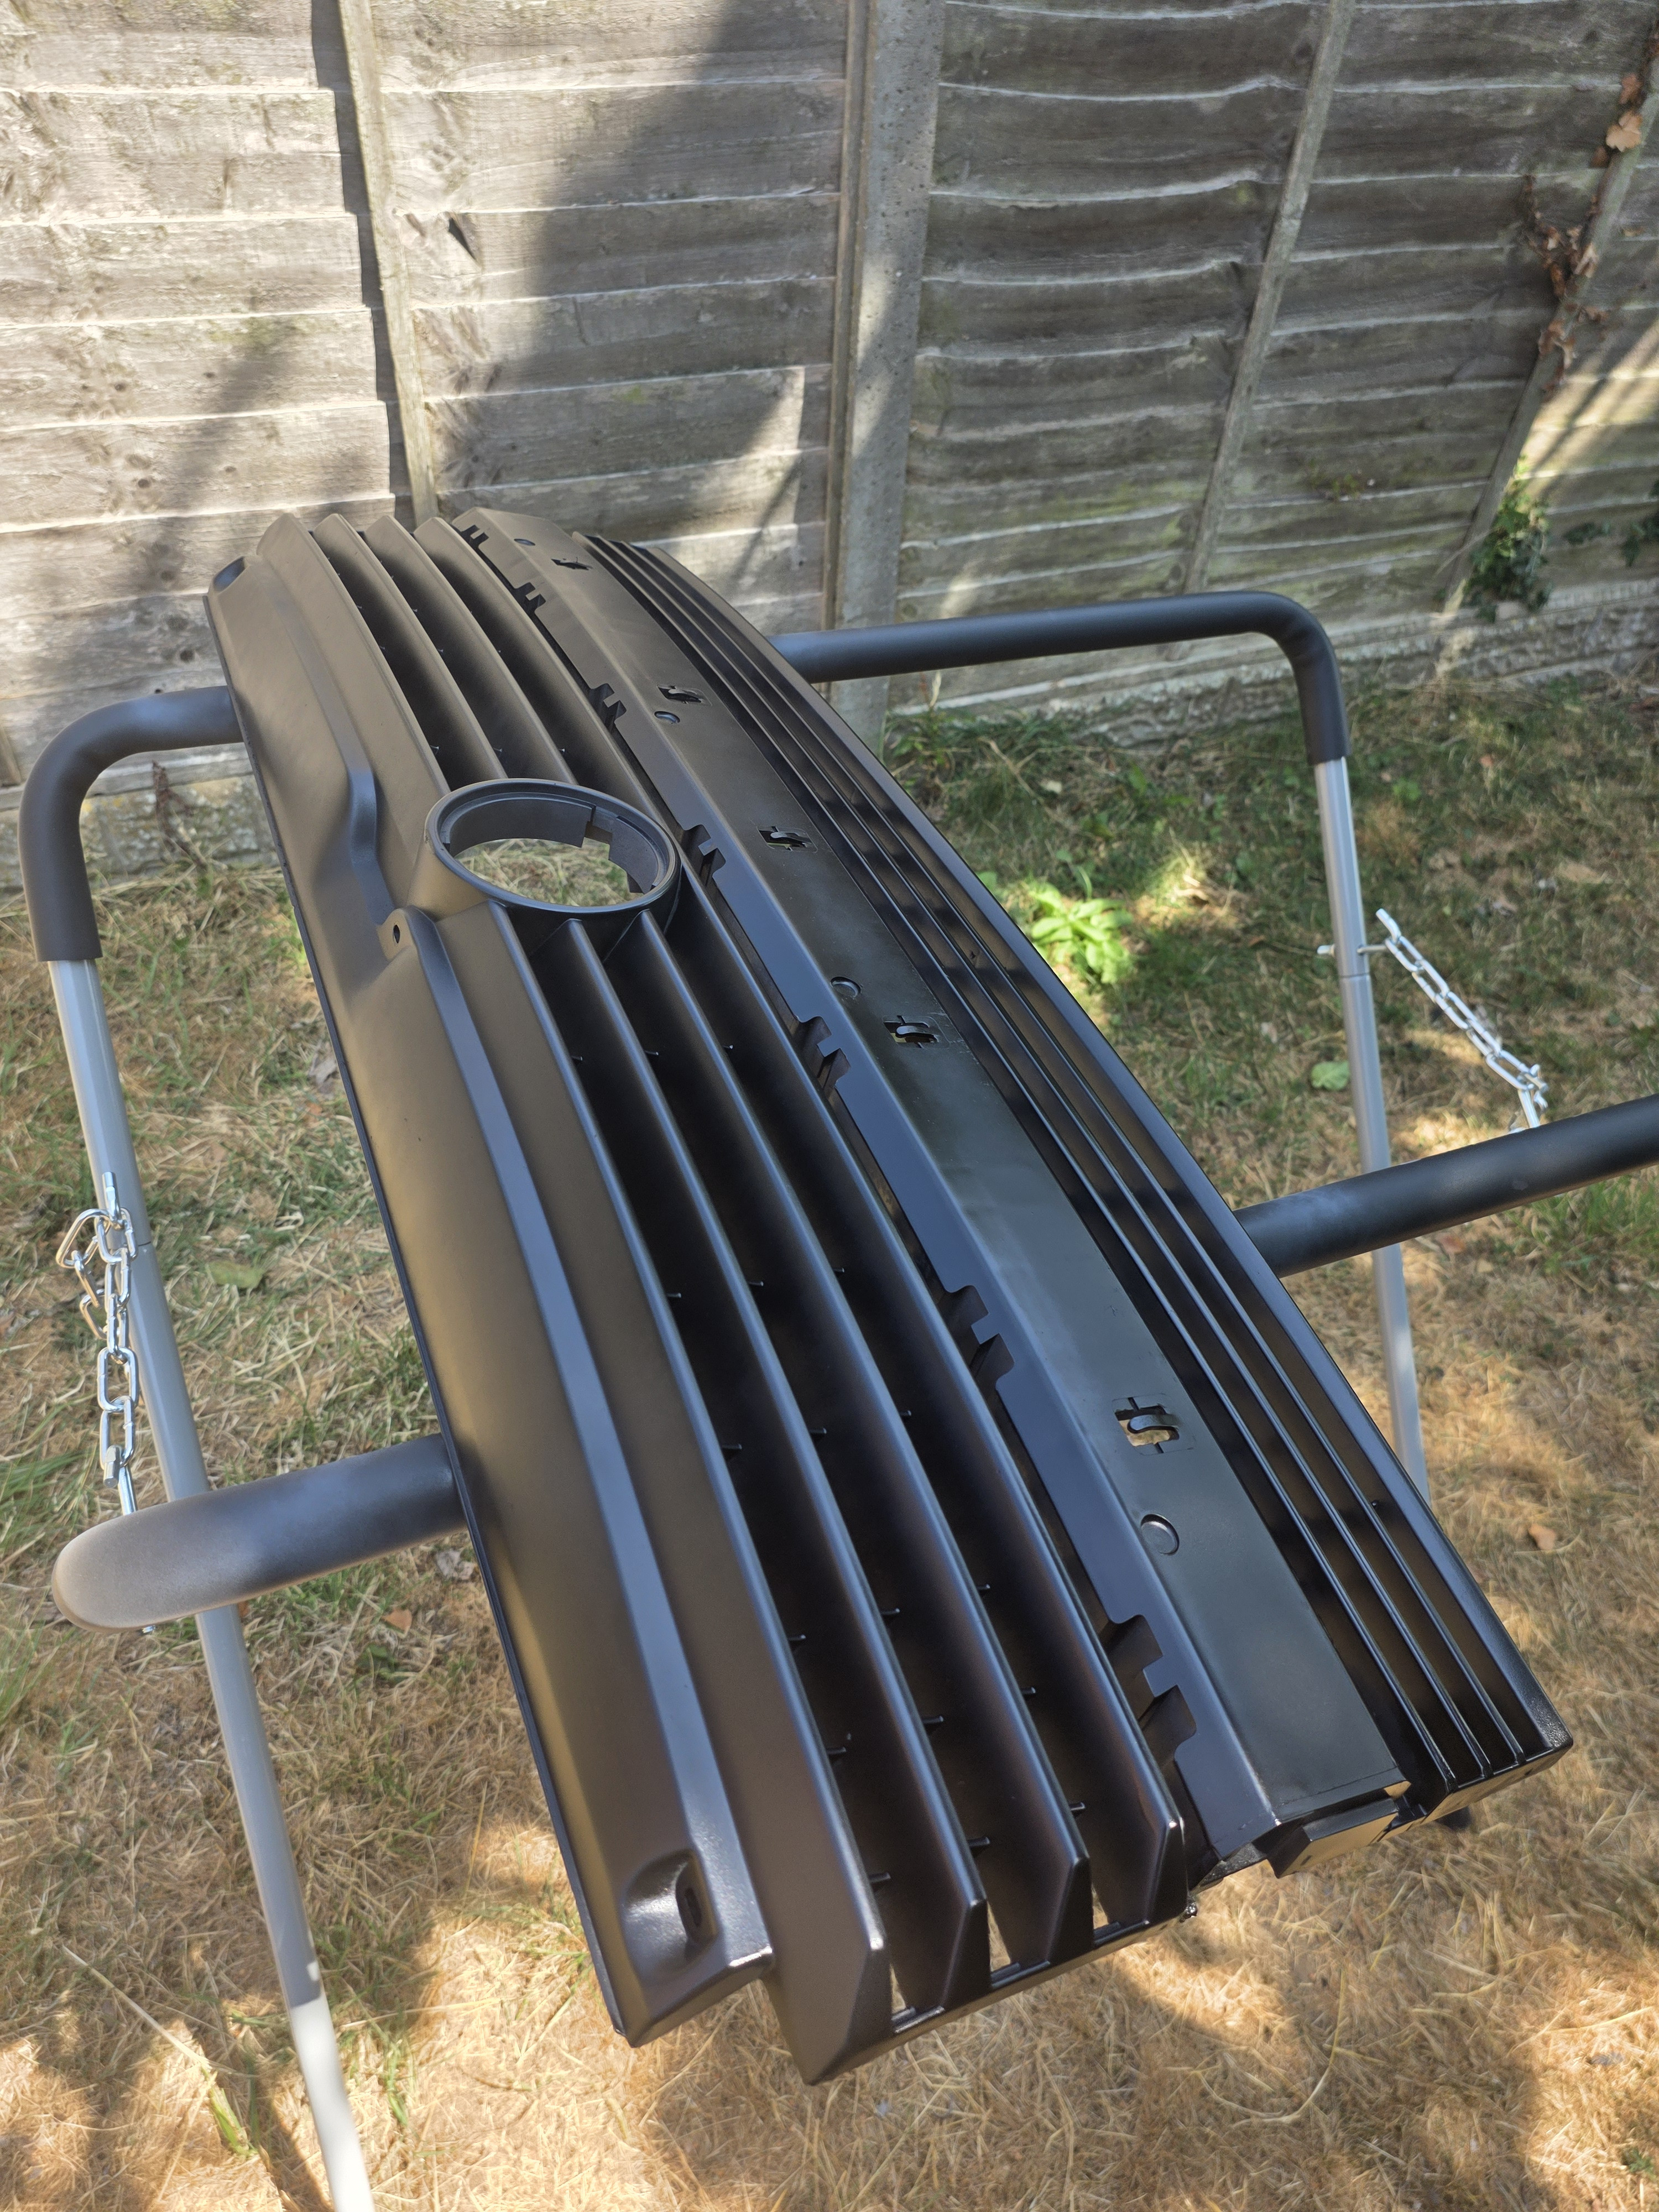 [/img]
[img] 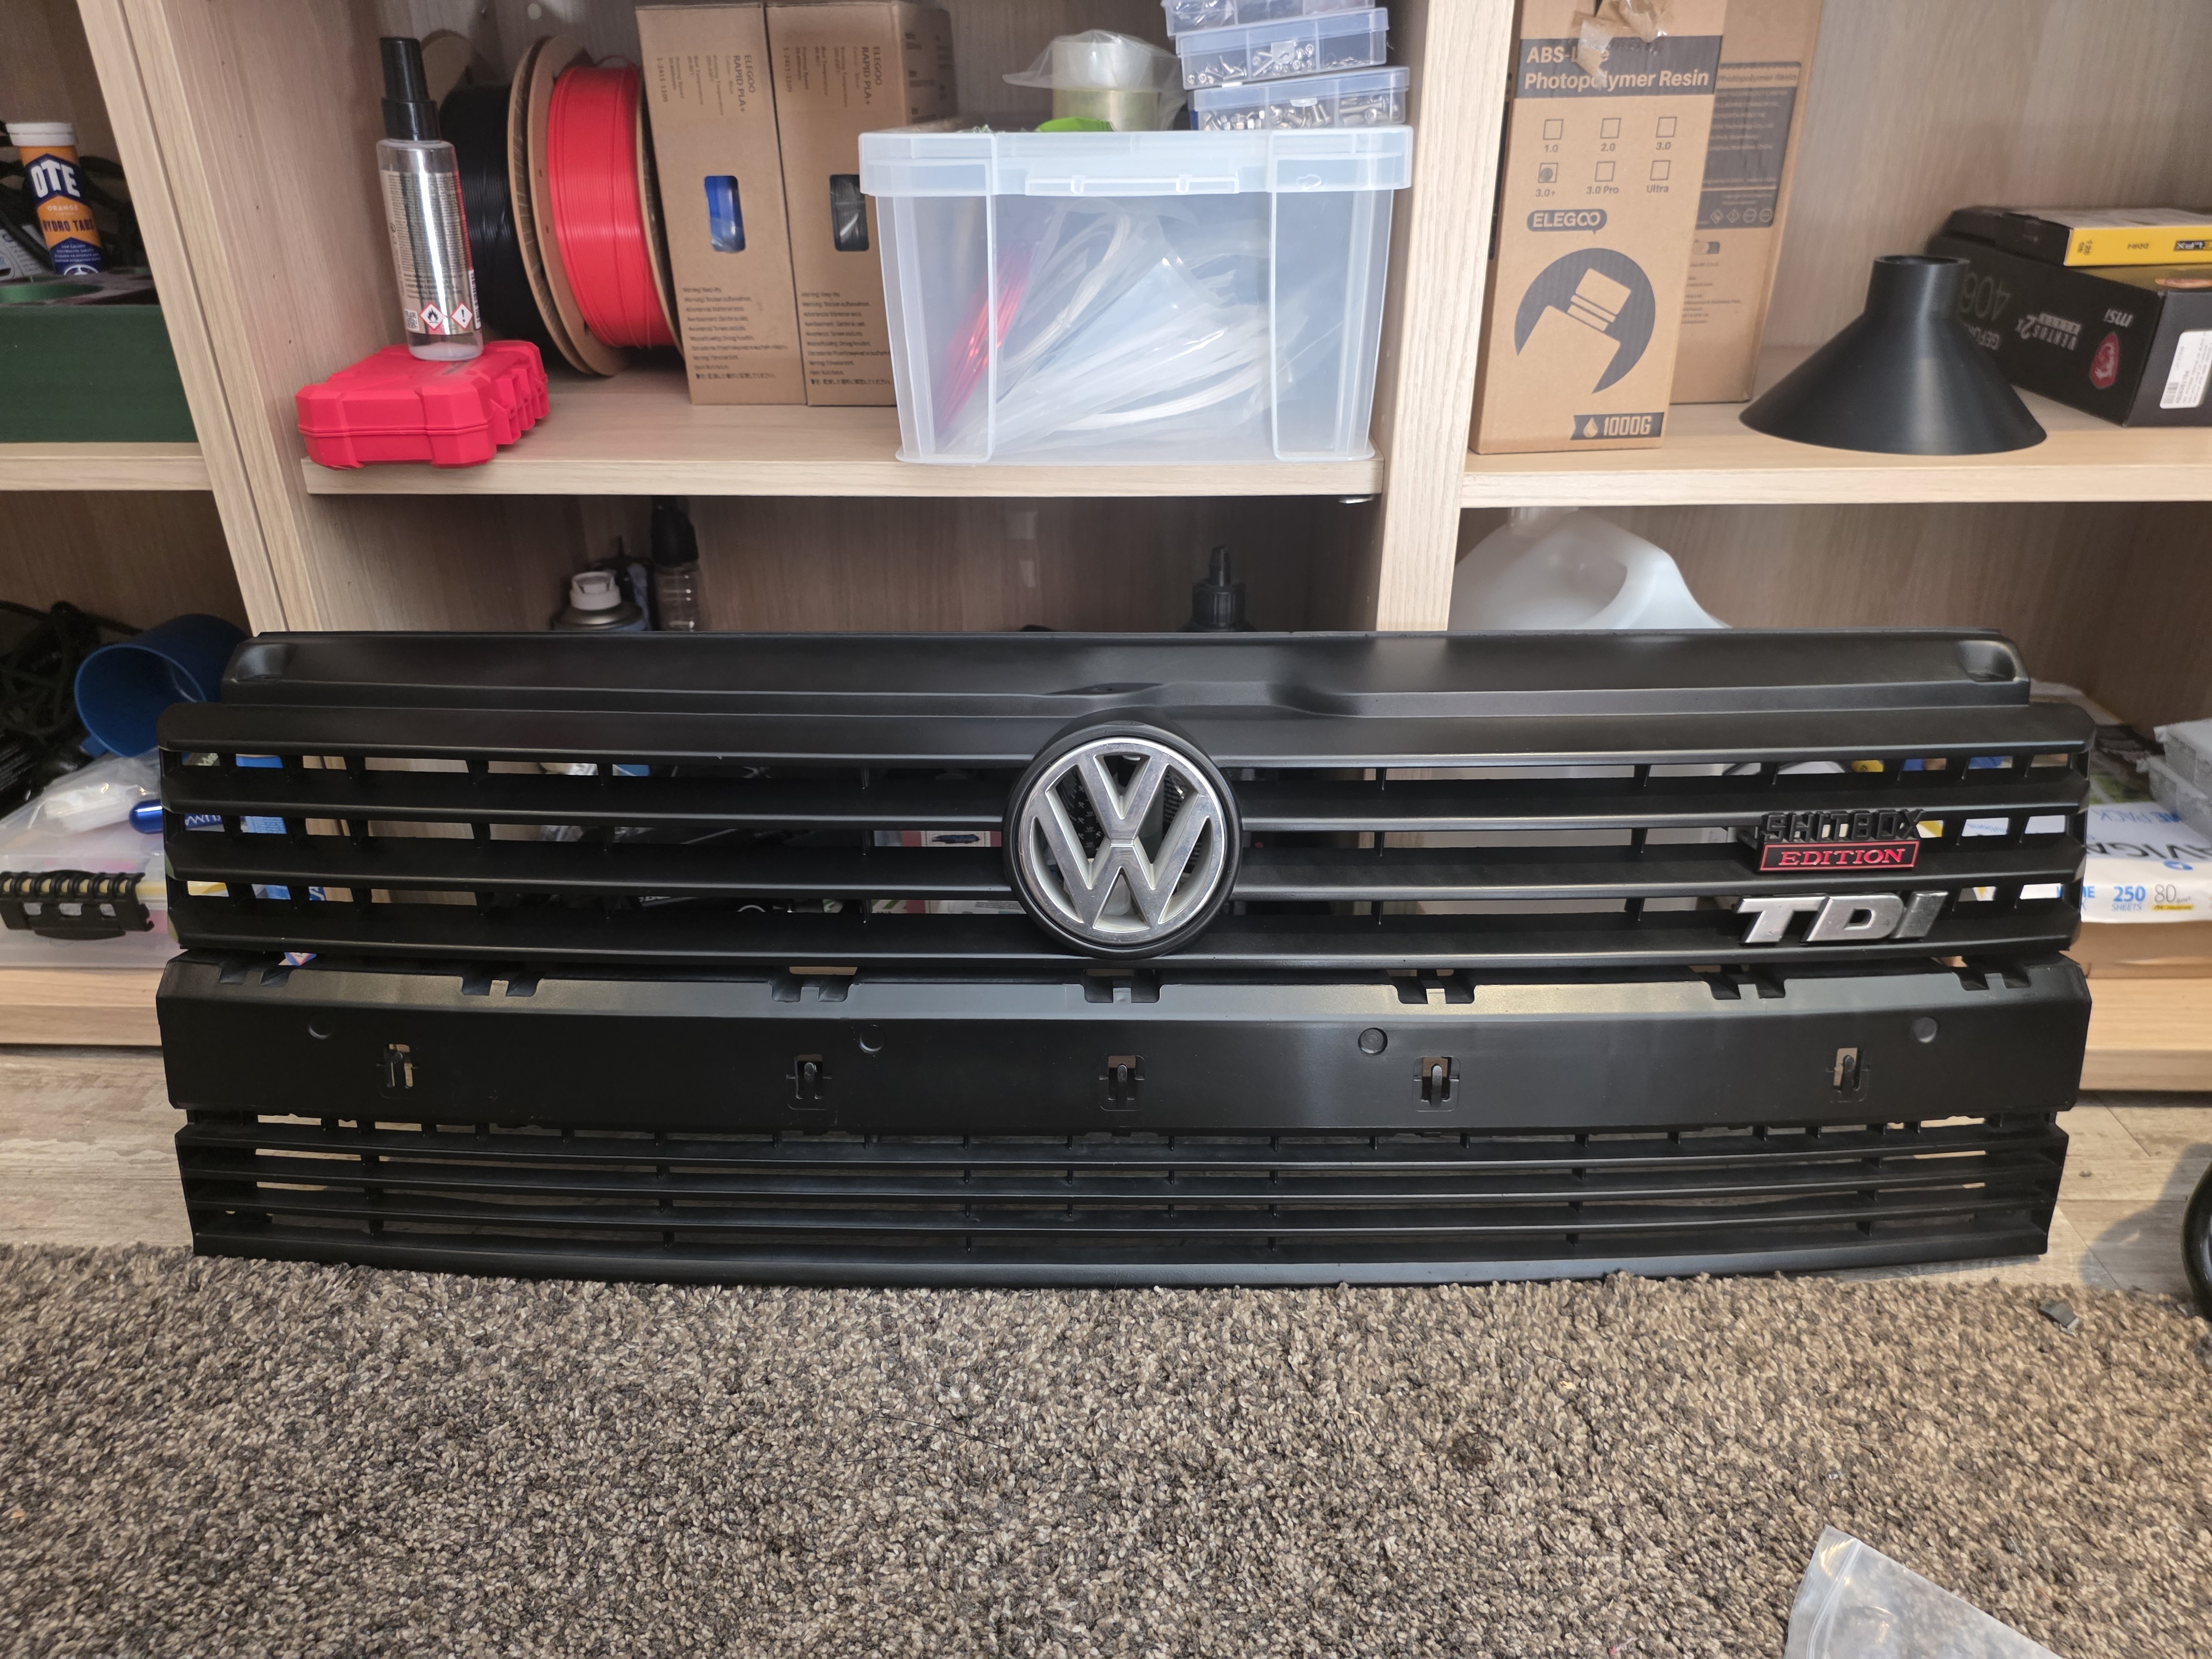 [/img]
[img] 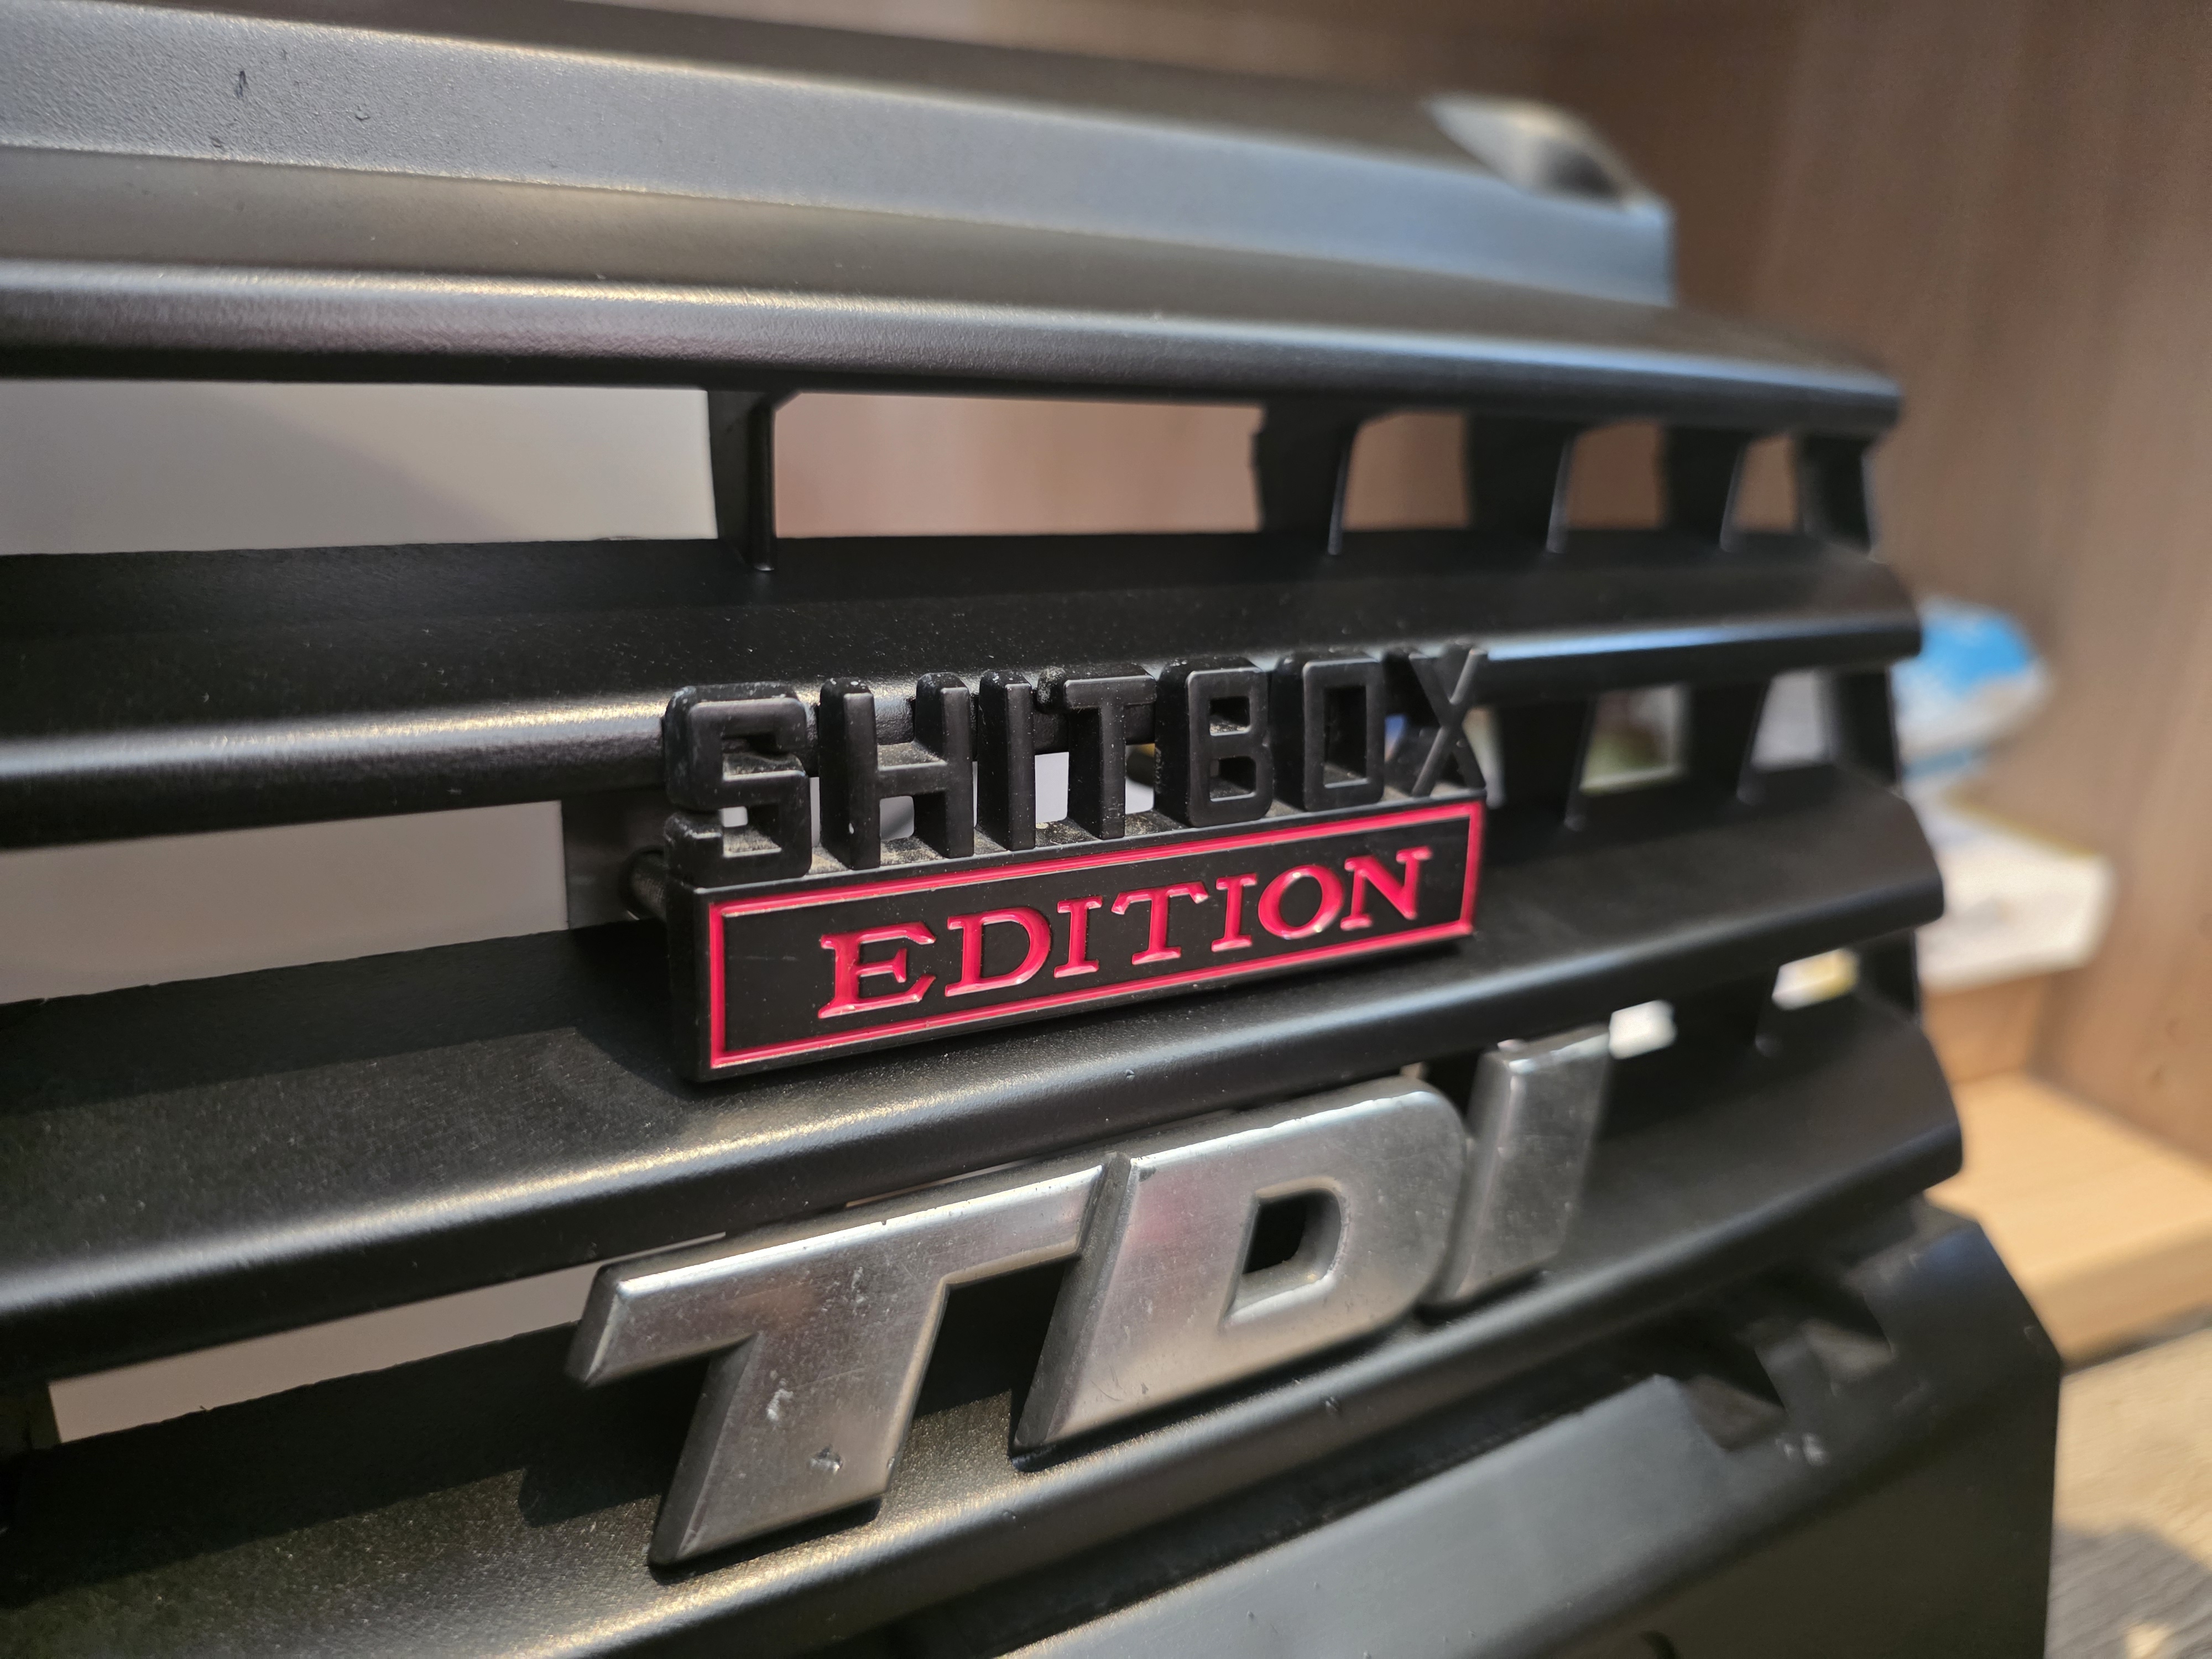 [/img]
Finally it was time to get some colour onto the these panels……
[img] 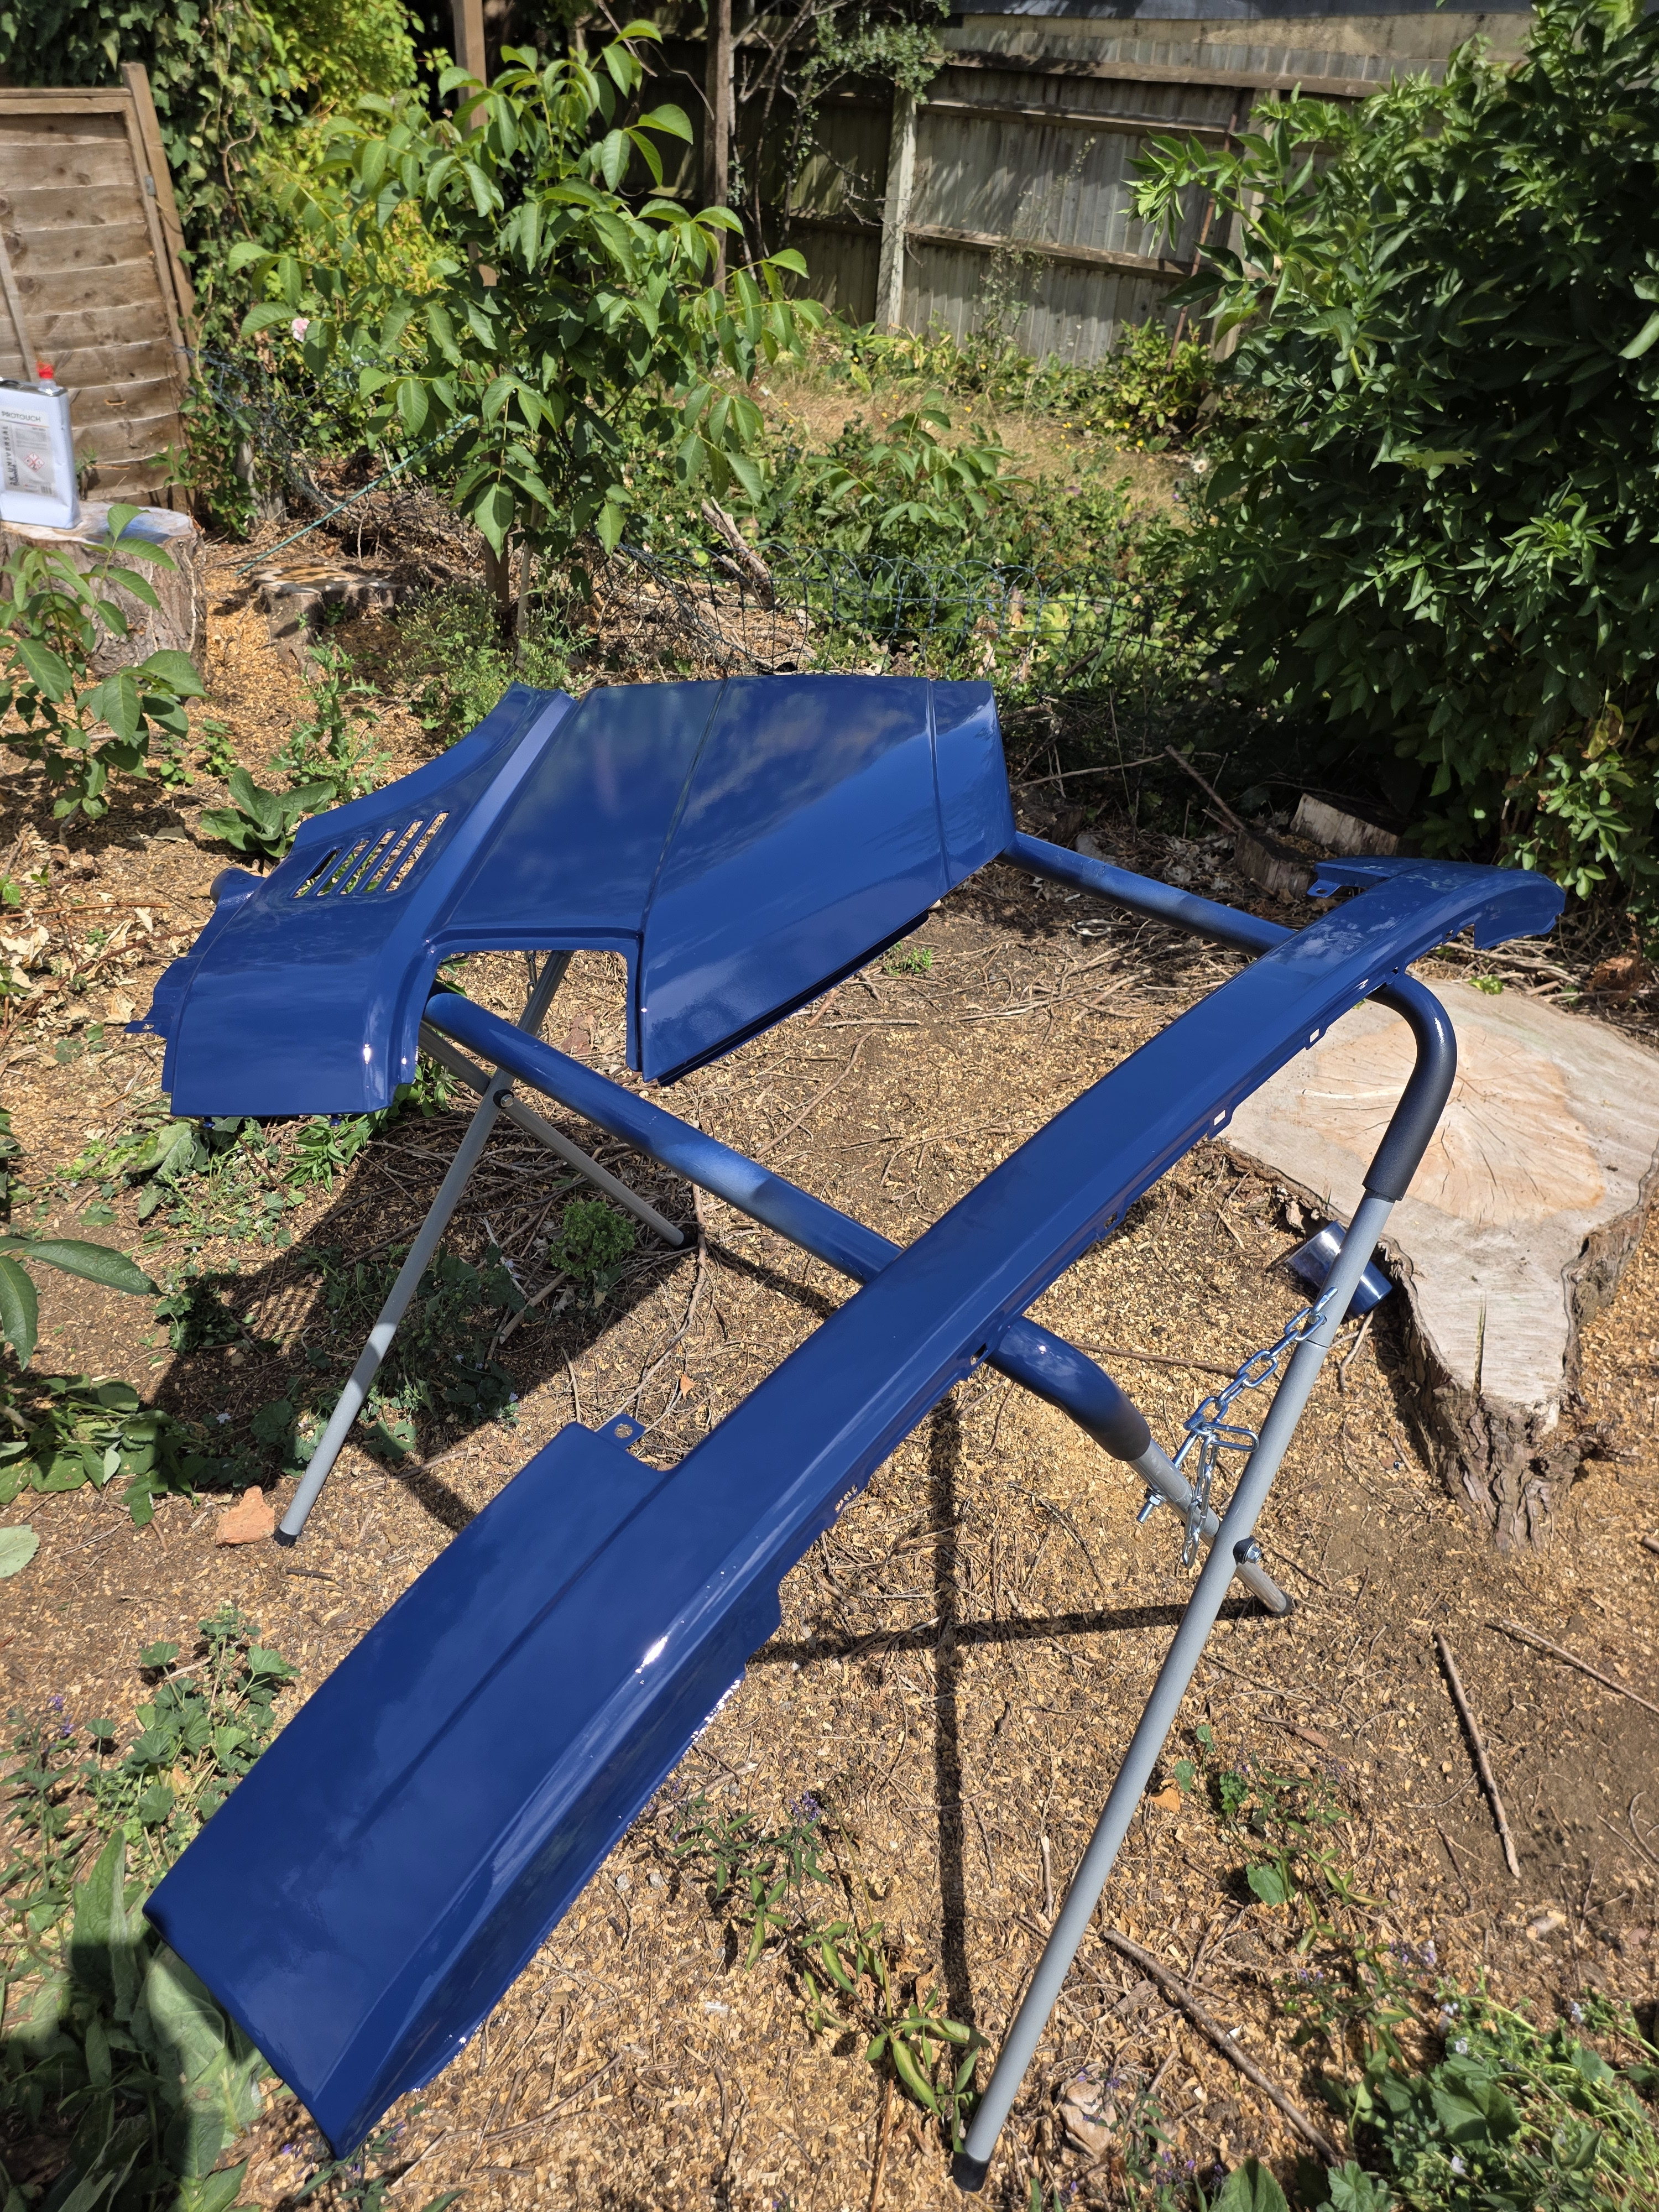 [/img]
[img] 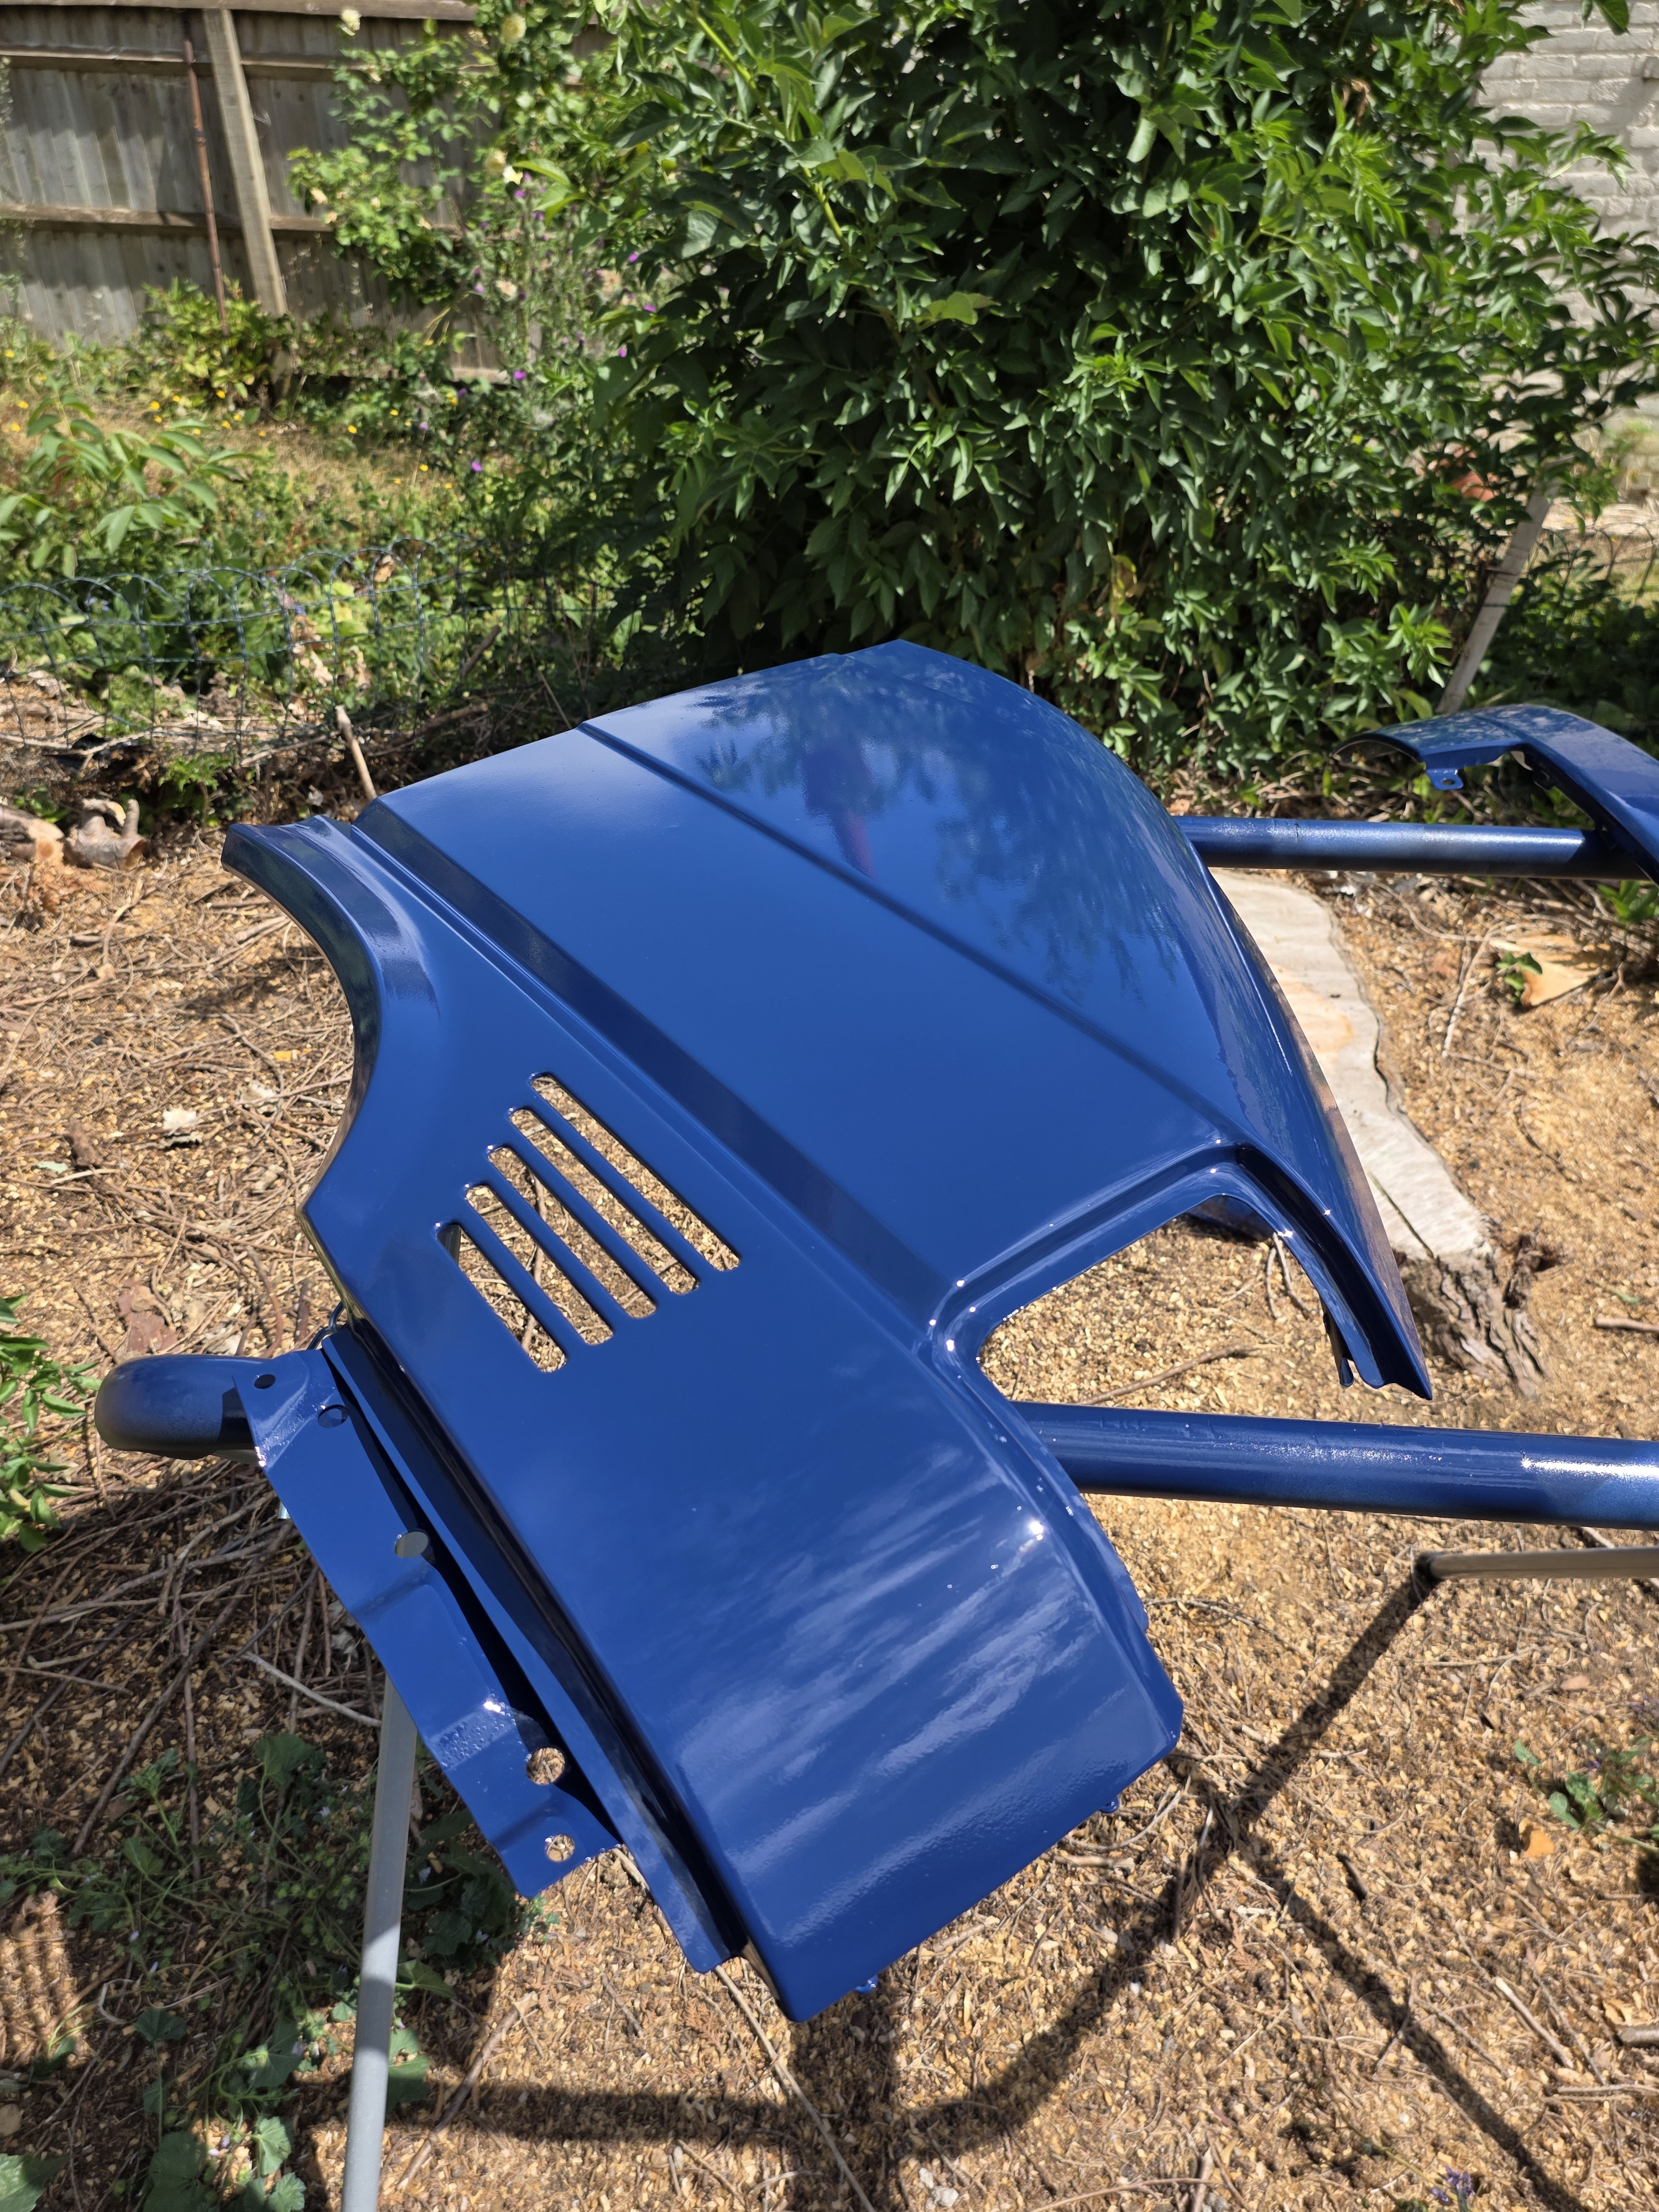 [/img]
[img] 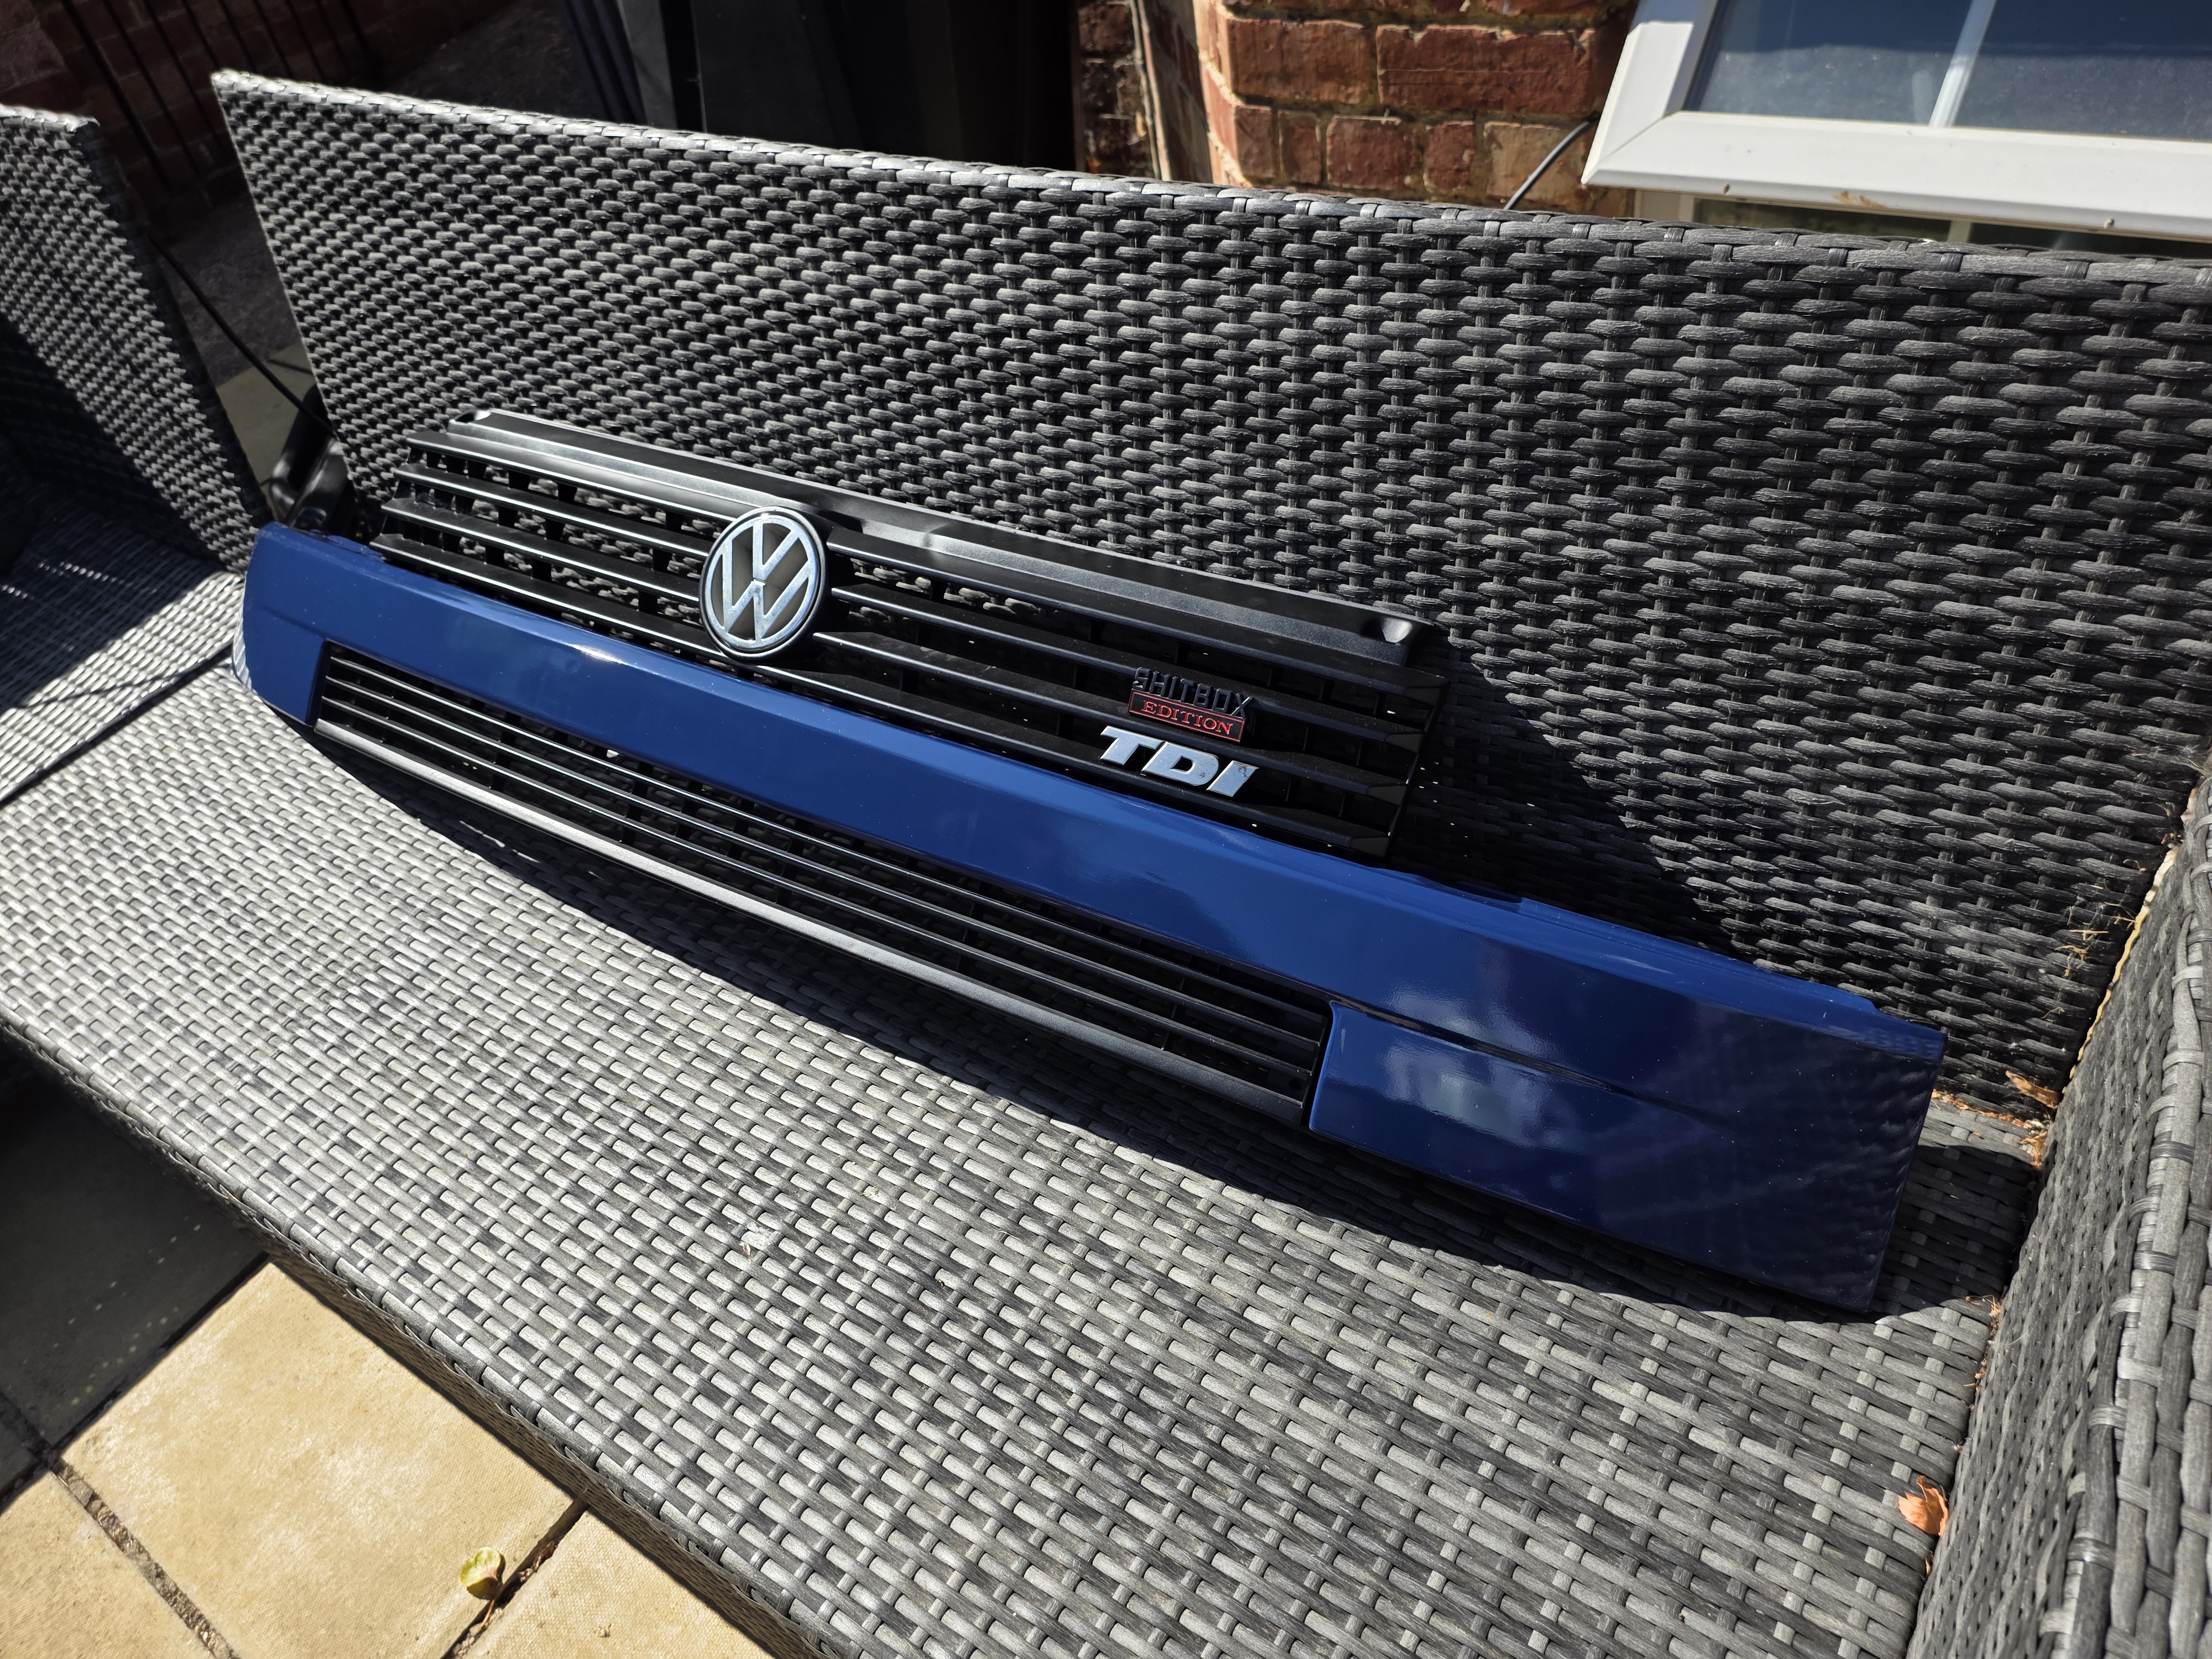 [/img]
So everything is now in paint and the front end is being rebuilt. The drivers side wing has been left to rust, giving a “rat look” which I wasn’t really after. Also took the opportunity to replace the orange indicator lenses for smoked to match the rear clusters
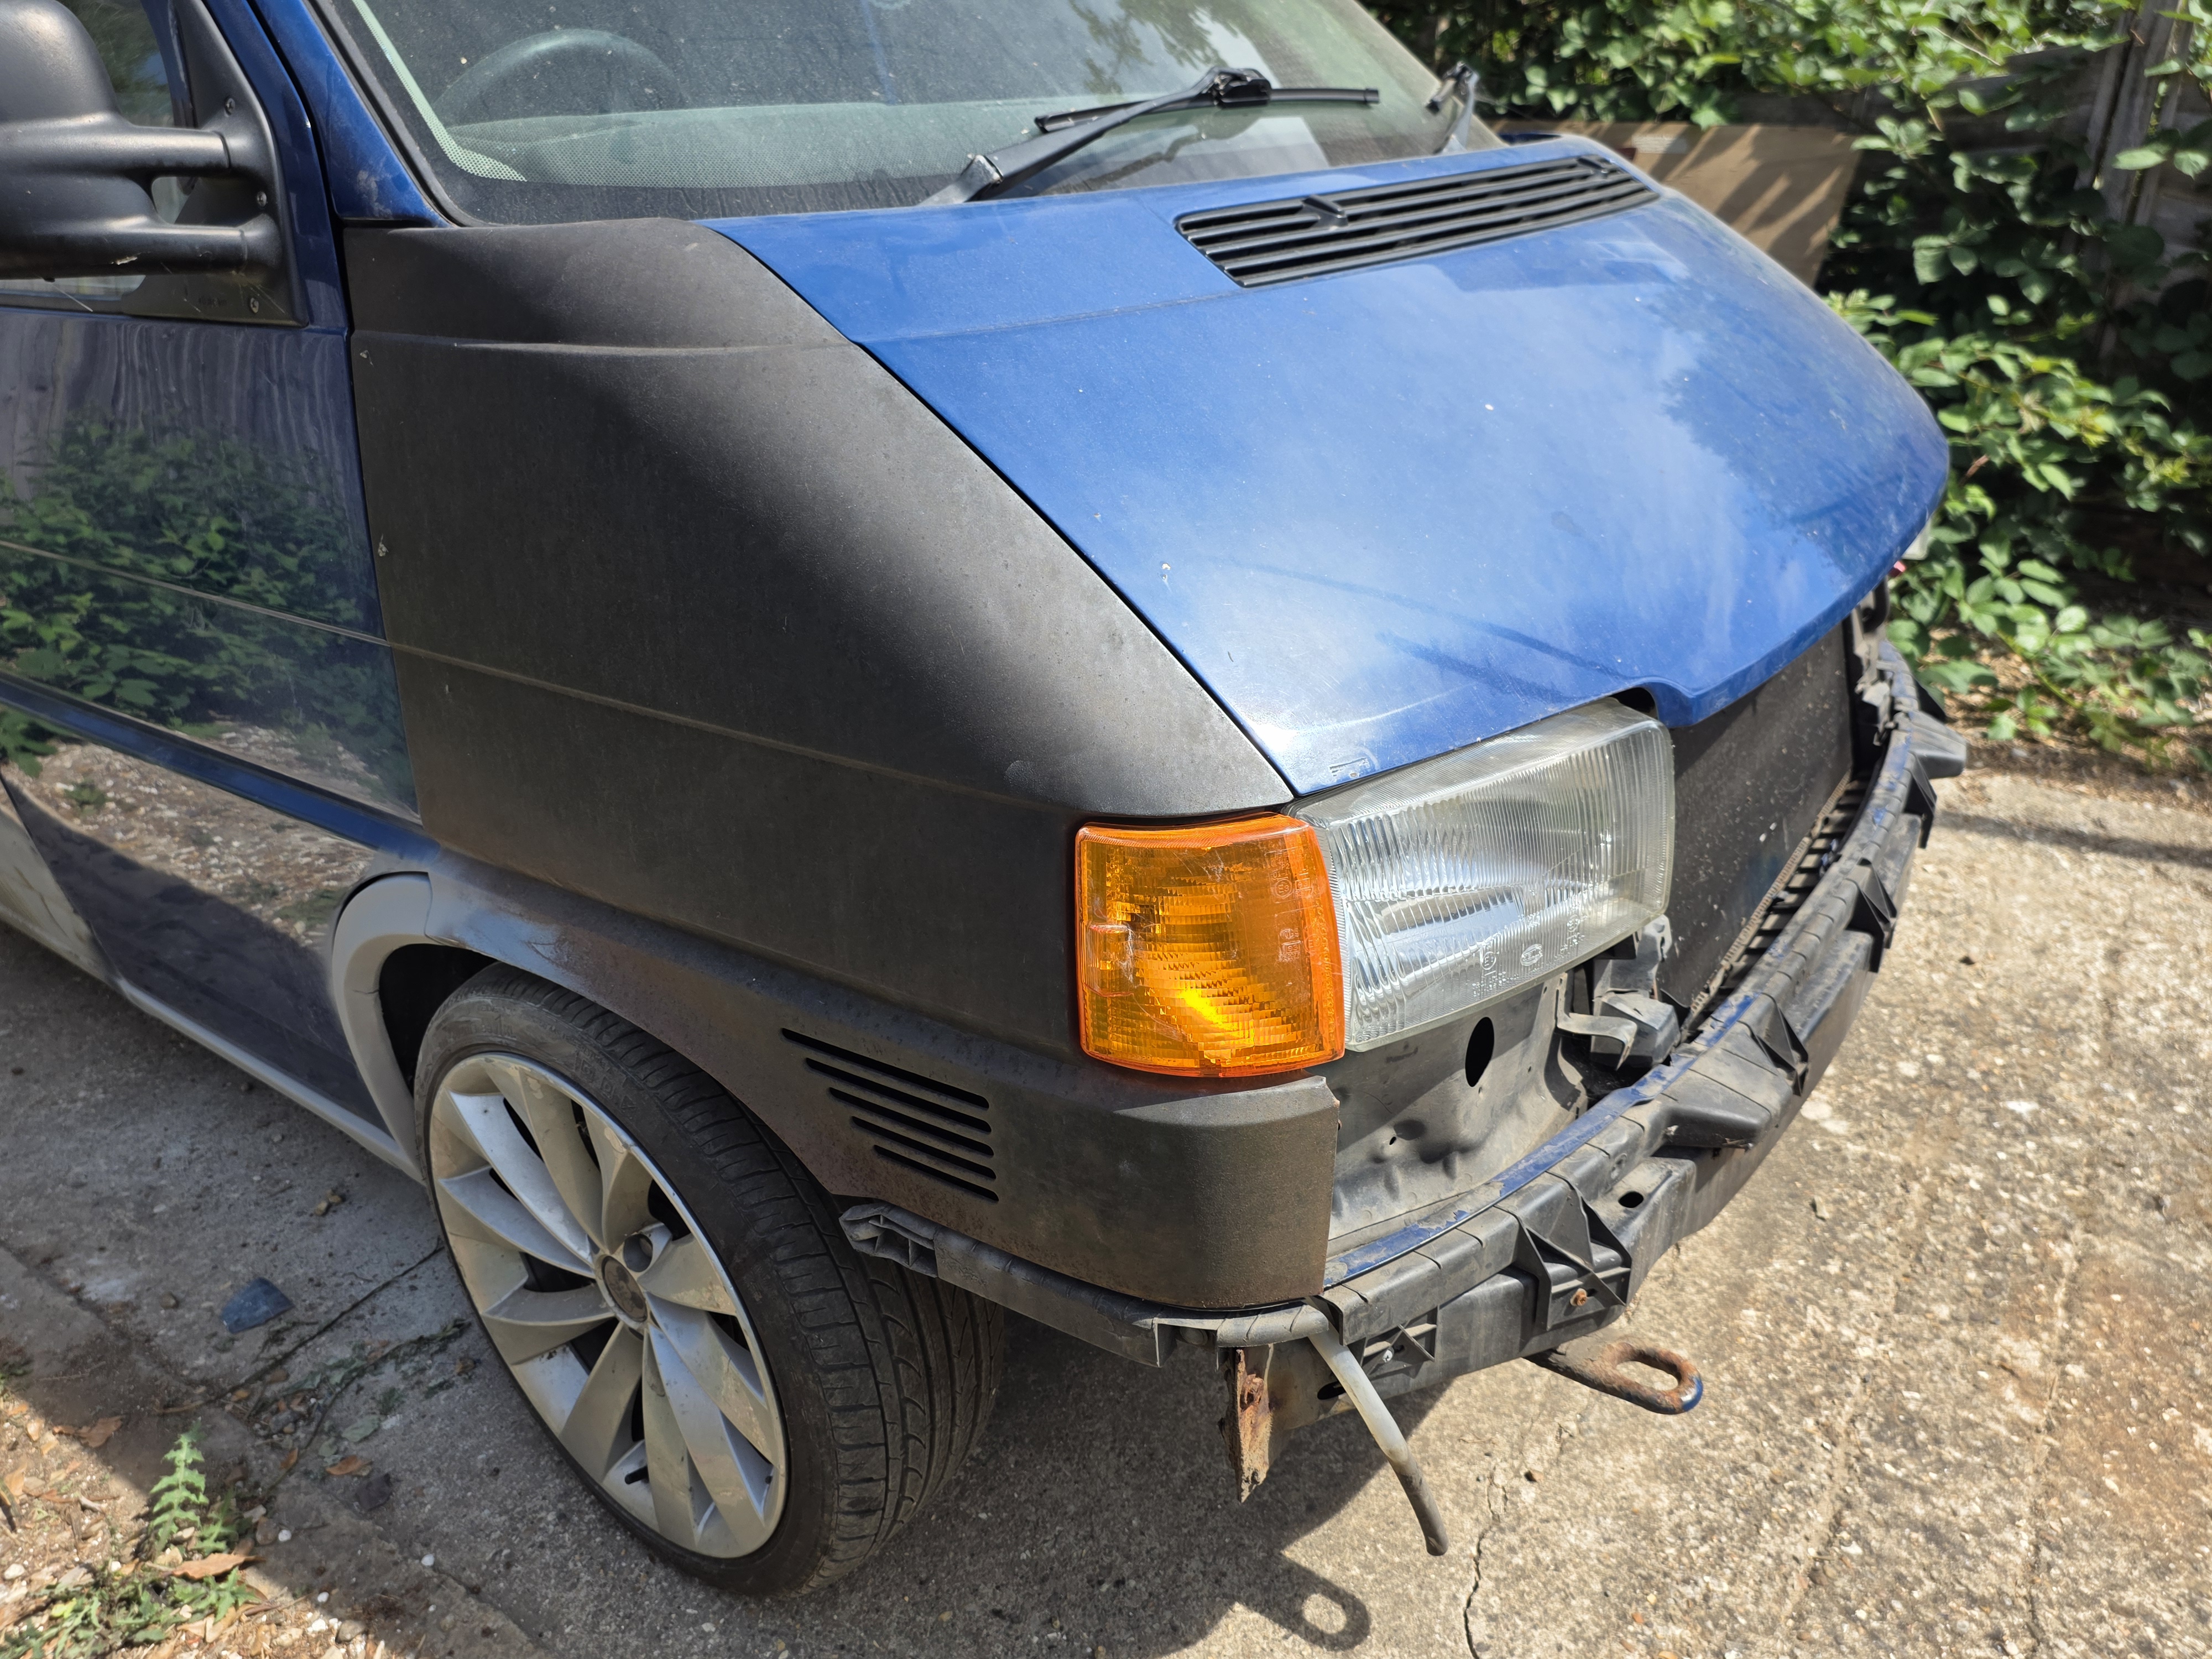
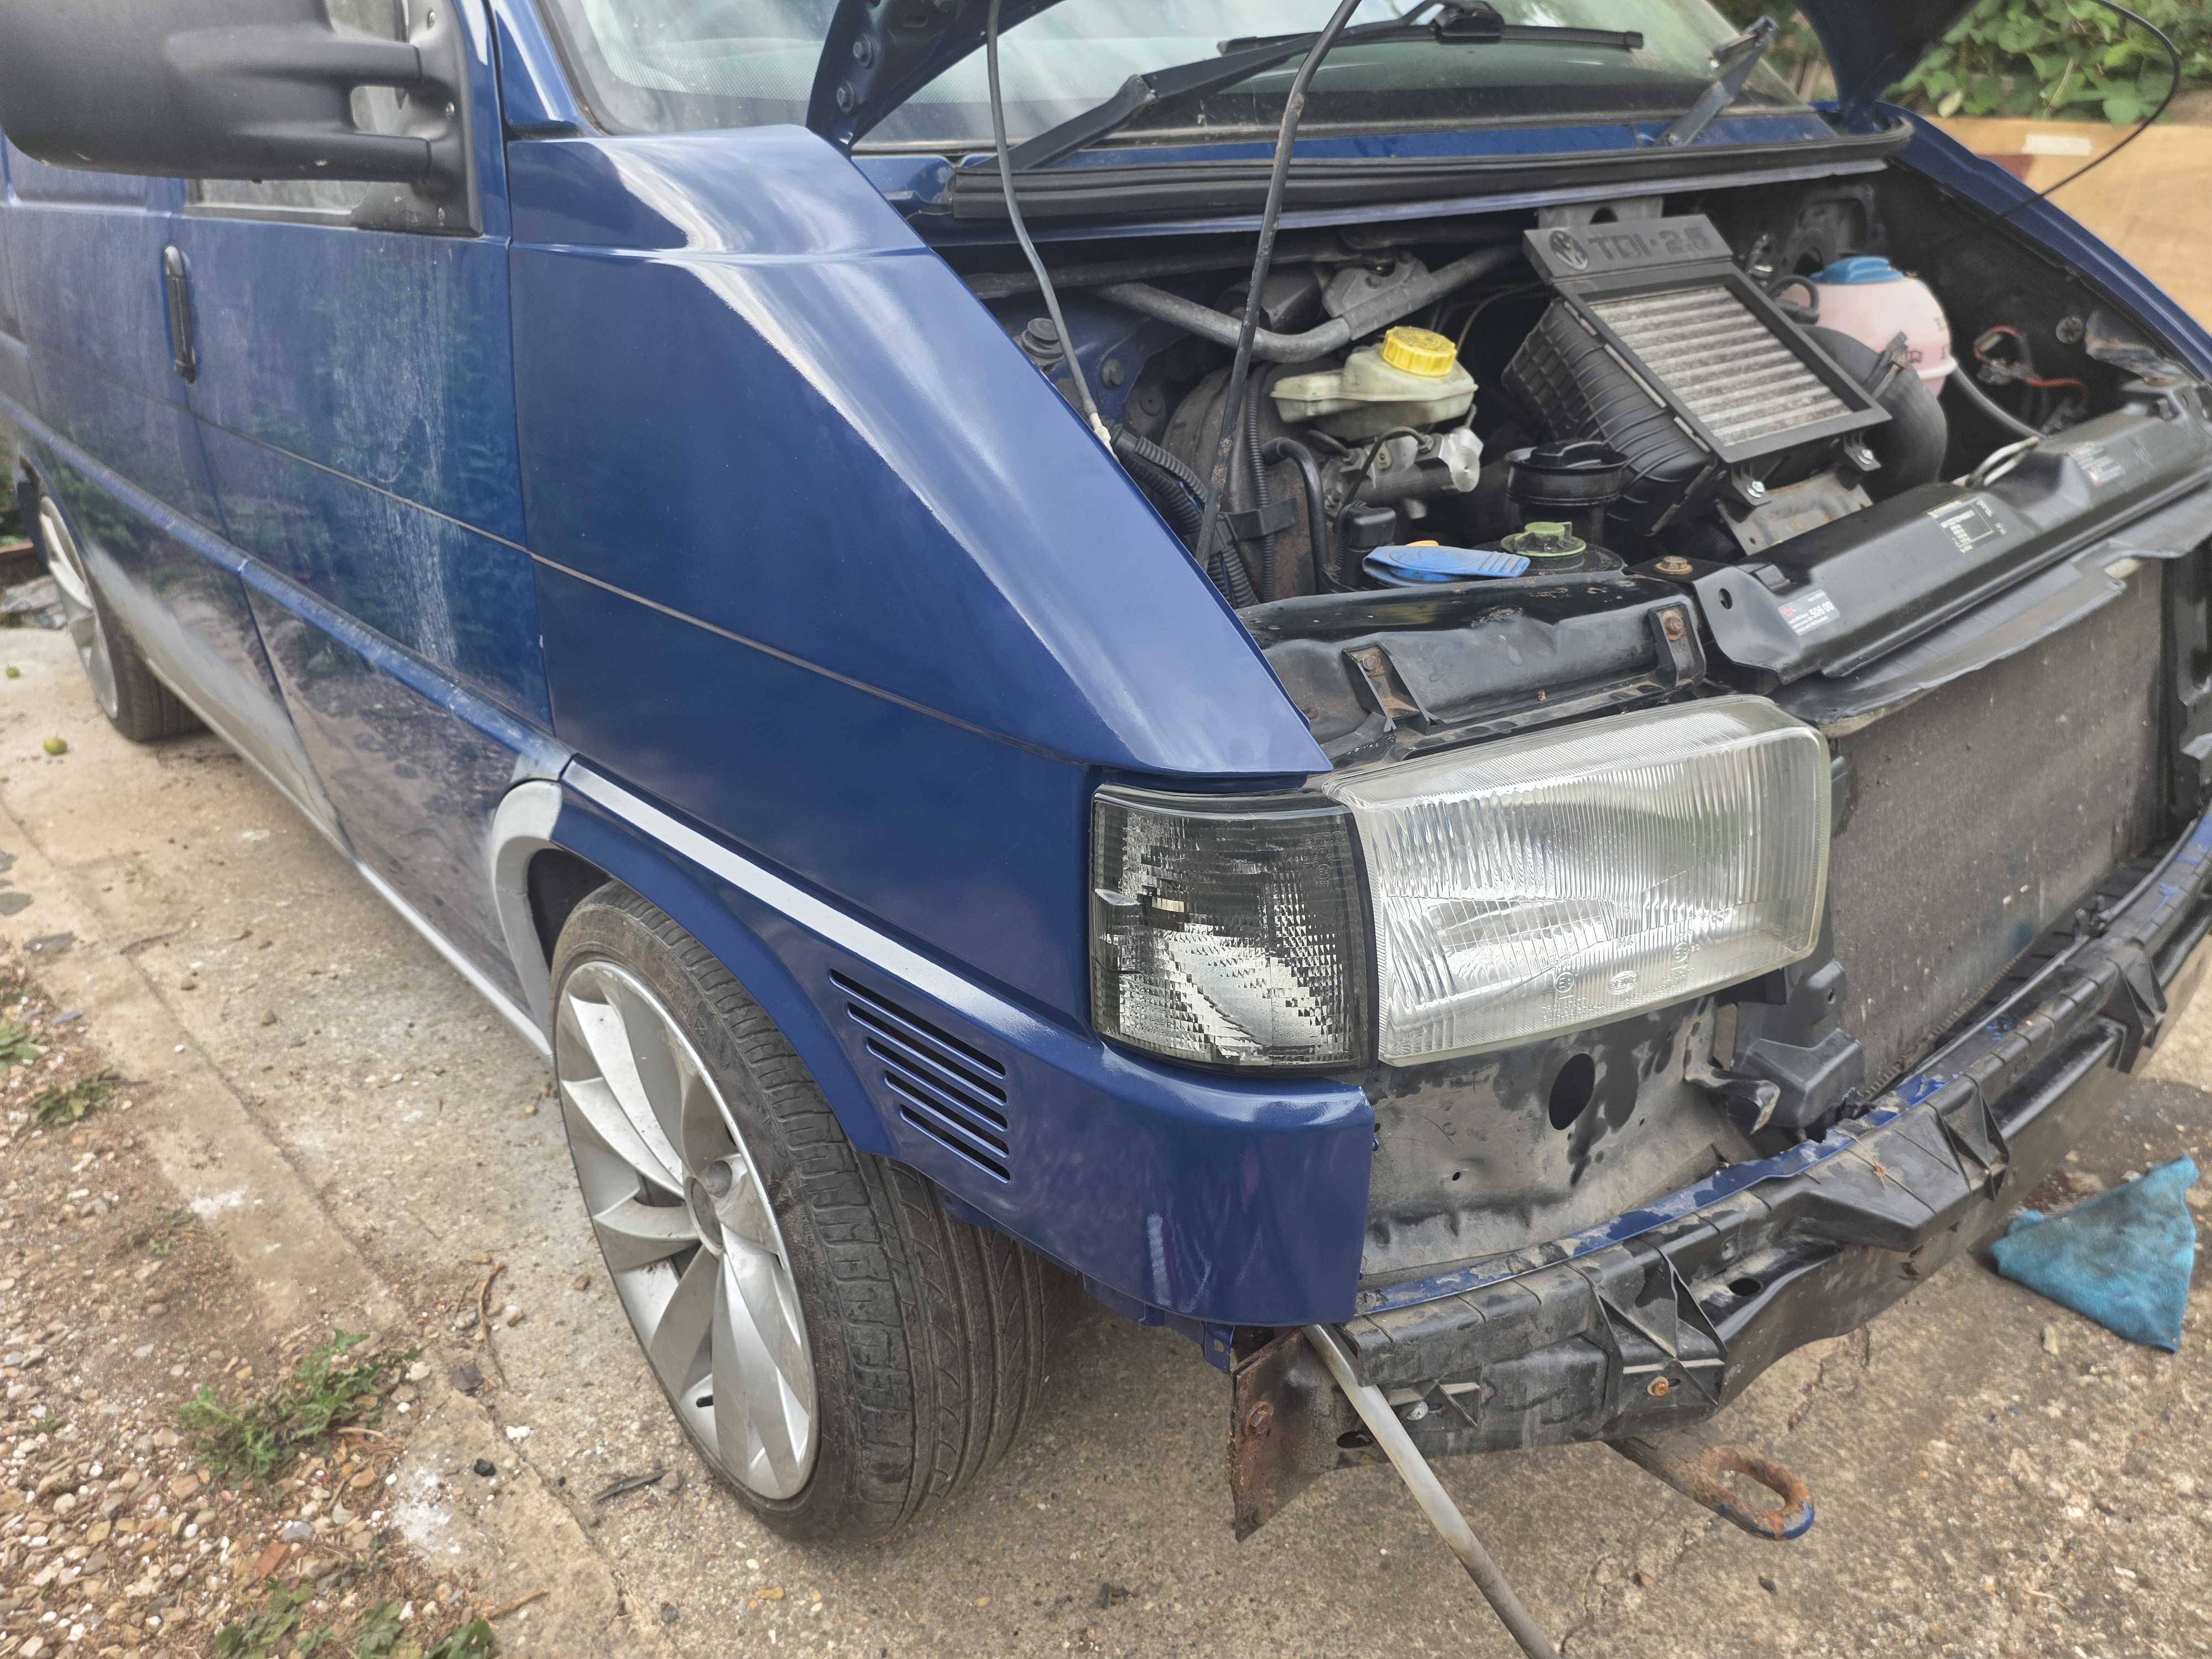
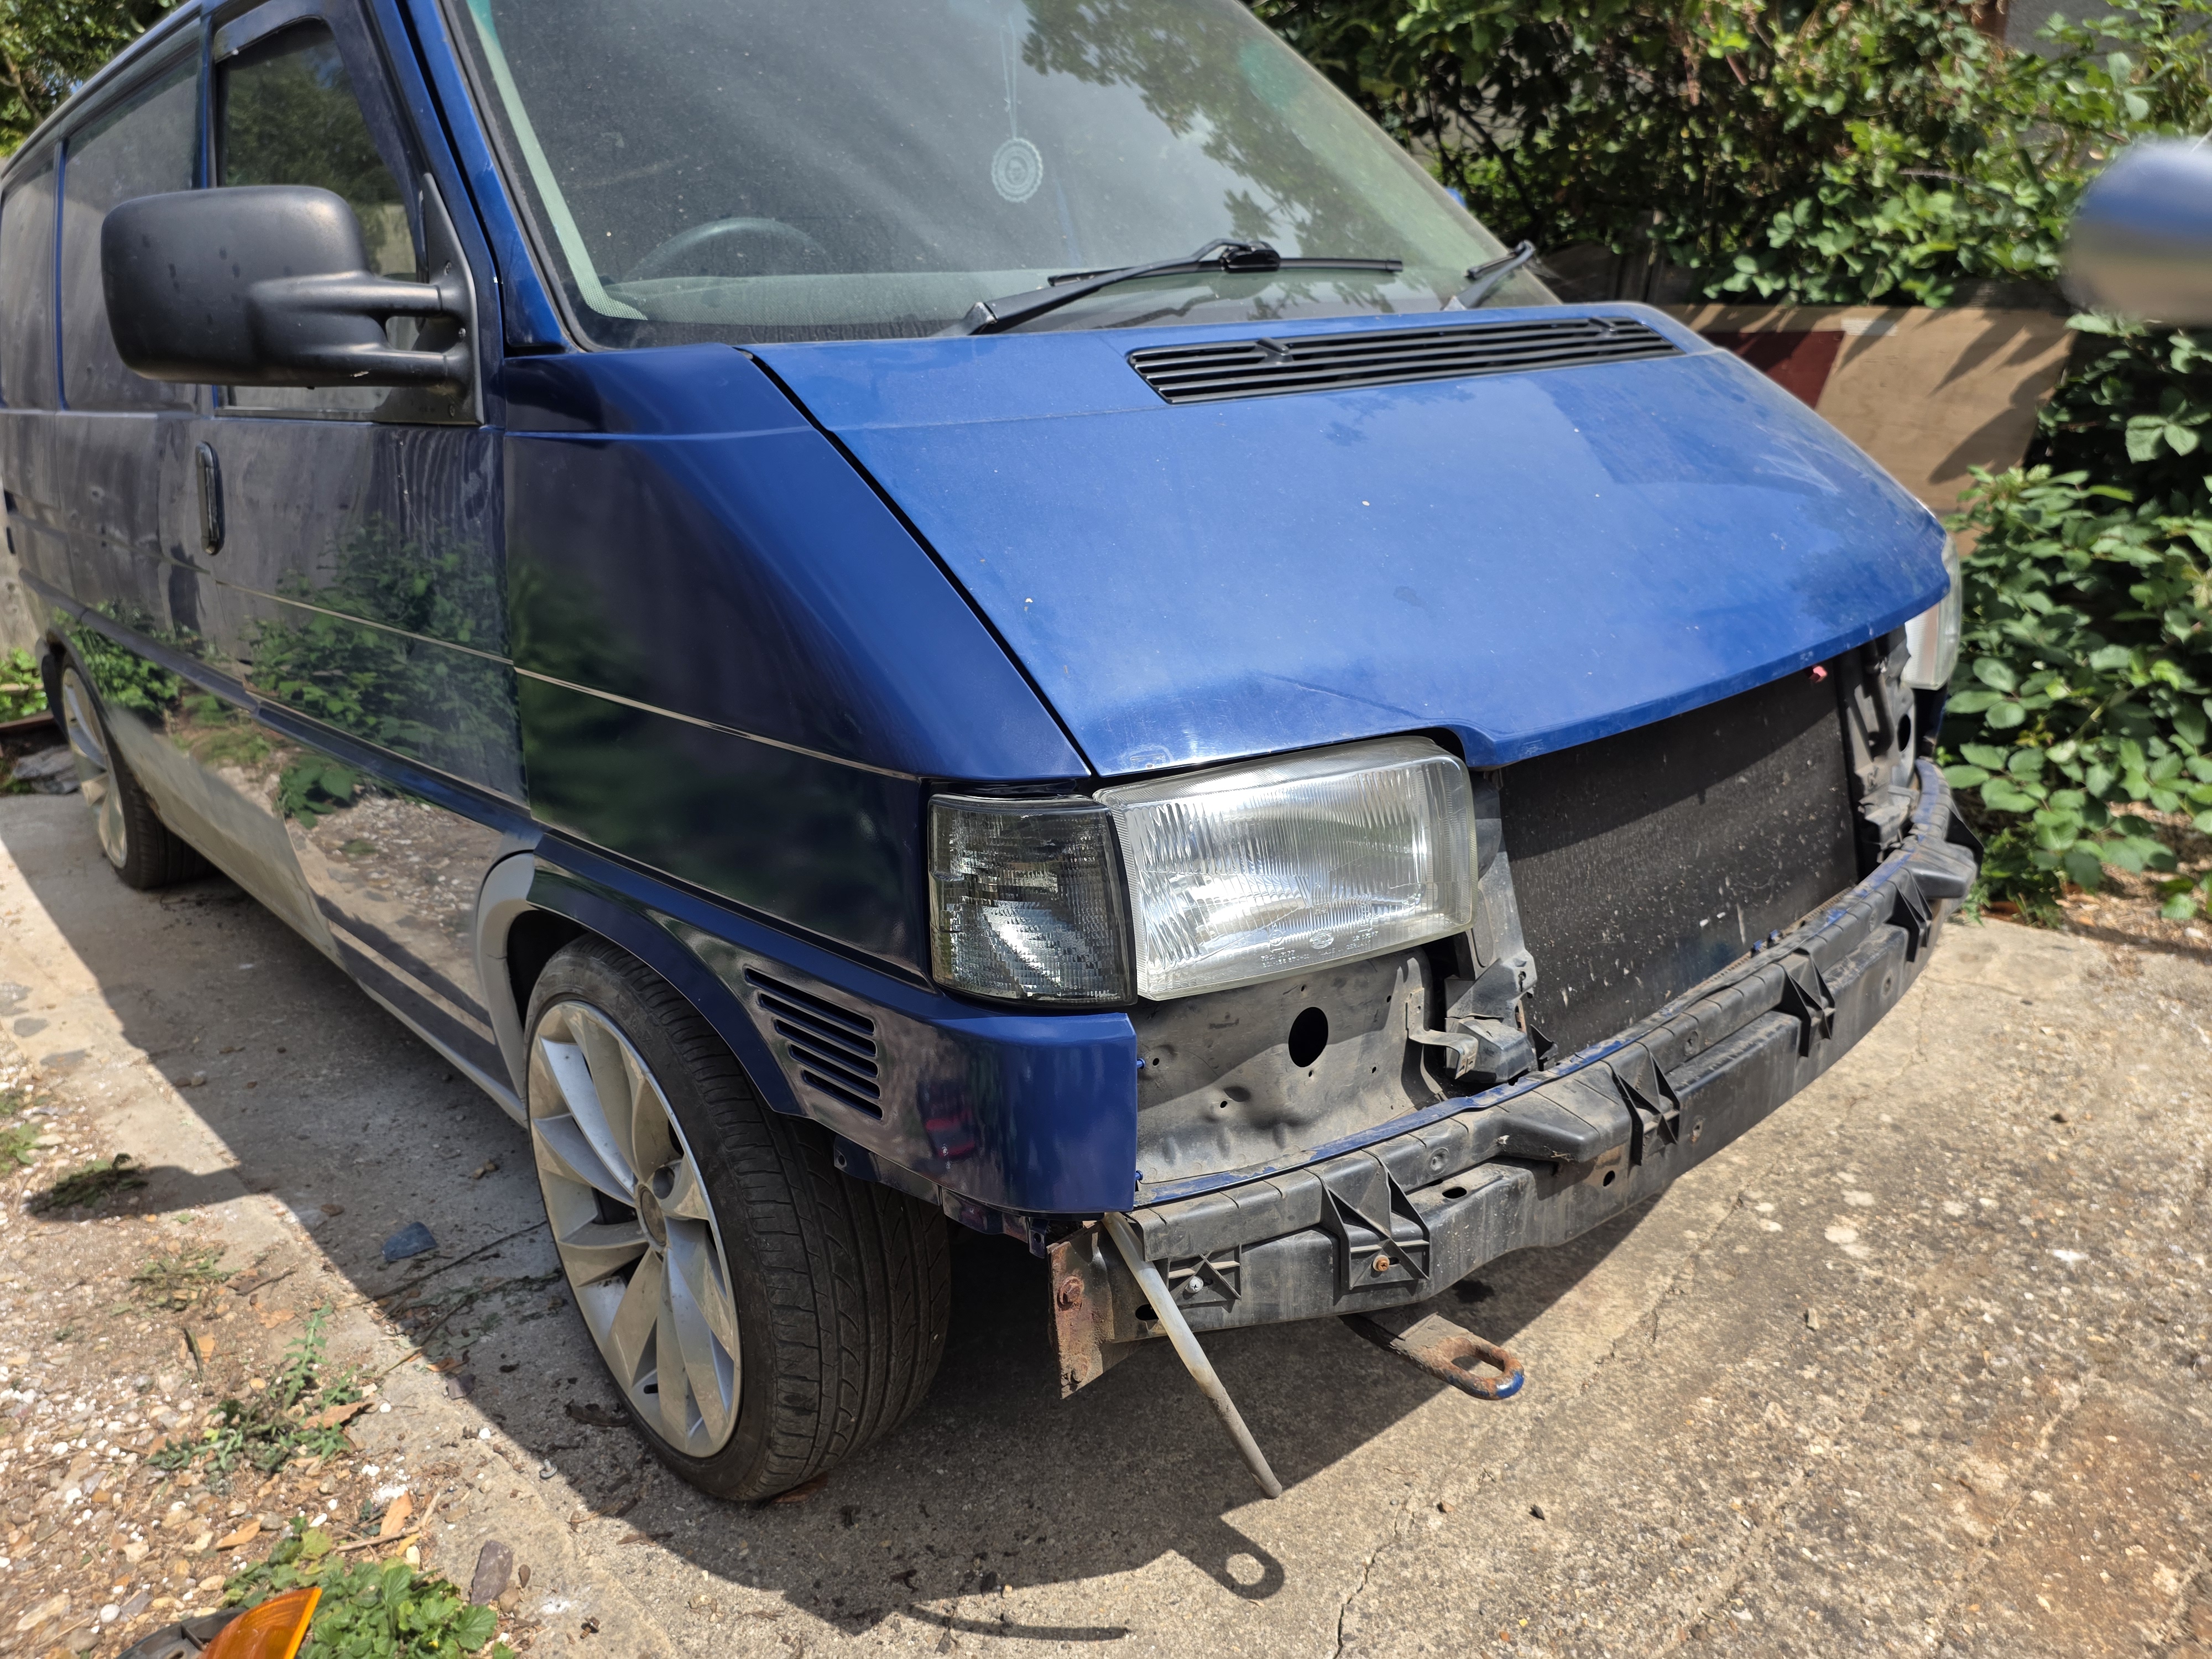
One thing I noticed is that the aftermarket wings do not match up with the mounting points on the inside of the wing behind the door. In order to secure these properly, I have had to create my own mounting points, installing Rivnuts on the inside edge to secure these in place fully.
Next thing to replace was the shroud on the radiator. I discovered the one on the van was in 4 pieces so sourced a new replacements and fitted so that I have all the correct mounting points for the grille garnish. This was held in place with the revamped slam panel
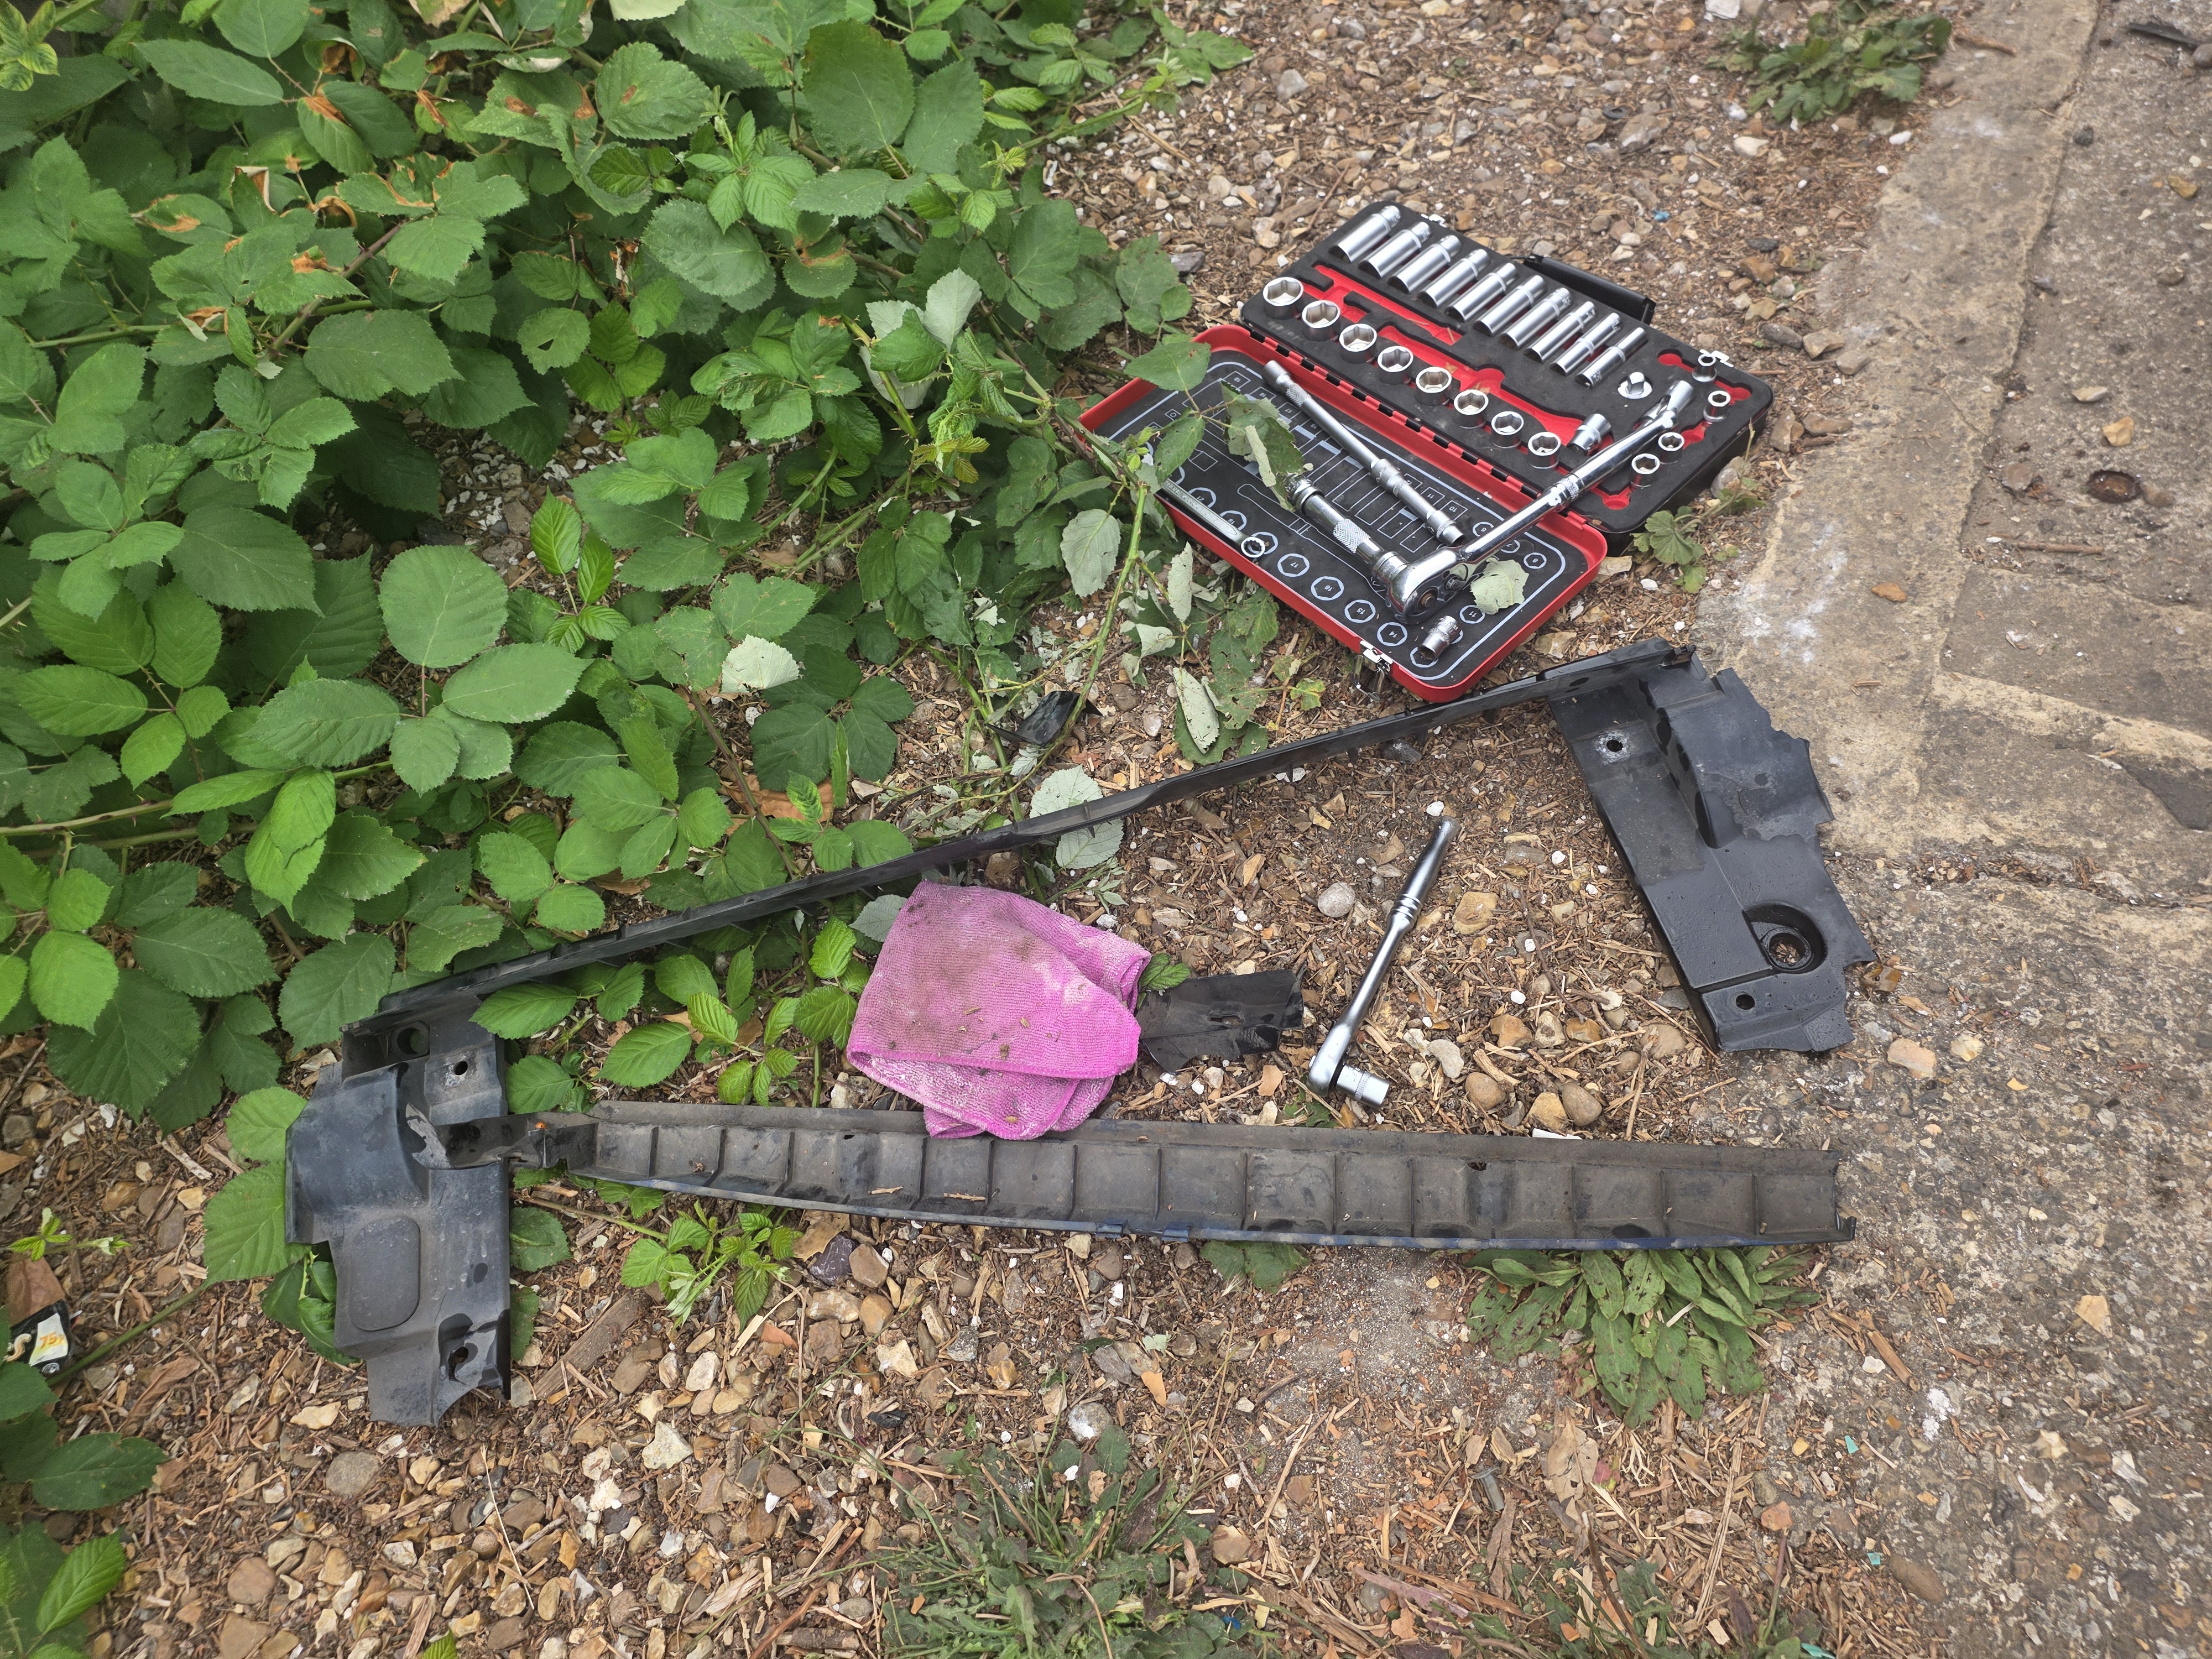
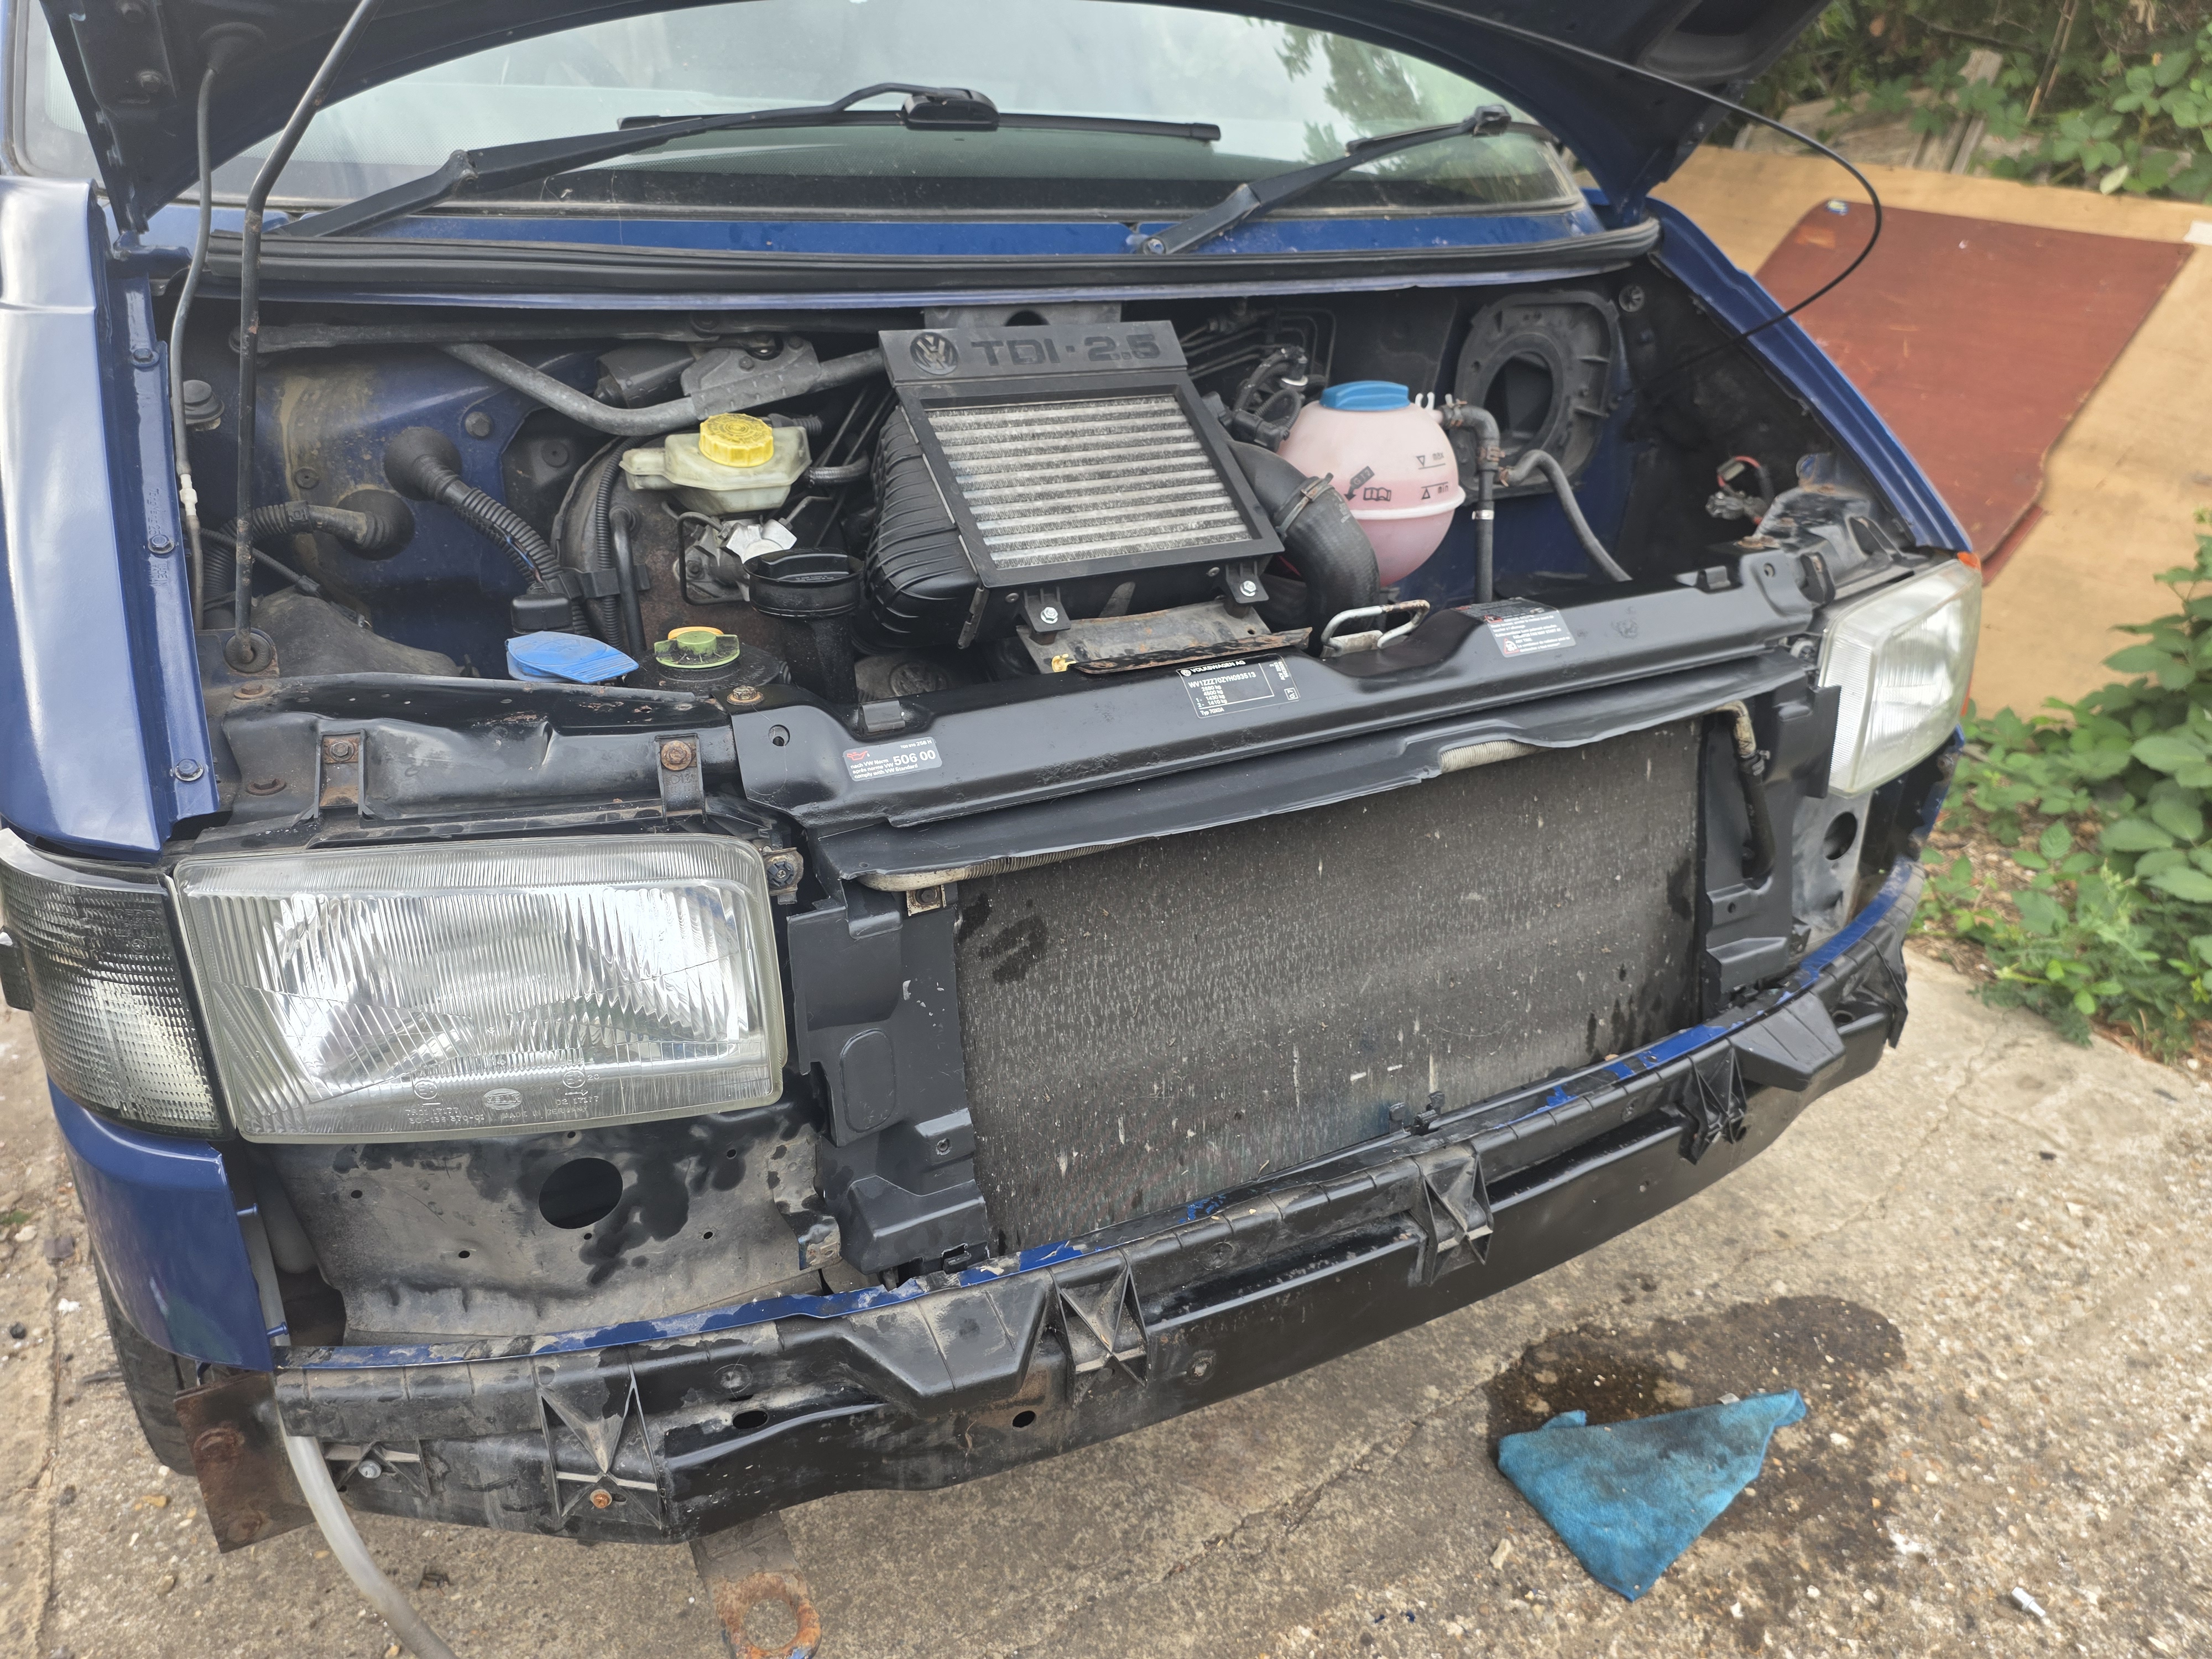
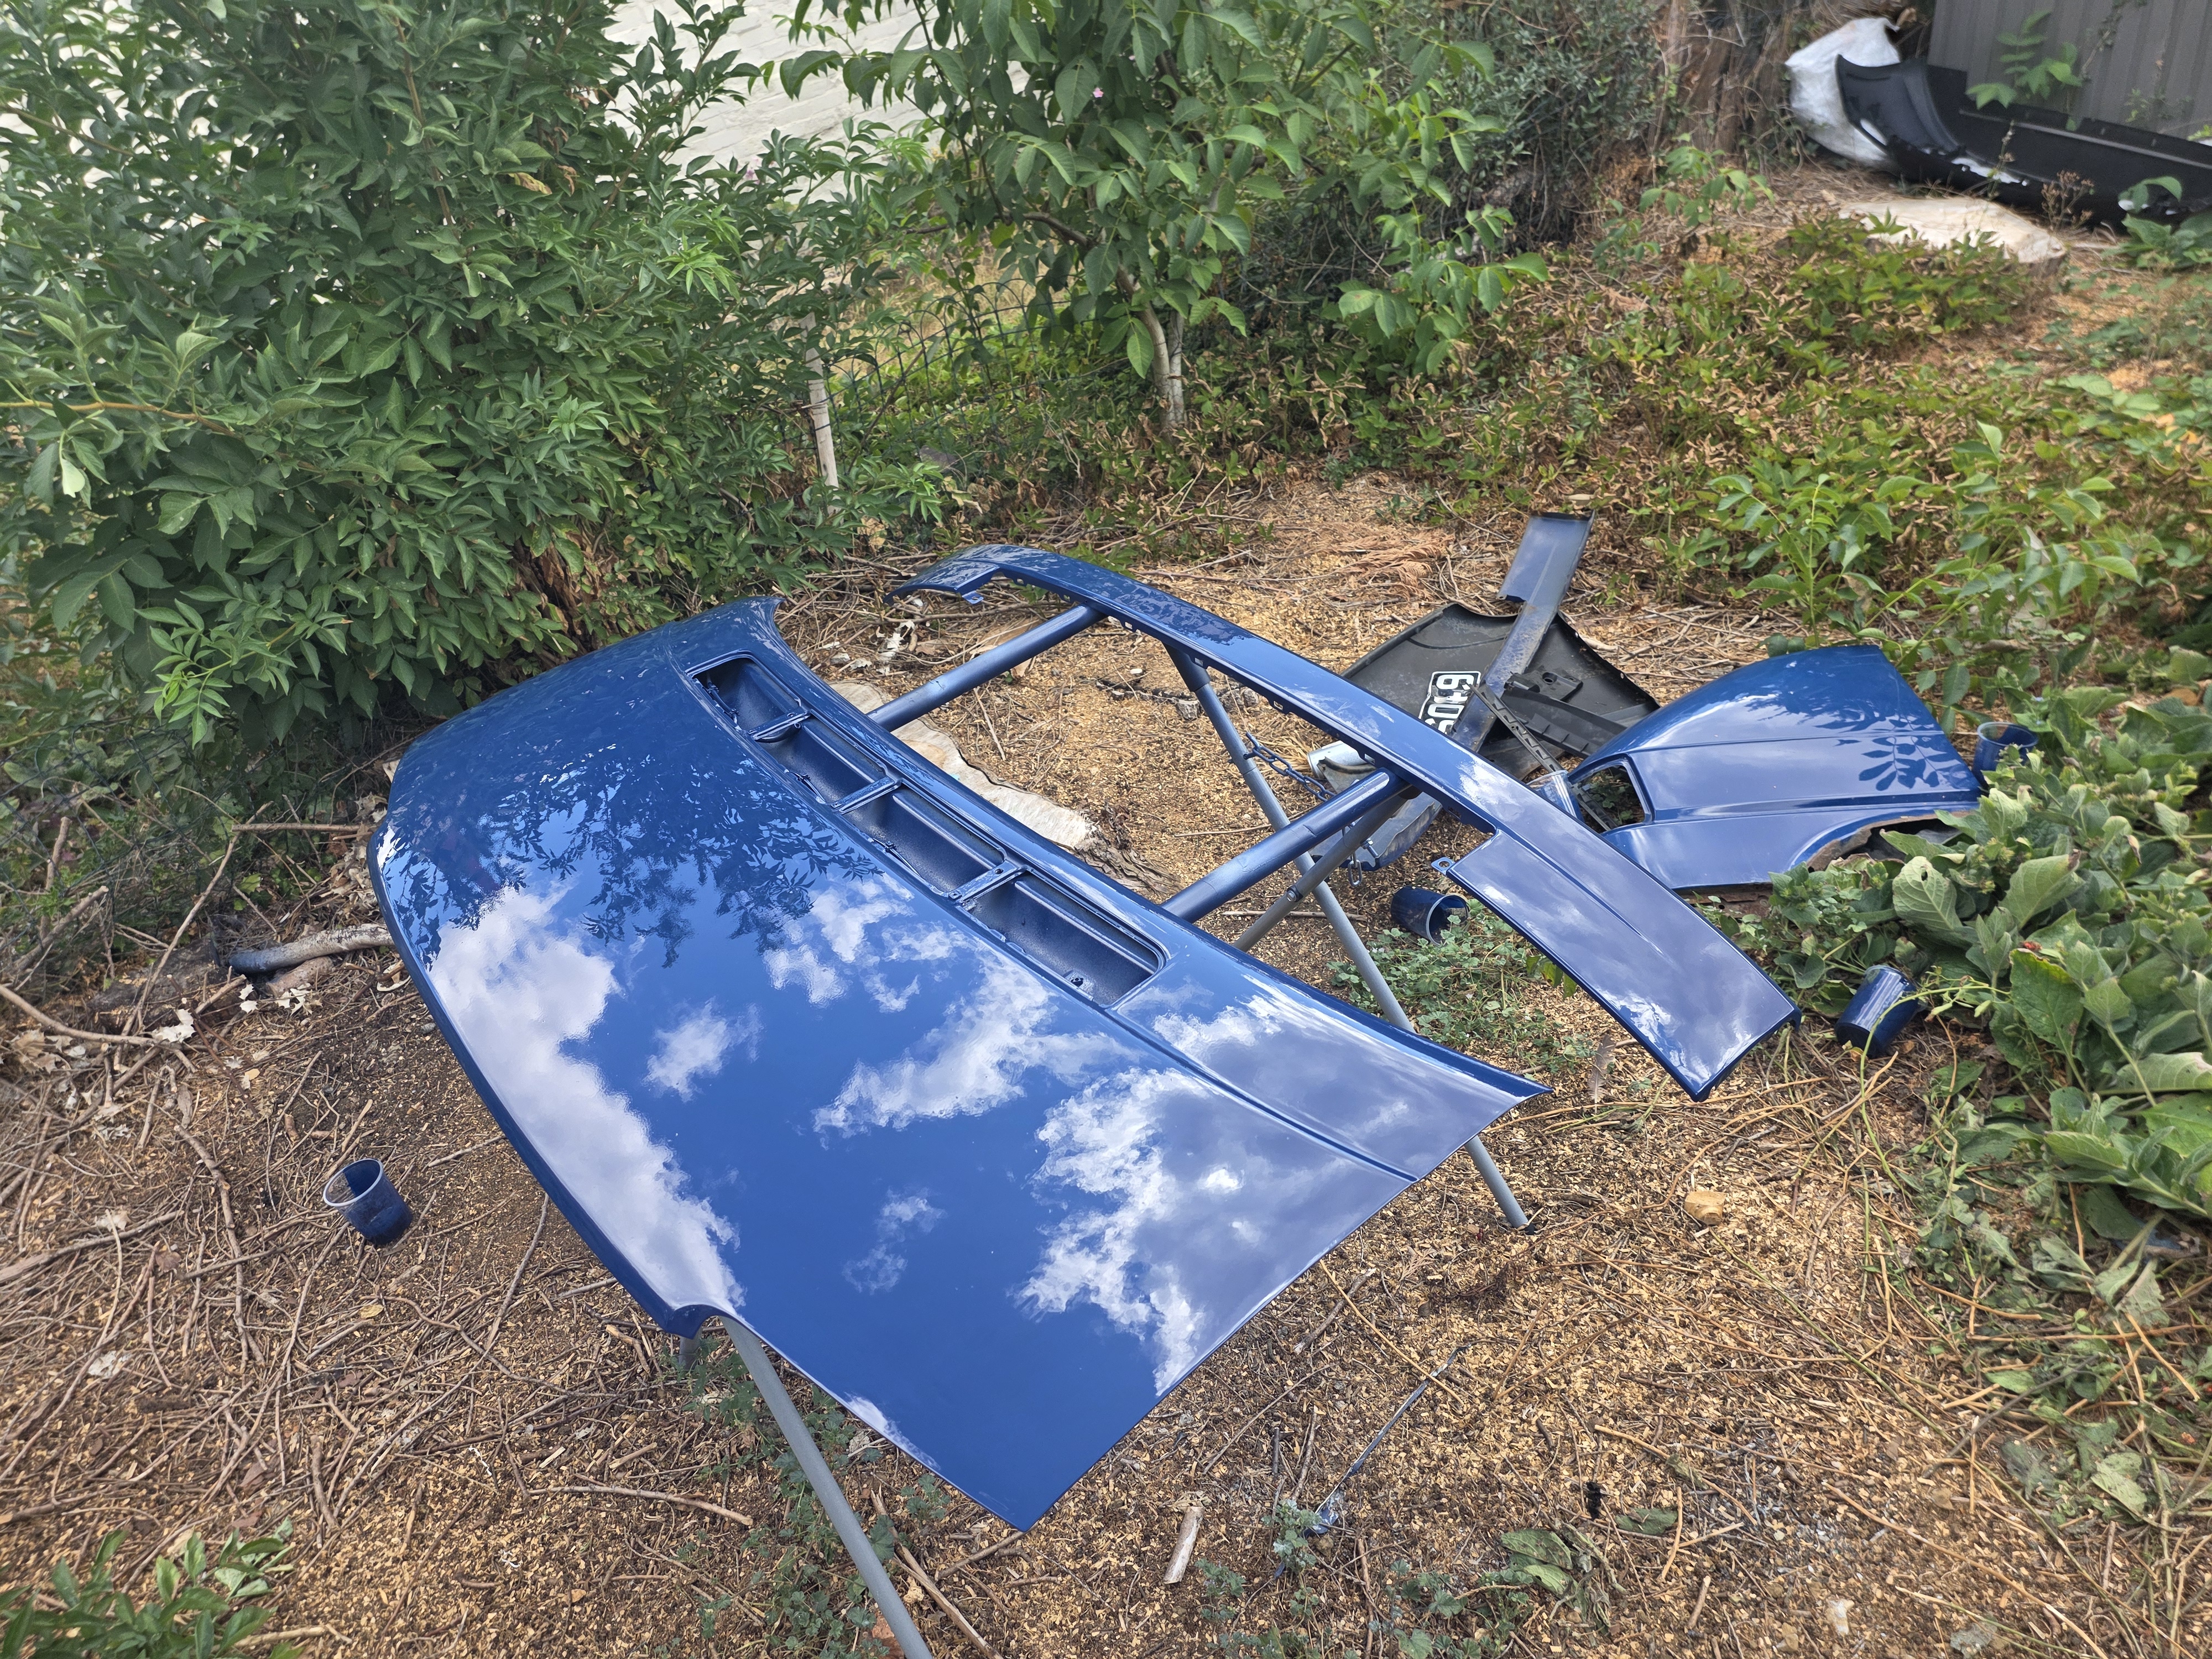
This brings me onto sorting out the bonnet. I have repaired and smoothed out the bubbling on the leading edge, skimming with filler to smooth it through before priming. I also removed the vent and prepped/painted the same as the front grille section. Once colour was laid down, I’m not totally happy with the final finish but it is a lot better than it was. What I MAY do is get an acrylic leading edge “spoiler” to disguise it for now if it really bugs me.
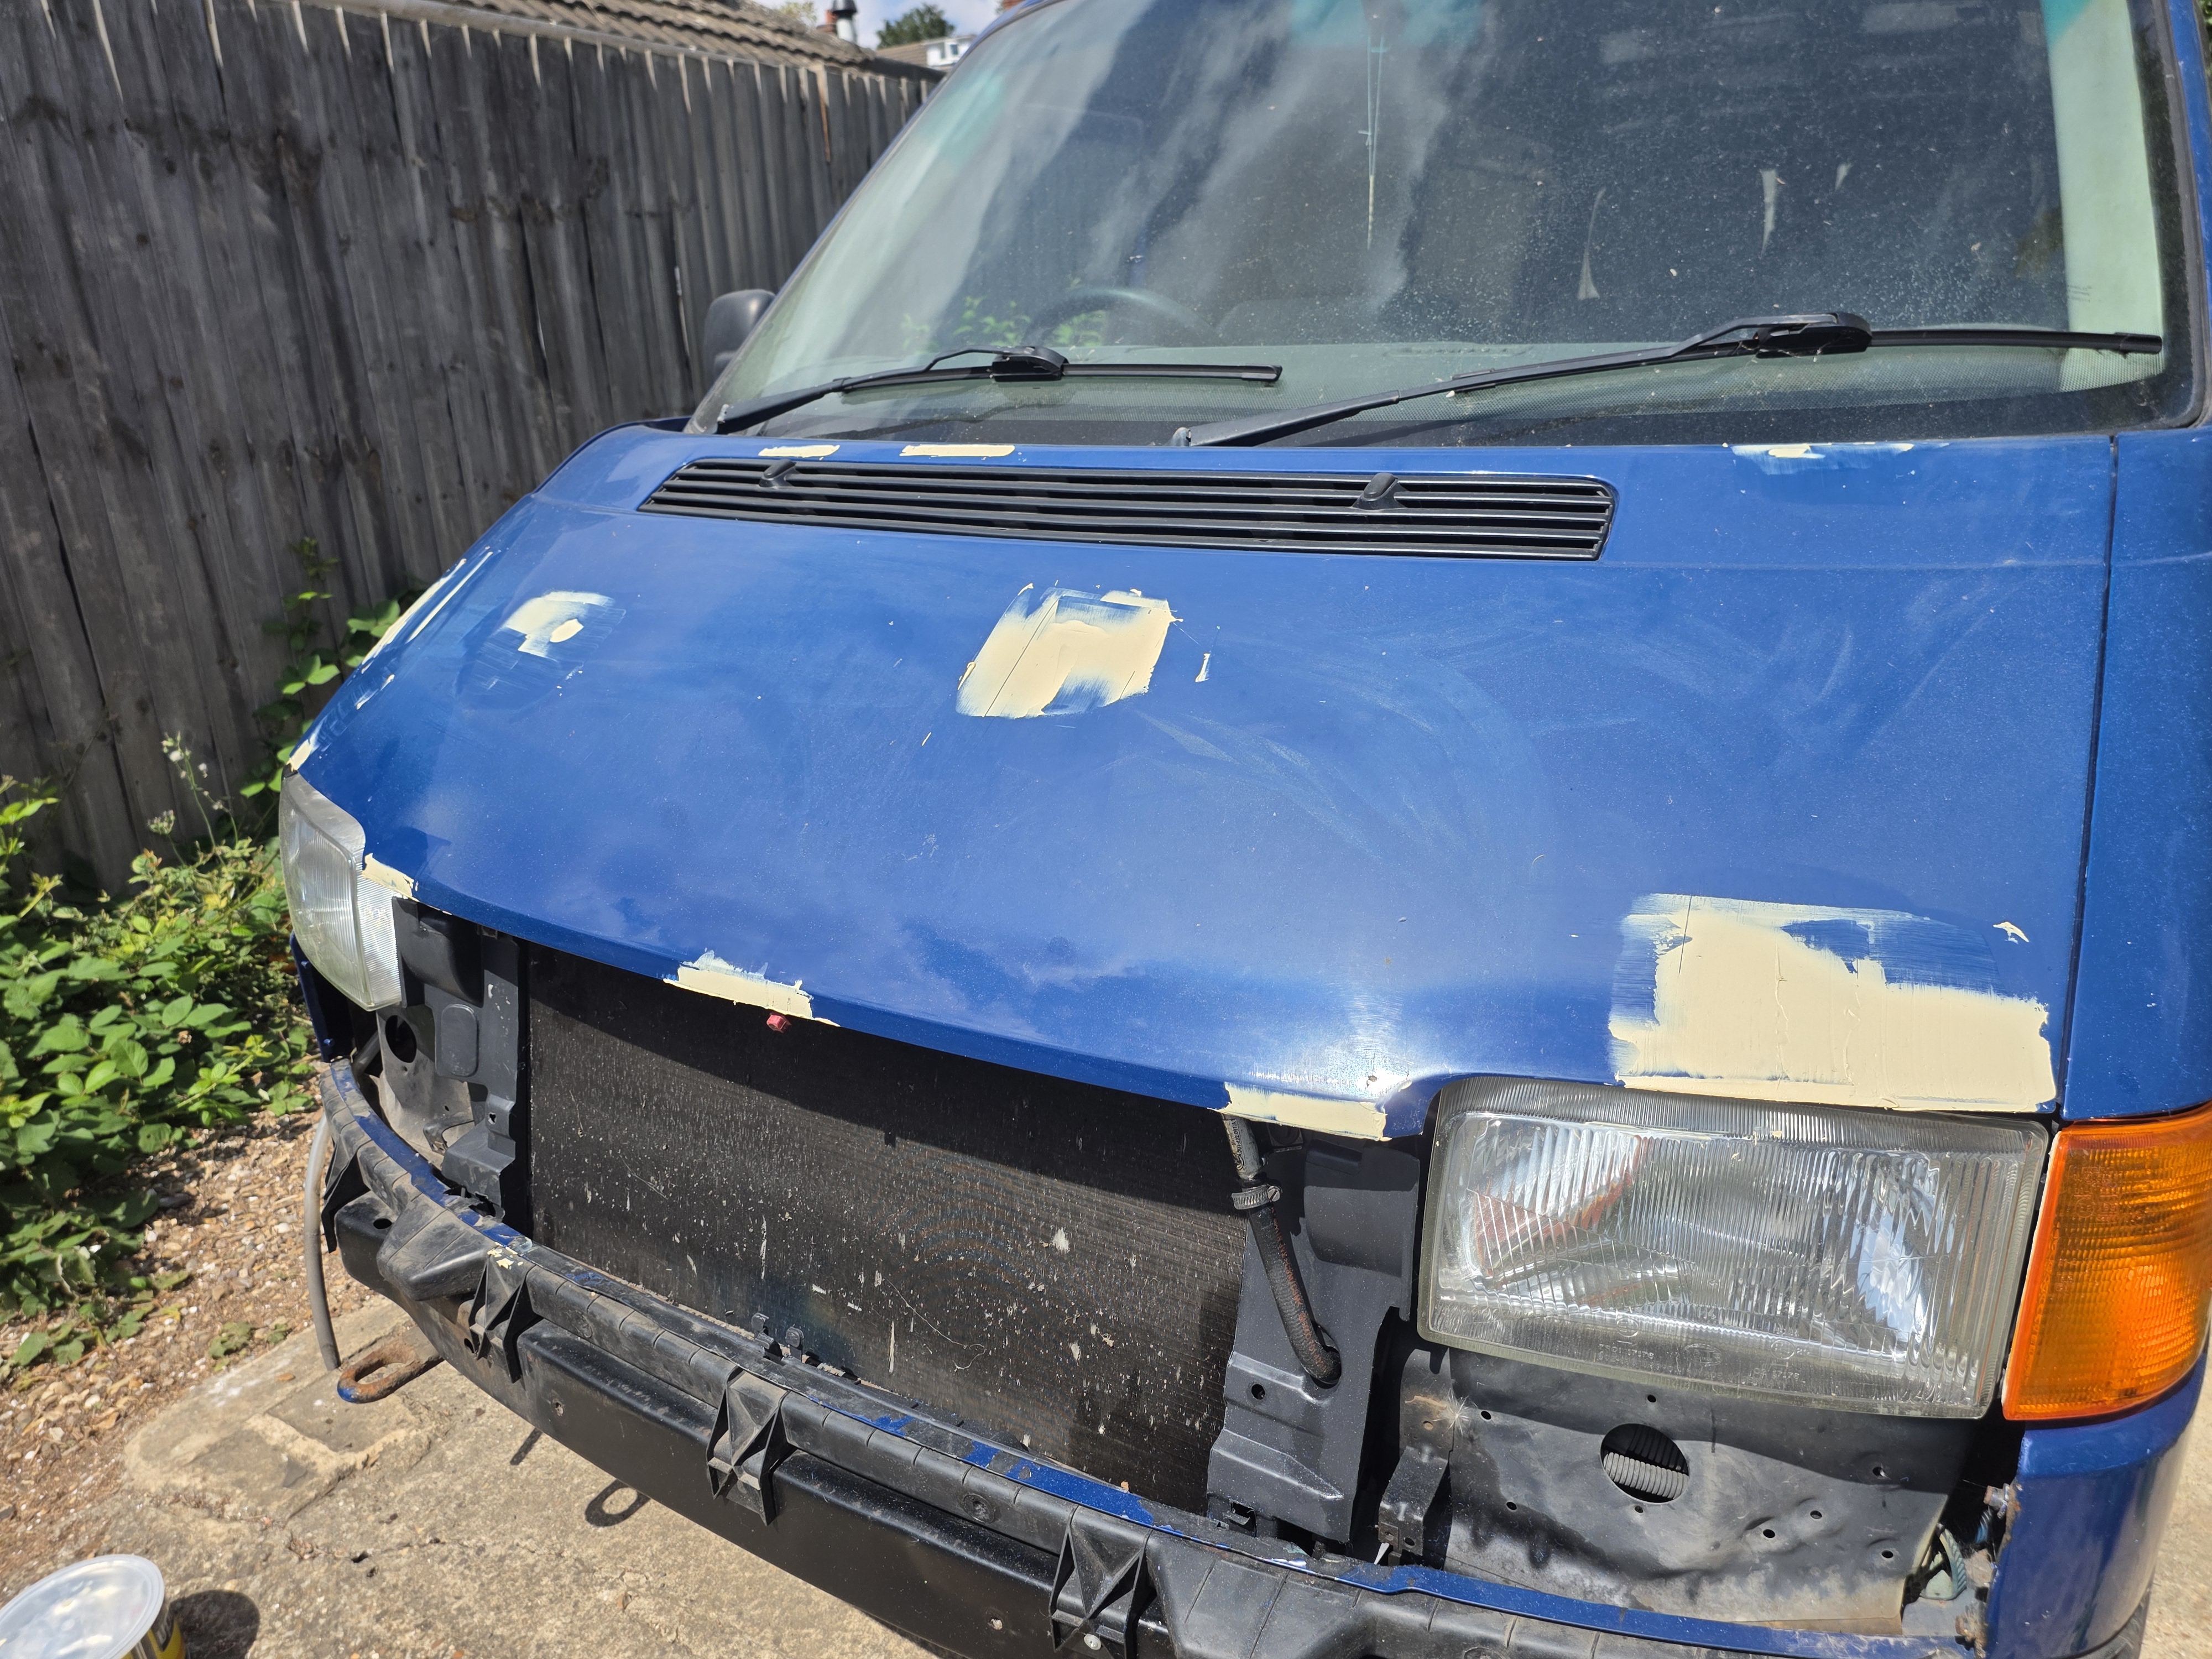
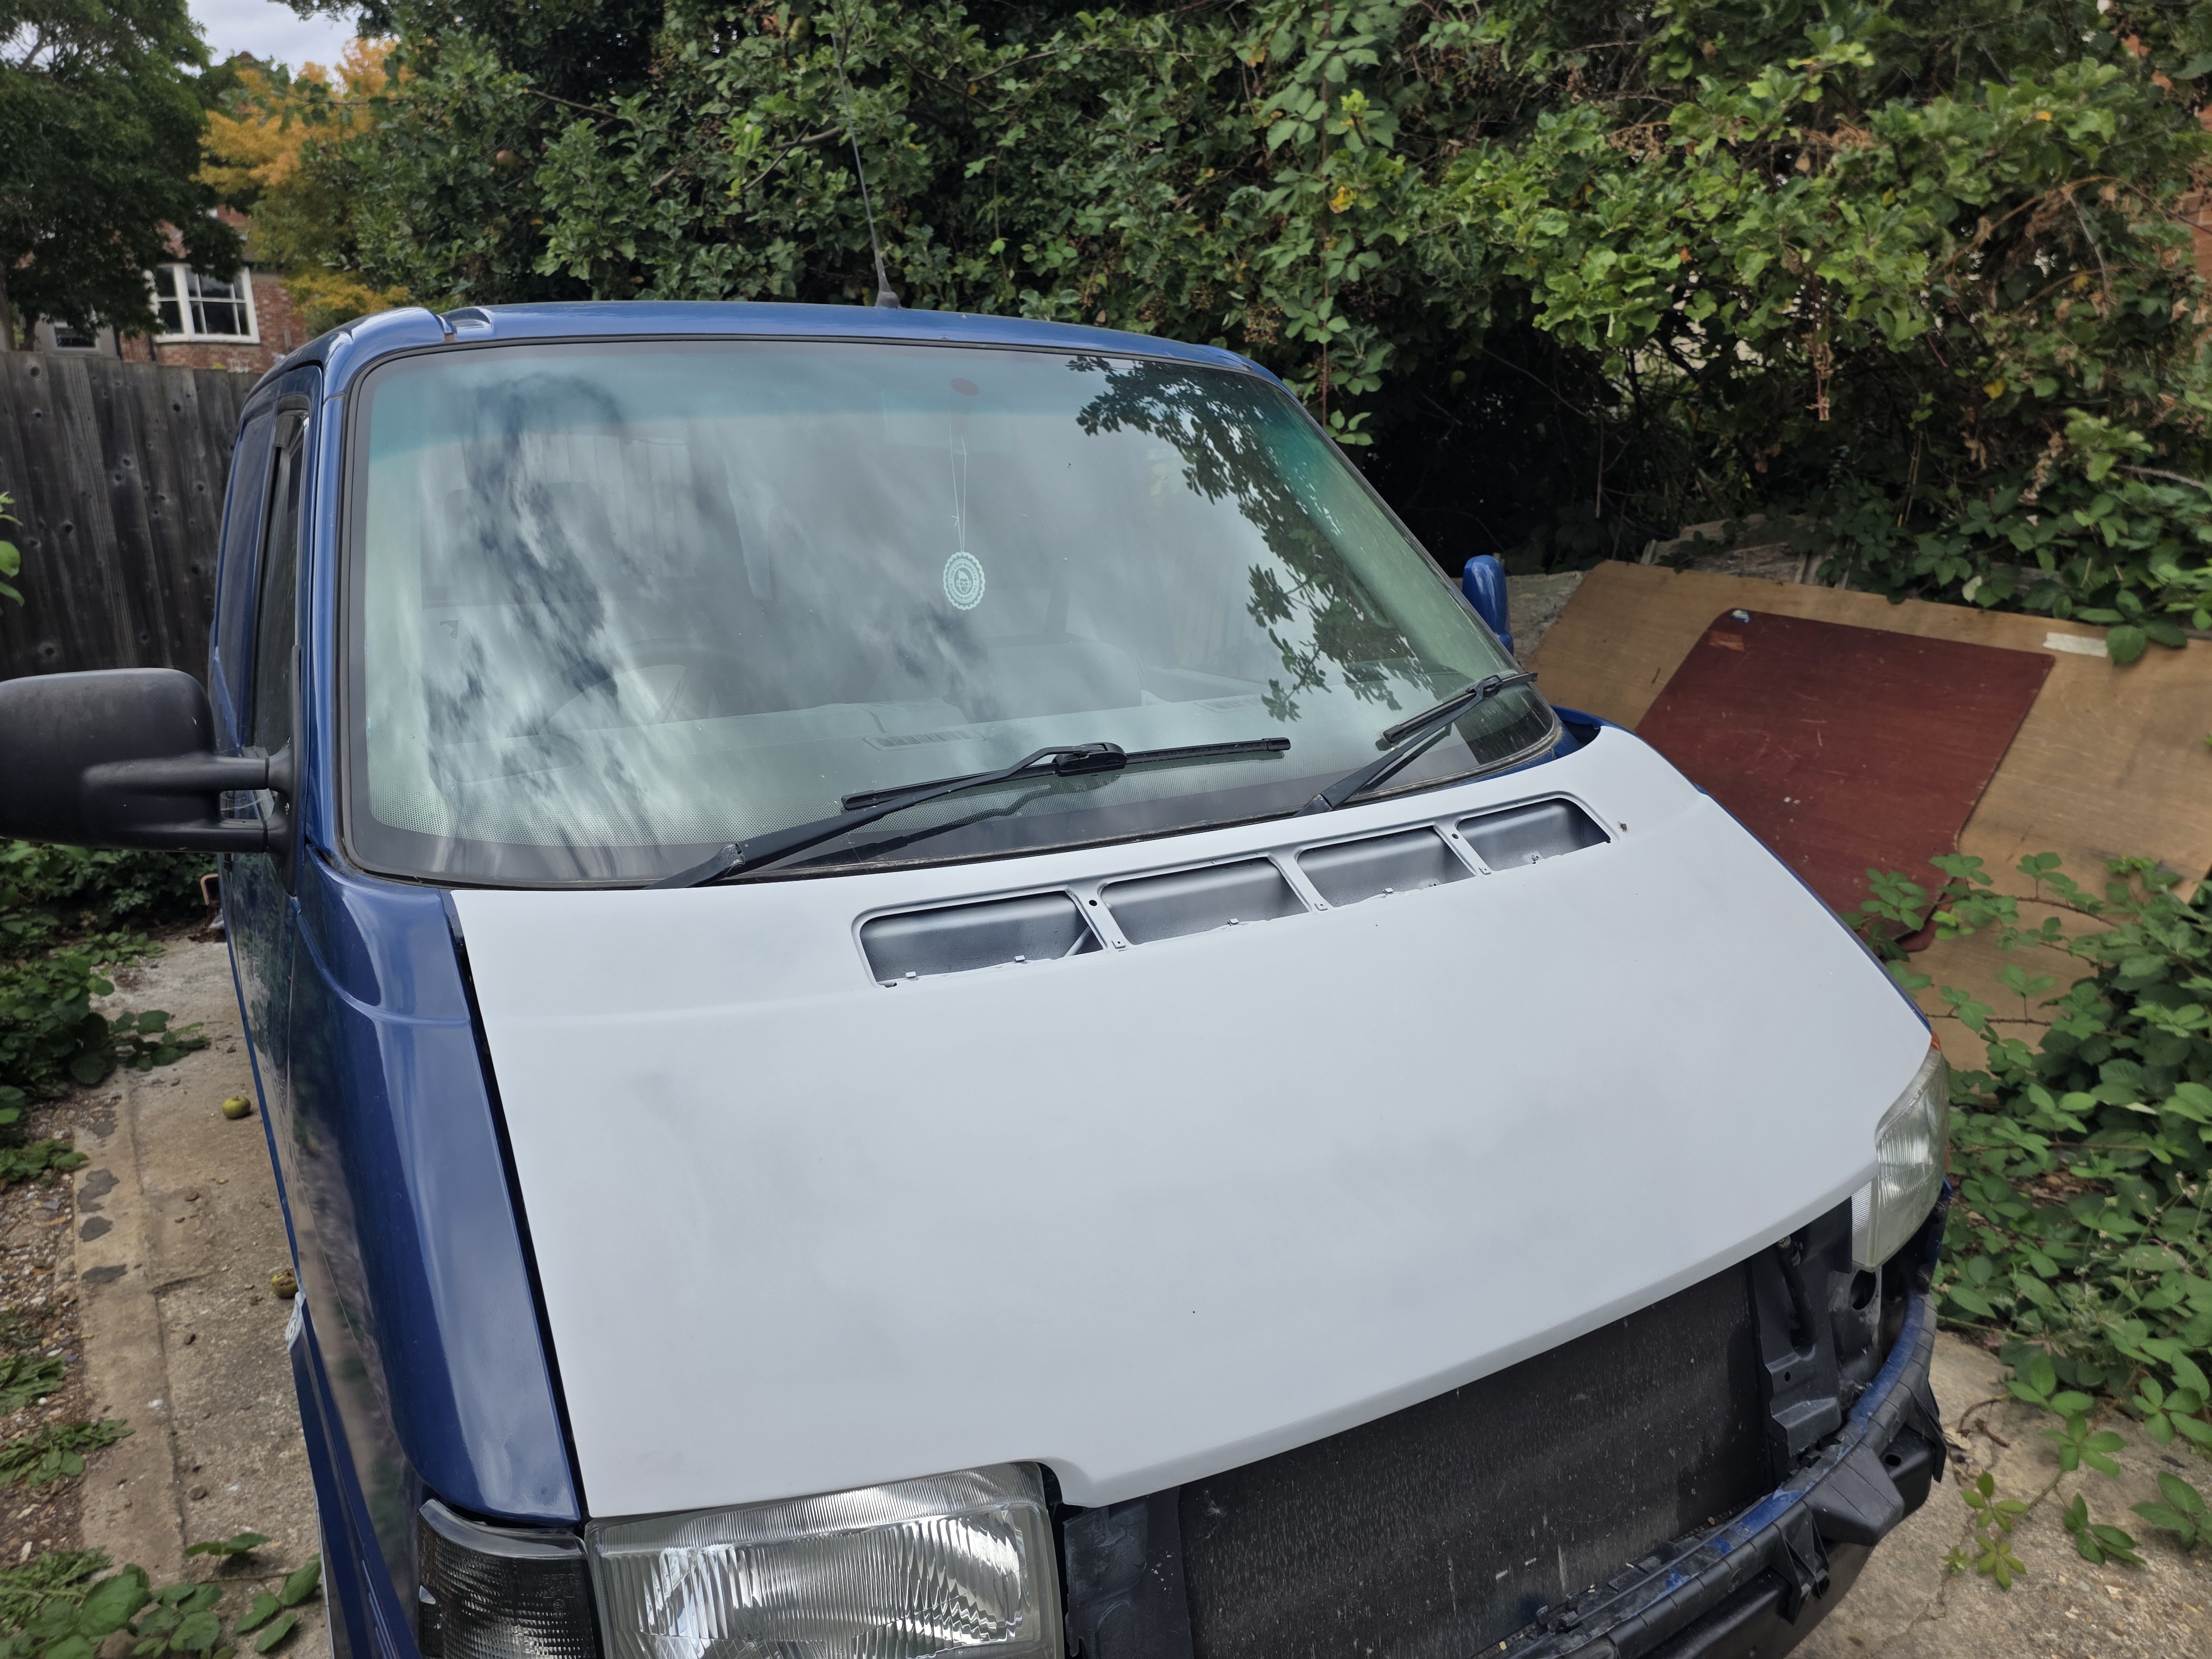
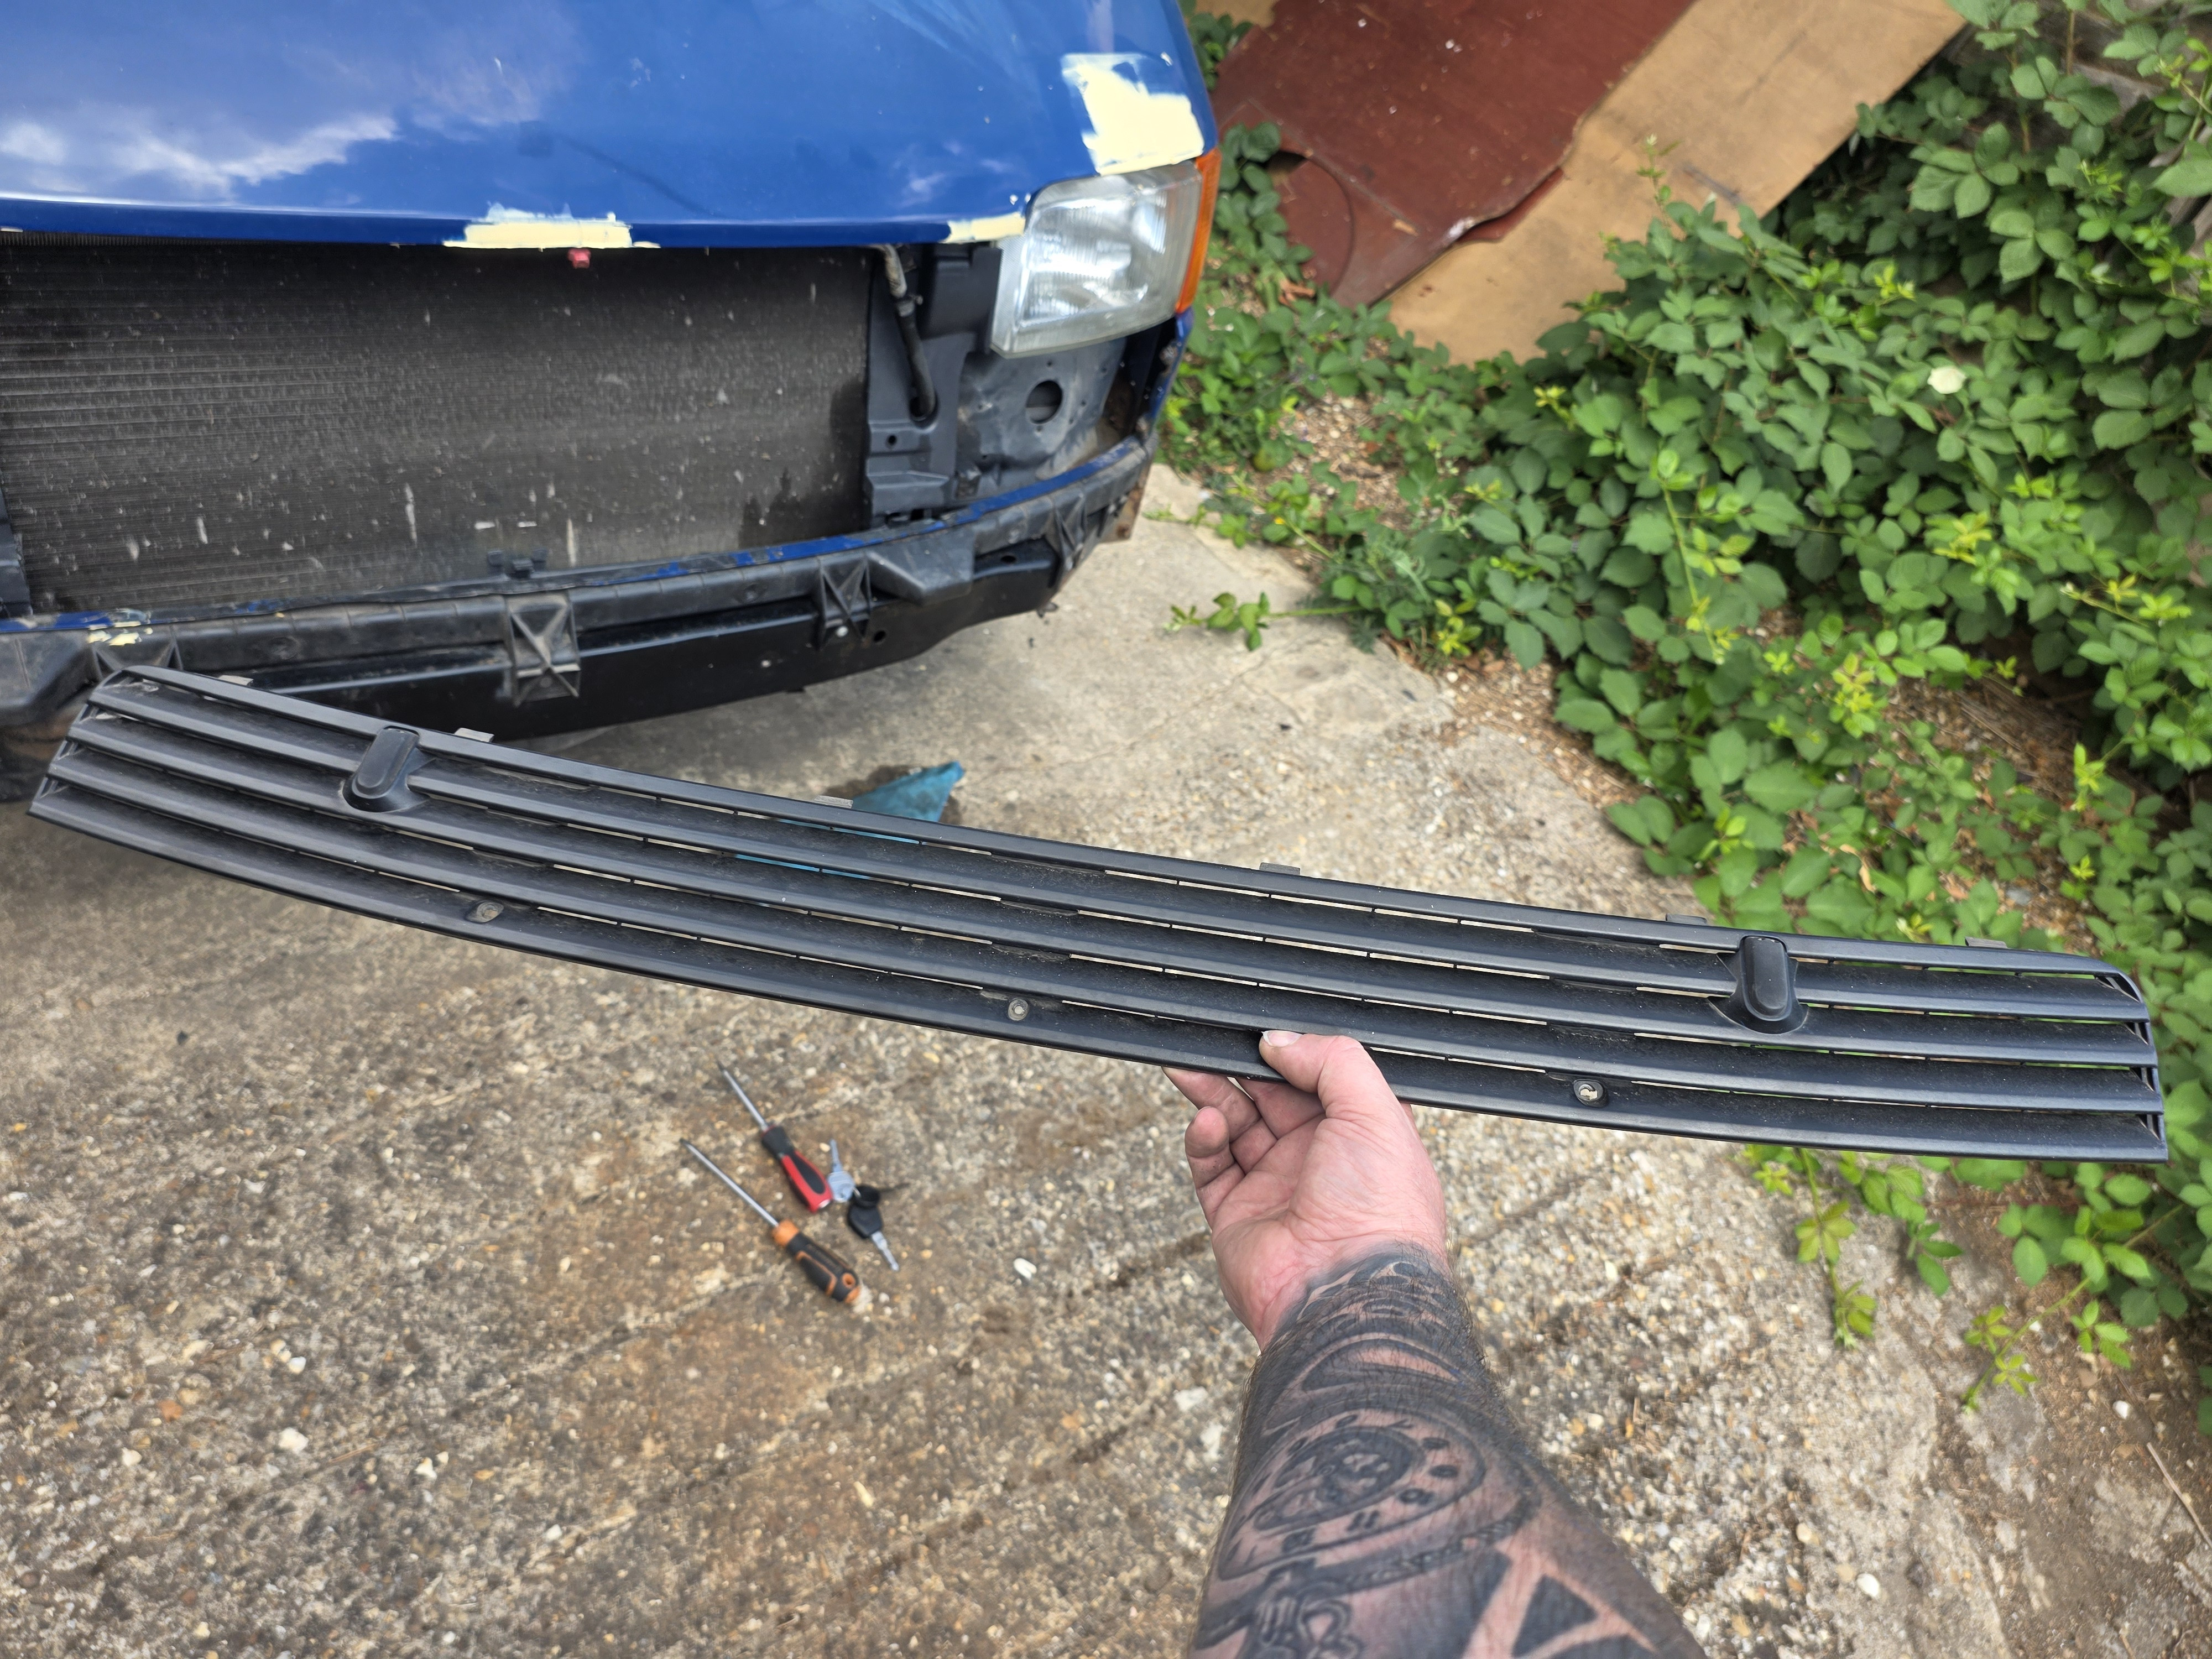
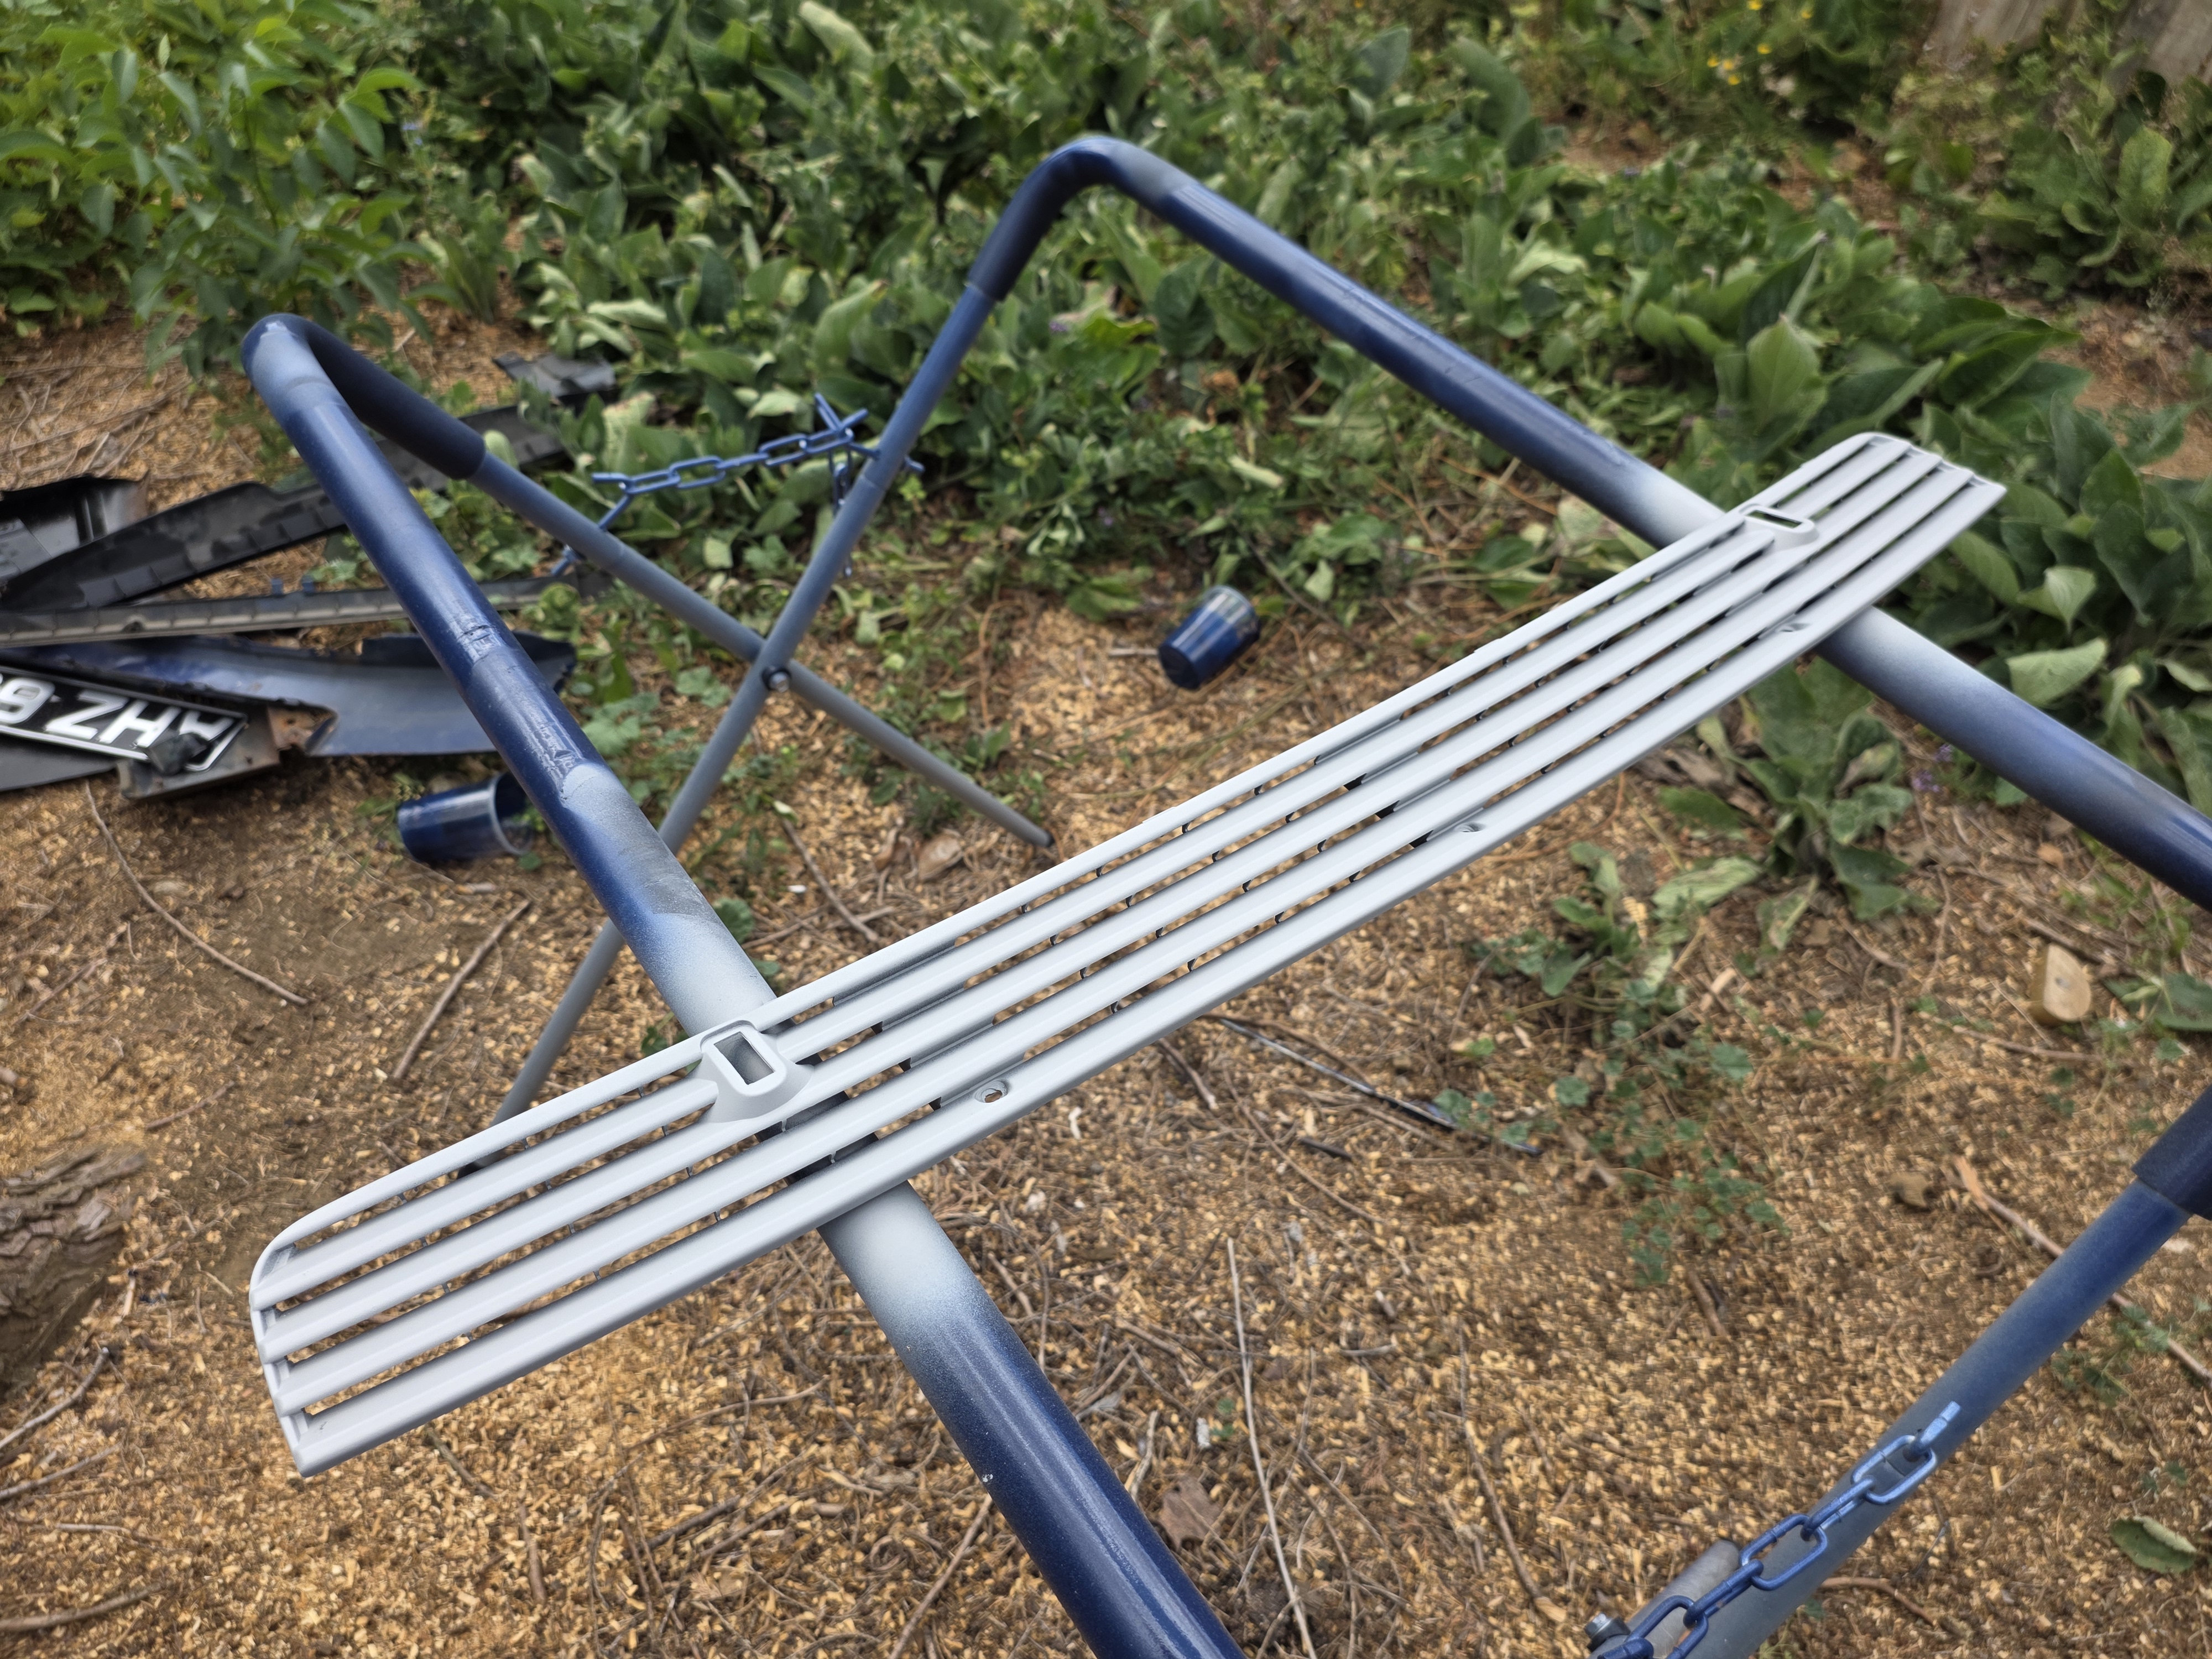
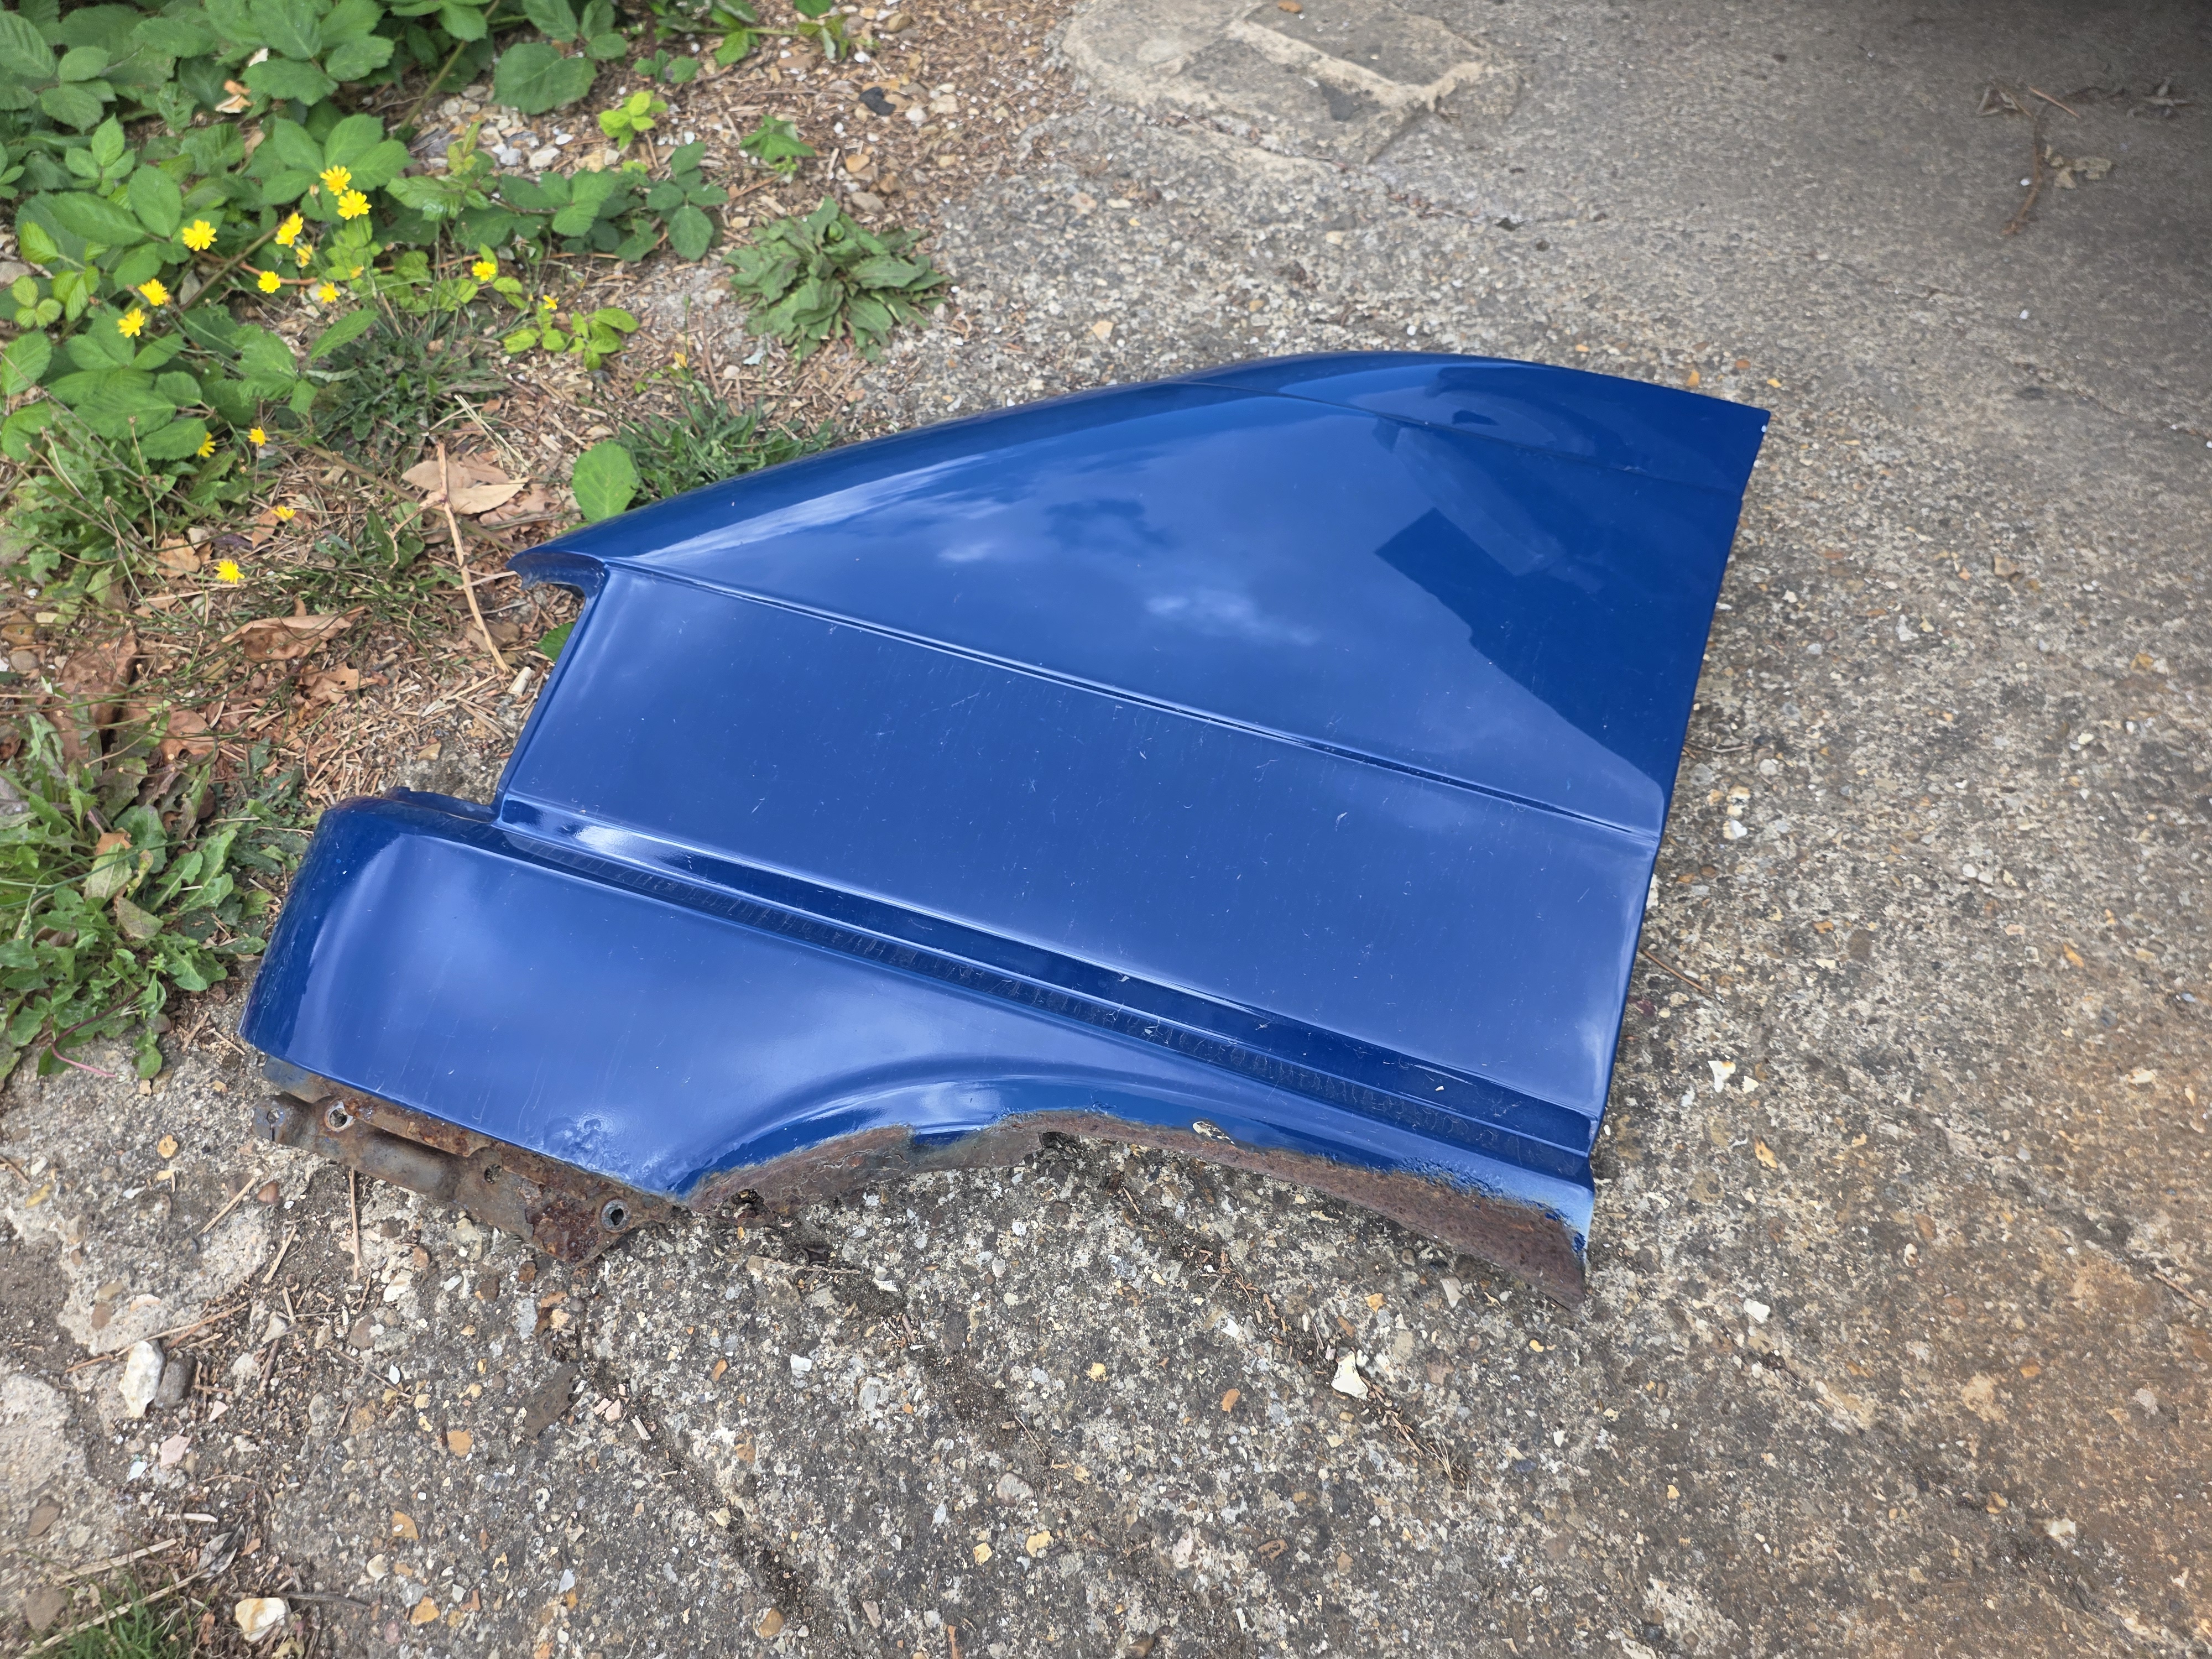
Last thing on this update is the passenger wing was removed as the lower section just didn’t exist any more. This has been refitted so the front end is starting to look quite respectable. Last thing I really need to do is flash over the wing in paint, install the Rivnuts on the passenger side and repair/paint the bumper.
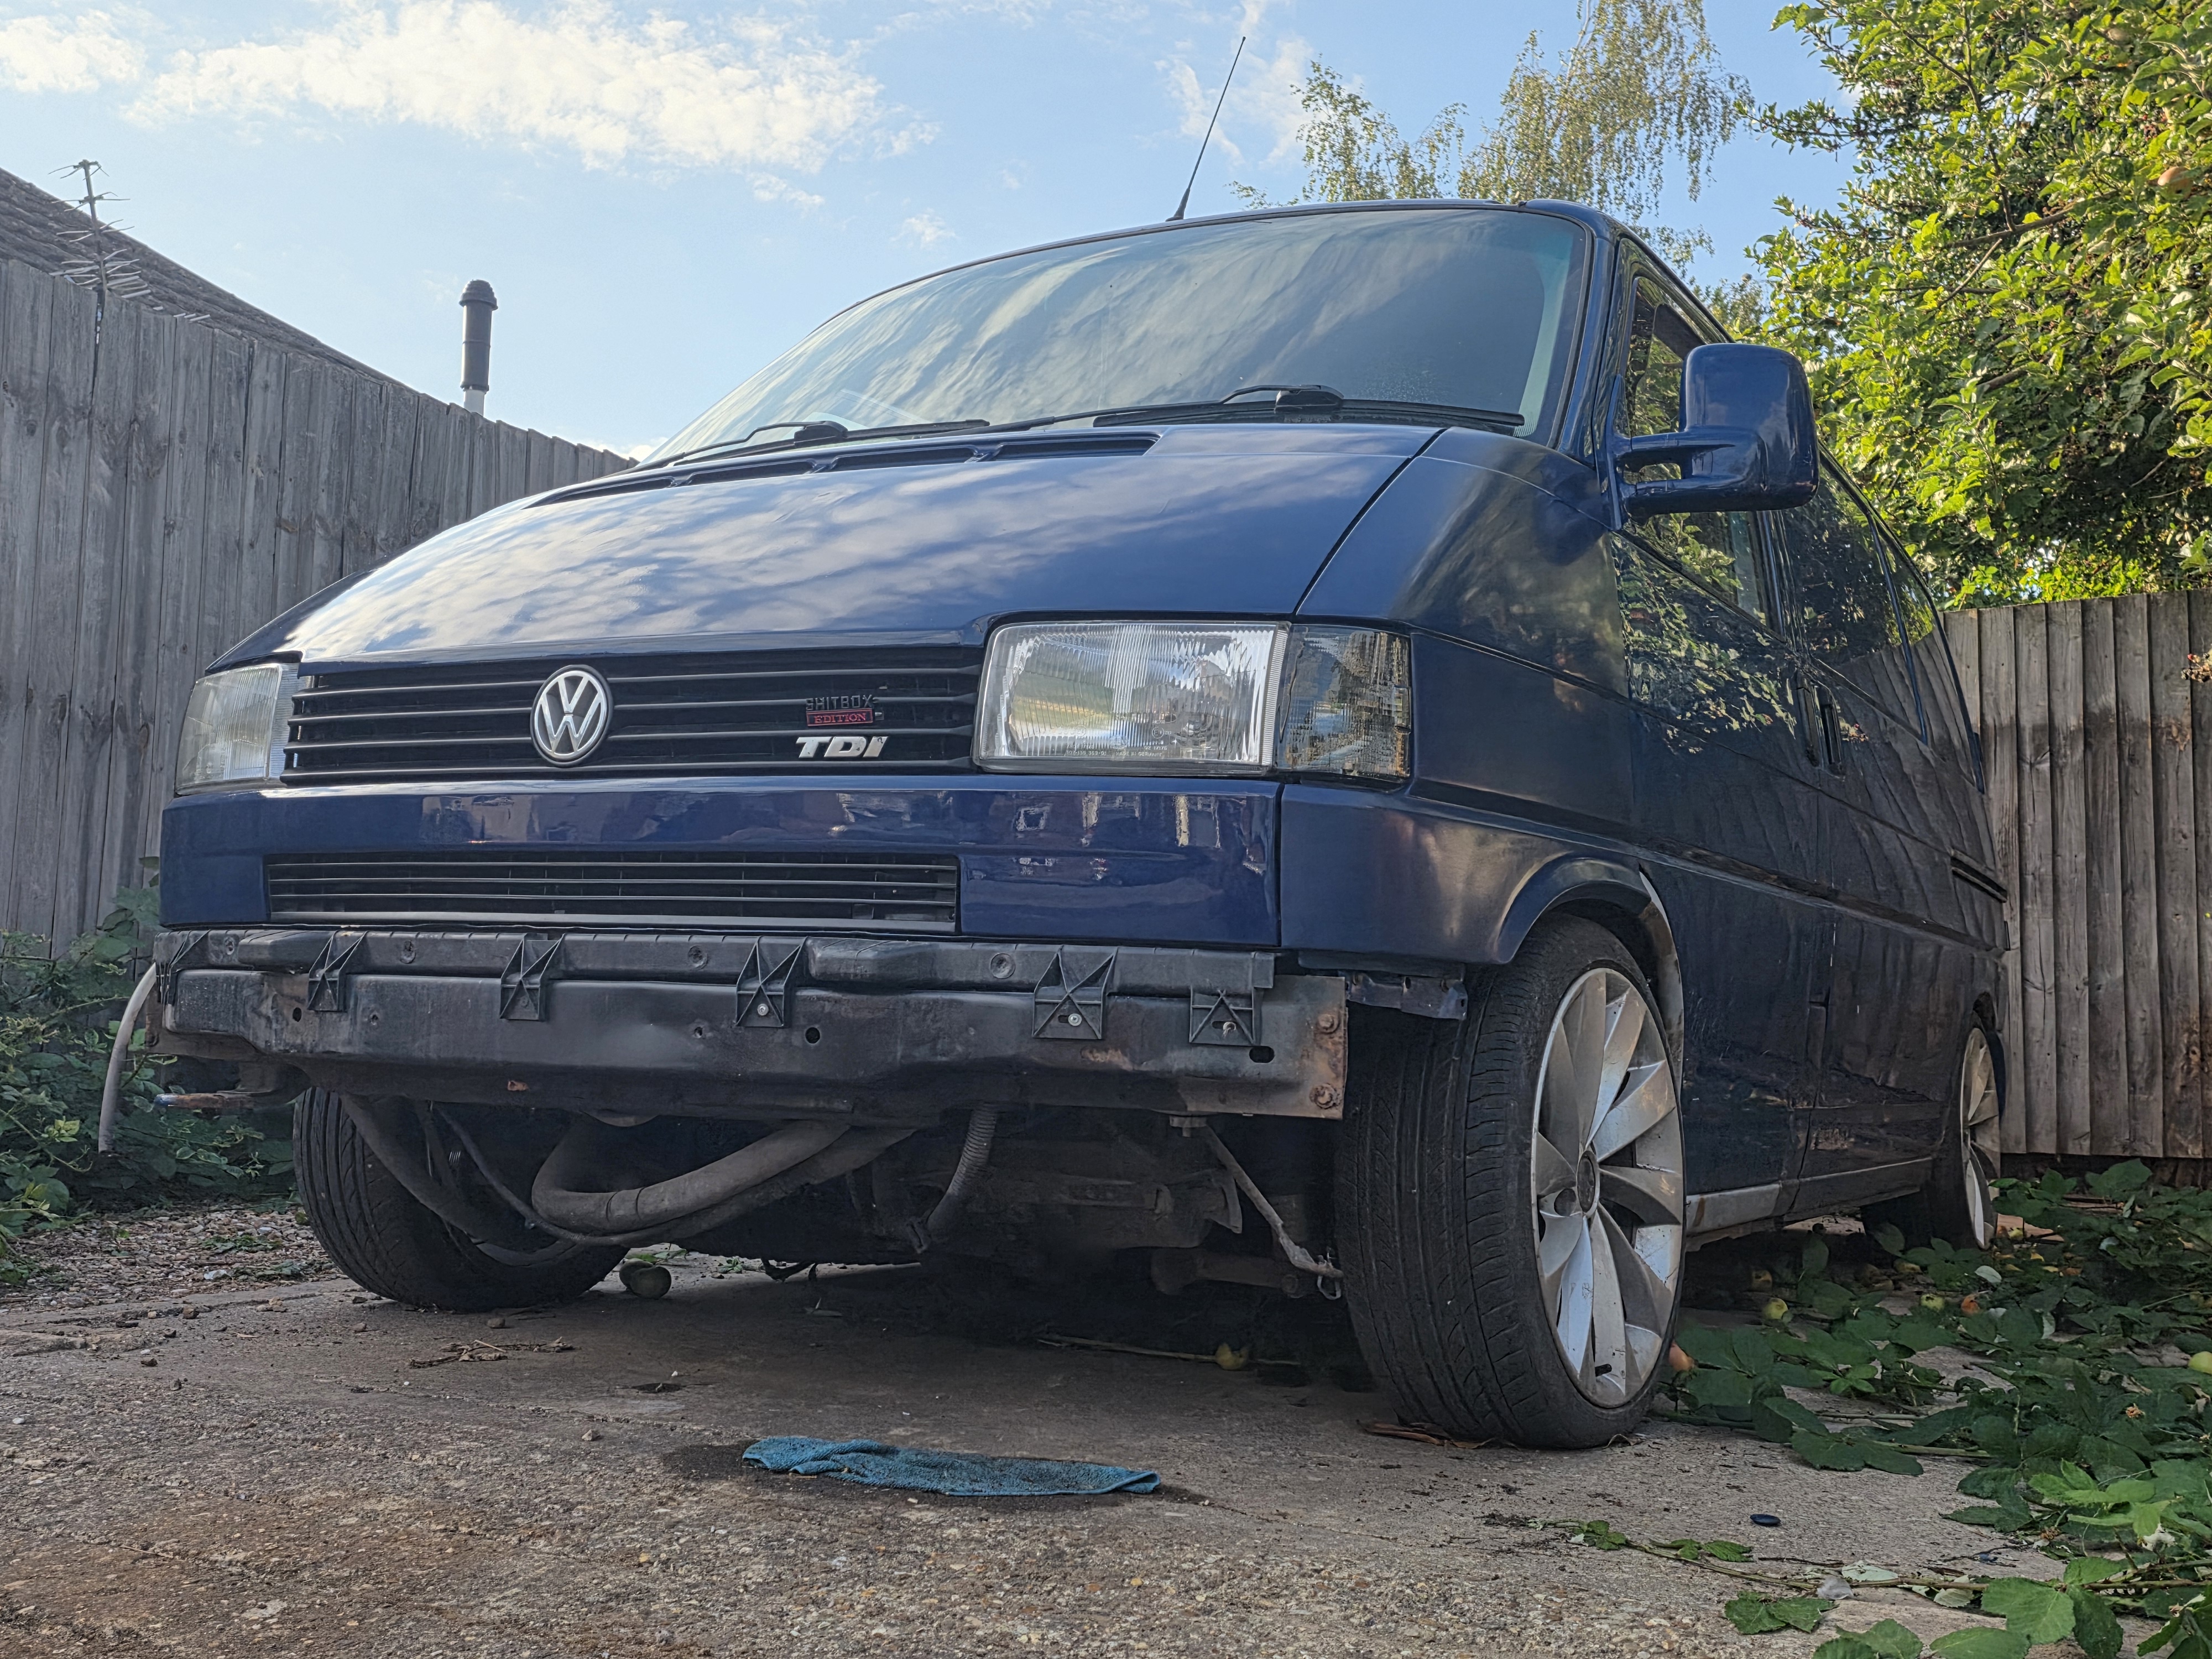
The weather is turning and given I have to build this outdoors, I have now shifted focus to what prep work I can do now to ensure that I am able to work on the fit out of the van over the winter, pushing things forward. There are a few things that I HAVE to do while the weather holds to allow that to happen.
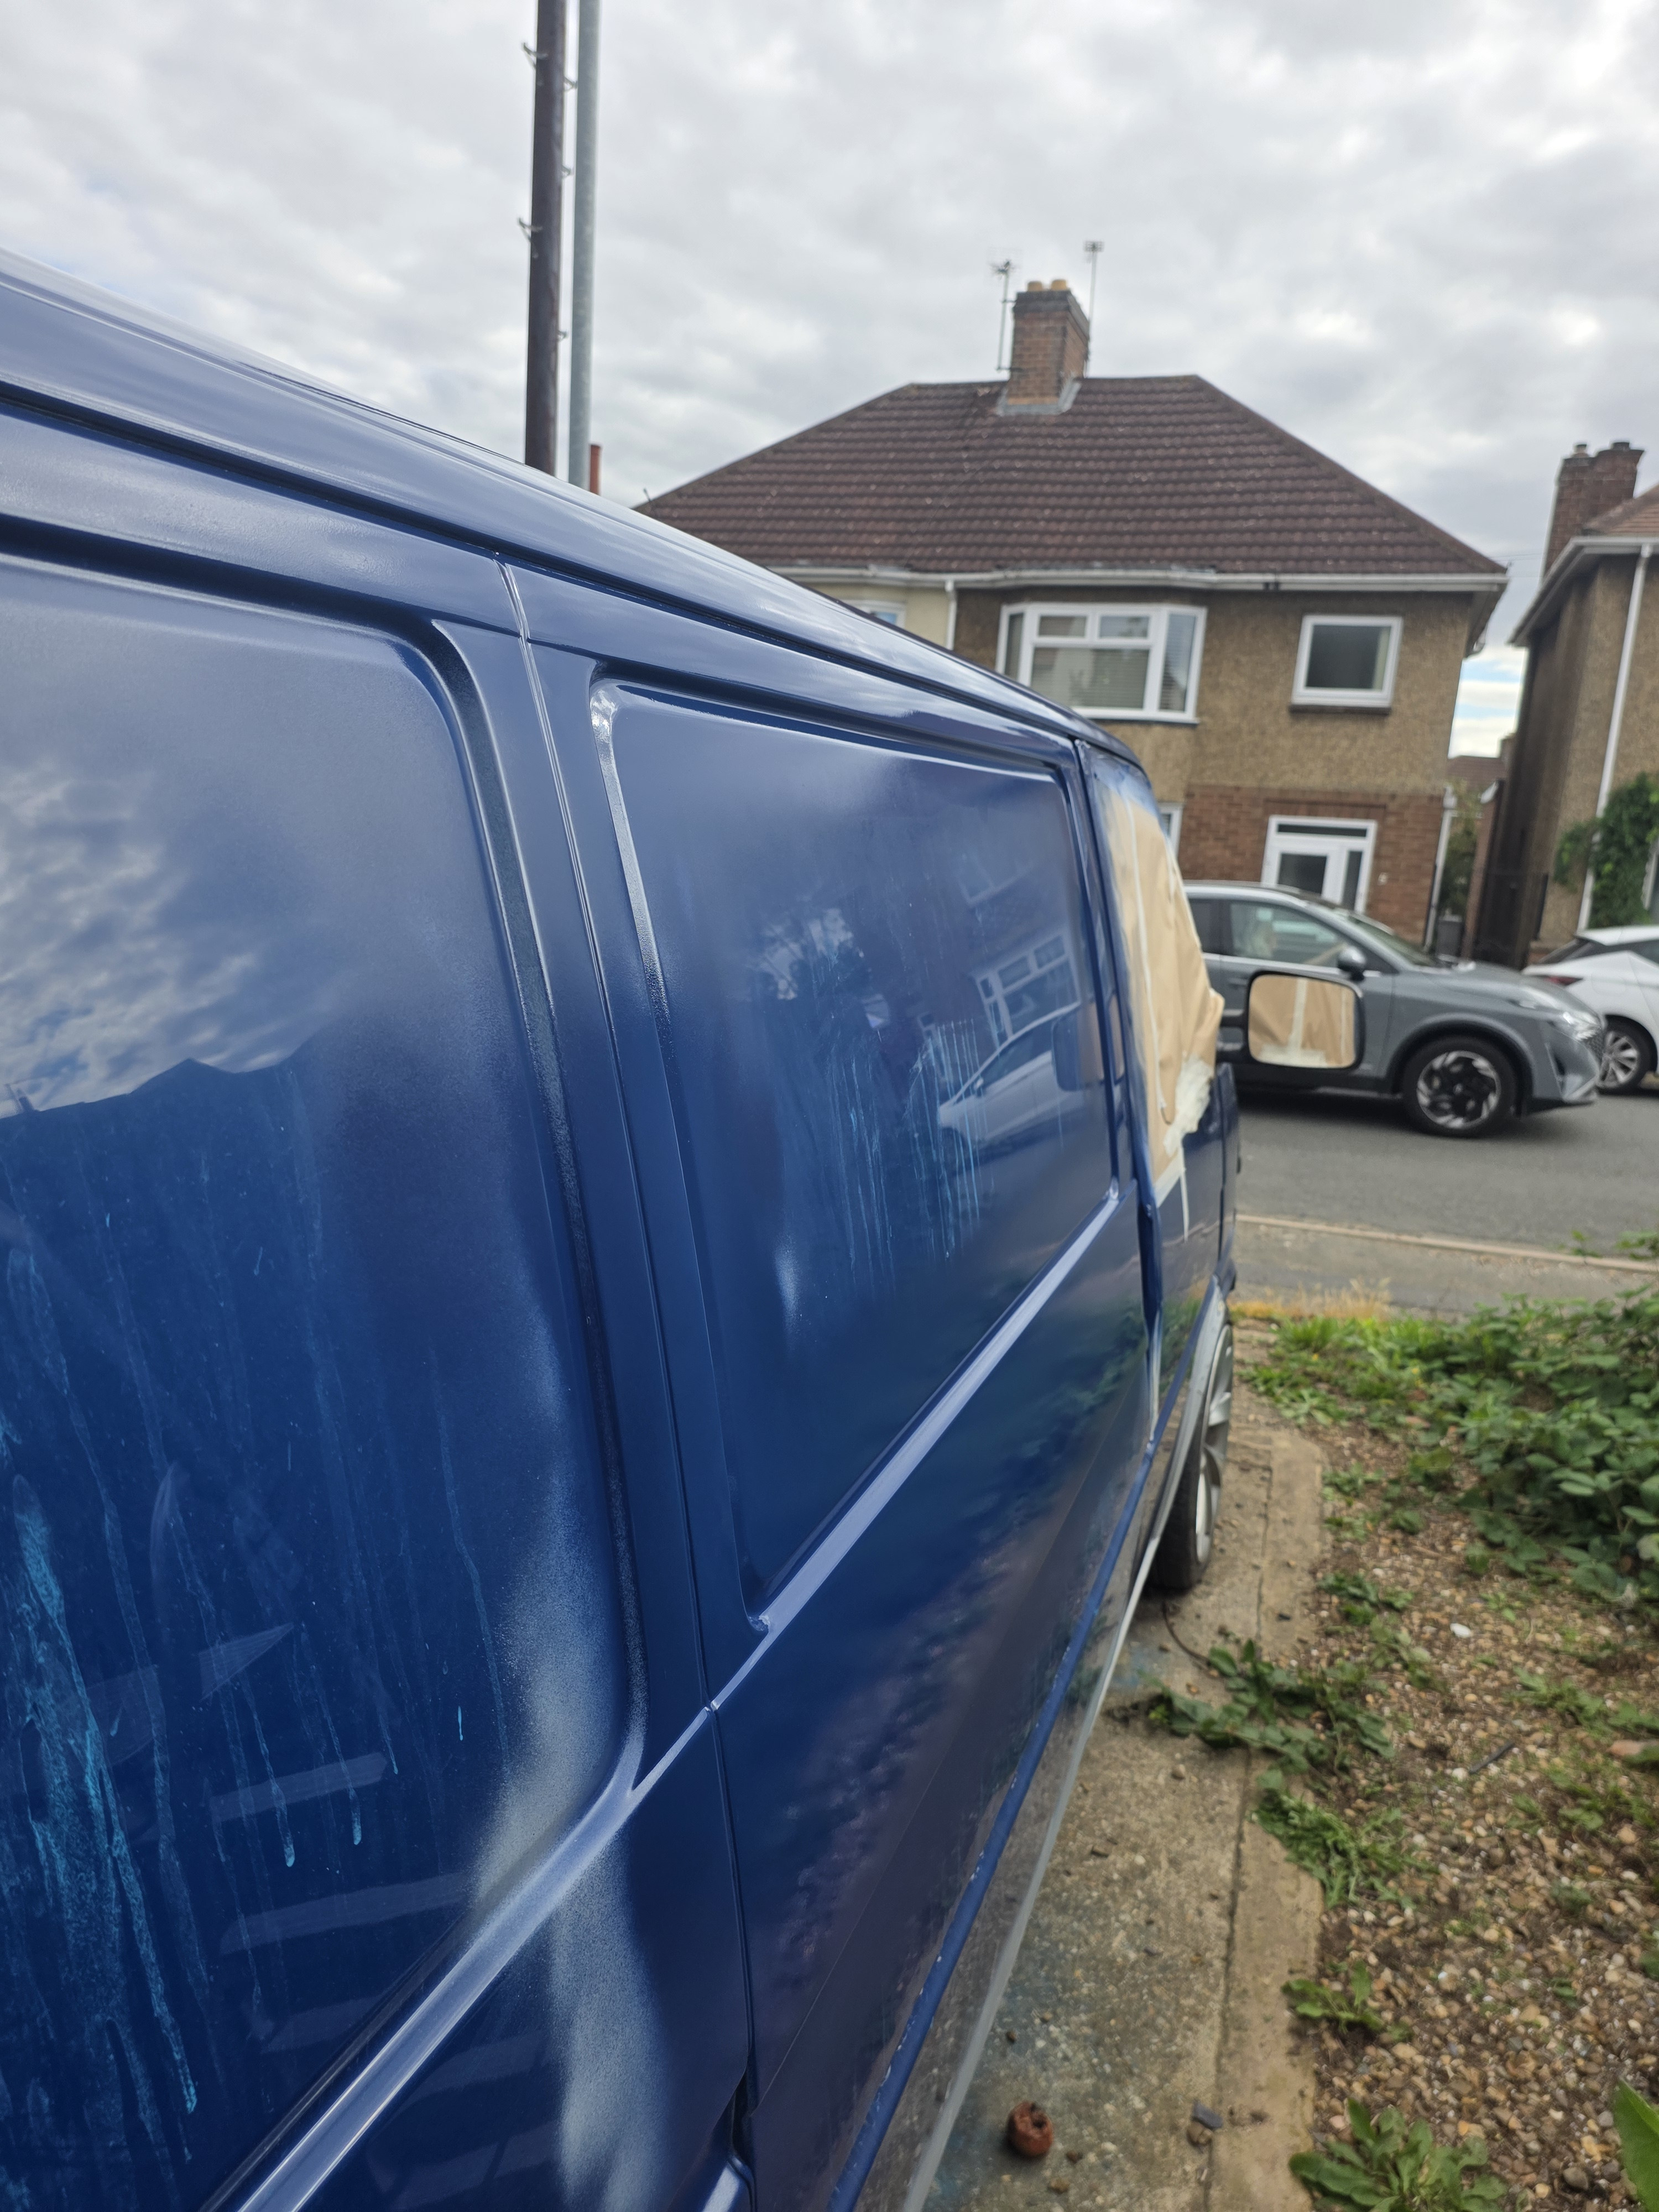
I am fitting a full solar system to the van, running through a Renogy 30A DC MPPT split charging system. in order to be able to fit the ceiling board to the van, I have to get all of the solar and other bits installed on the to the roof to allow the wiring to be routed through behind the ceiling. On top of this, I need to get the window installed in the fixed side of the van. In order to do this, I need to get not only the roof, but the side panel of the van prepped and painted prior to installing this stuff.
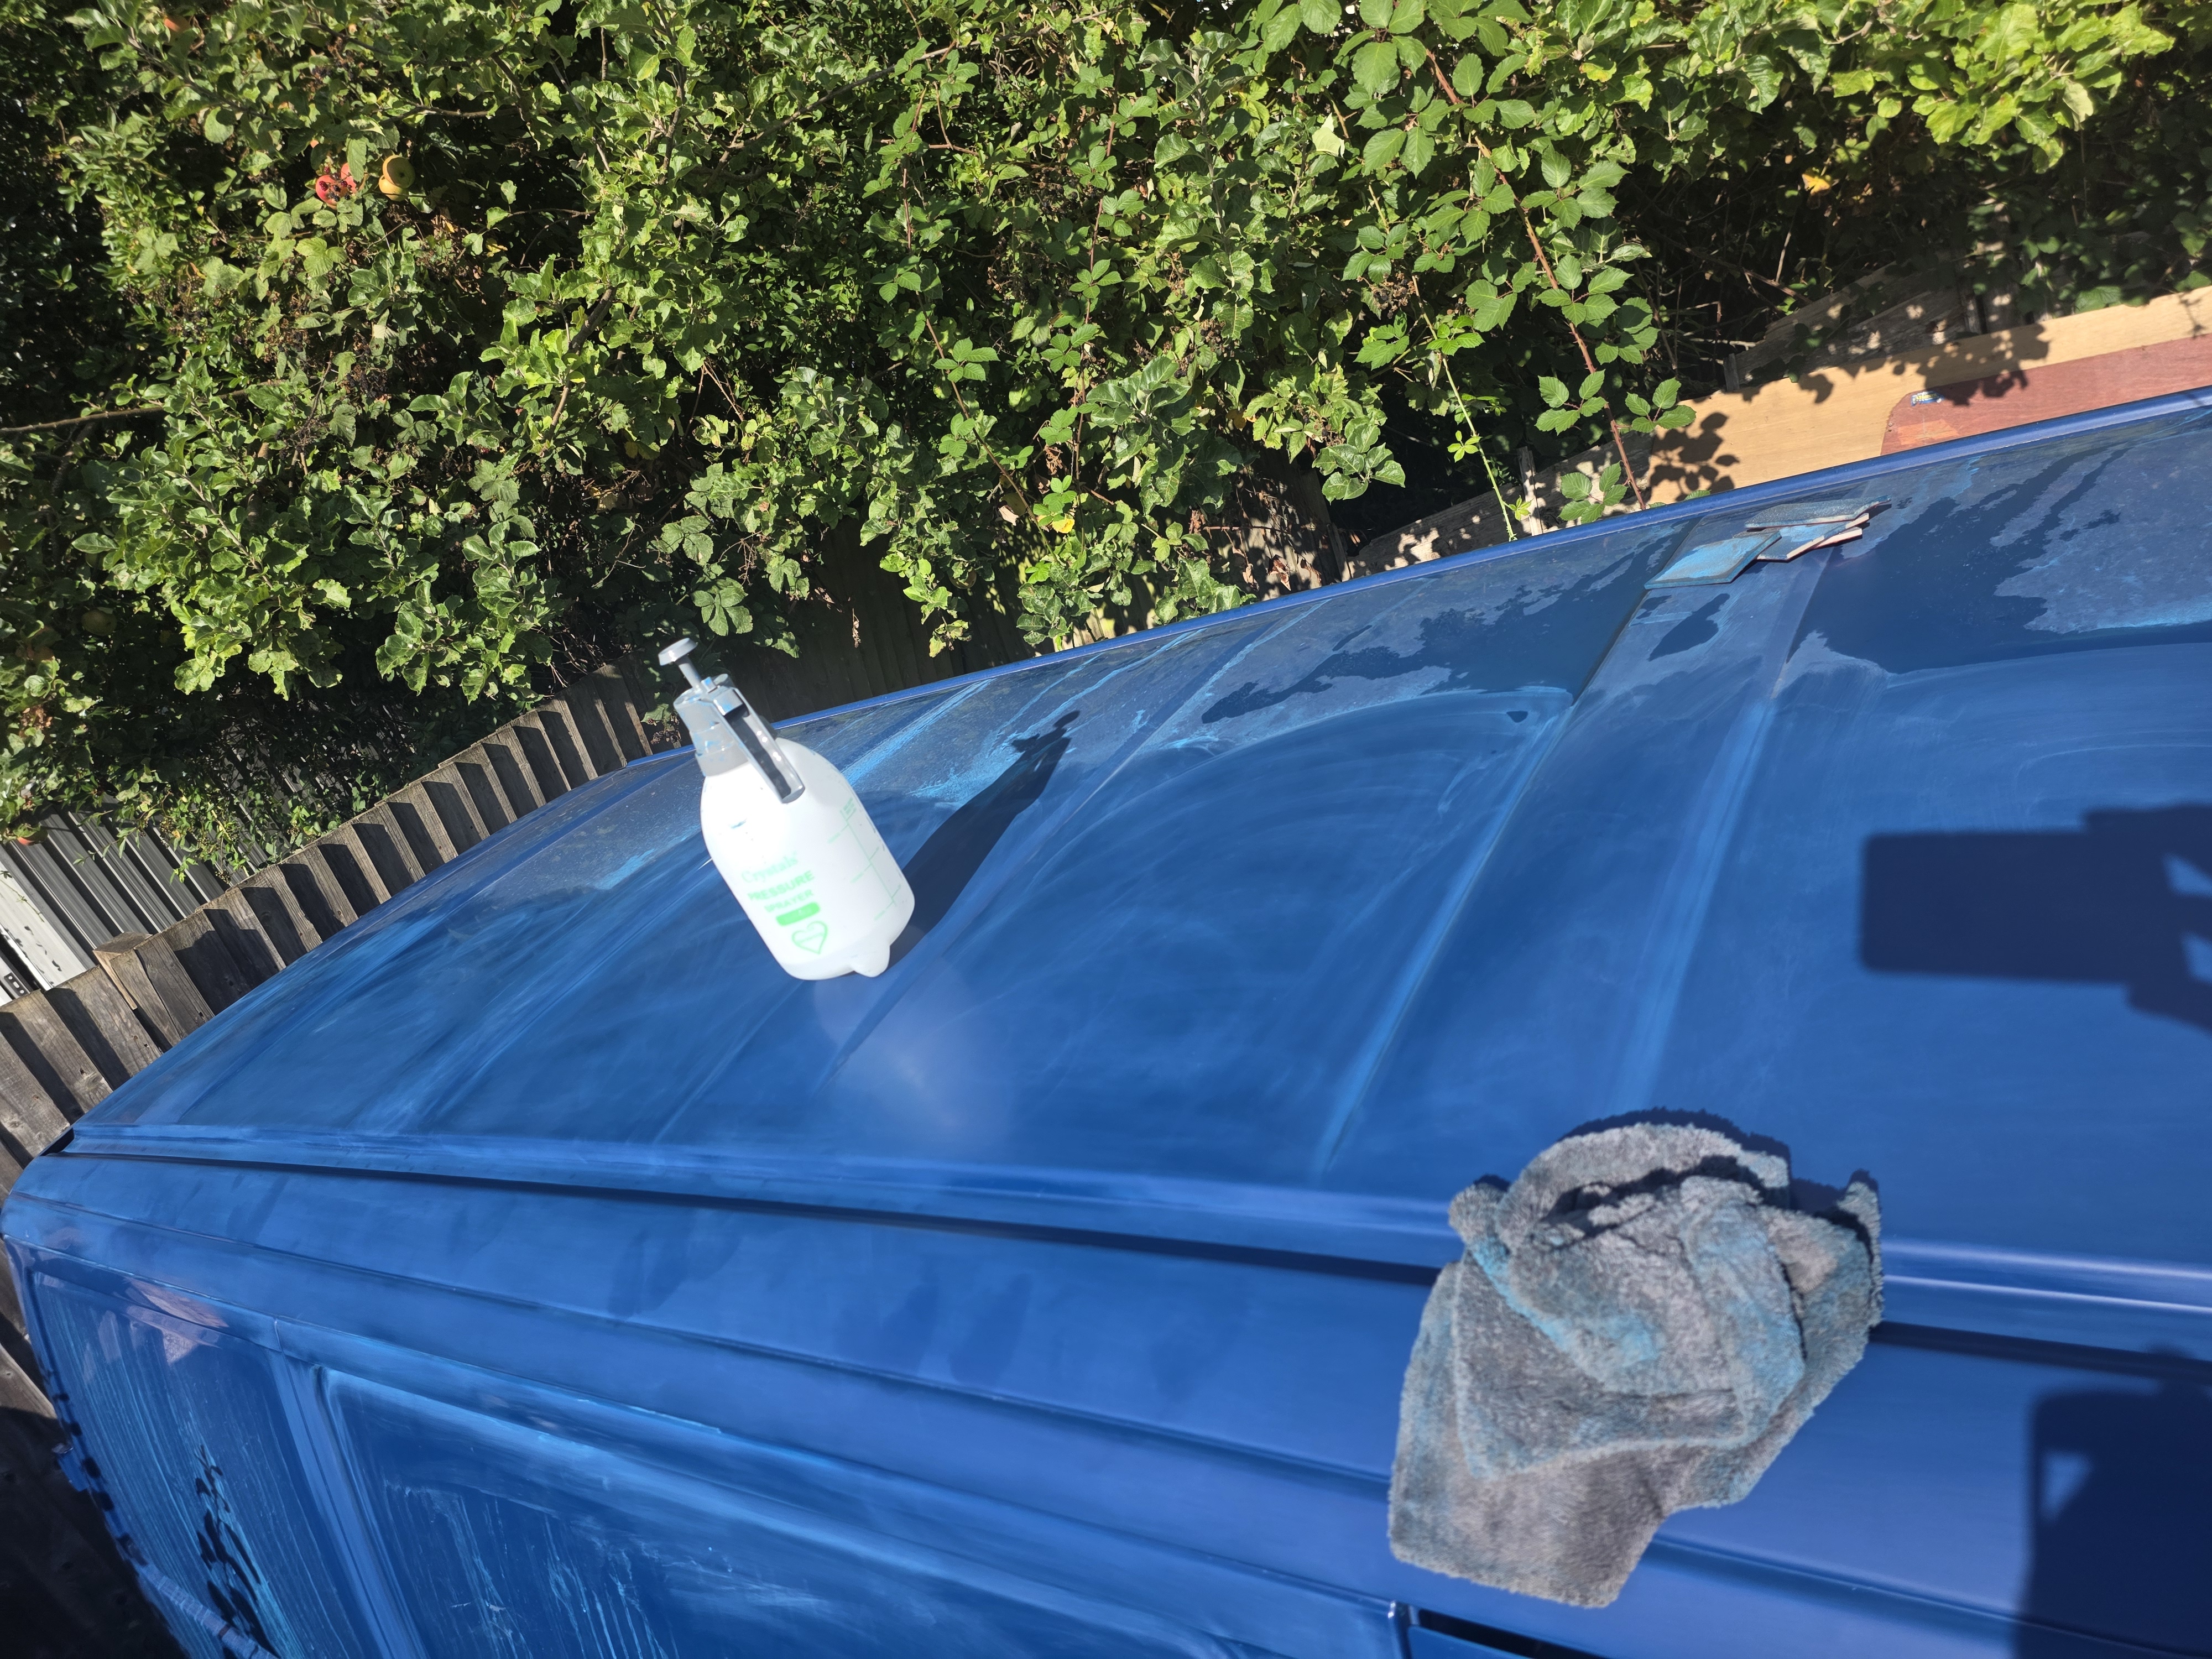
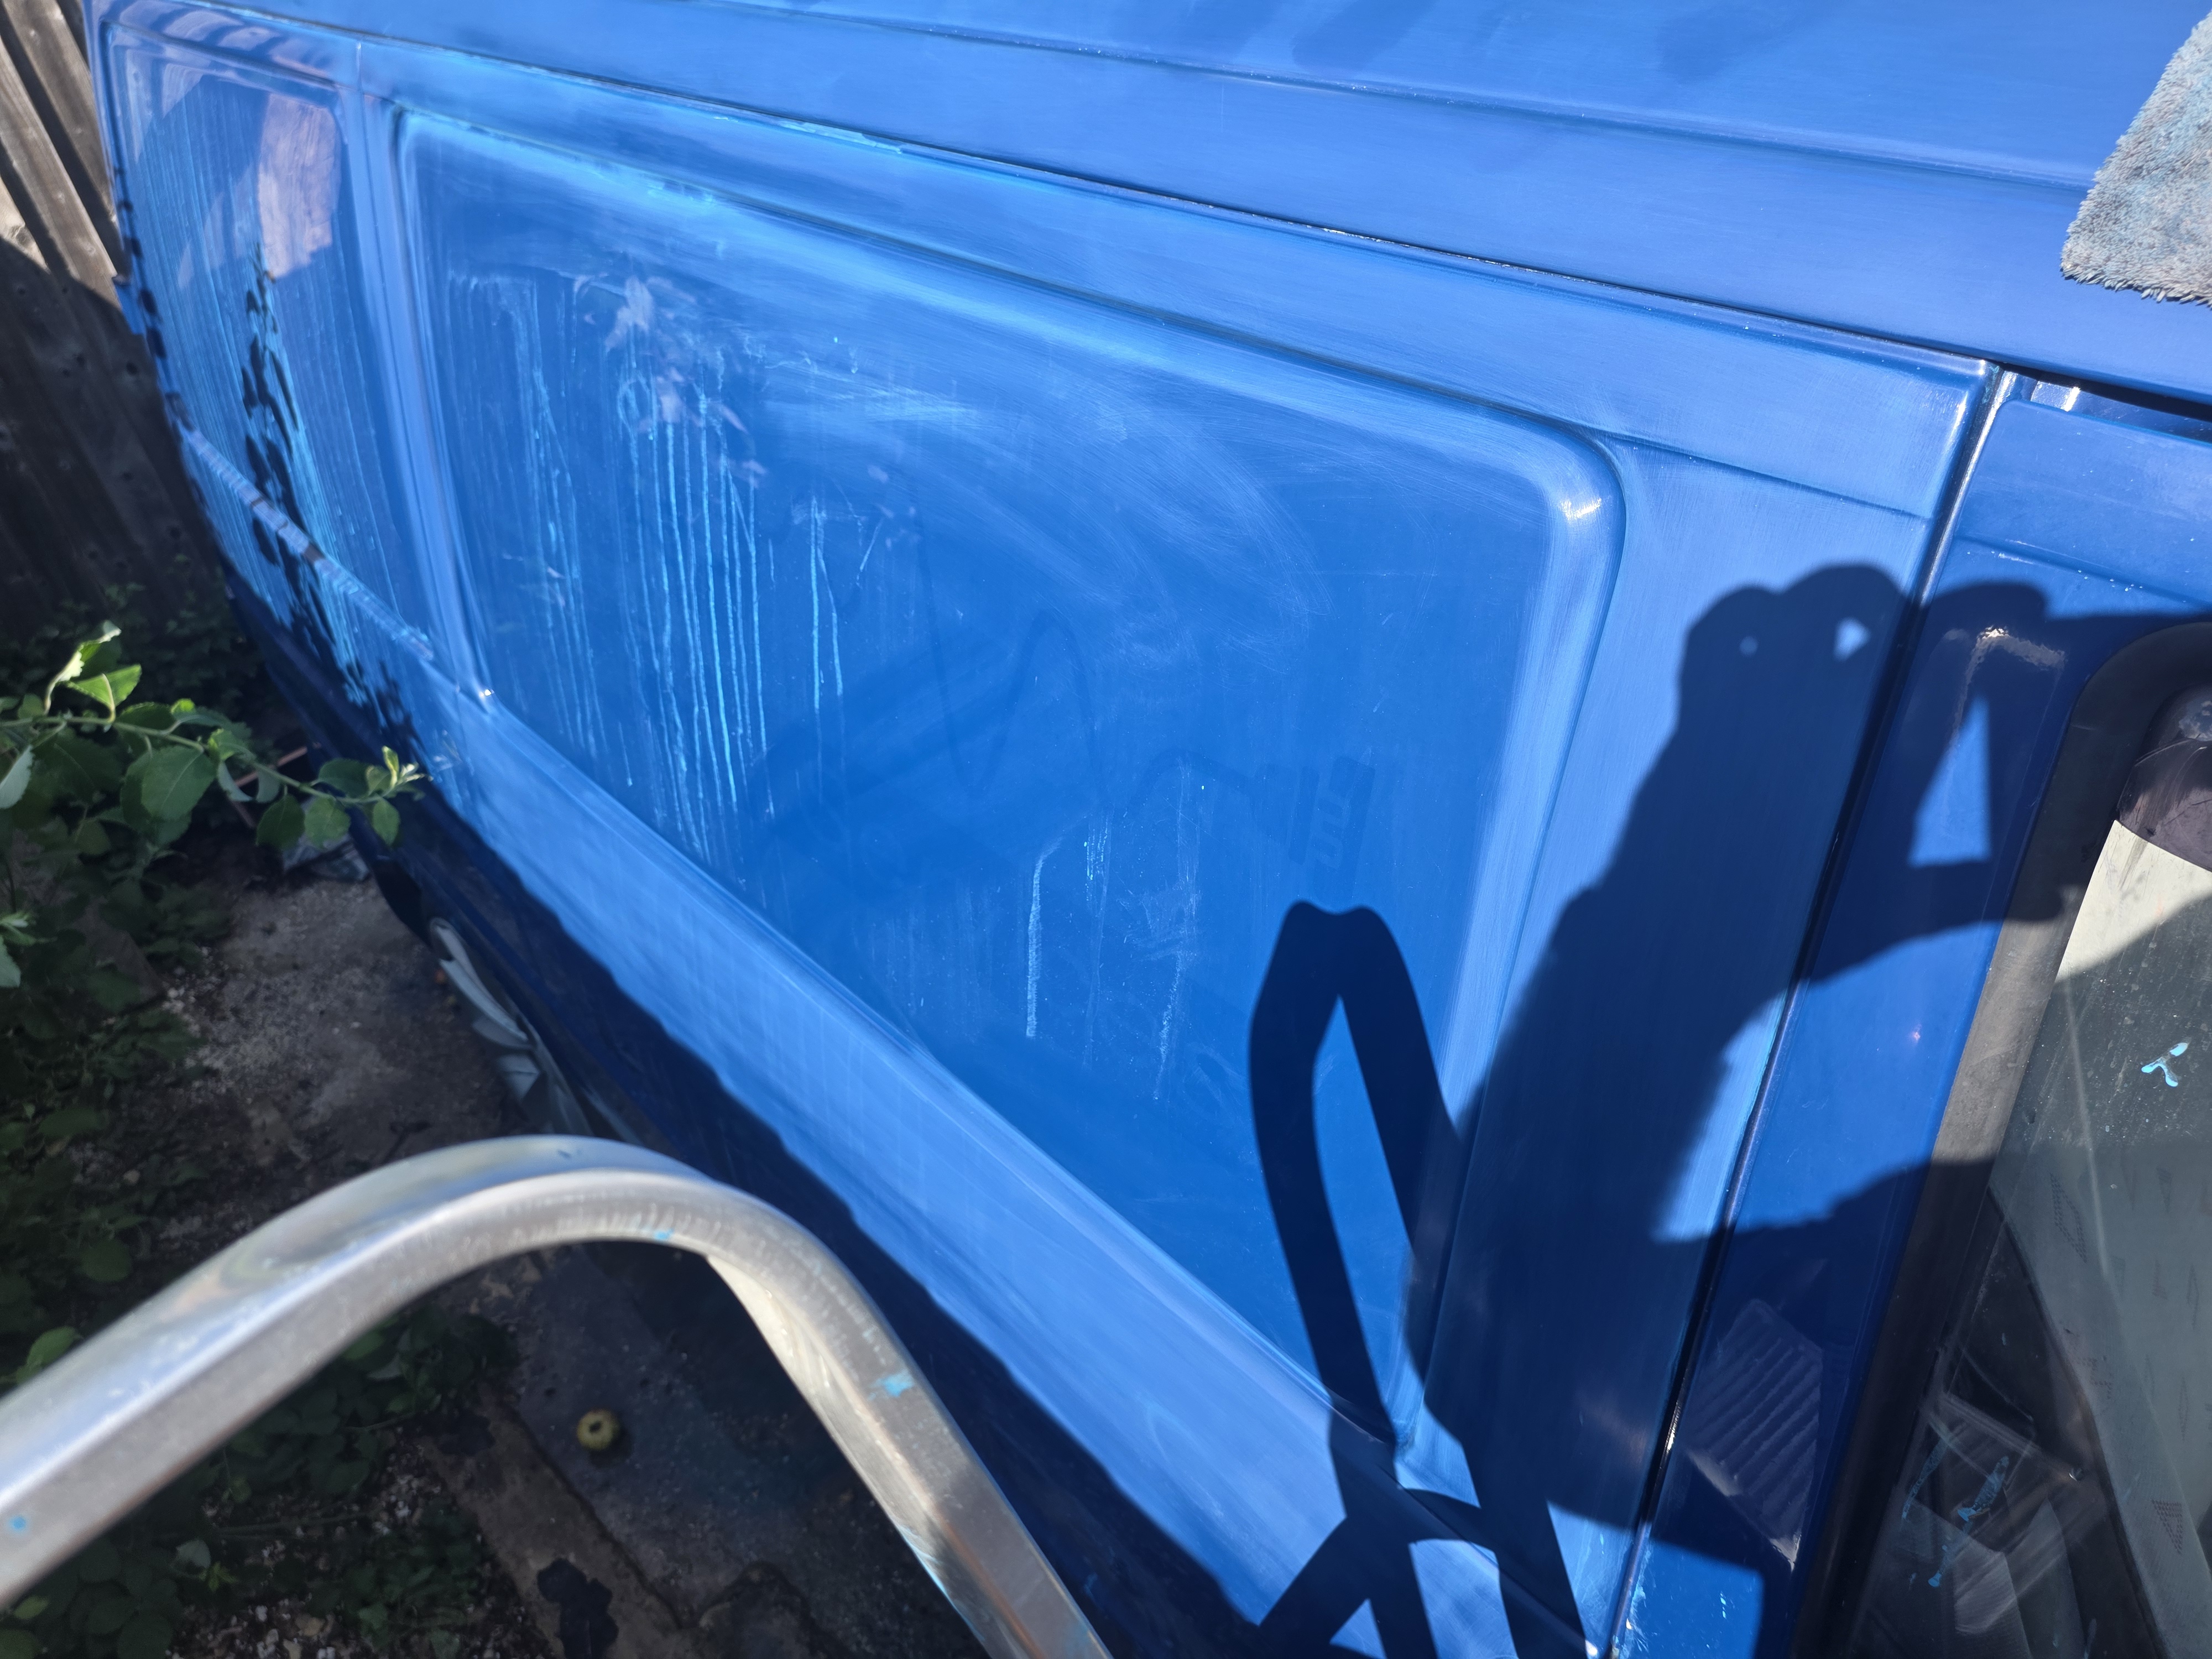
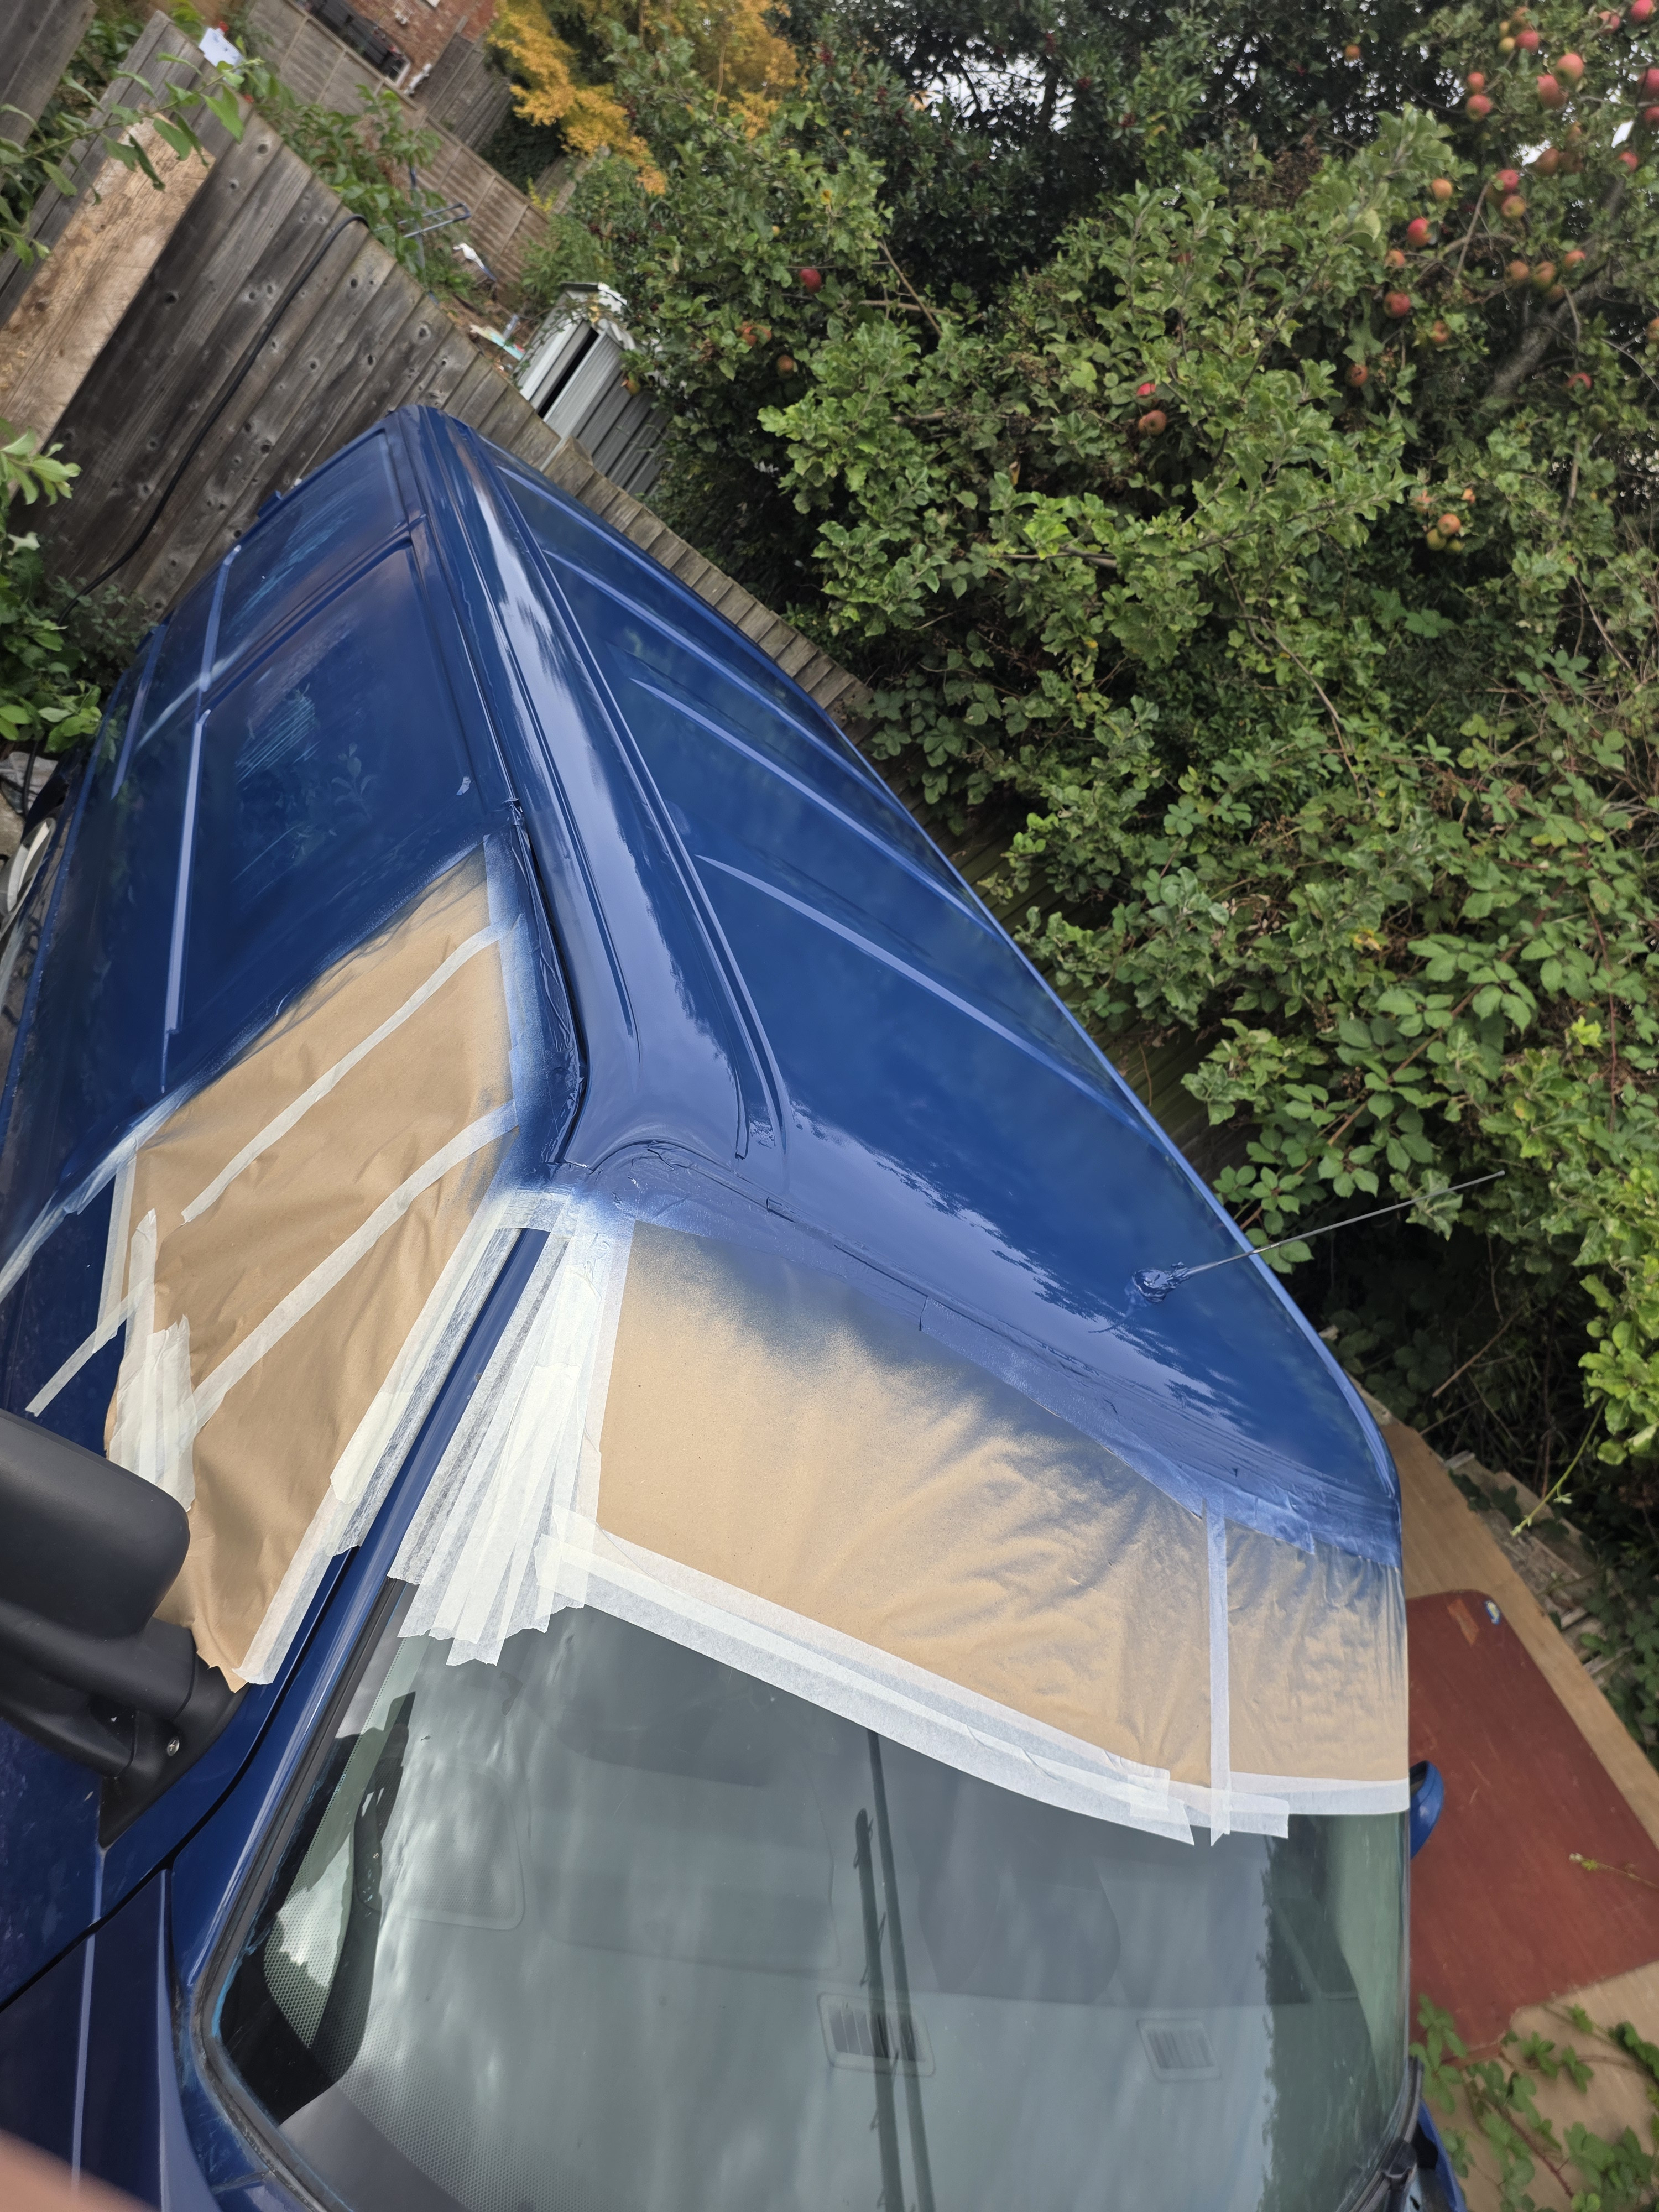
I have come to the conclusion that painting a T4 roof is not the easiest thing in the world to do!! Didn’t take a pick prior to the colour going down but rest assured, it was properly flattened and cleaned prior to paint
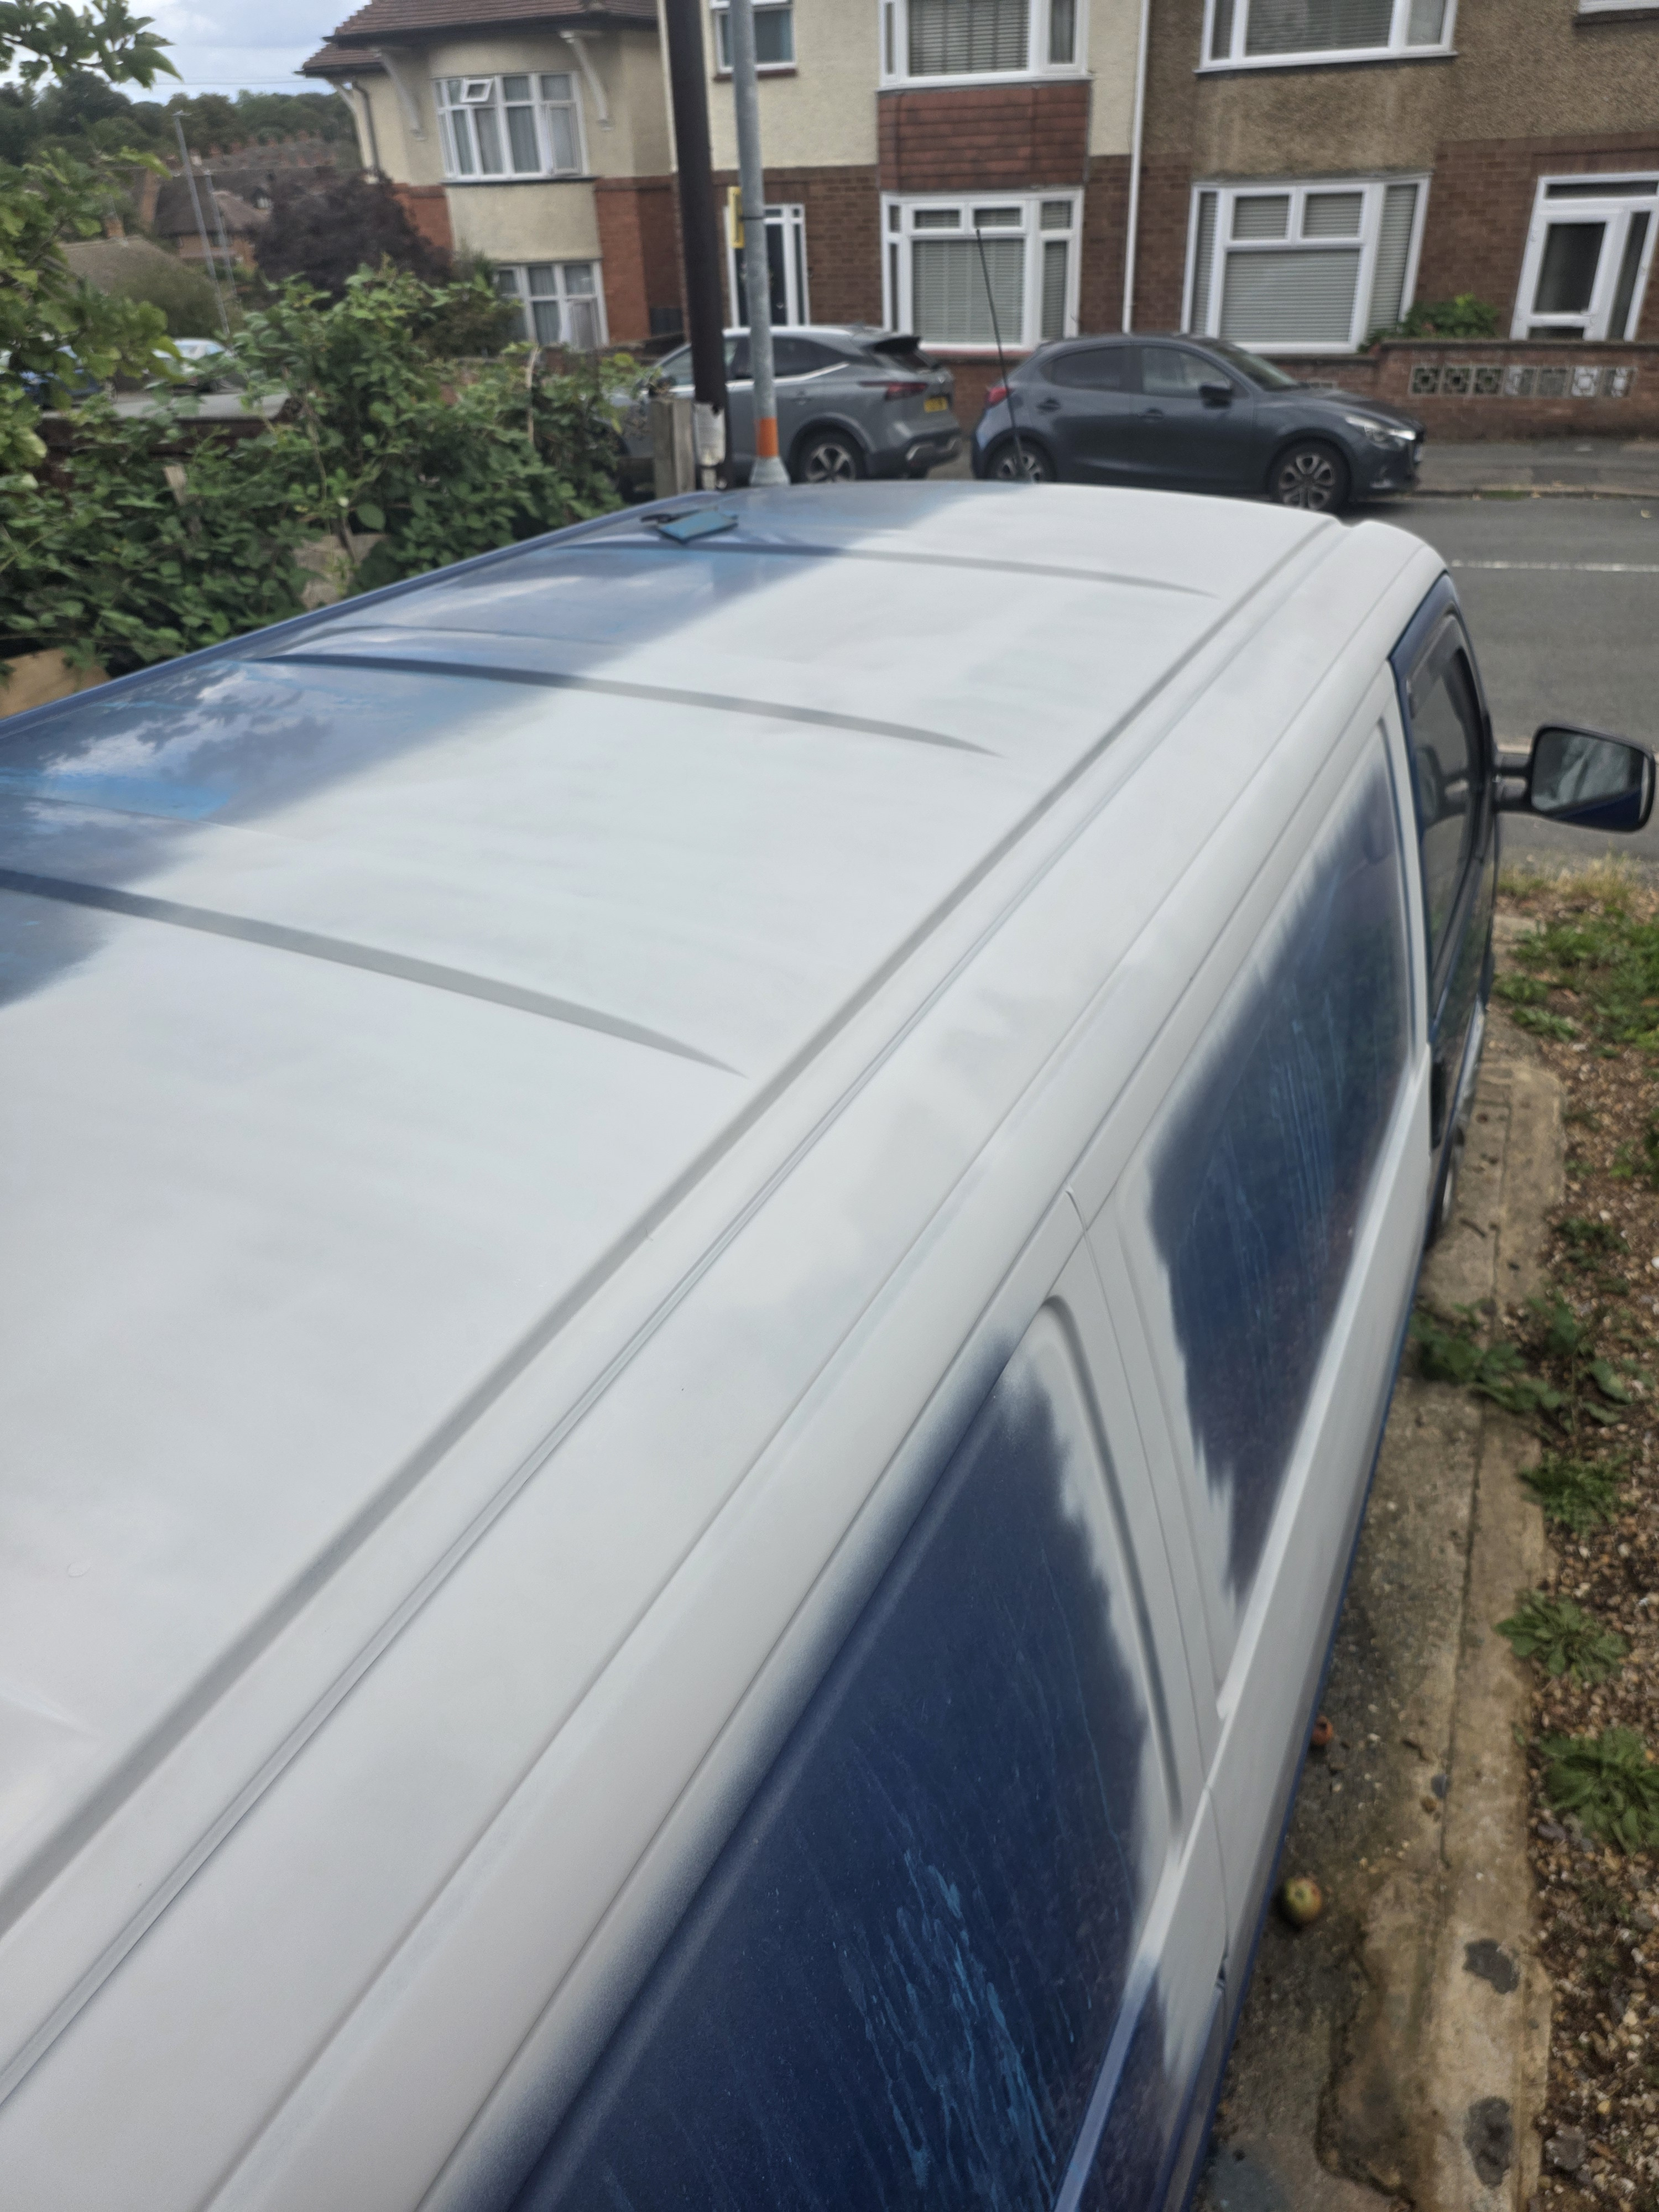
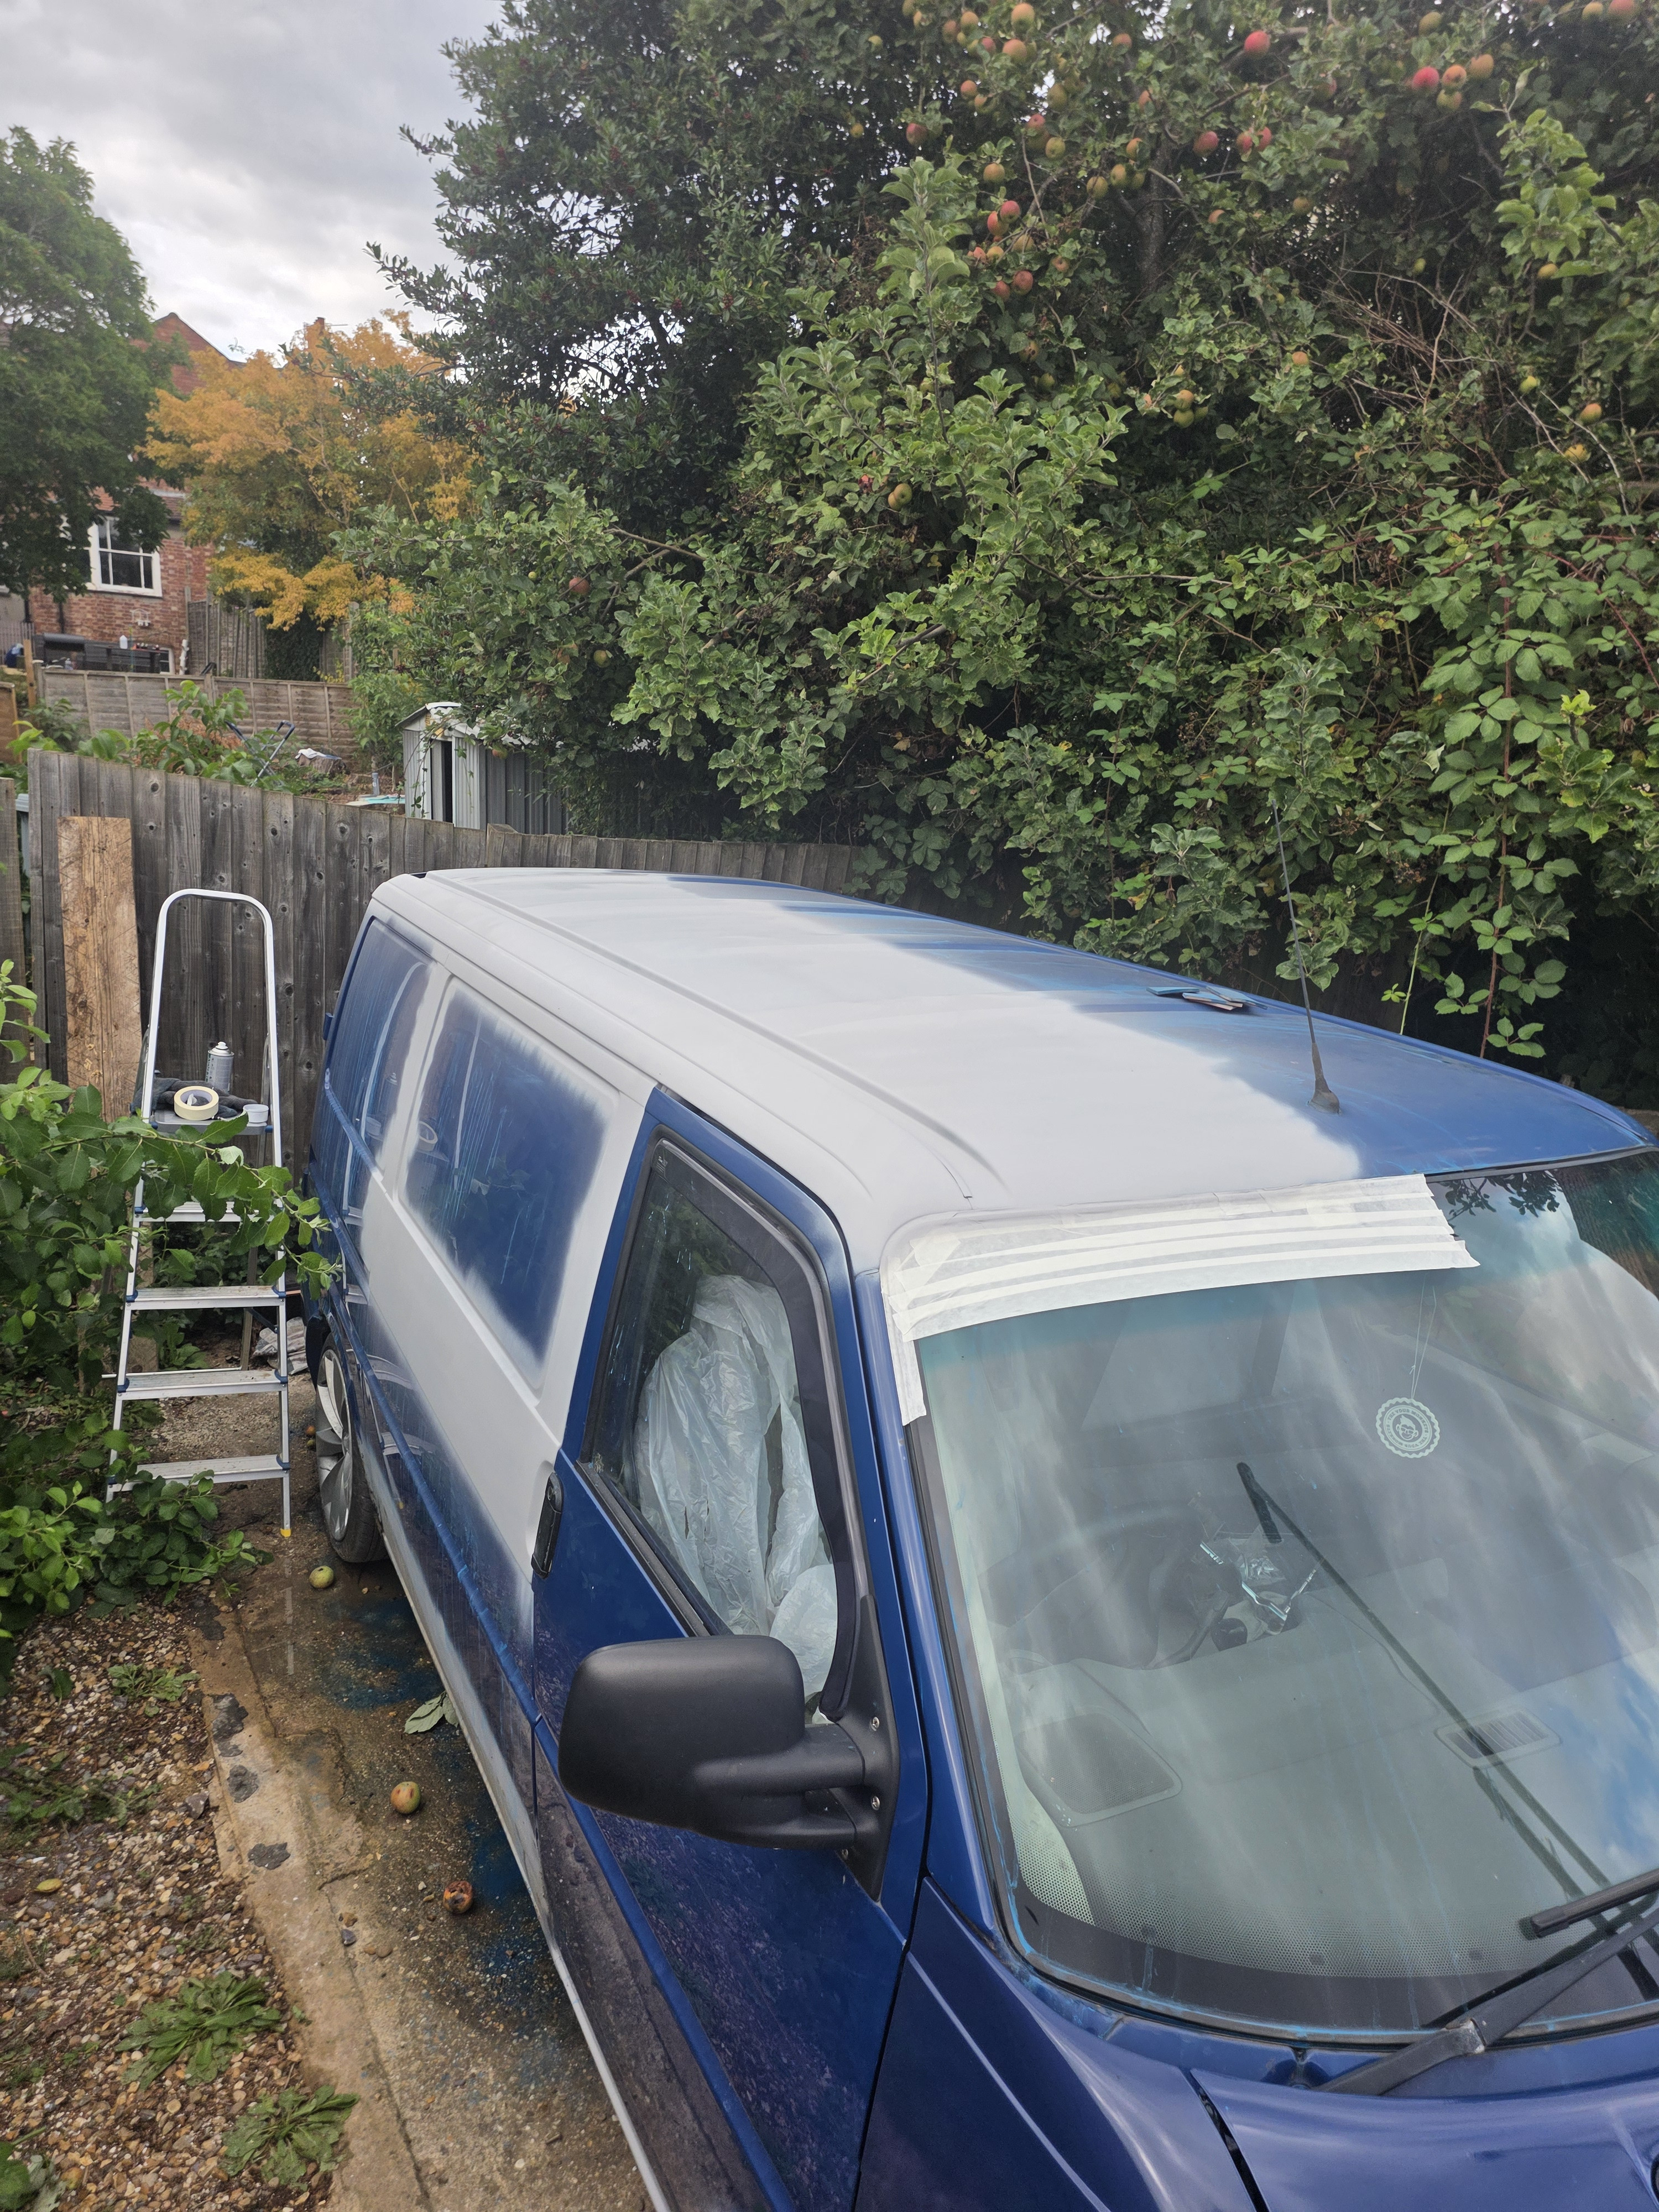
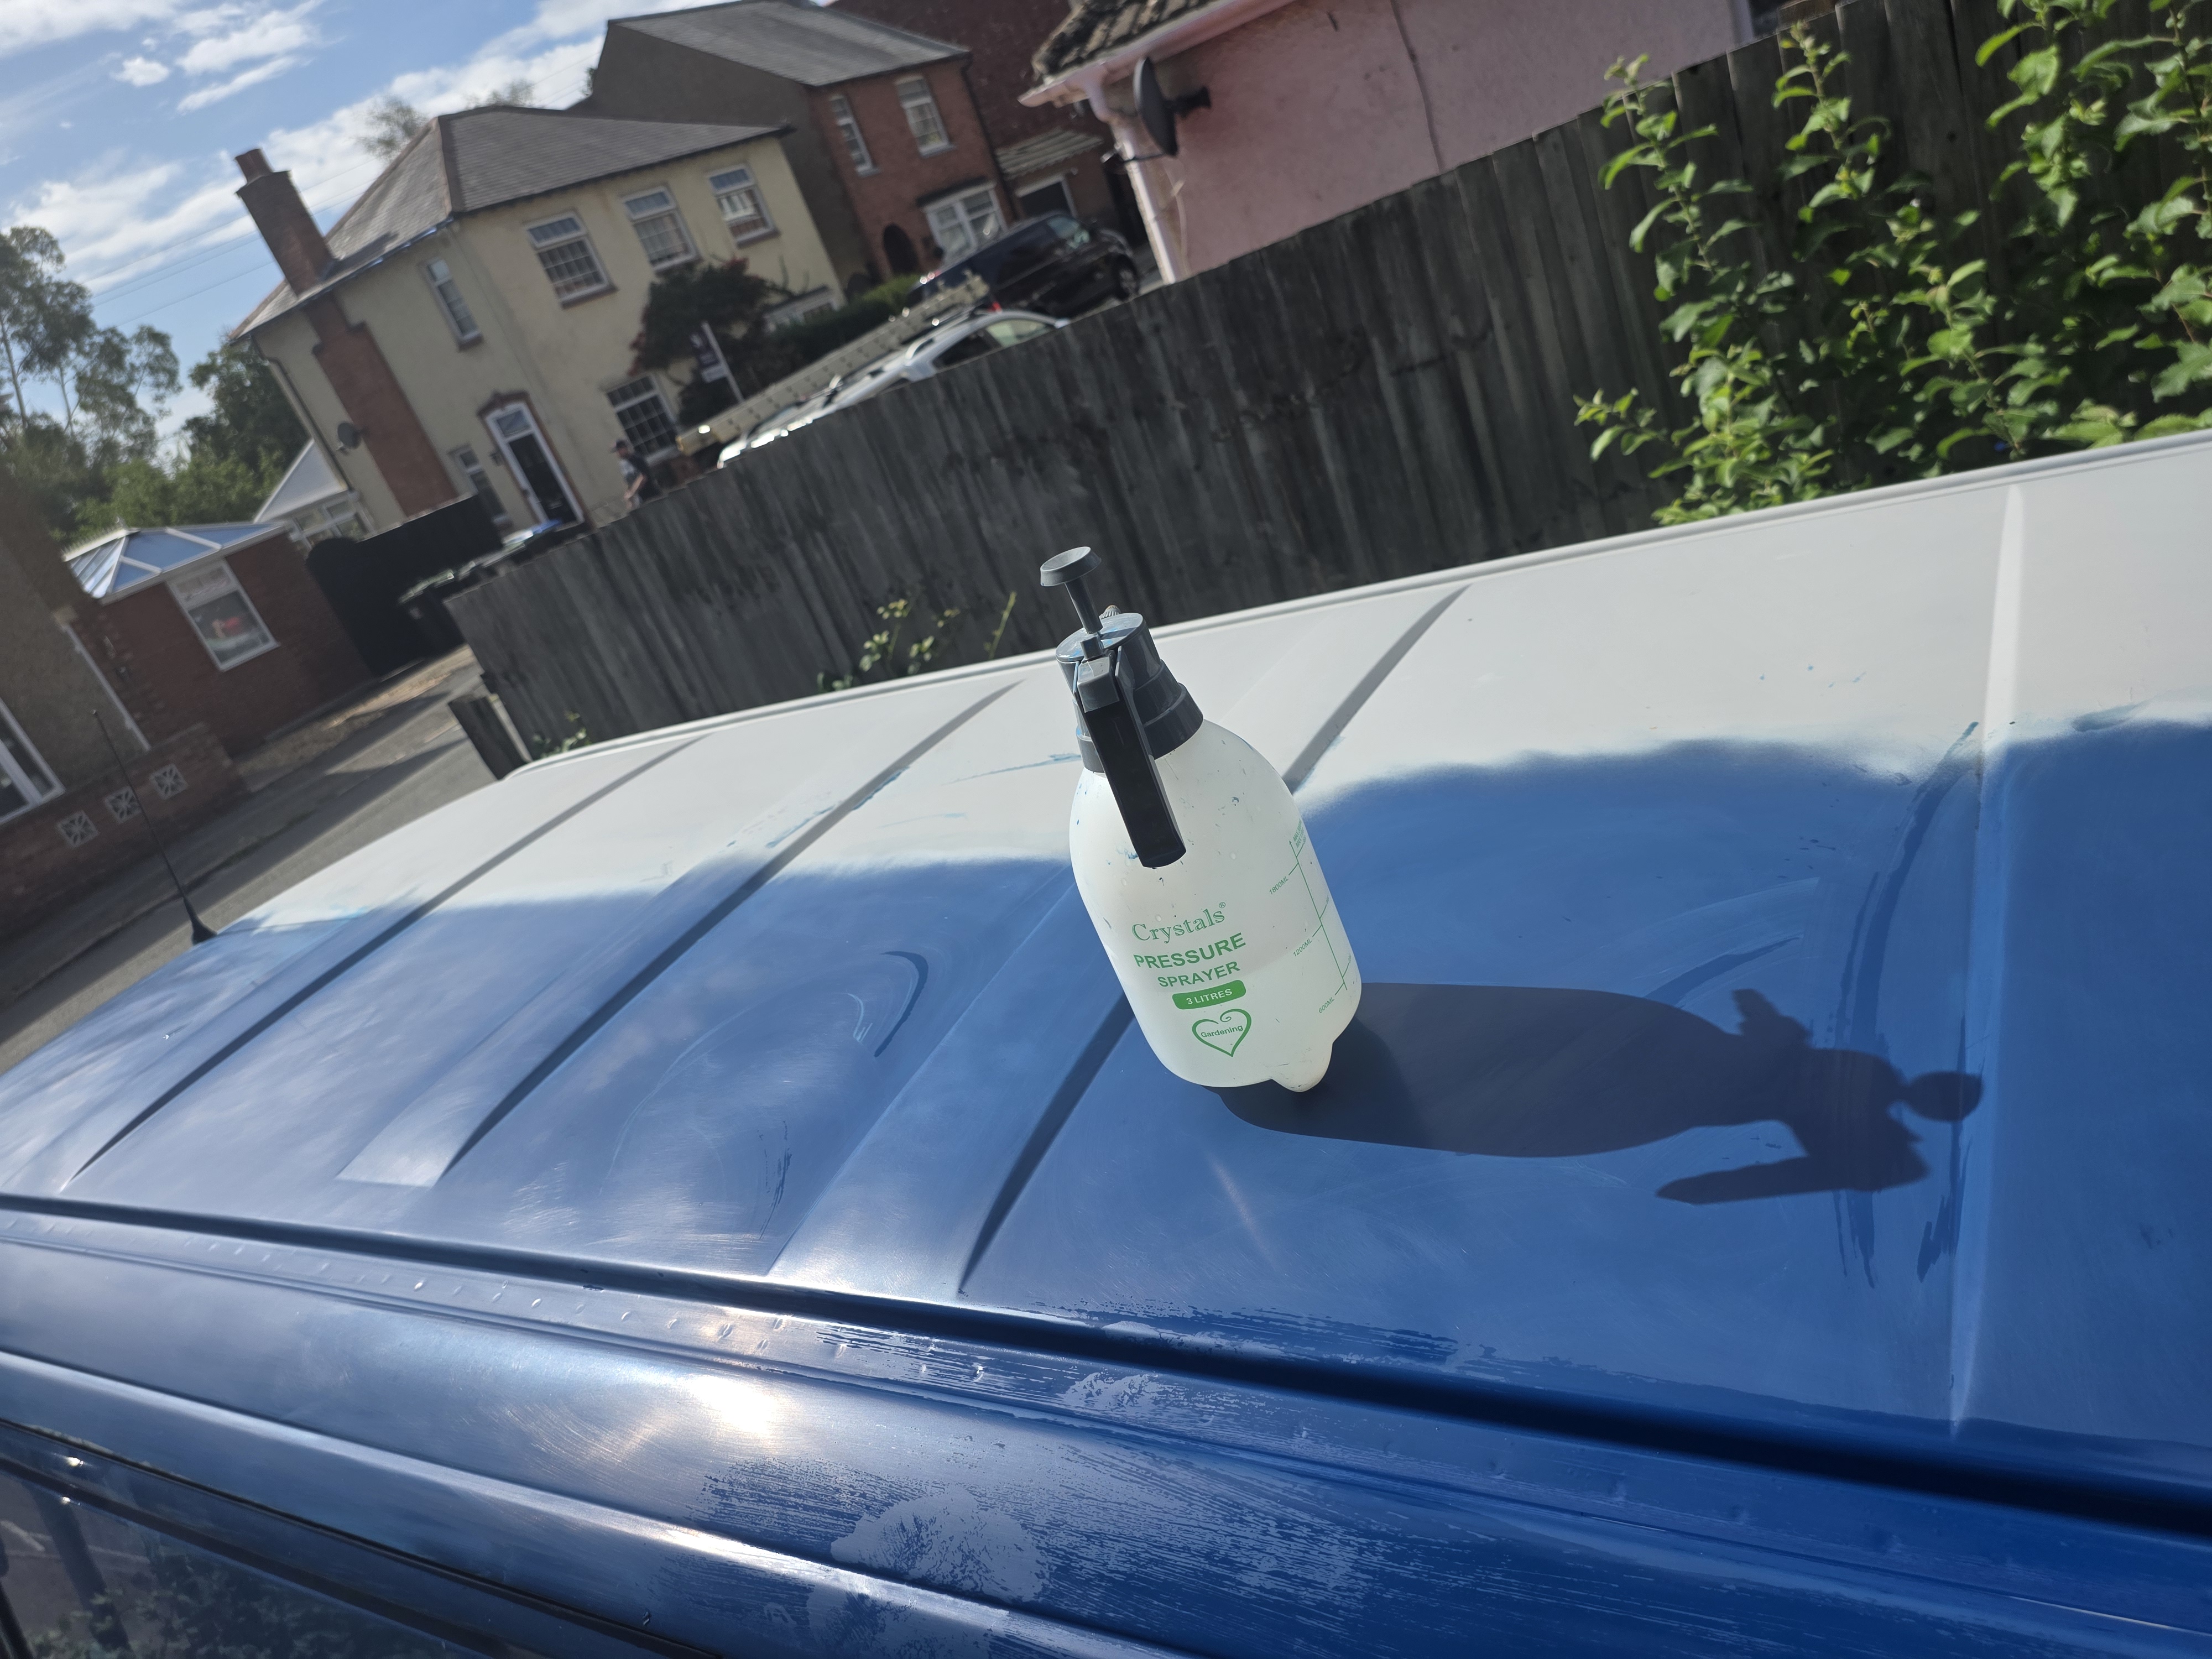
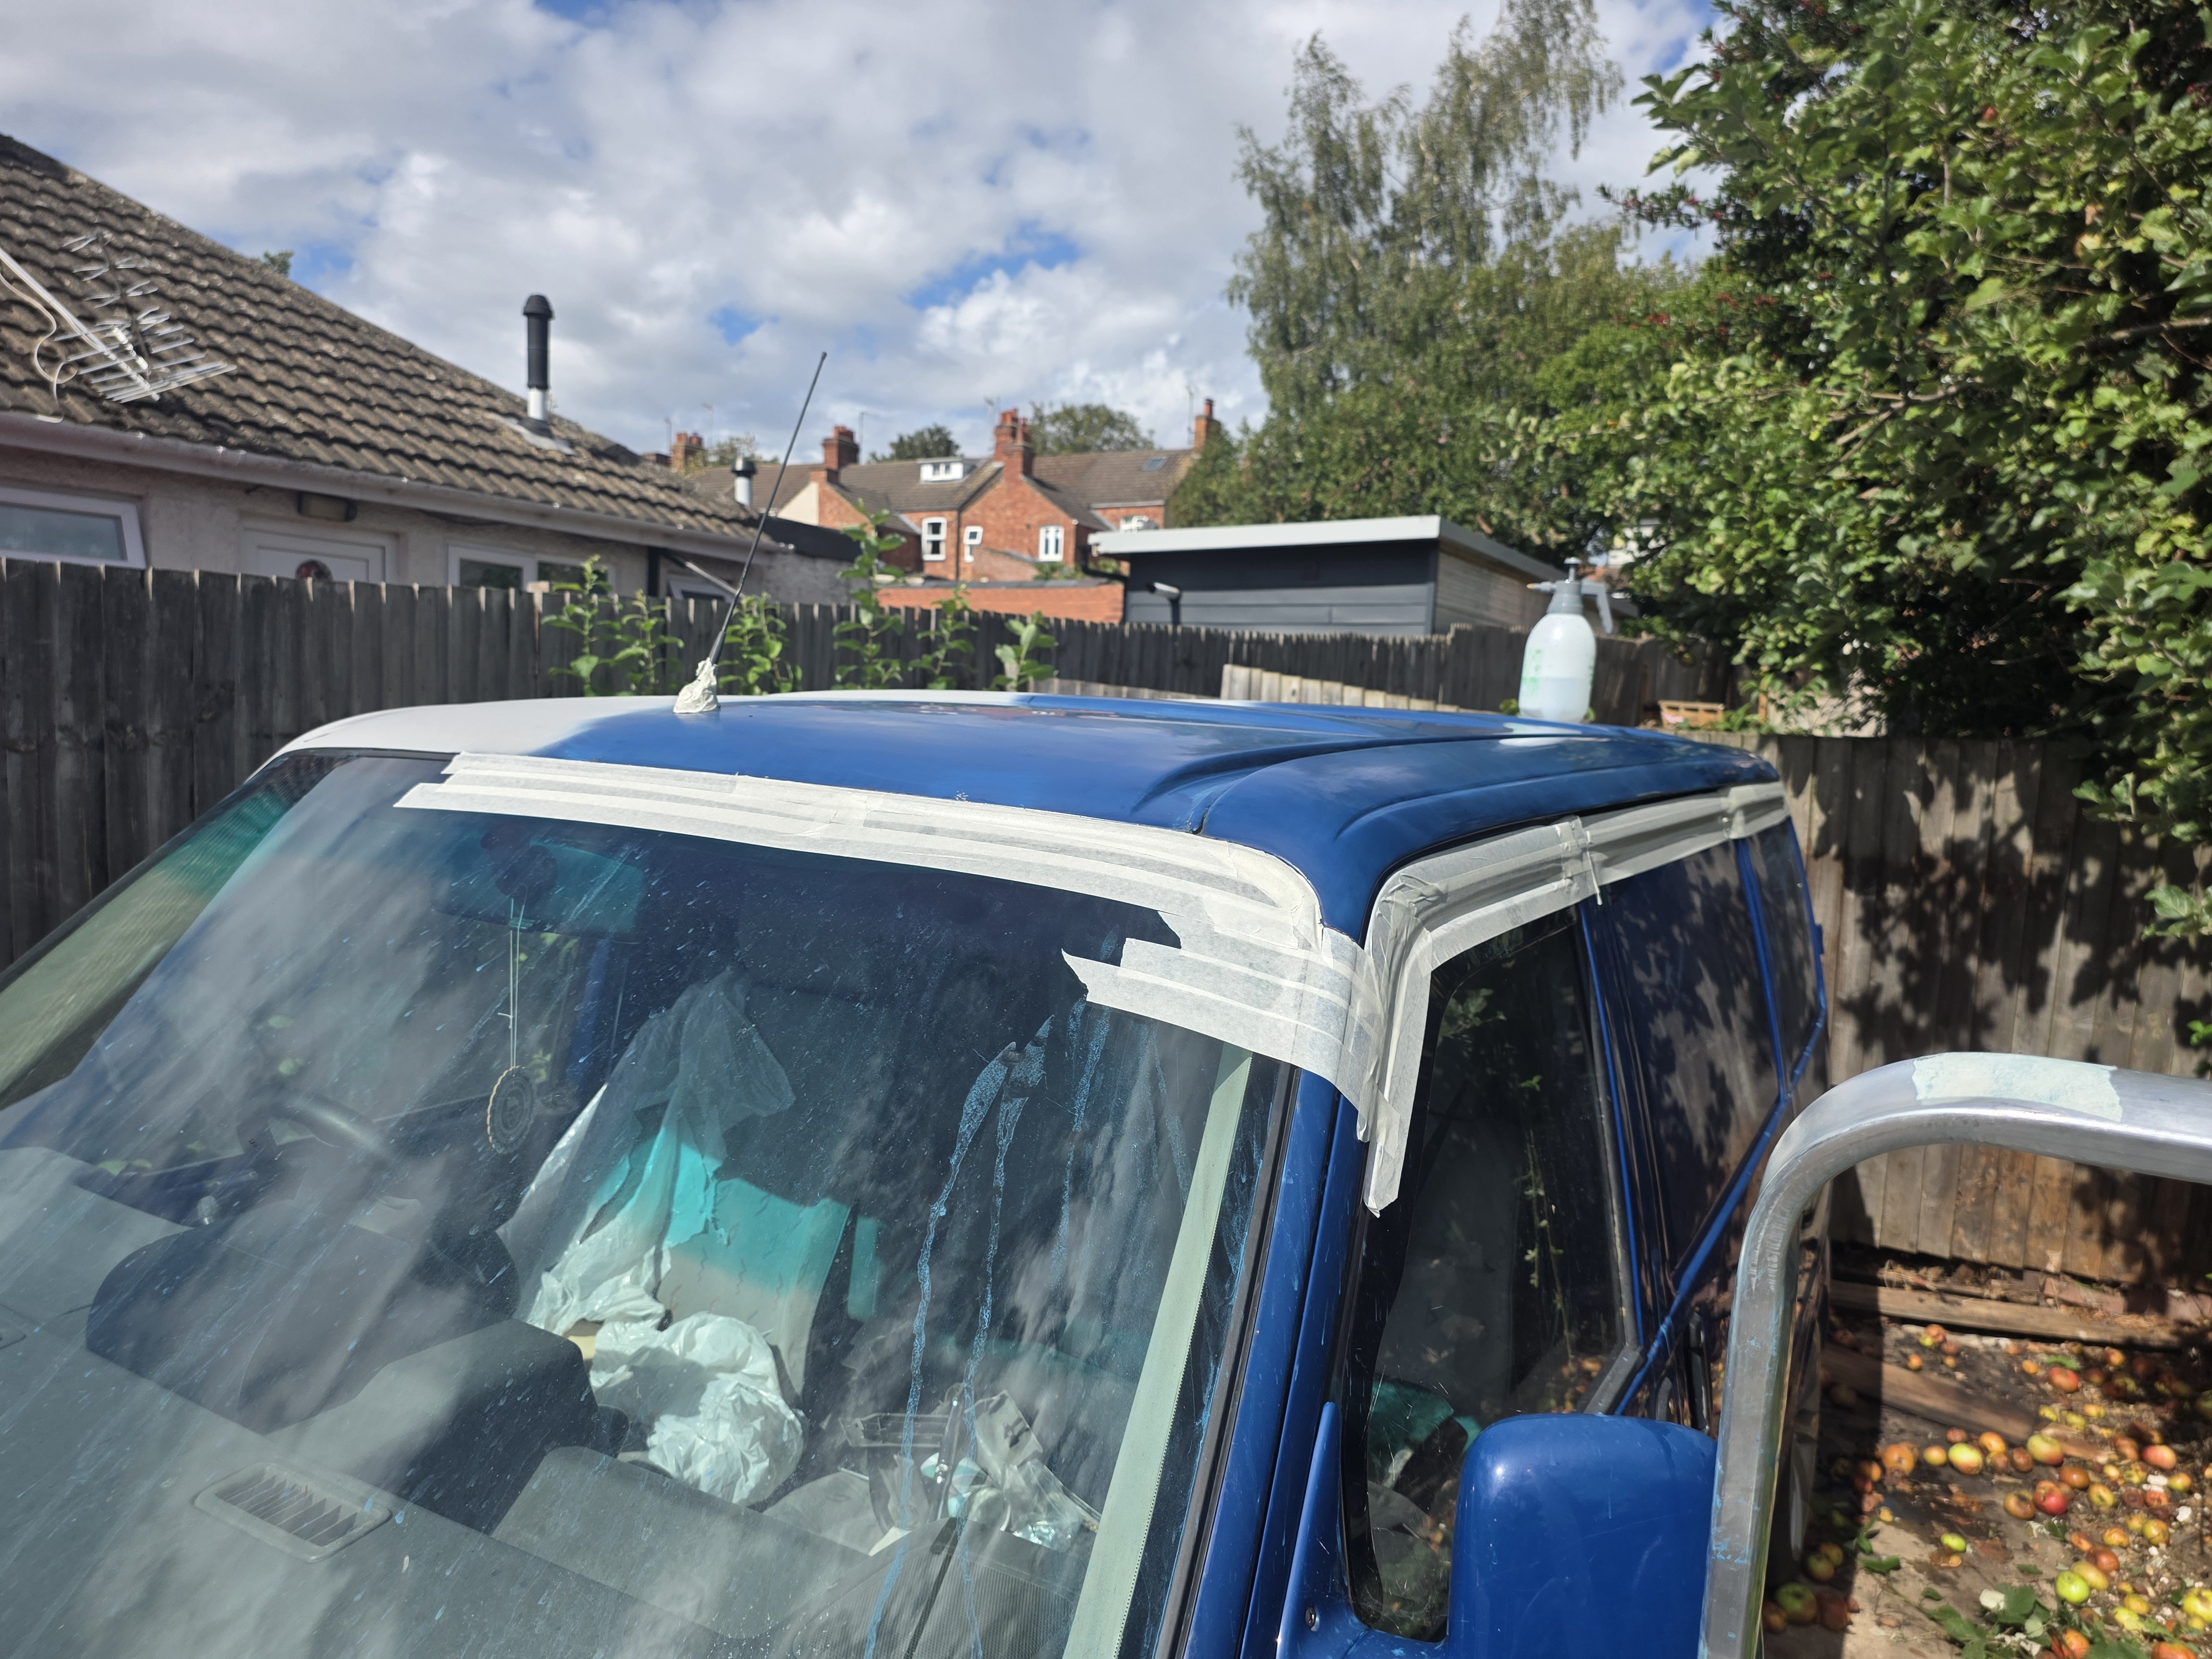
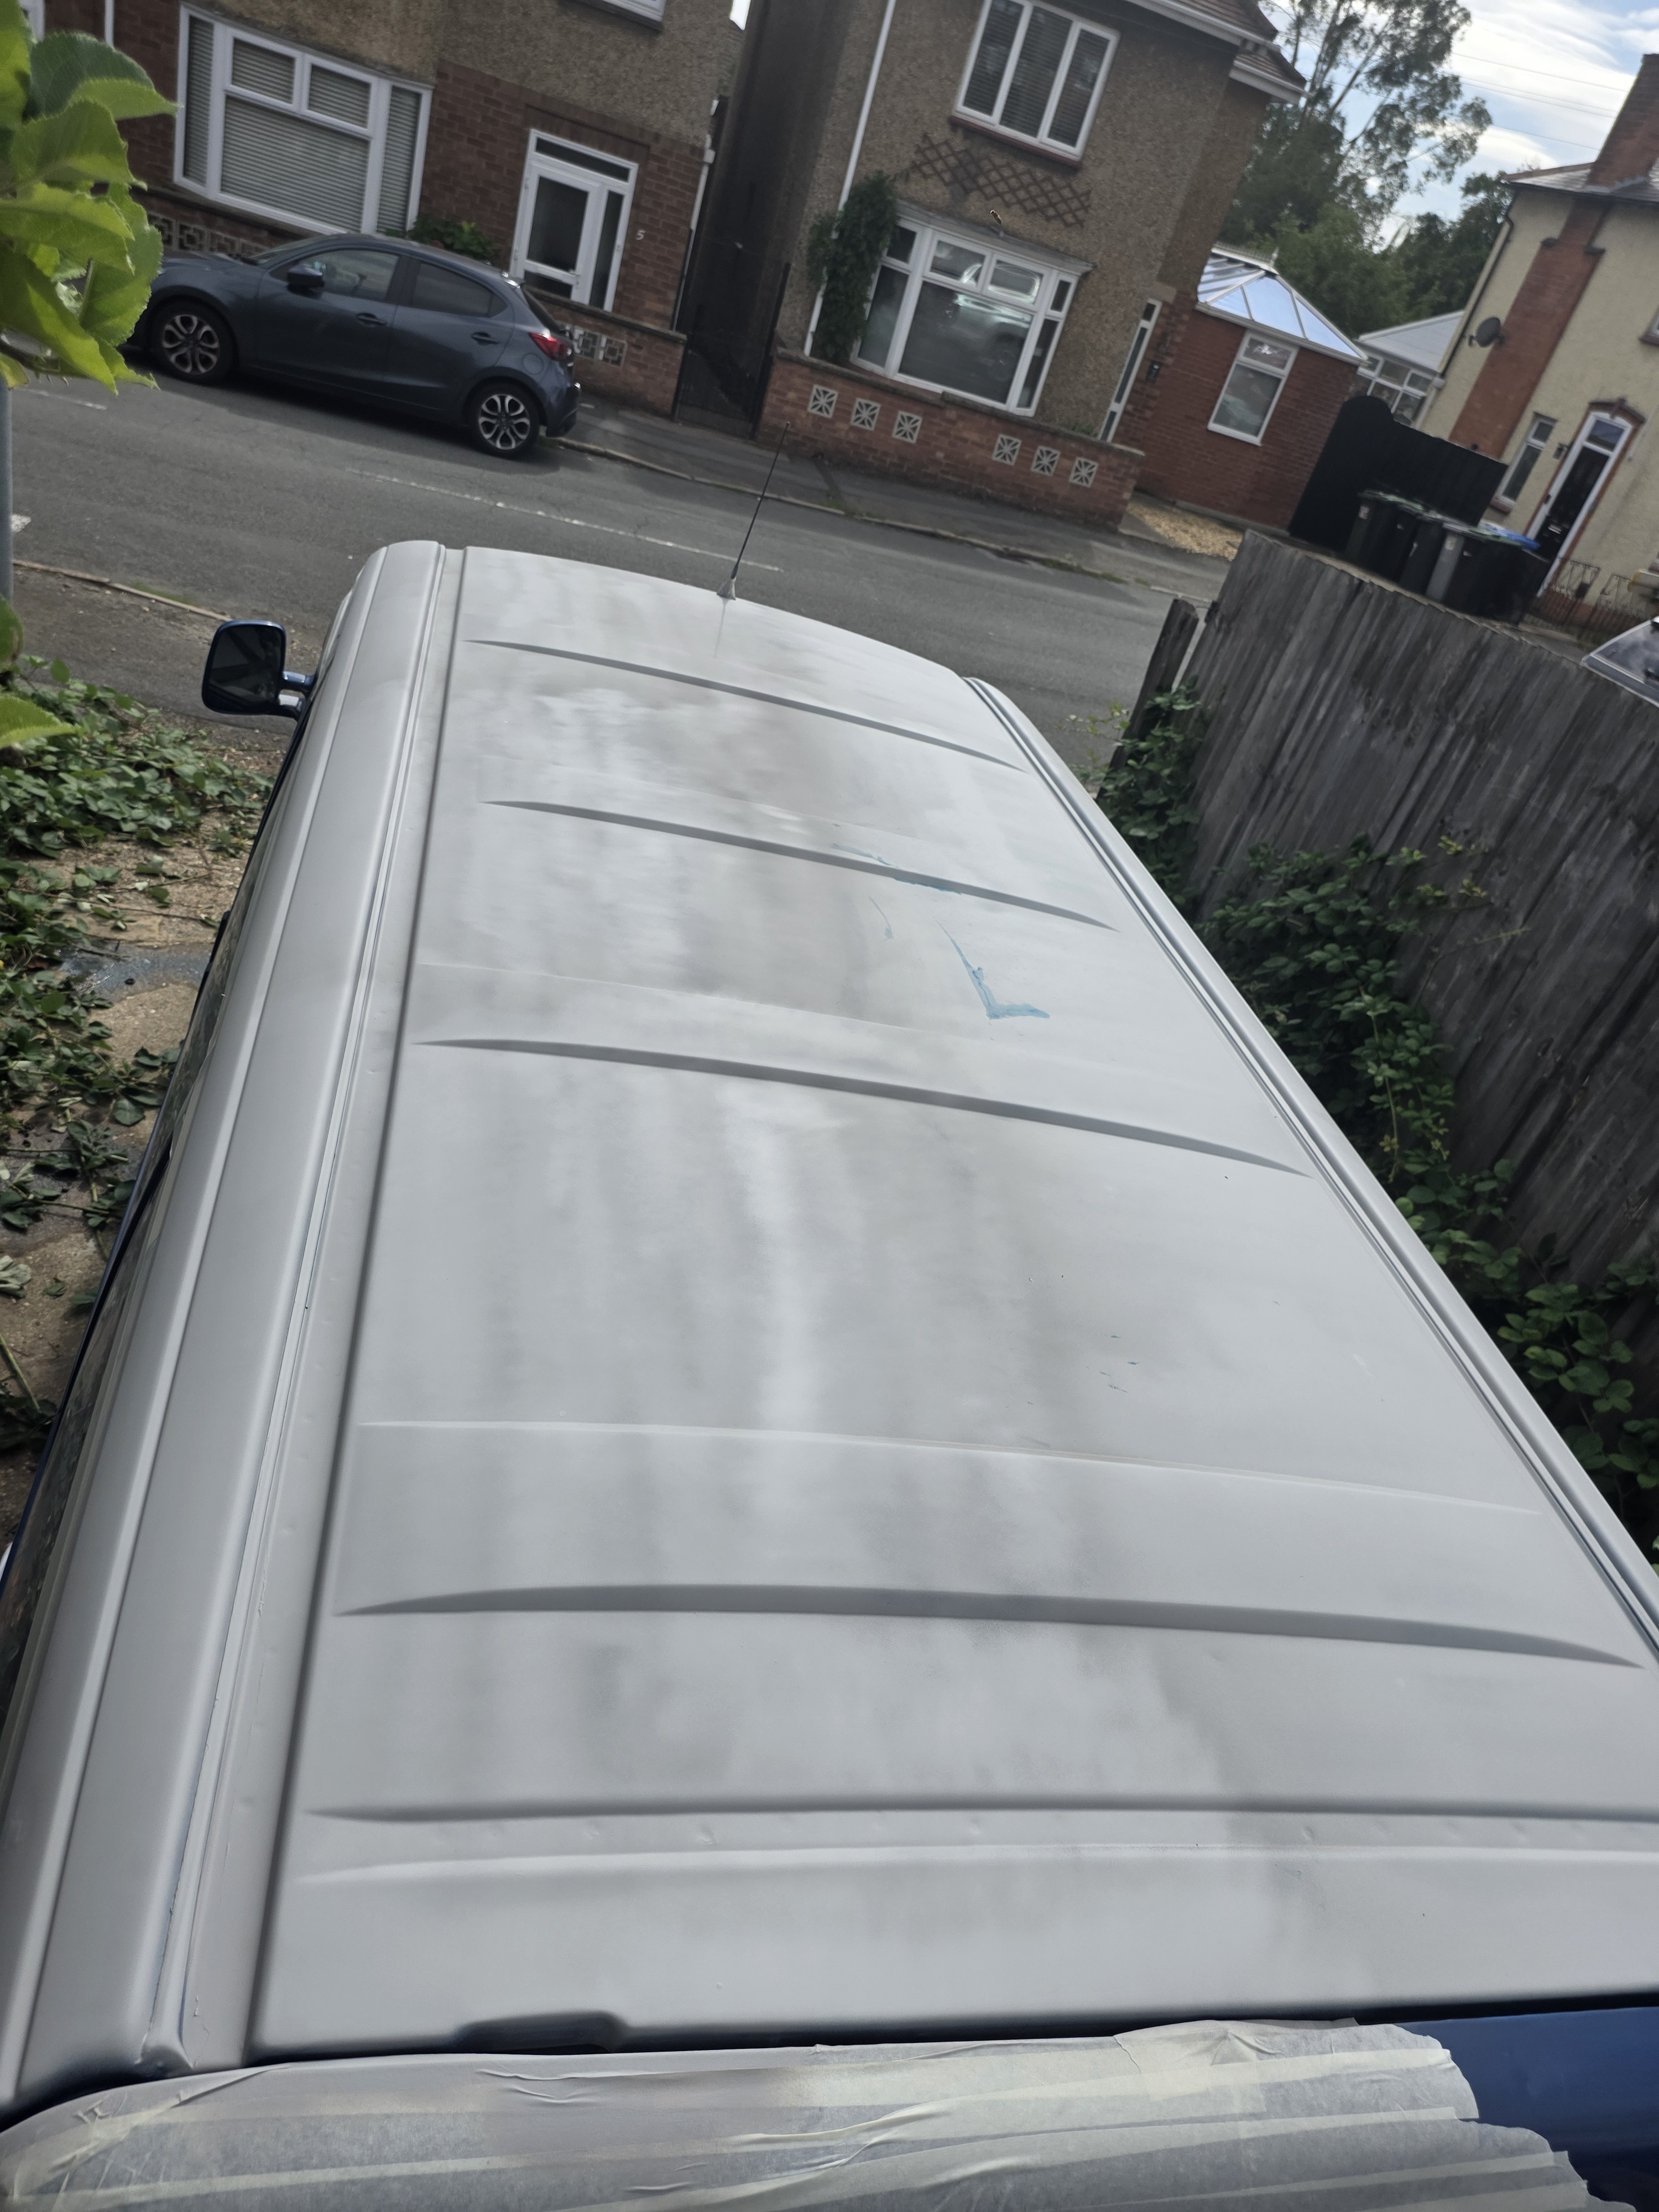
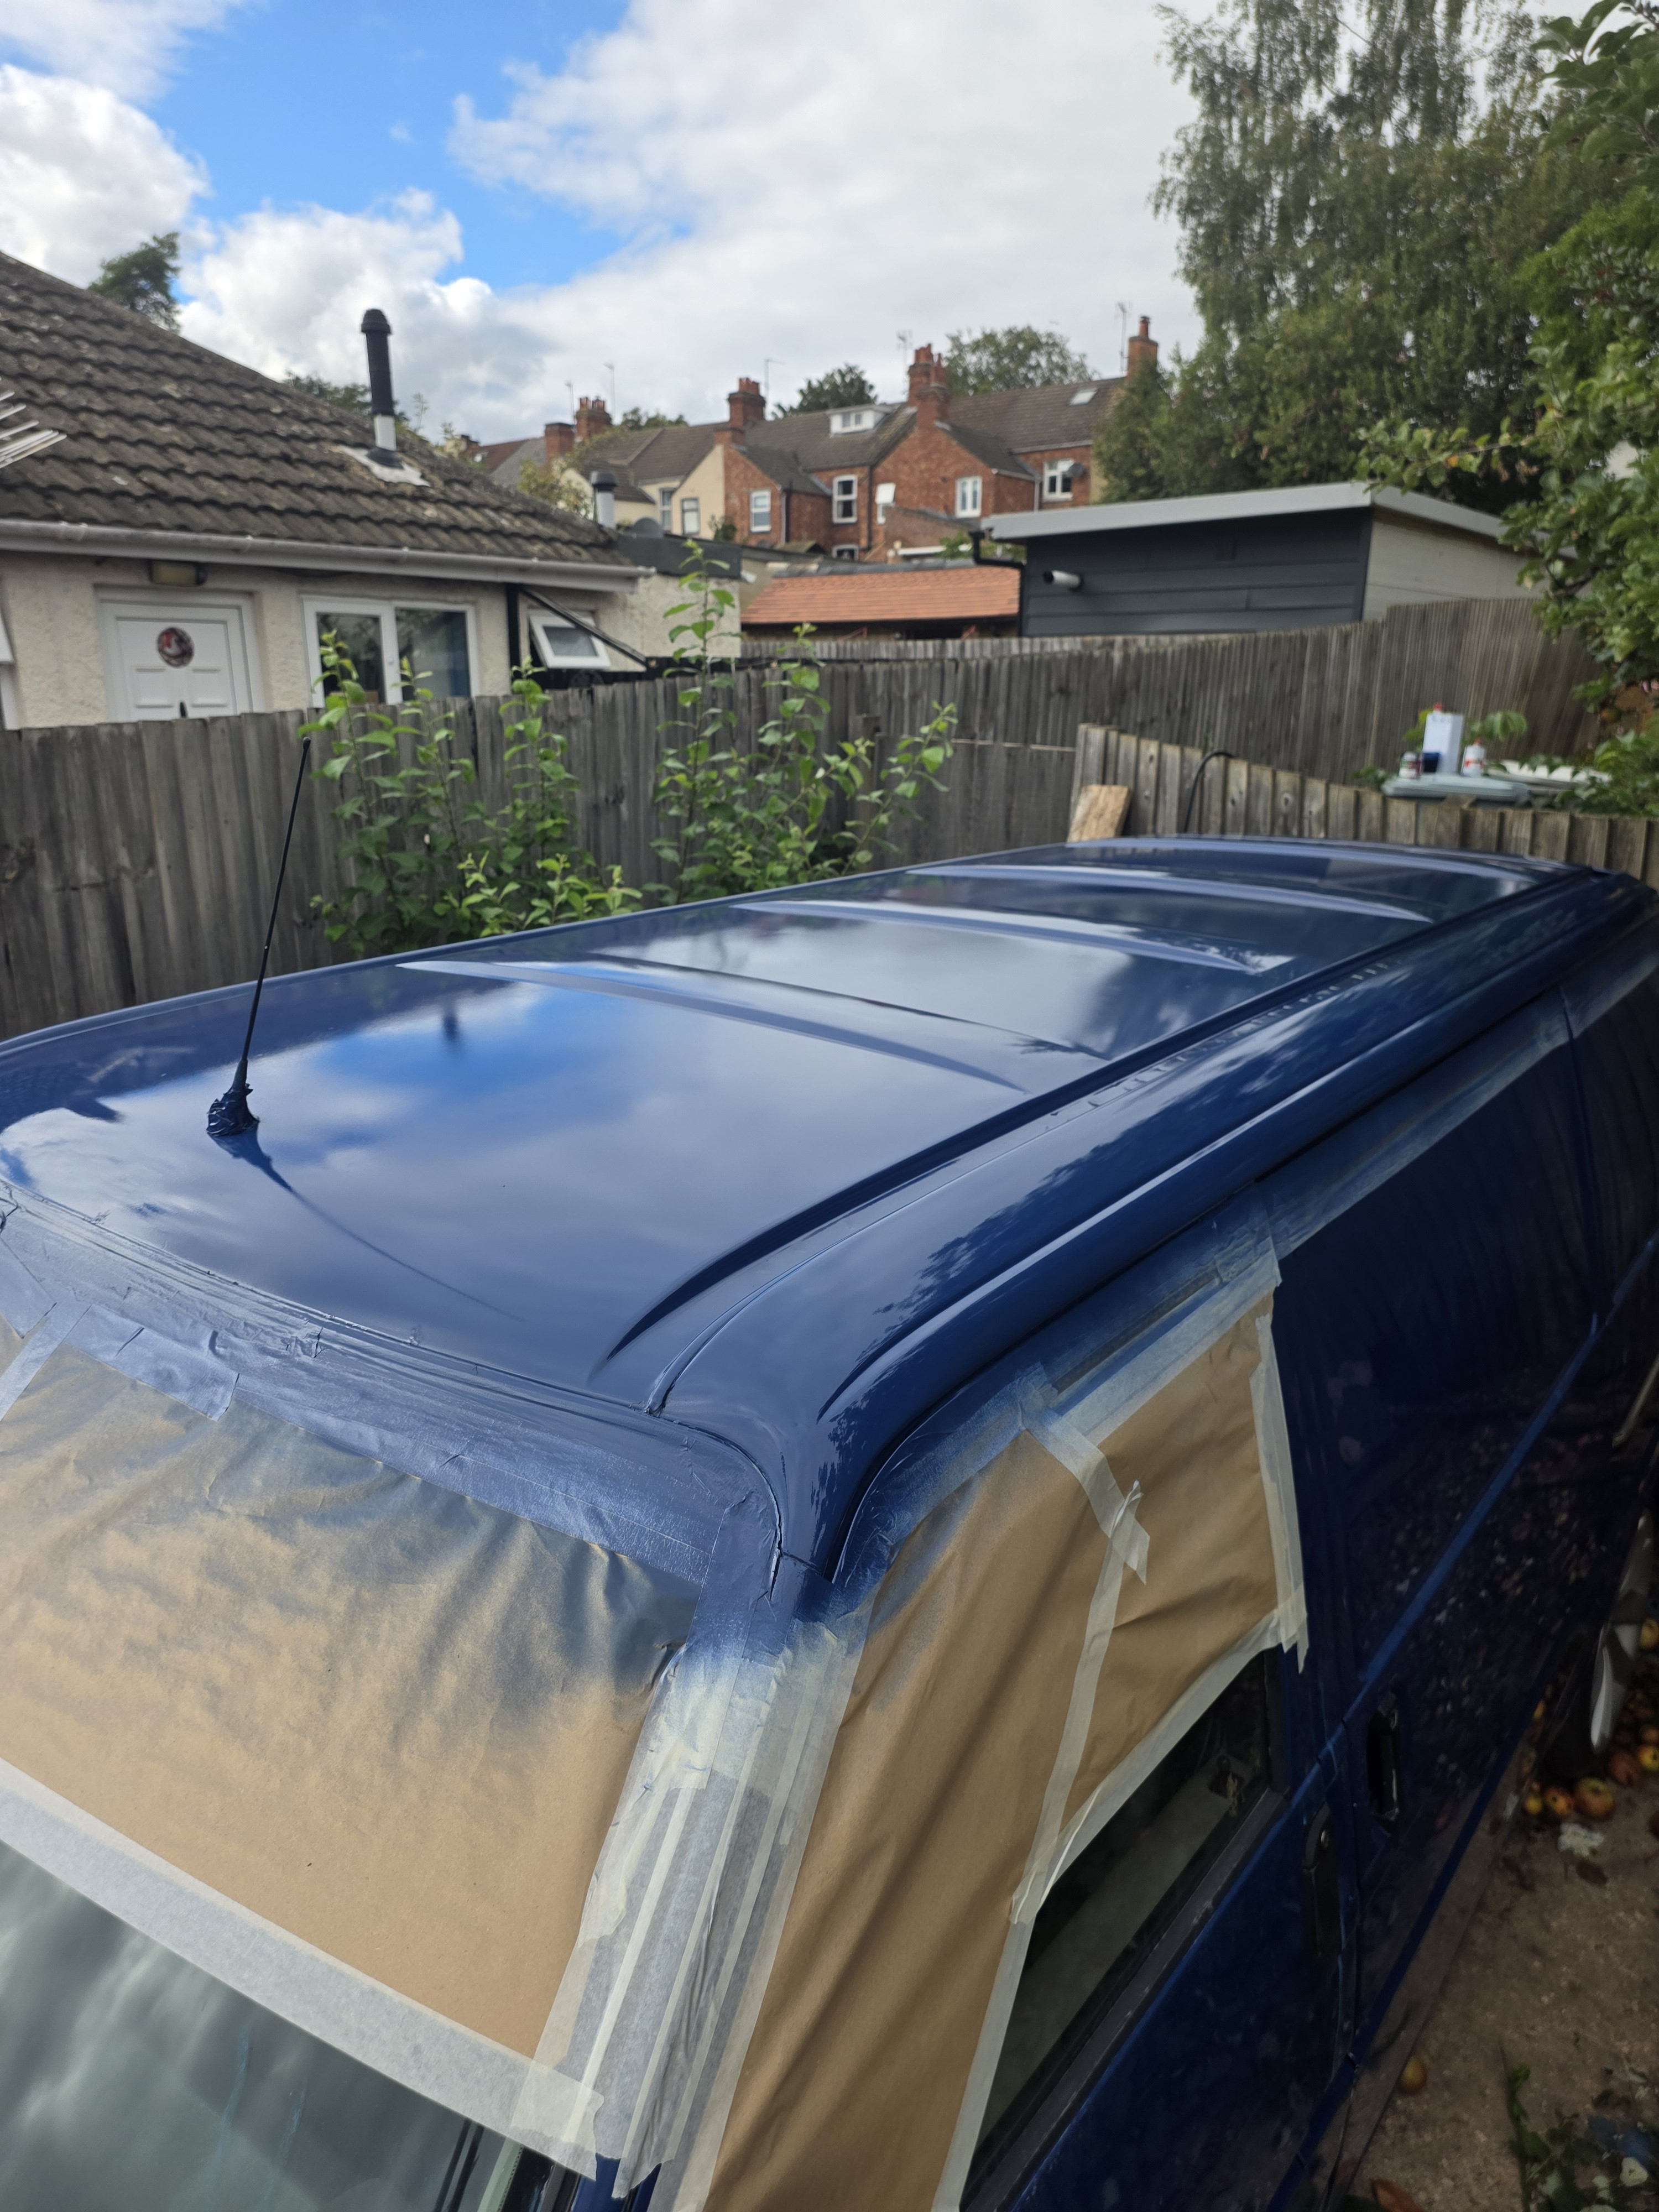
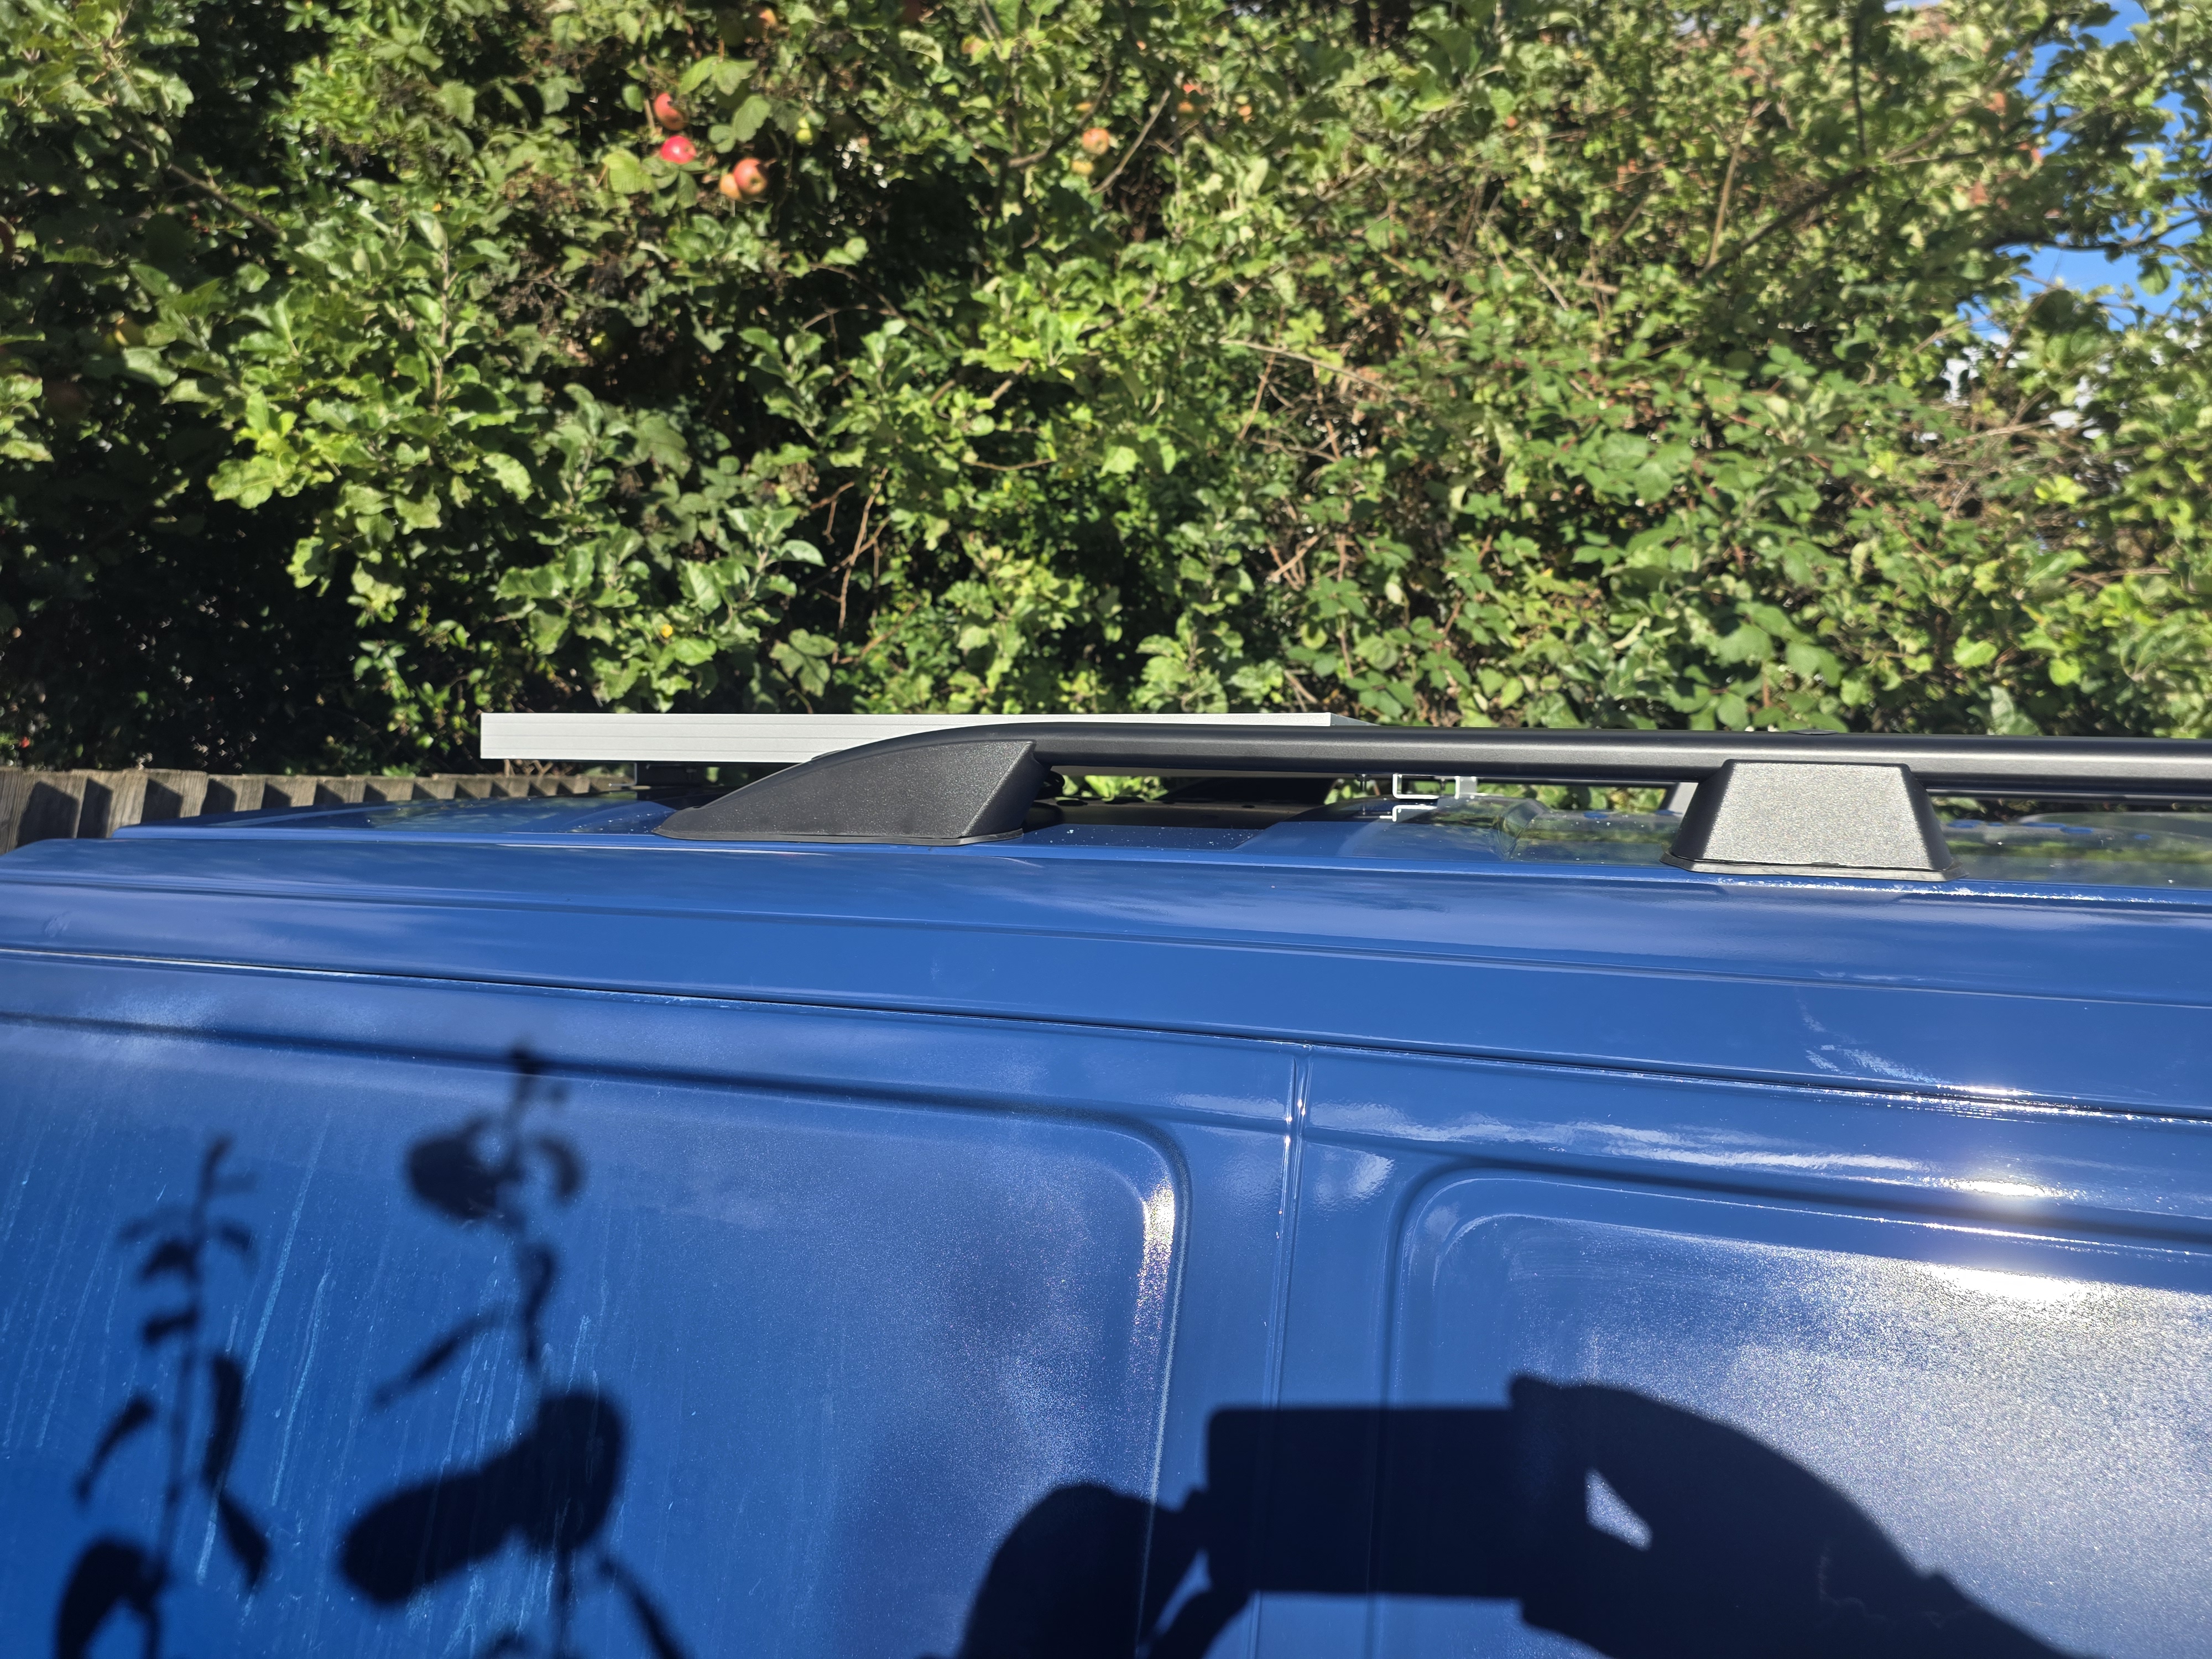
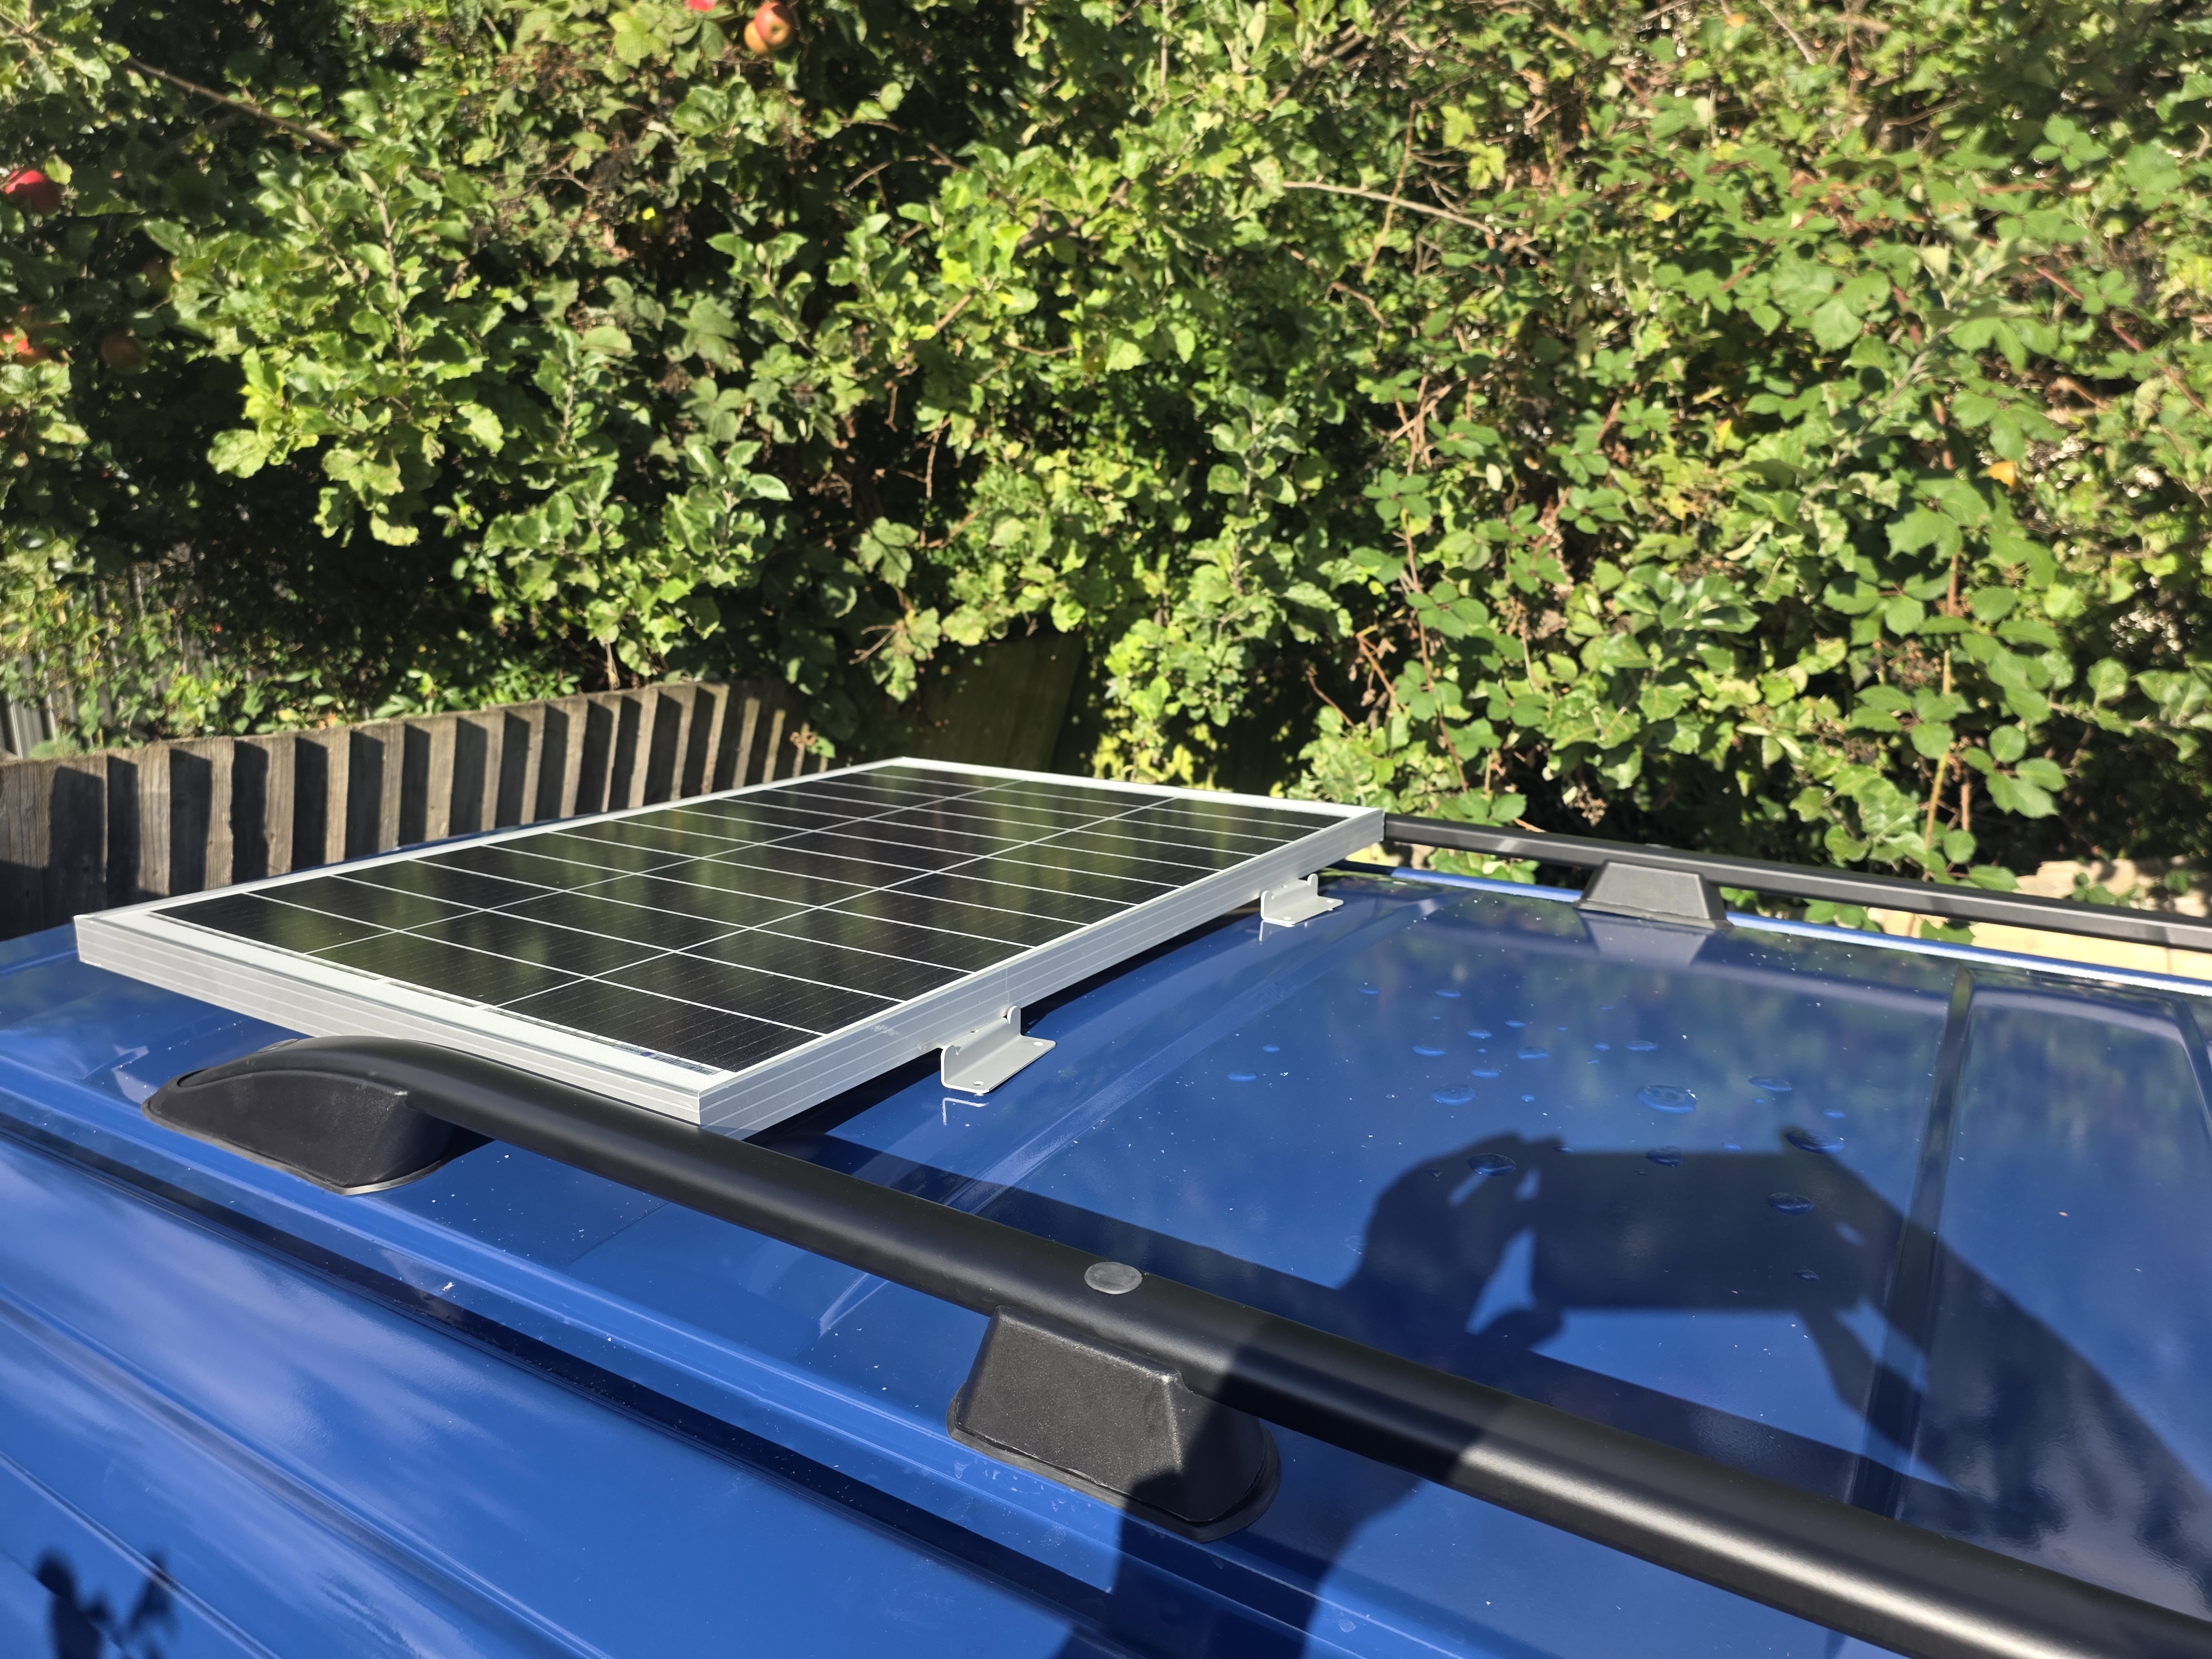
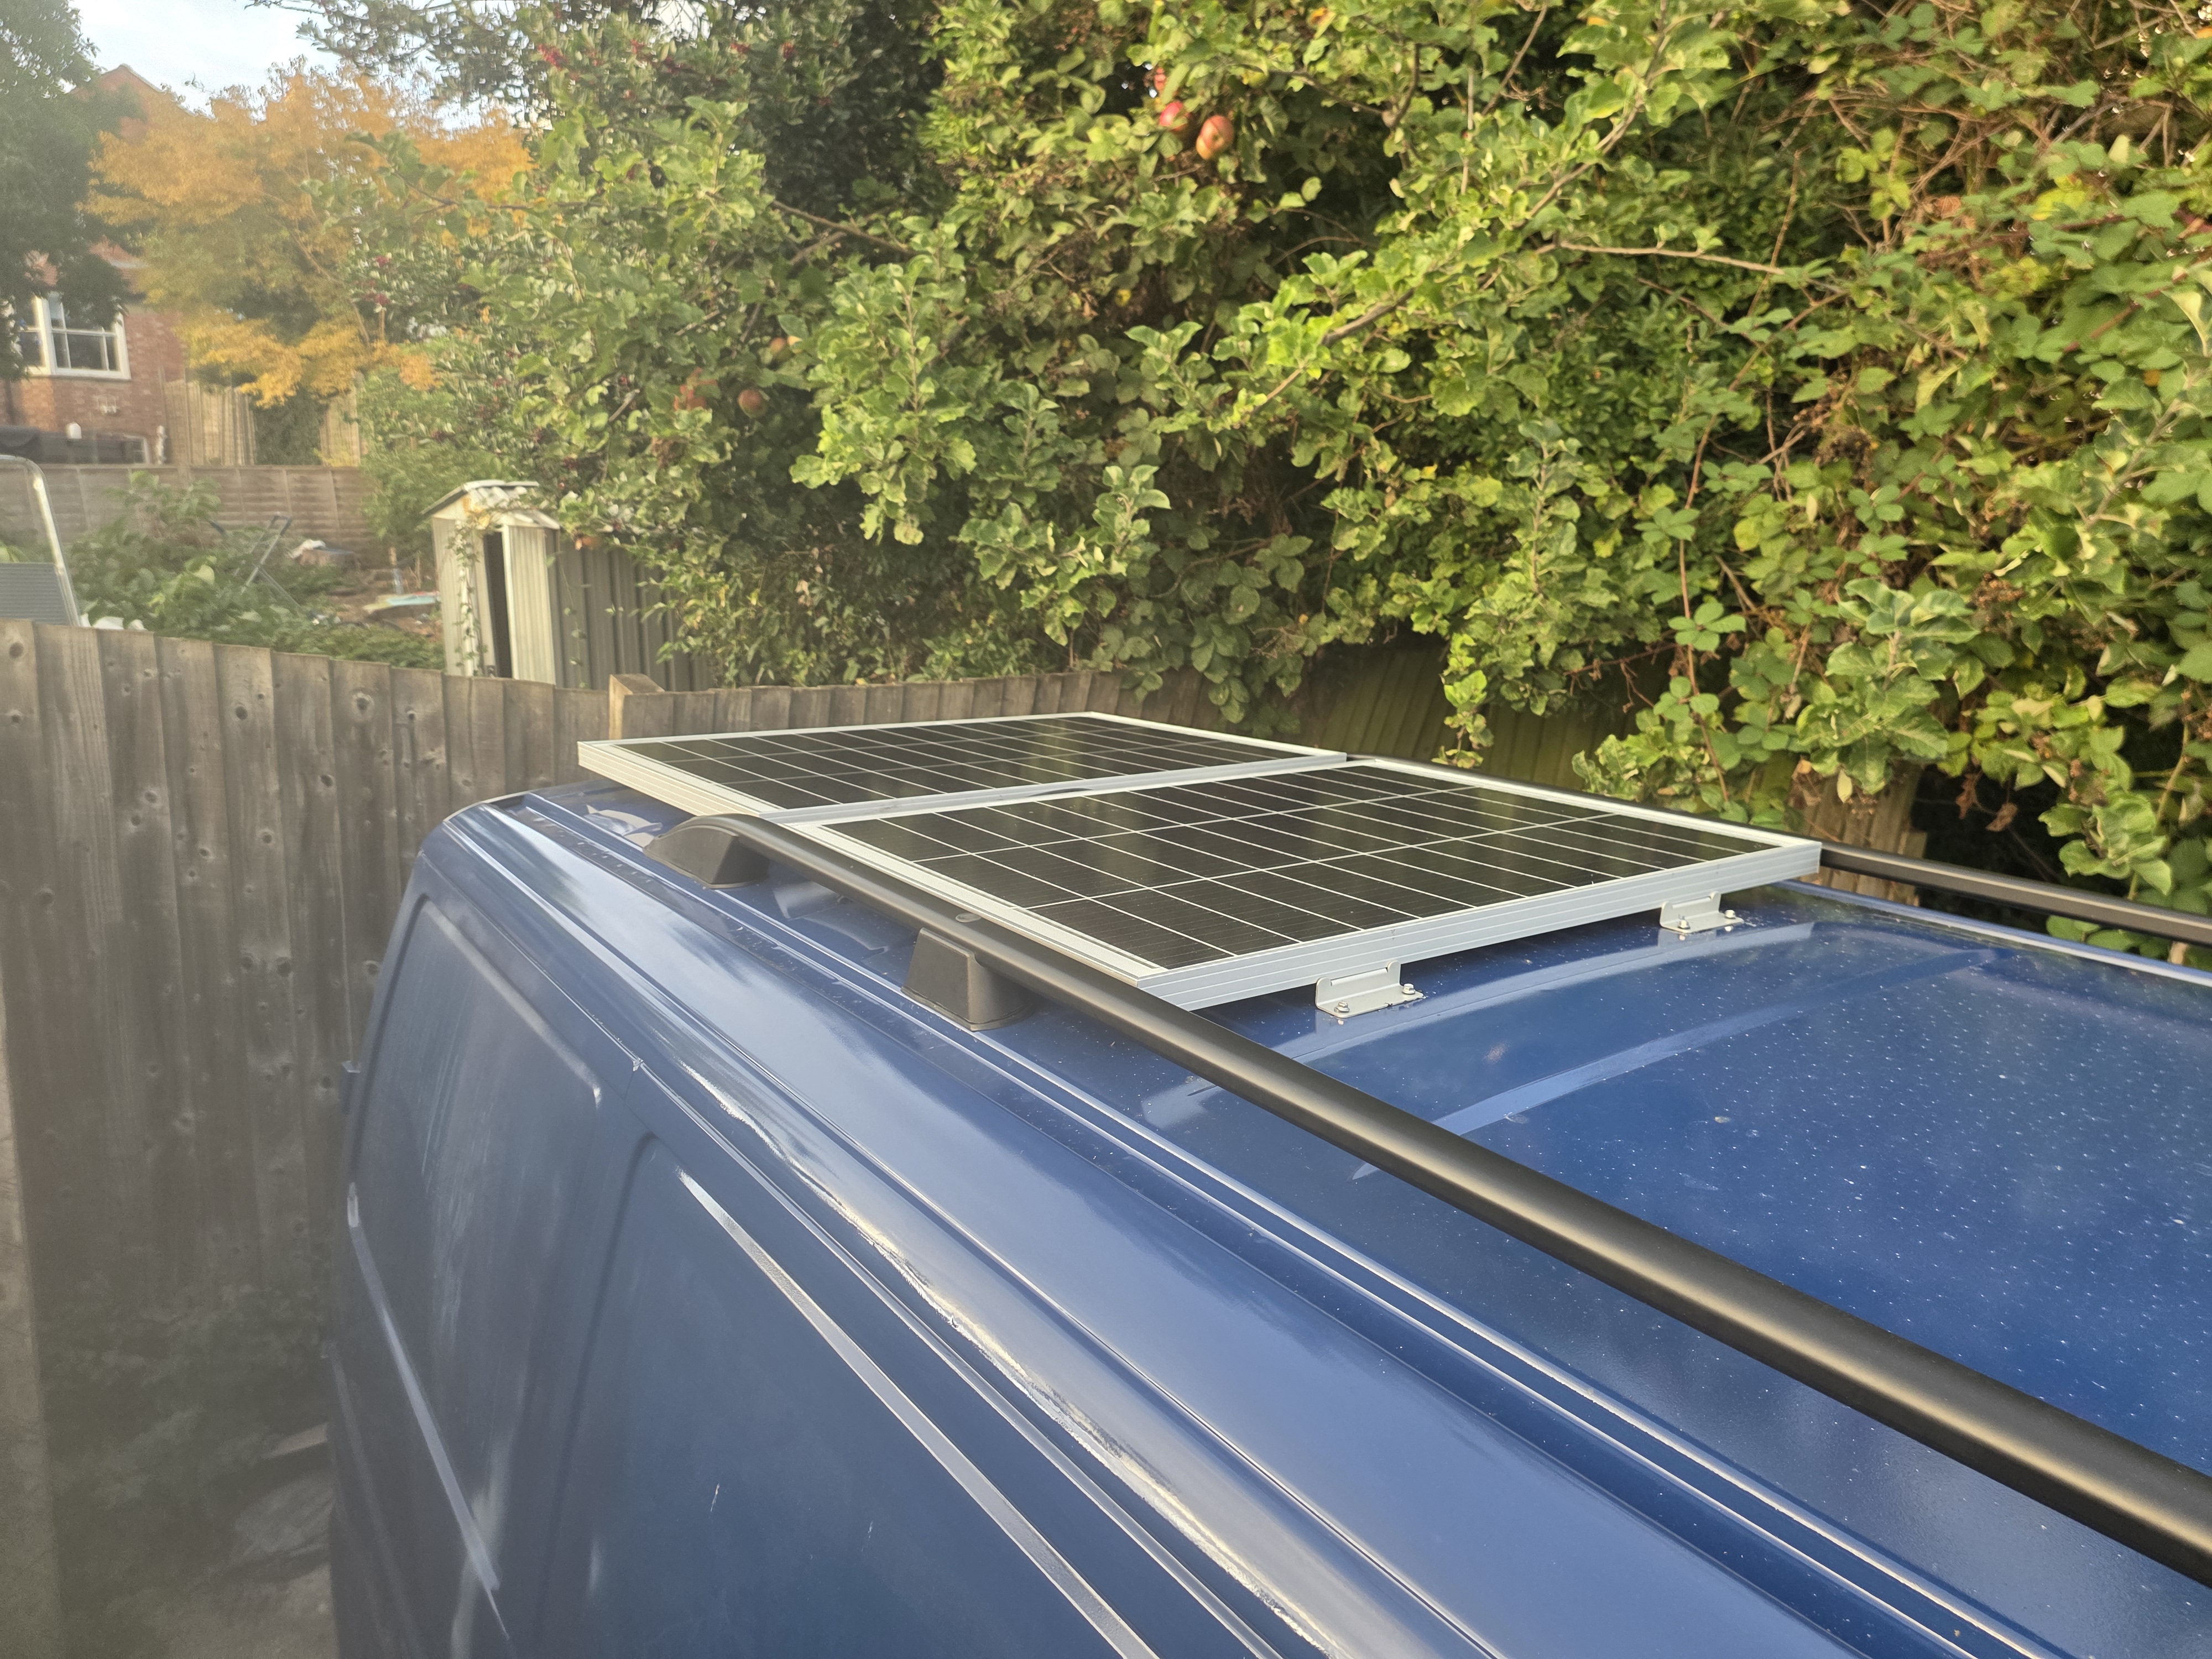
So, what is going up there? I have managed to get a set of brand new T5 rails for the roof which, with about 6mm taken off the centre leg, will fit nicely on the rear edge of the gutter. This leaves the gutter area free for an awning at a later date but gives me a decent storage option up top for surf boards and a roof box. Mounted between these, I have 2no. 120W solar panels which will be installed in parallel between the rails and thankfully, they JUST fit between. What this allows me to do is to place a ply cover up on the rails to prevent the panels producing charge while I install the system. Just in front of these panels I am installing a 5G WiFi antenna which will be routed to a Mobile Router installed near the electrical box, giving me mobile broadband wherever I go.
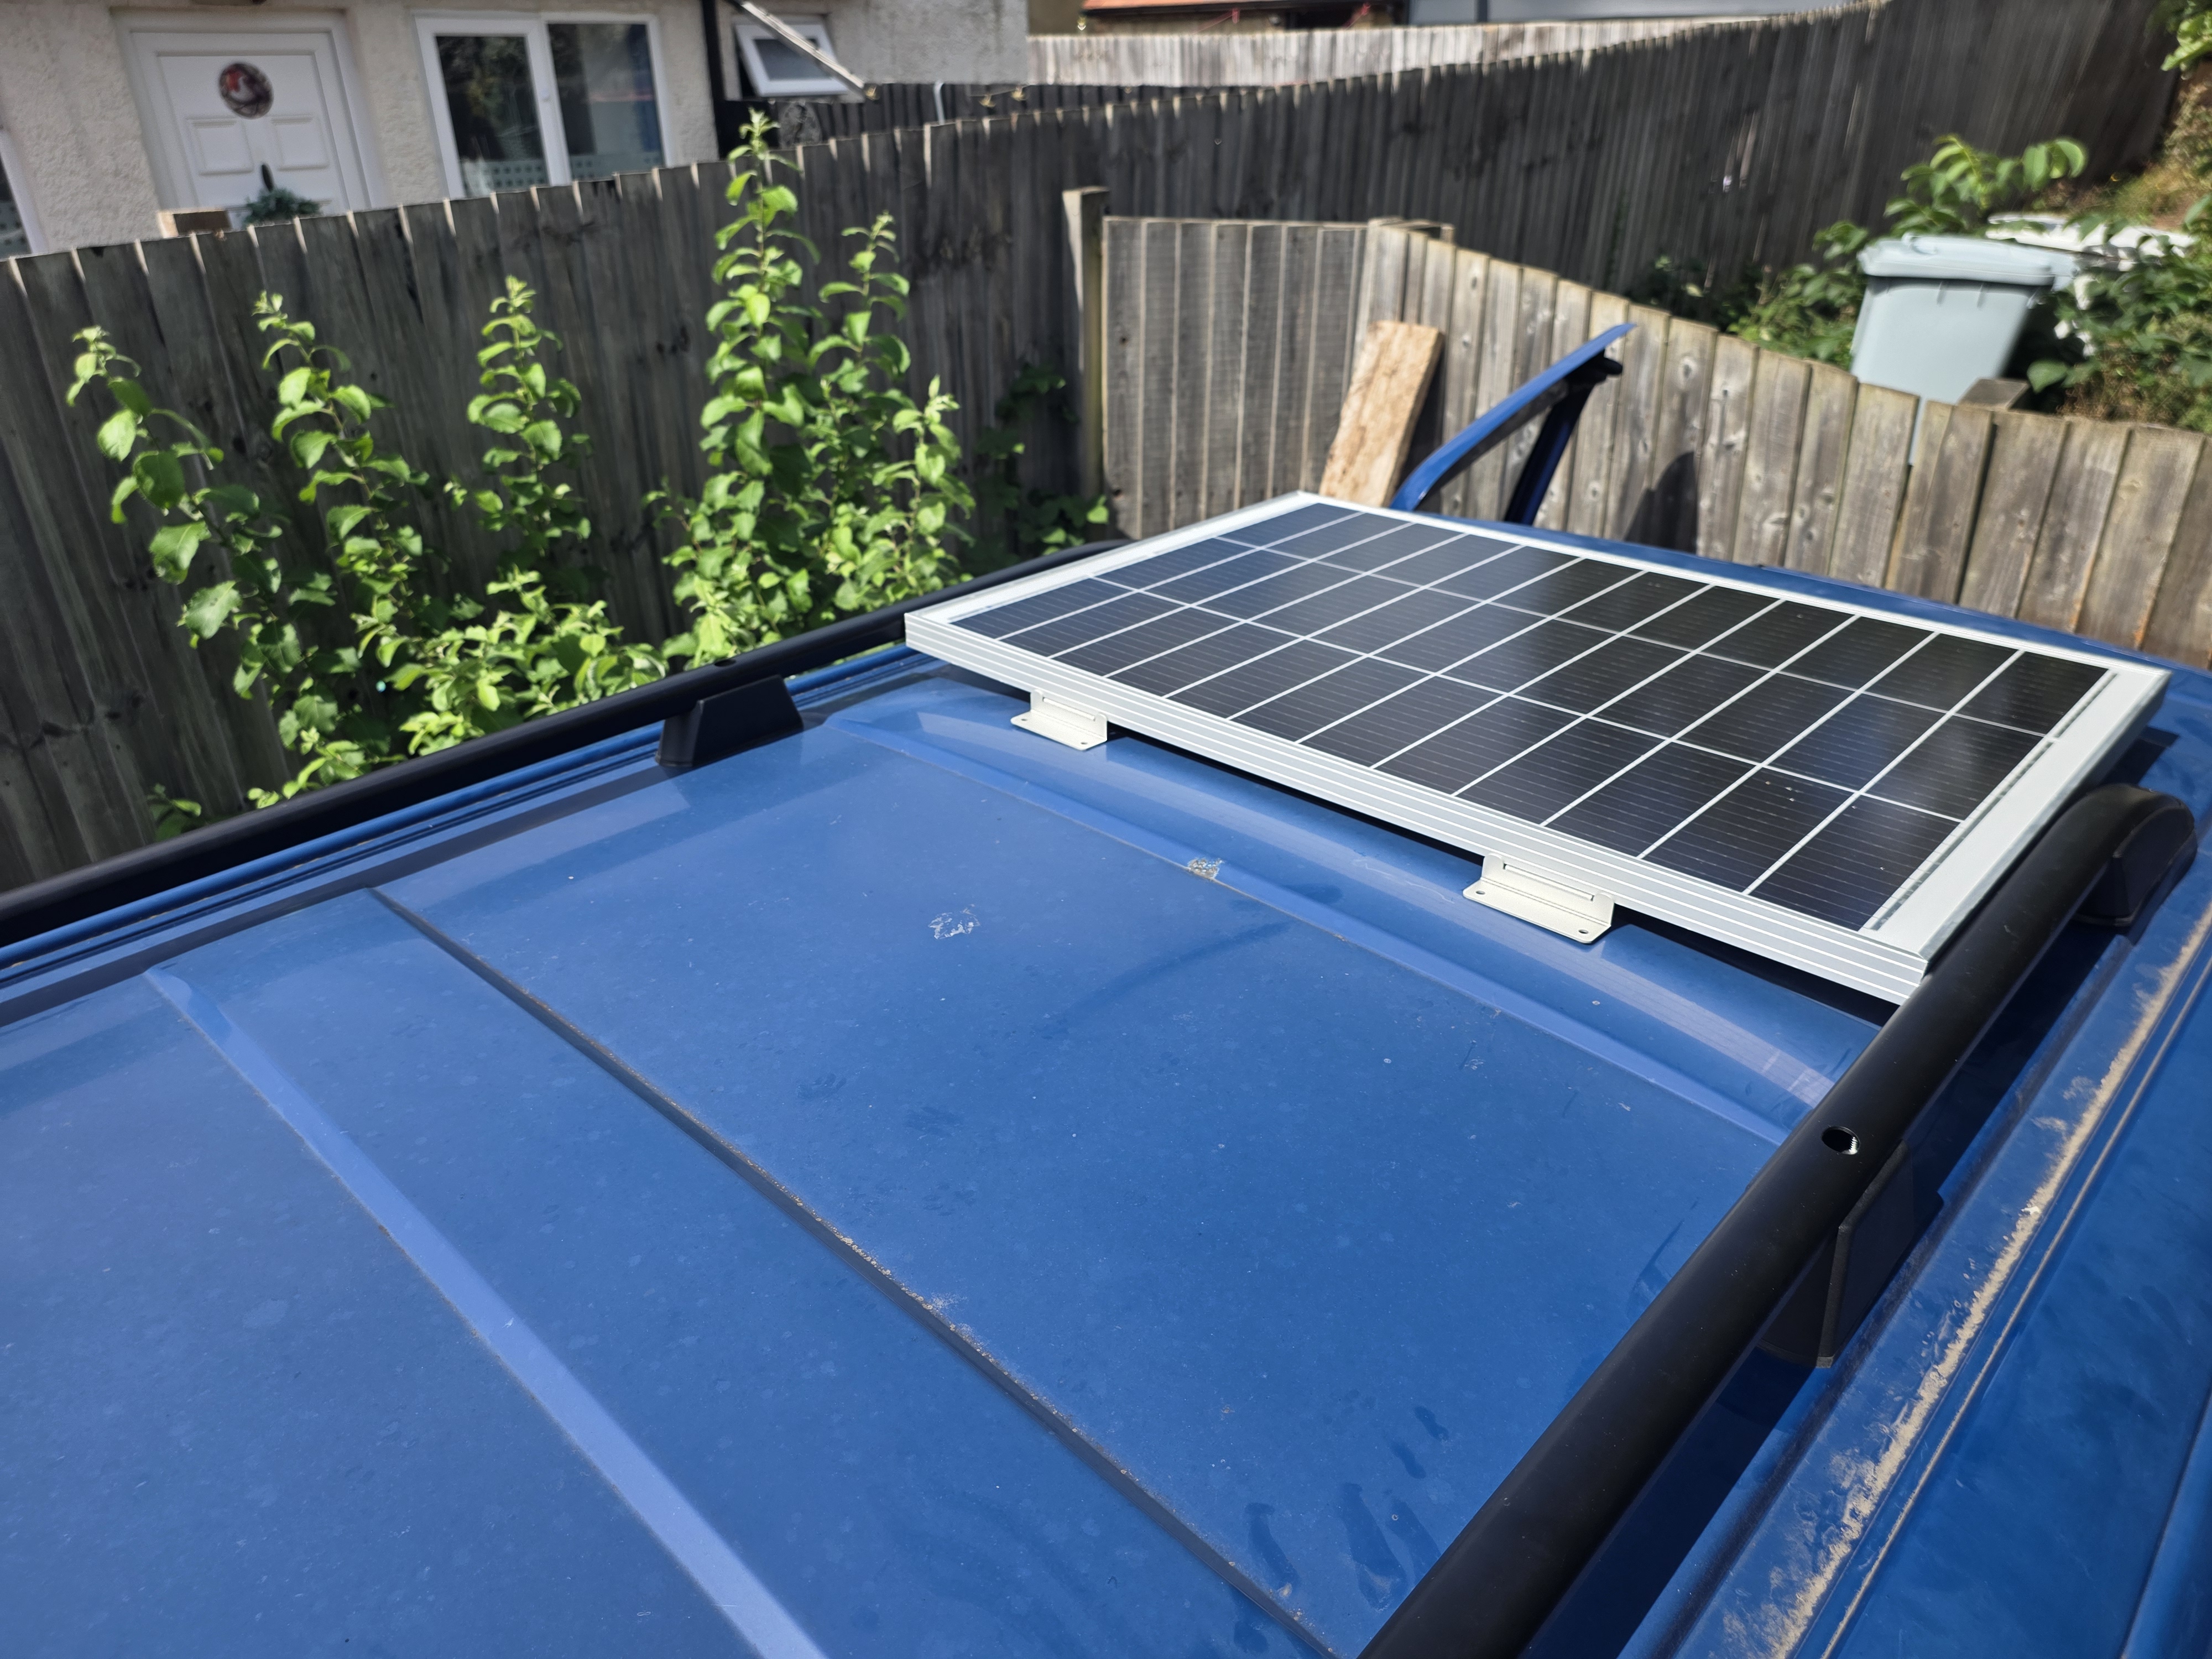
This brings me up to date with where I am so far. Plan is to sort out the roof install next weekend while ordering the window and fitting kit later on. This puts the upper foundations in place for the winter refit, with welding needing to take place before I can fit the floor. I have all the kit here to do that, just waiting on a friend of mine to come over and give me a crash course in welding, I can weld but it isn’t pretty so want some guidance and this chap welds for a living
So today saw a break in the weather where I decided to make a start on the roof install. Part of my “Vision” for the van is to make sure I have plenty of storage options, not only to be able to take the roof box with me, but also to be able to fit a short board to the roof for summer trips to Cornwall.
Now the T4 has very few options for roof storage, with the usual option being a full roof “basket” which utilises the gutters. I want to keep these free to be able to install an awning at a later date. Not only that, it makes life very difficult to install solar panels.
So my solution has been to get some roof rails for the T5 as they just don’t exist for the T4. Obviously these are not a direct fit to the T4 so that took a little thinking about in order to get these on. The centre leg needed to be cut back by about 8mm. This allowed all three securing legs to sit flush with the roof with no torsional pressure on the bar. The mounting points were then marked with a punch, drilled out and a rivnut installed on all three. I fitted the rubber sealing grommet to each point before putting Tiger Seal into each rivnut. This was then tightened down, securing the rail to the roof.
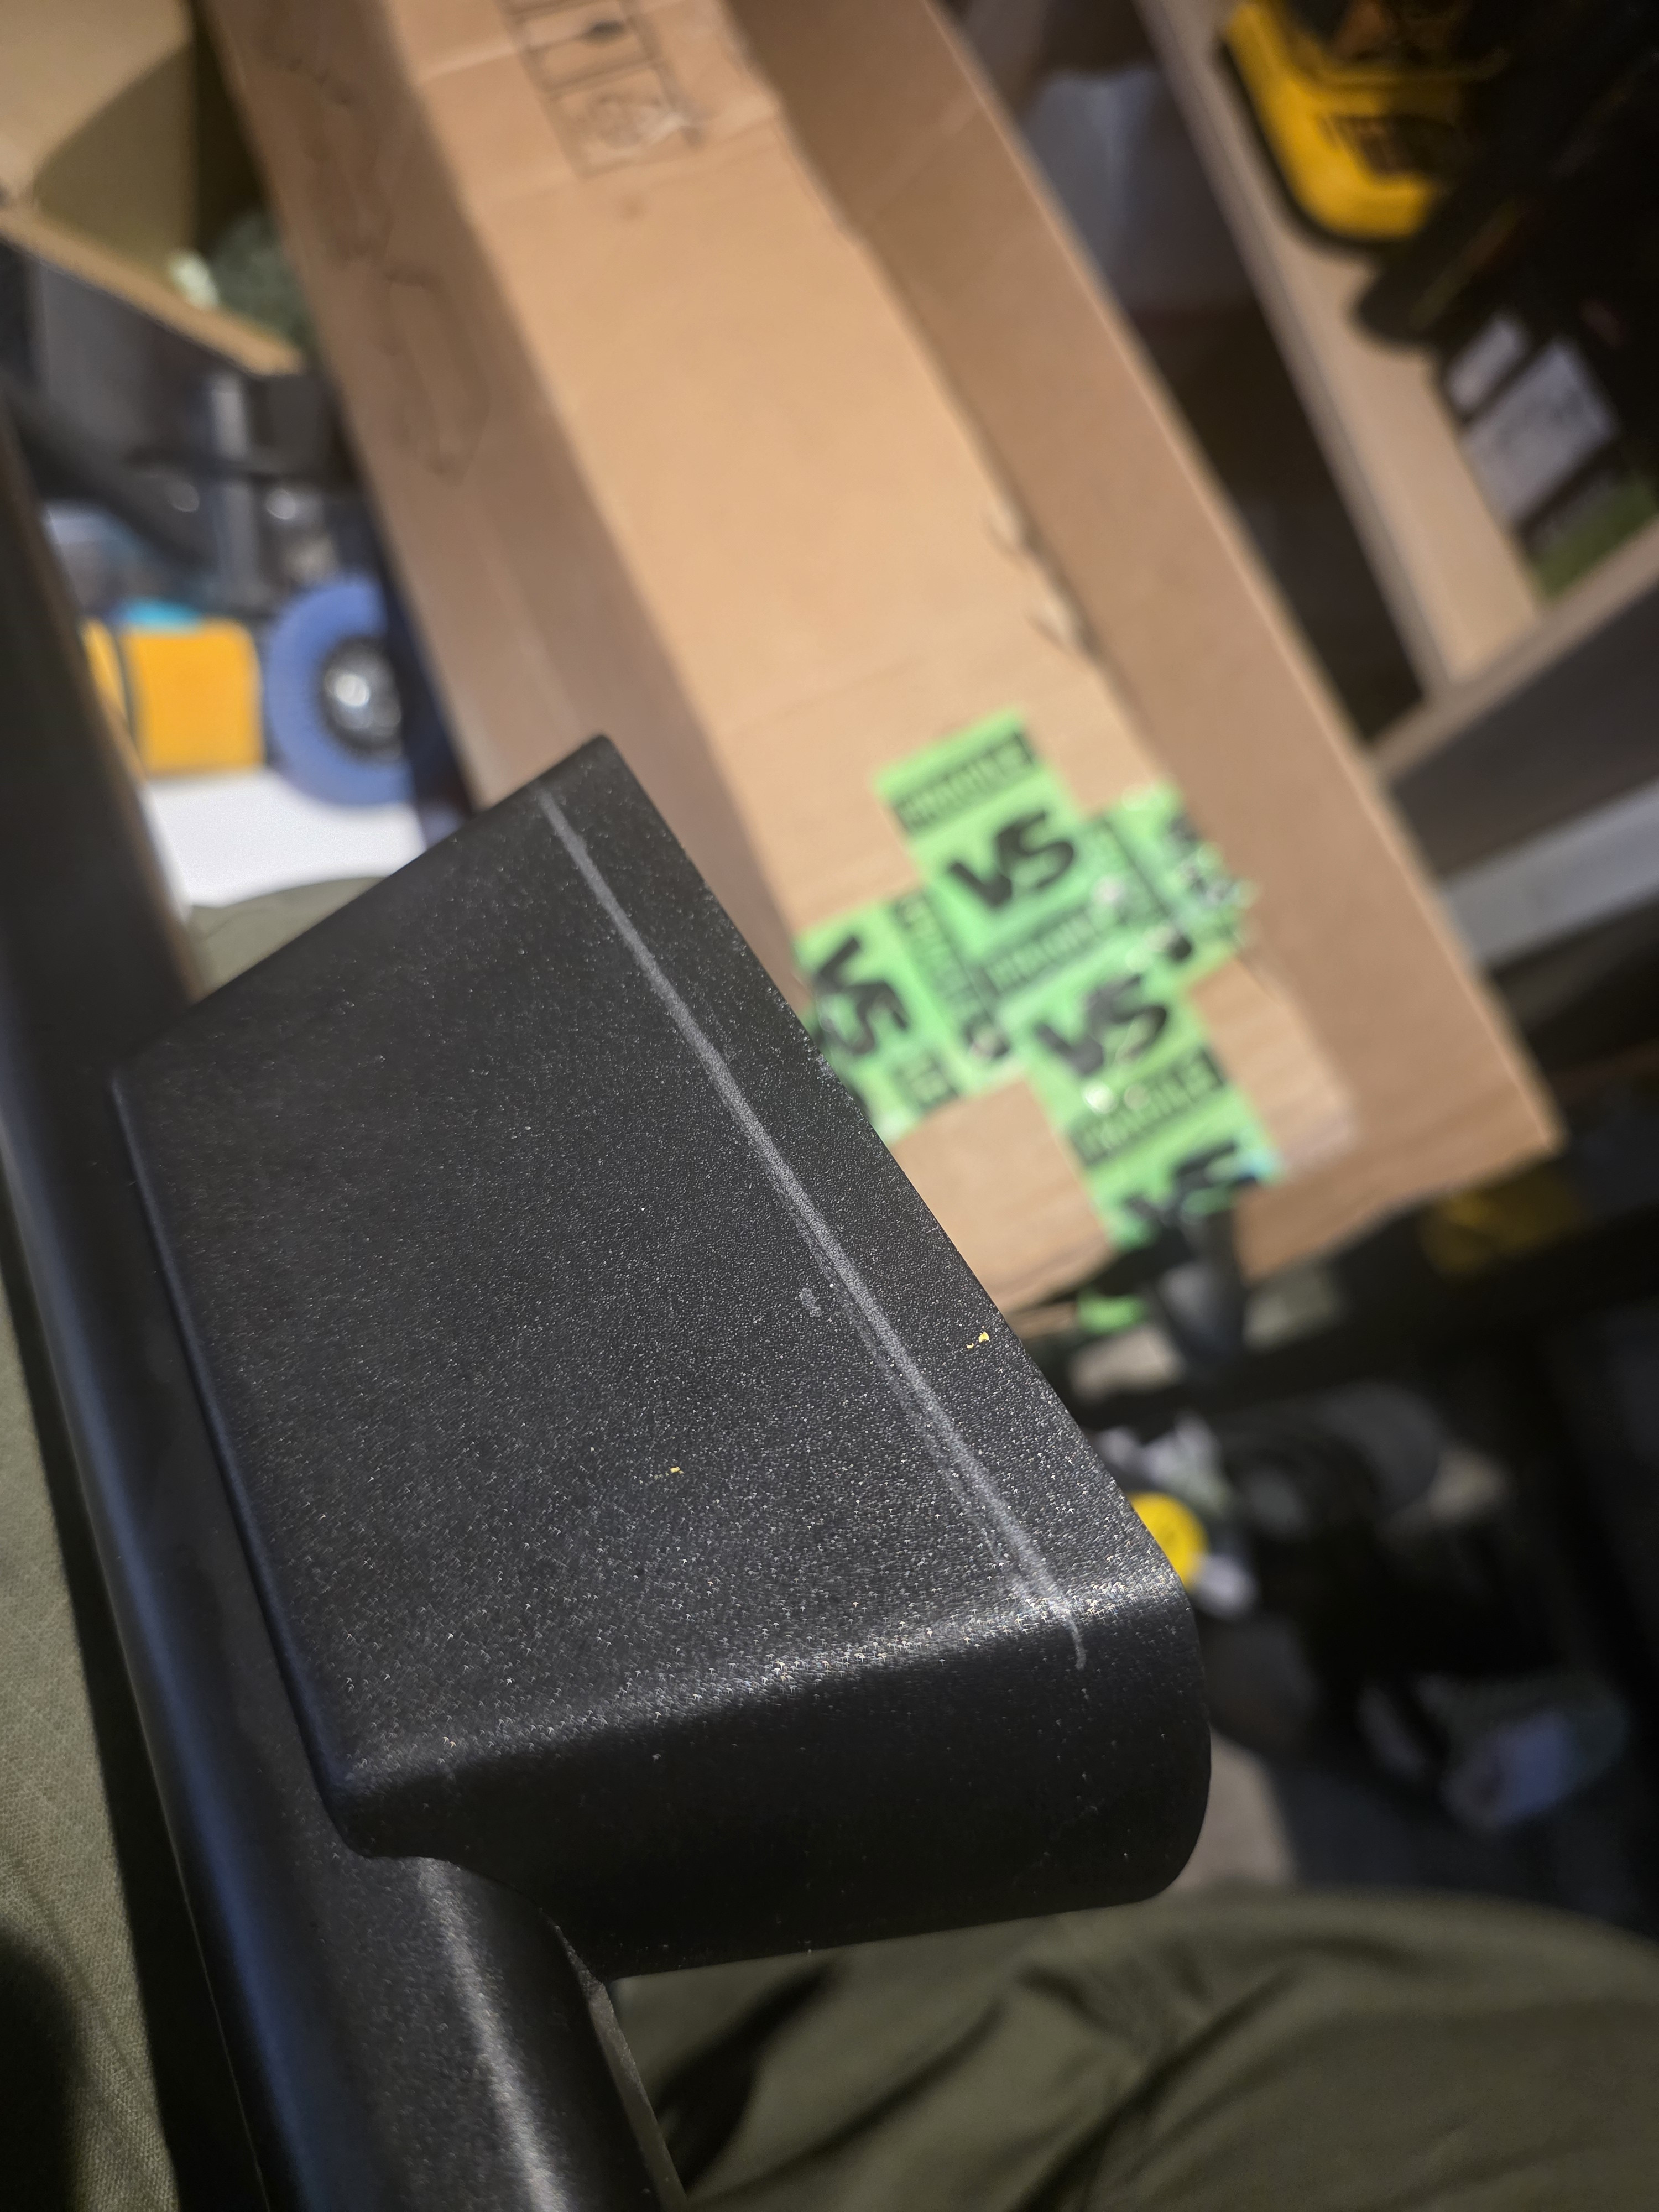
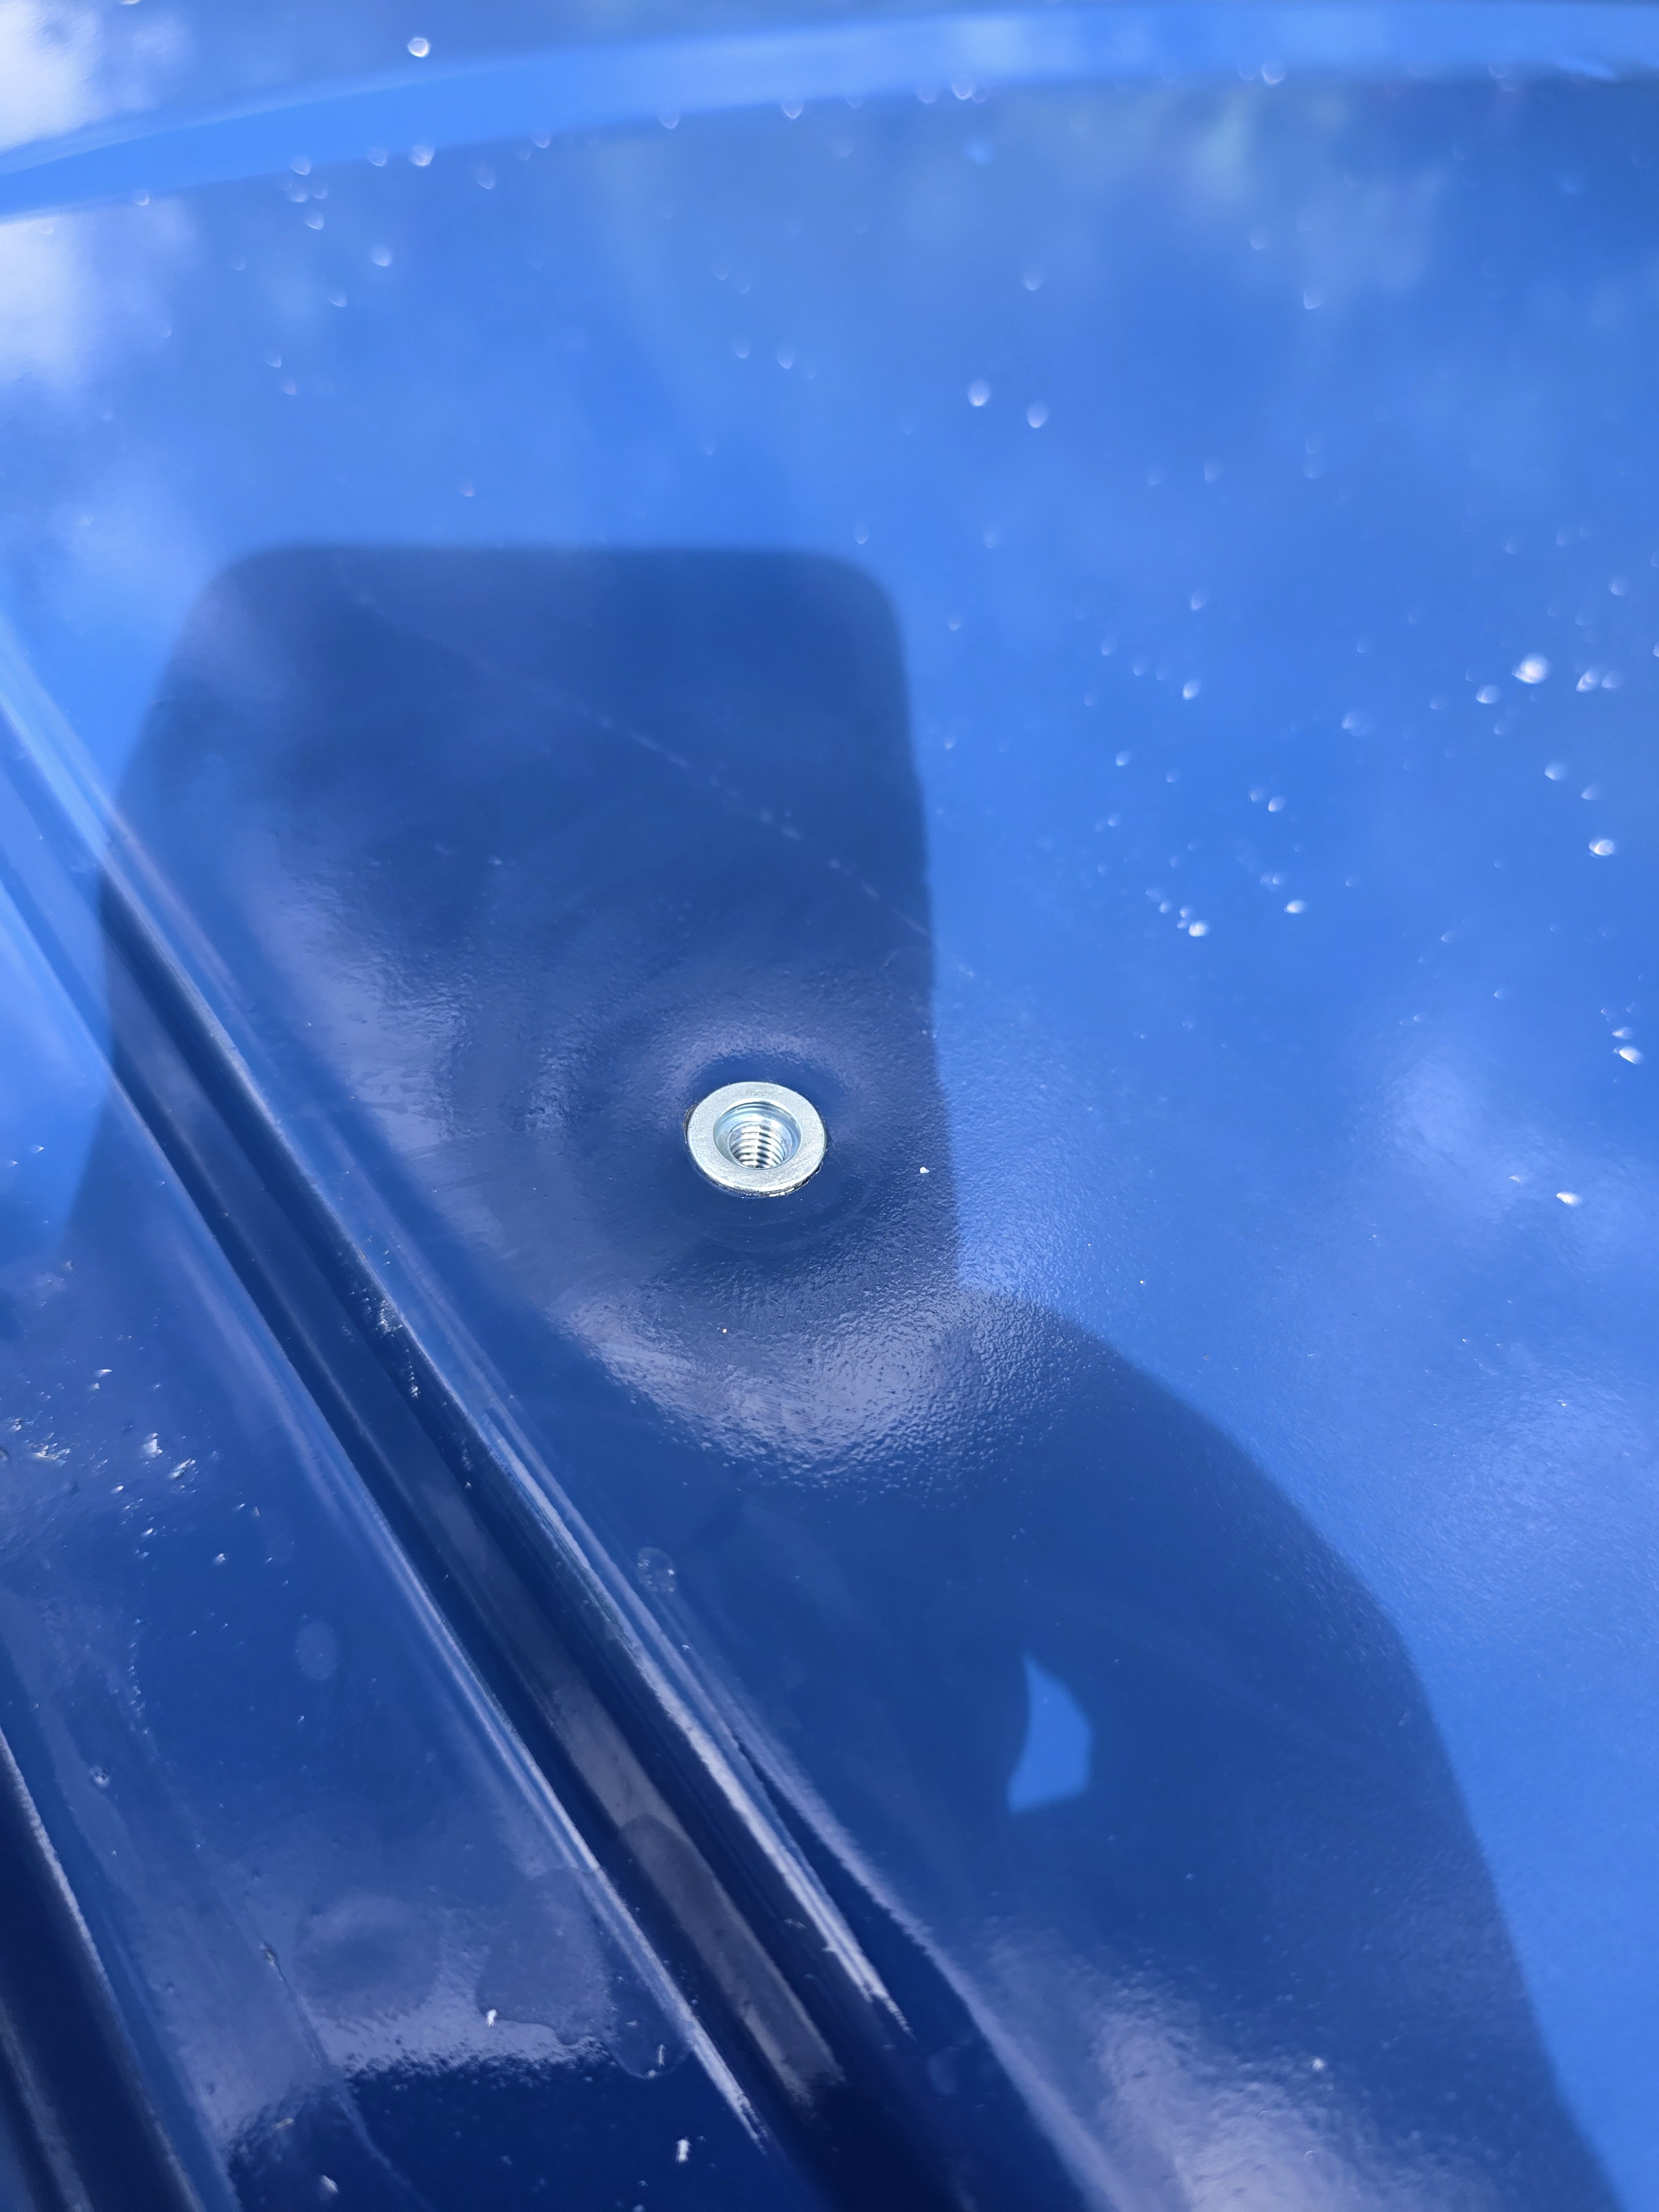
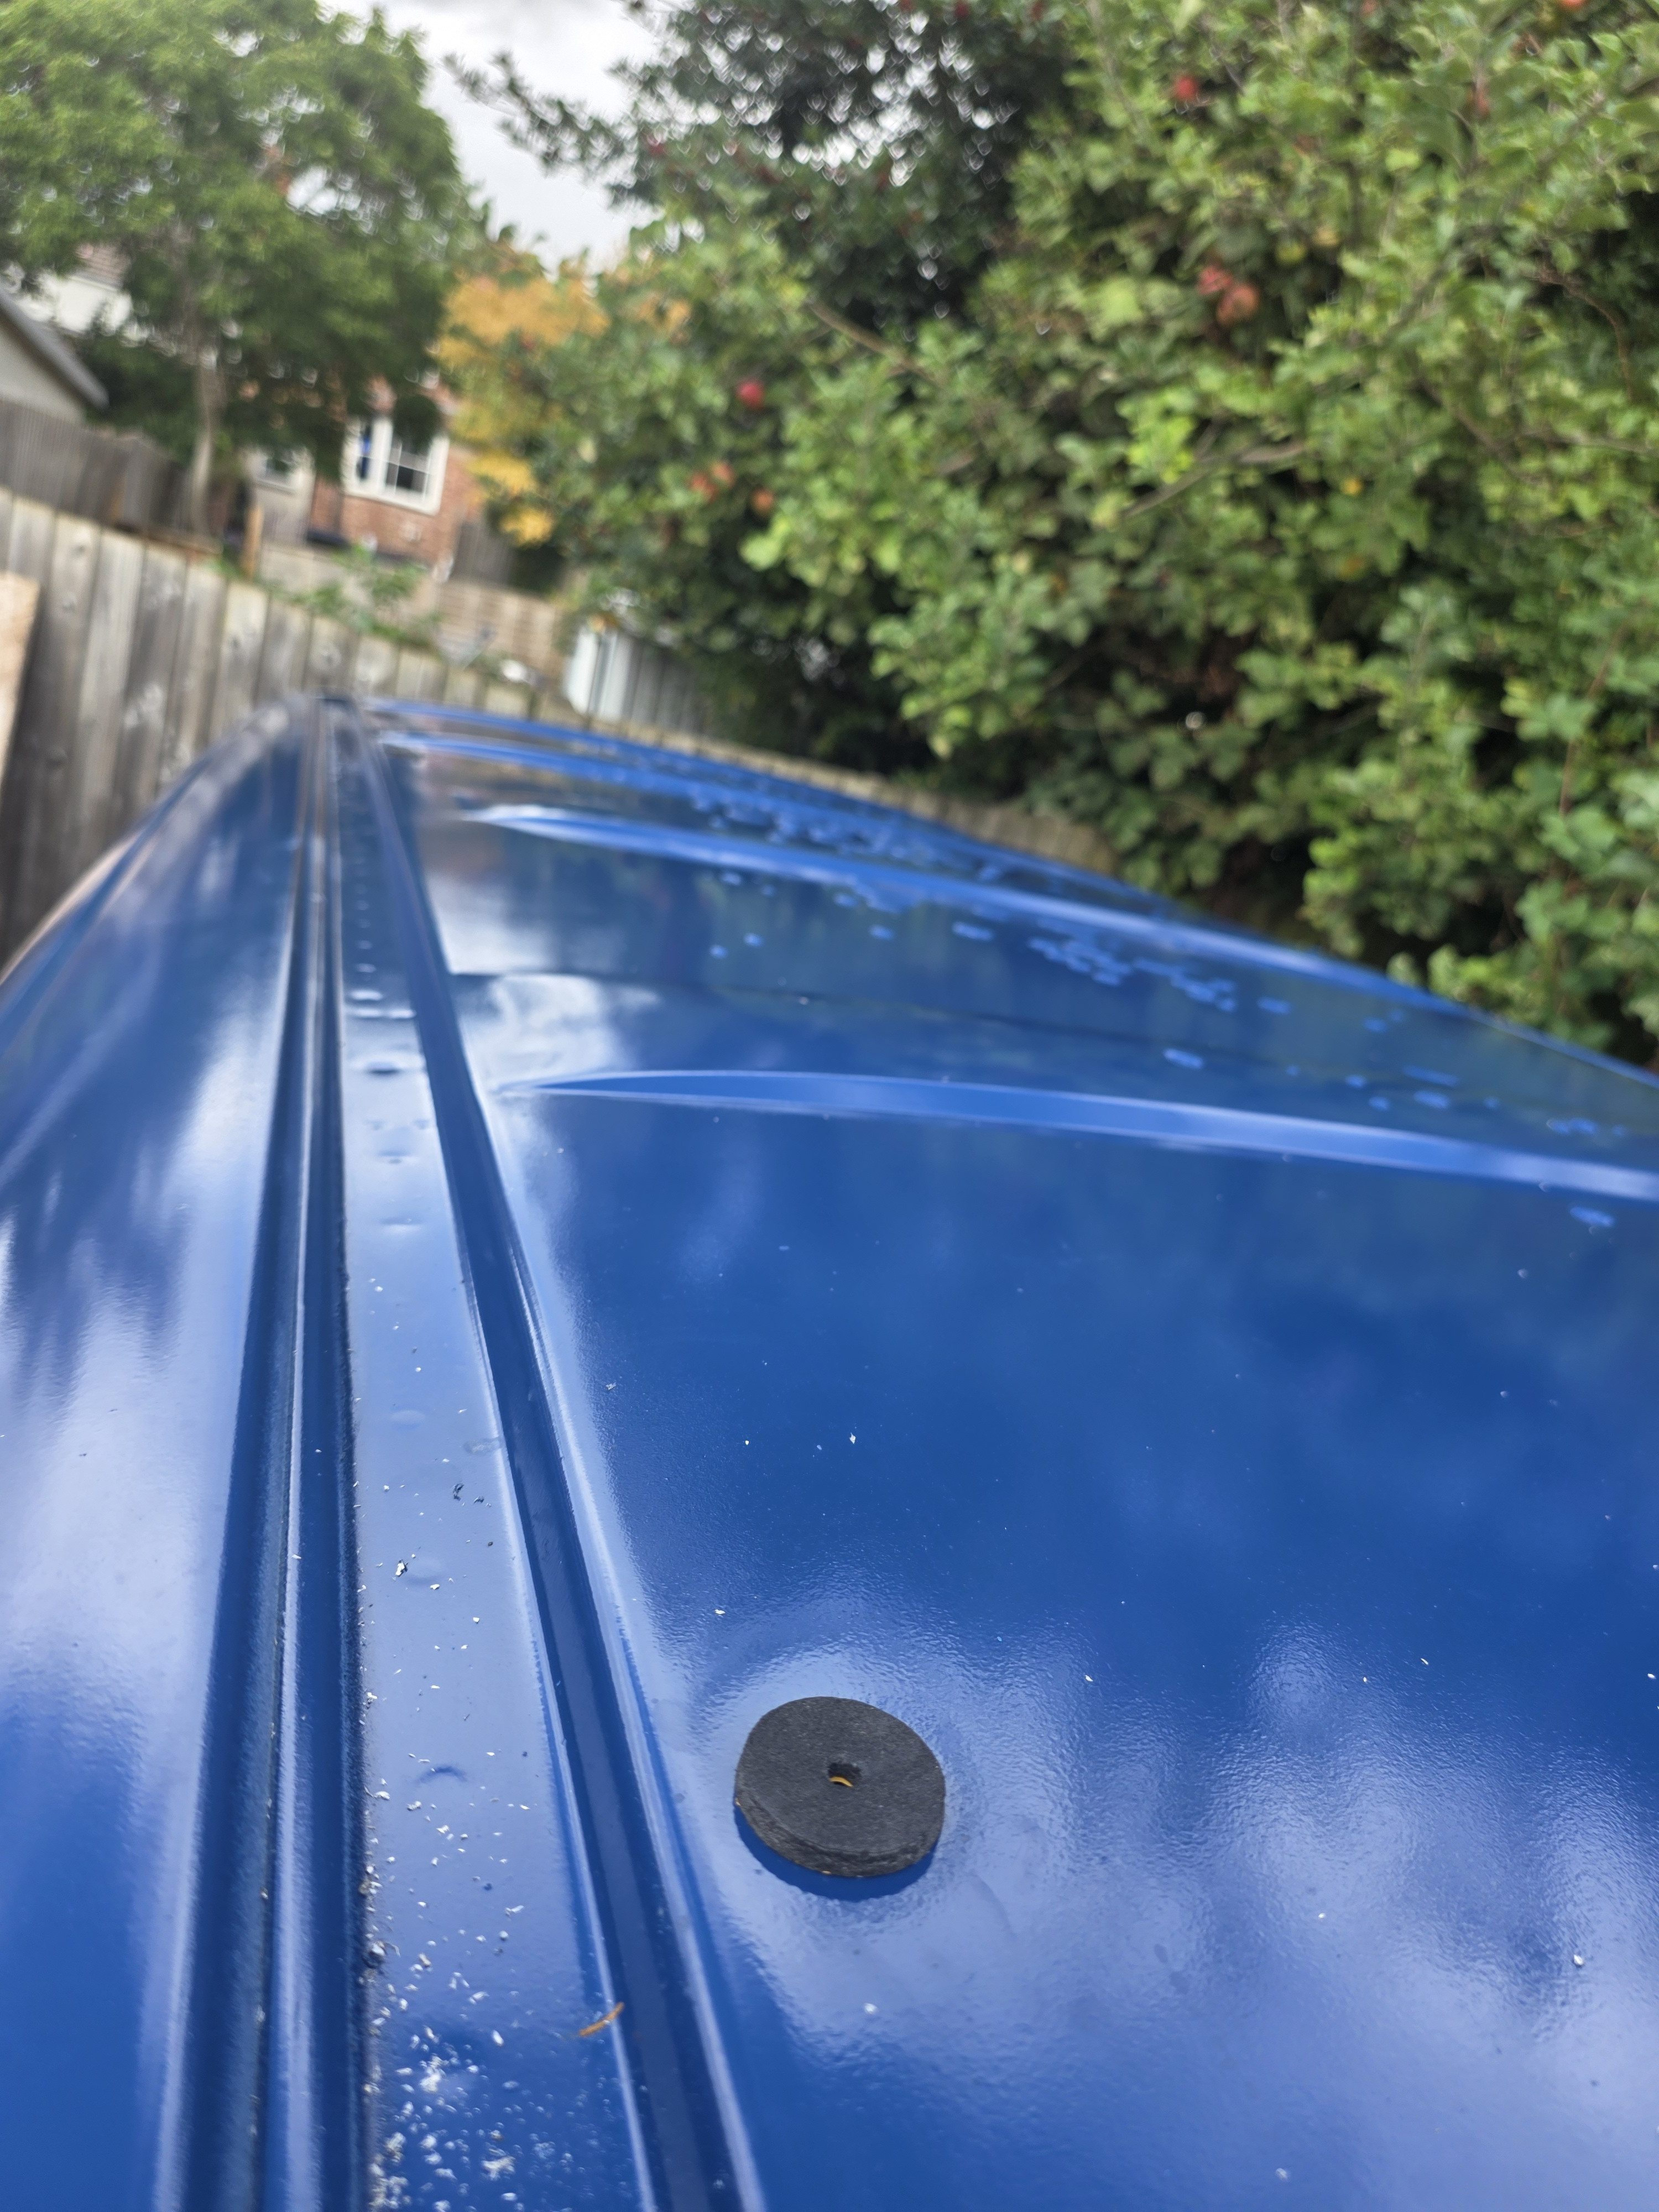
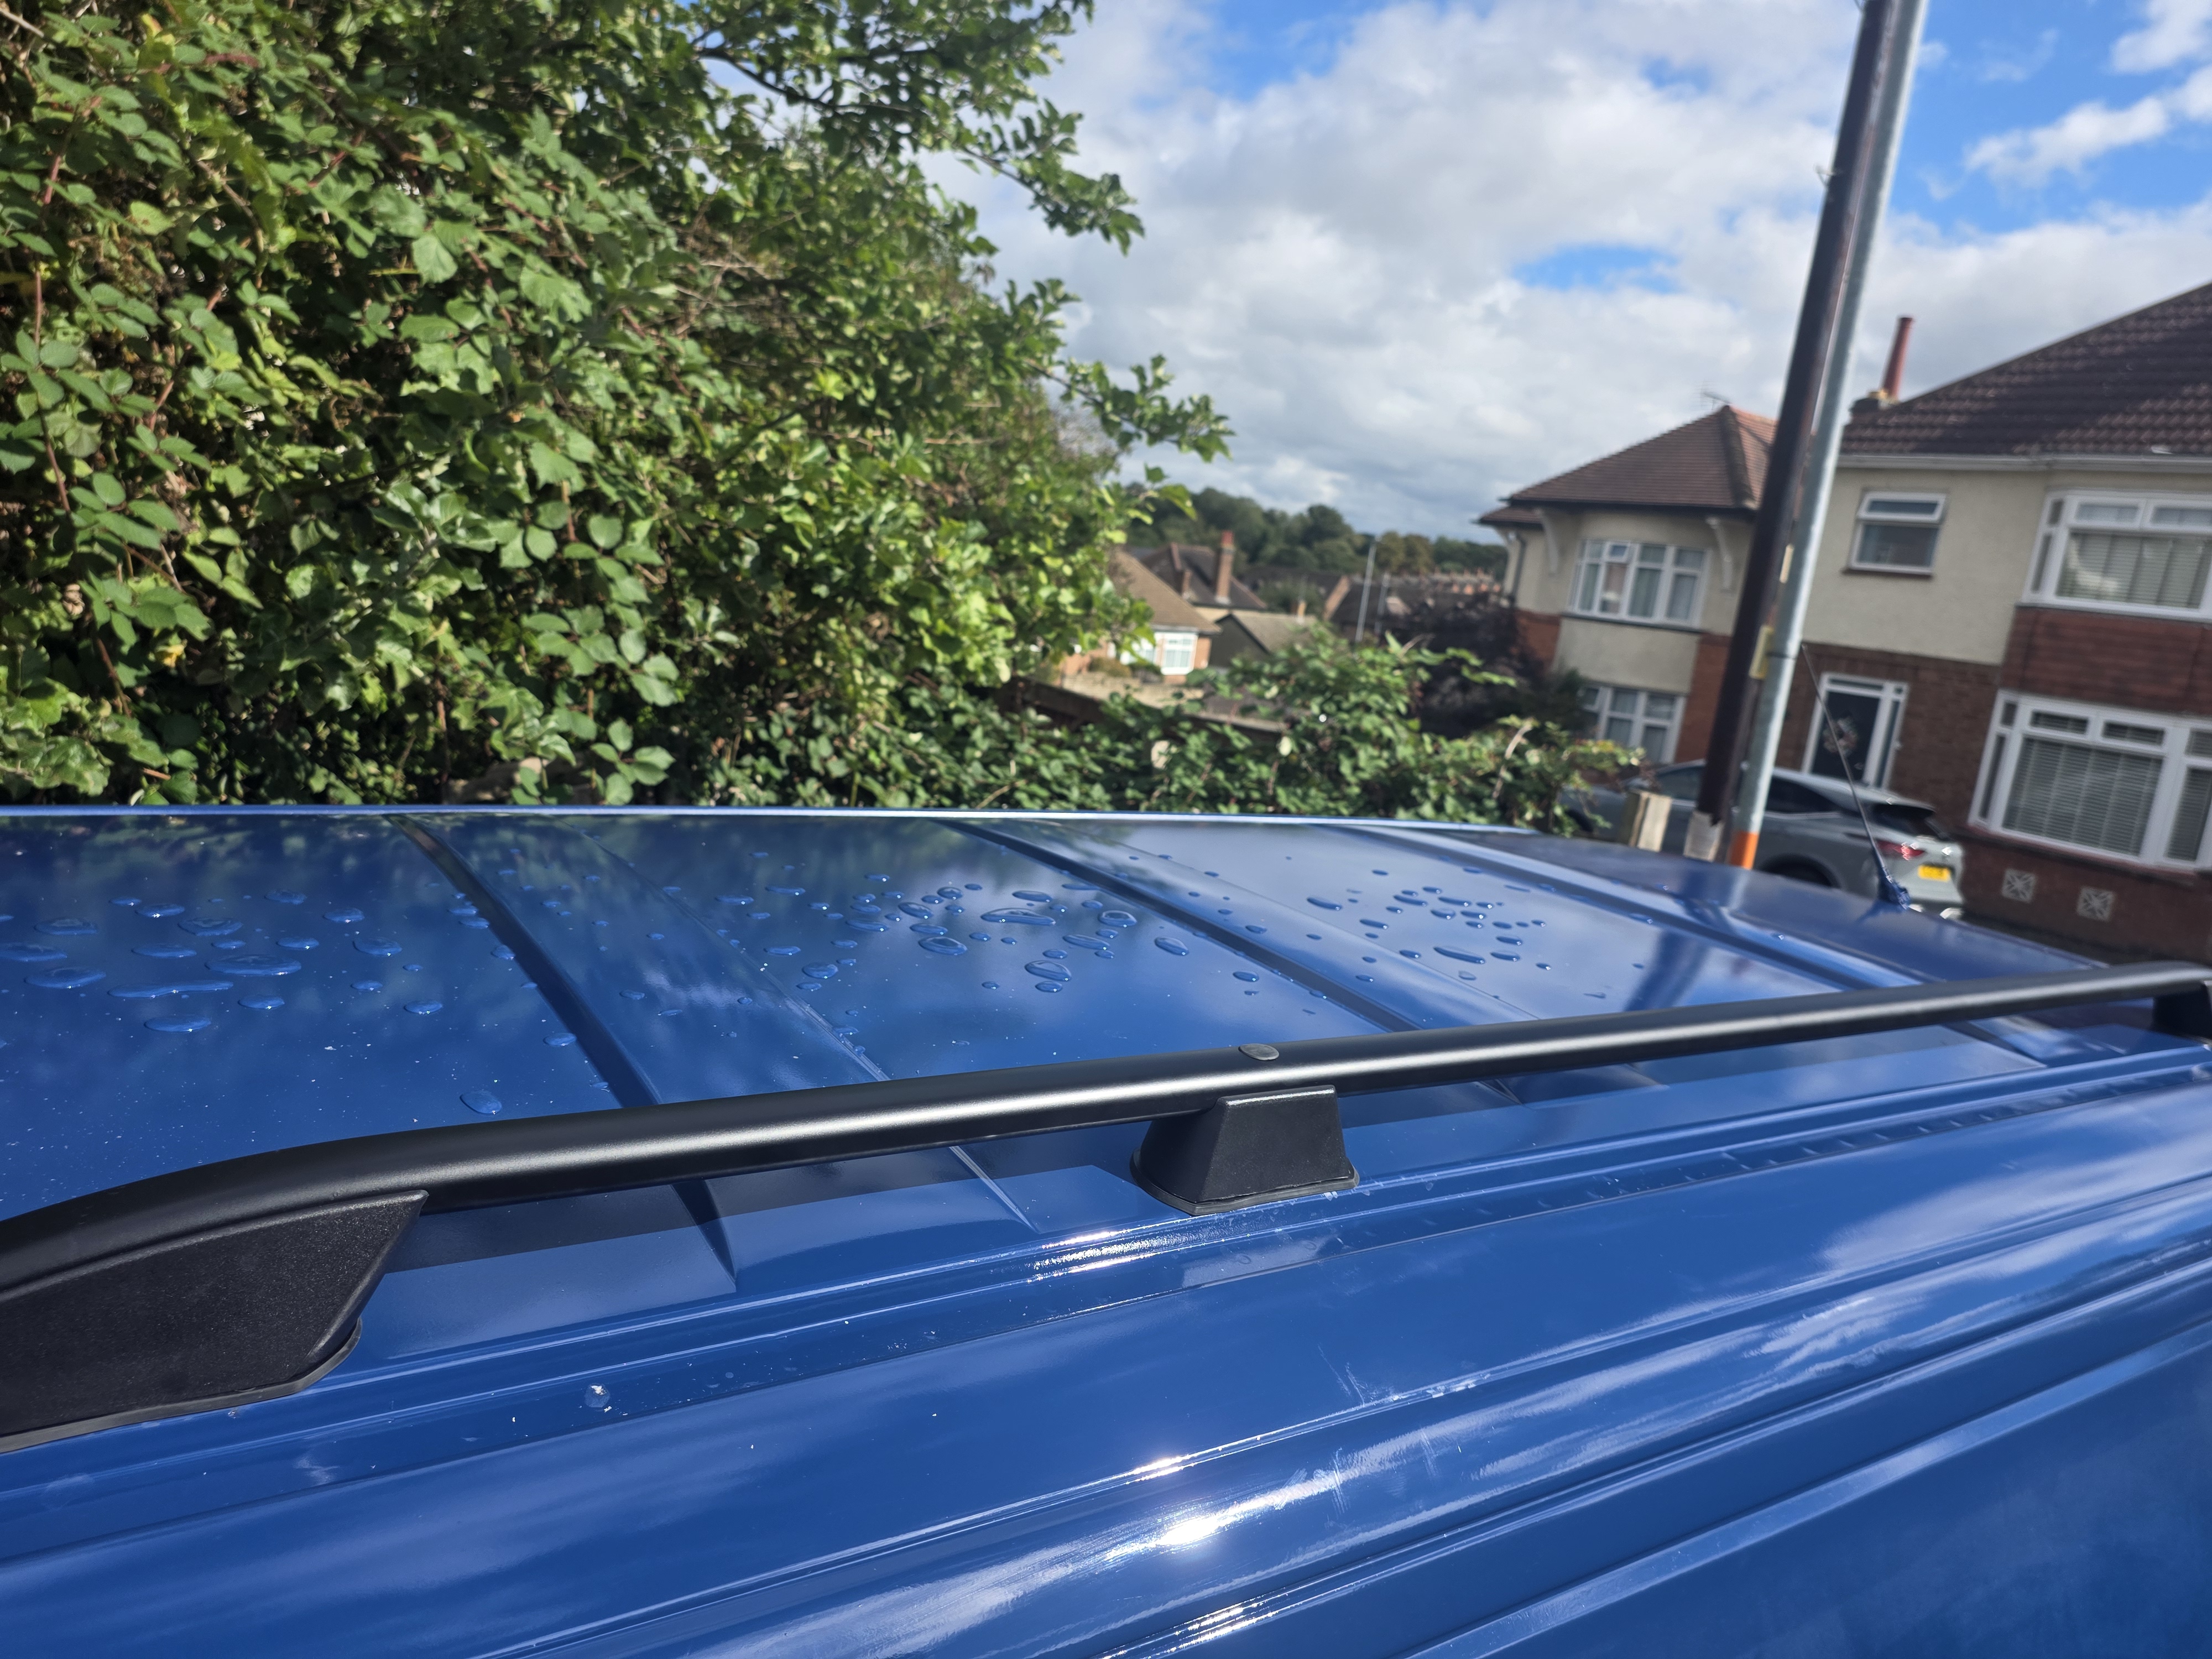
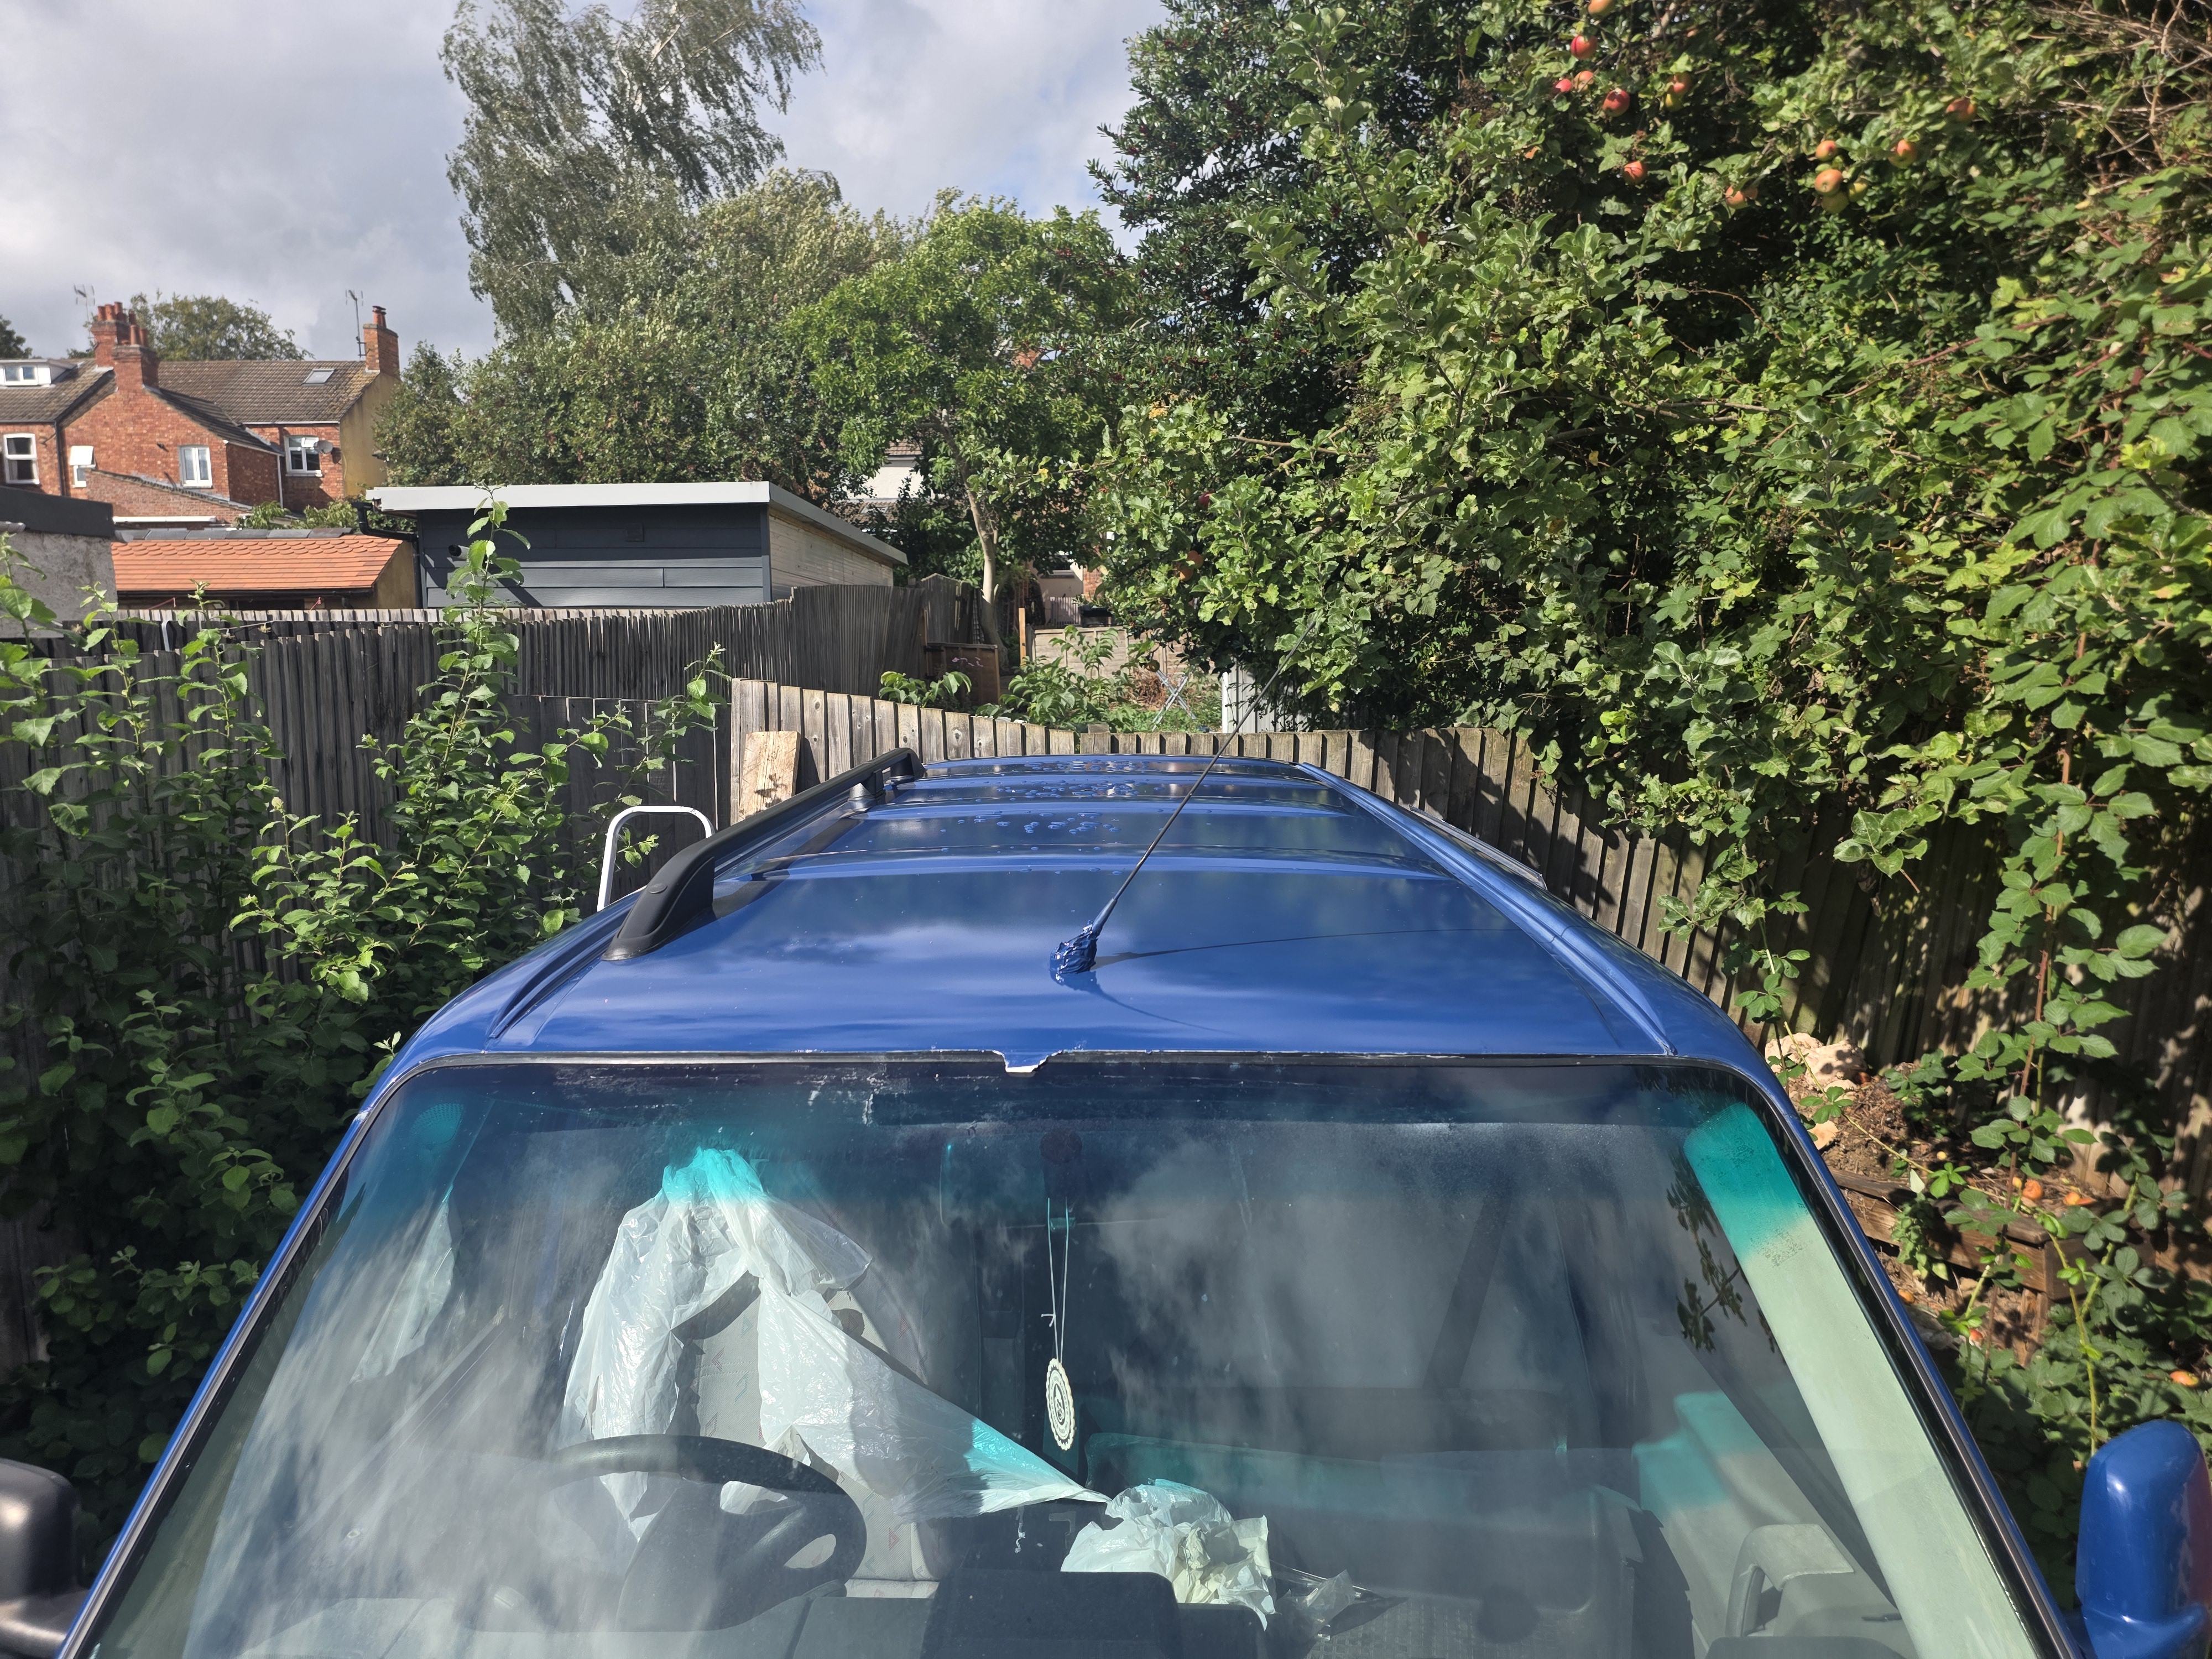
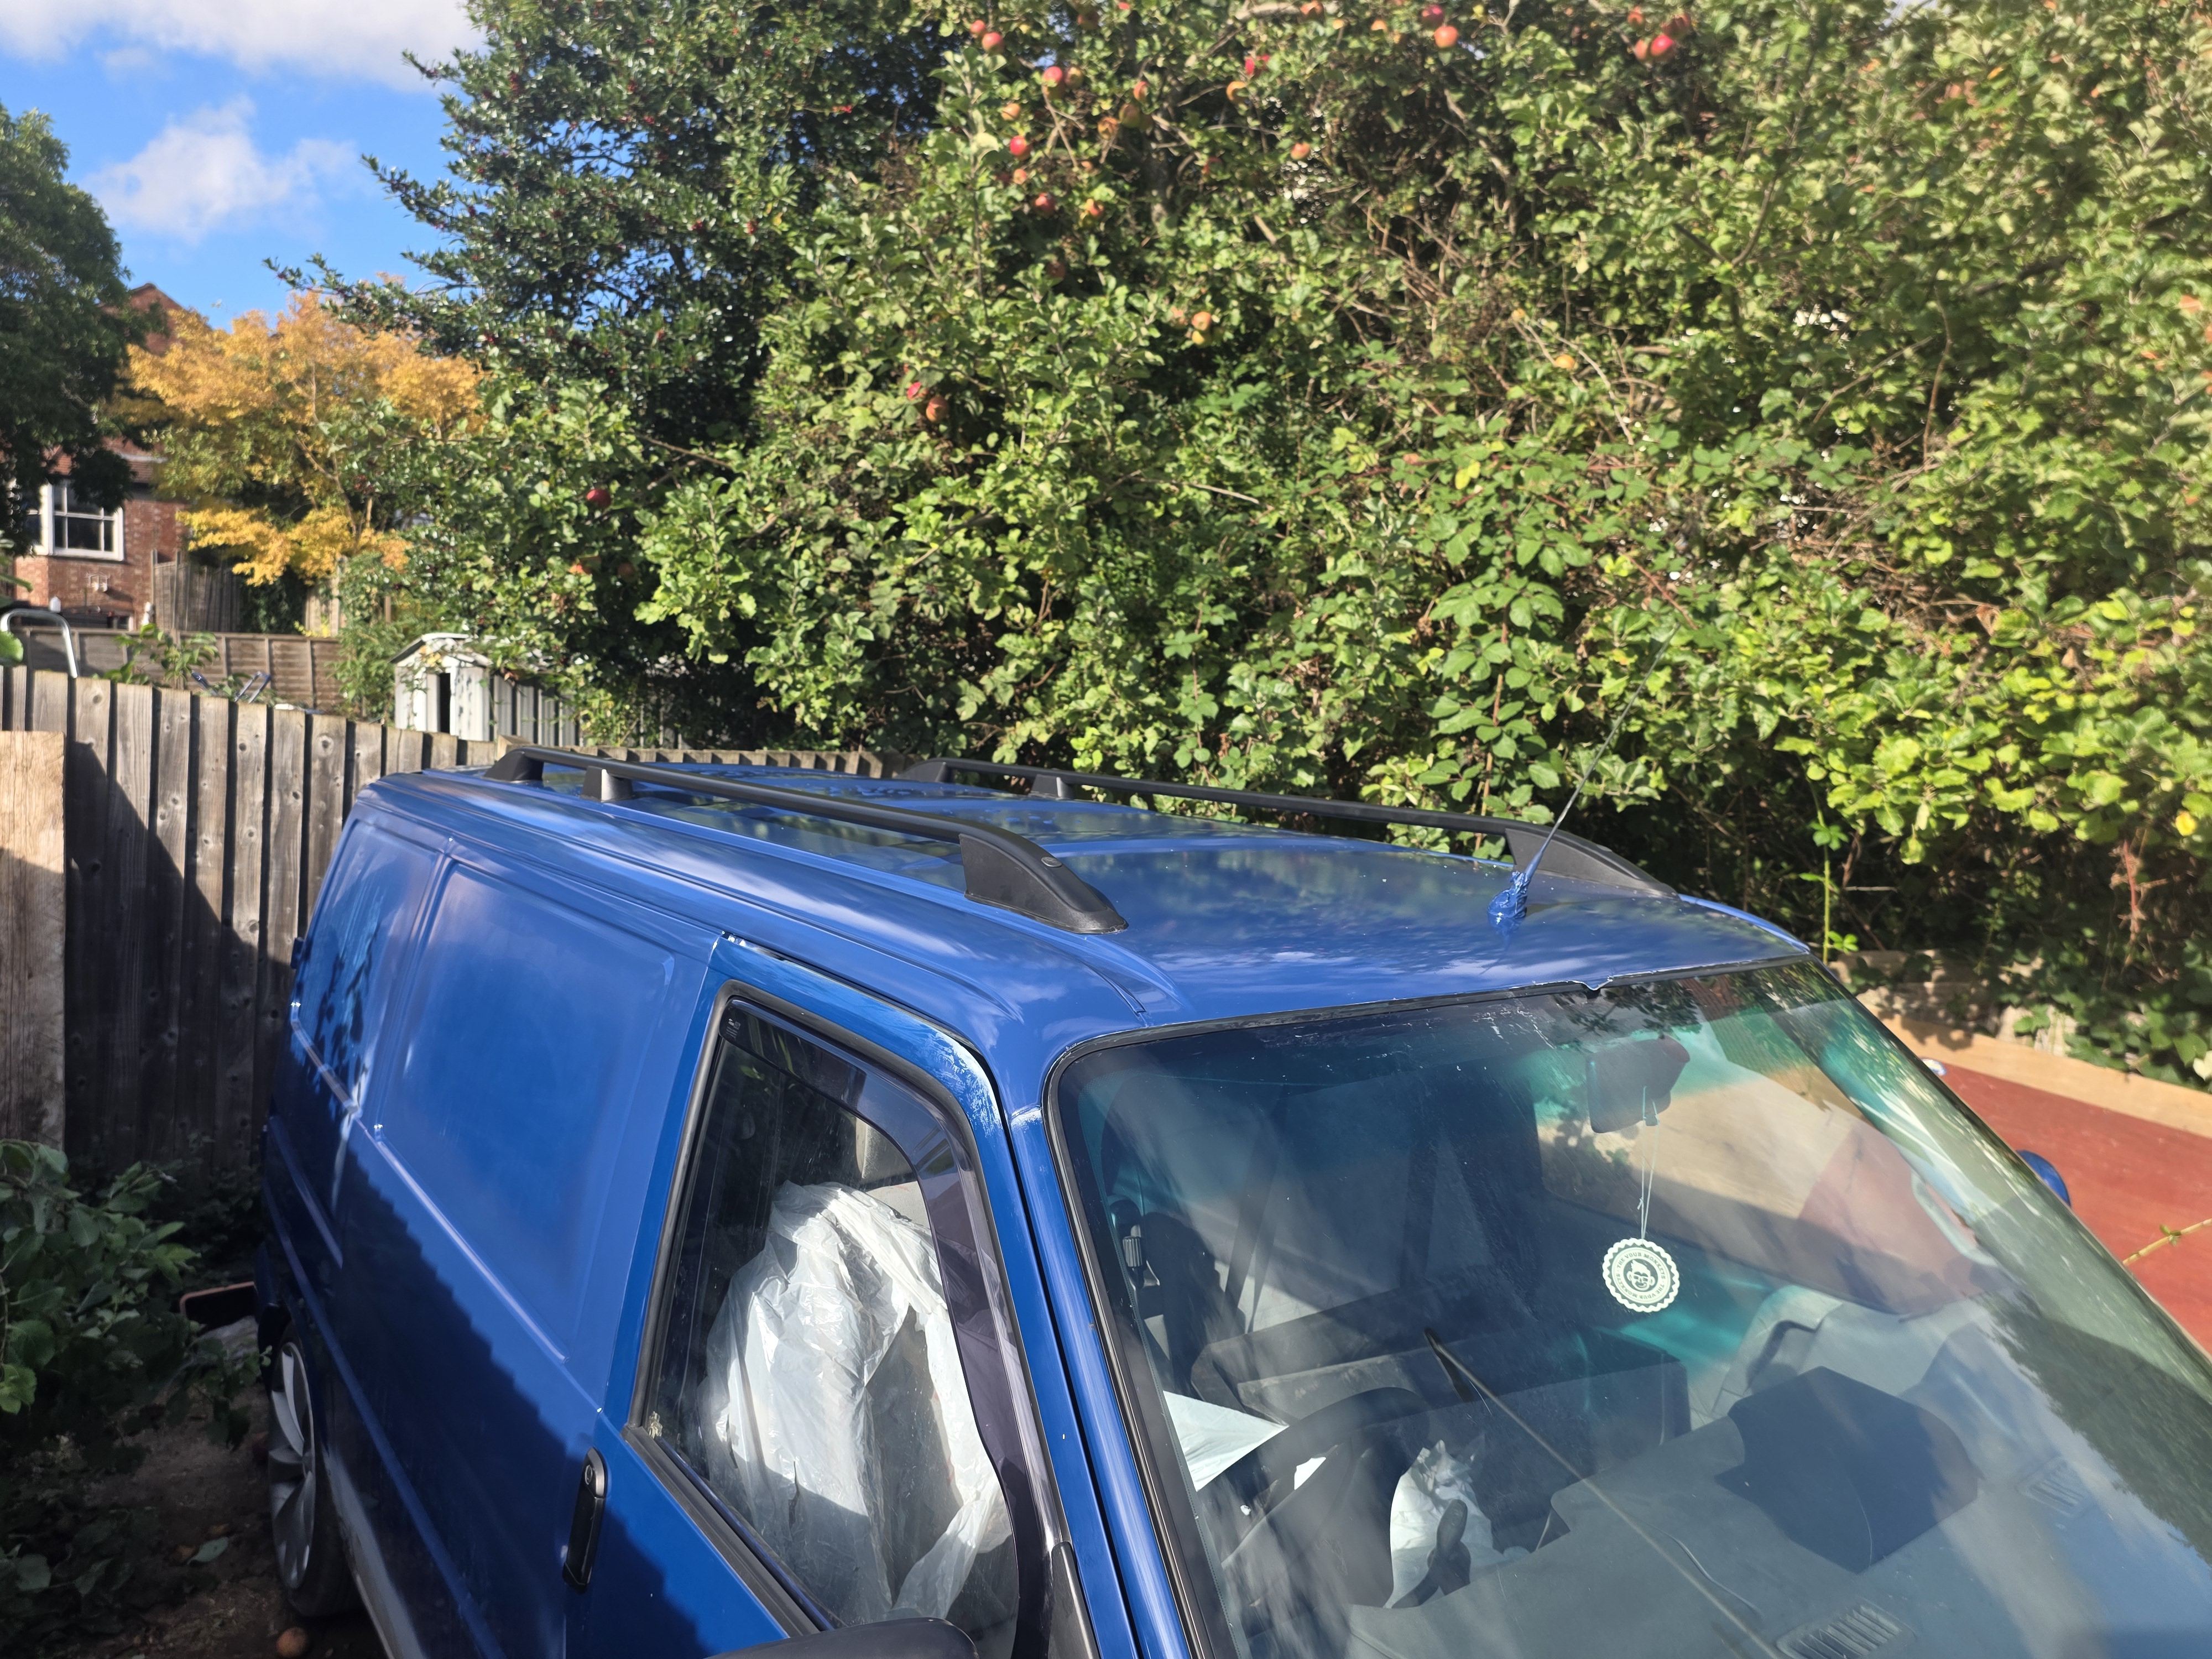
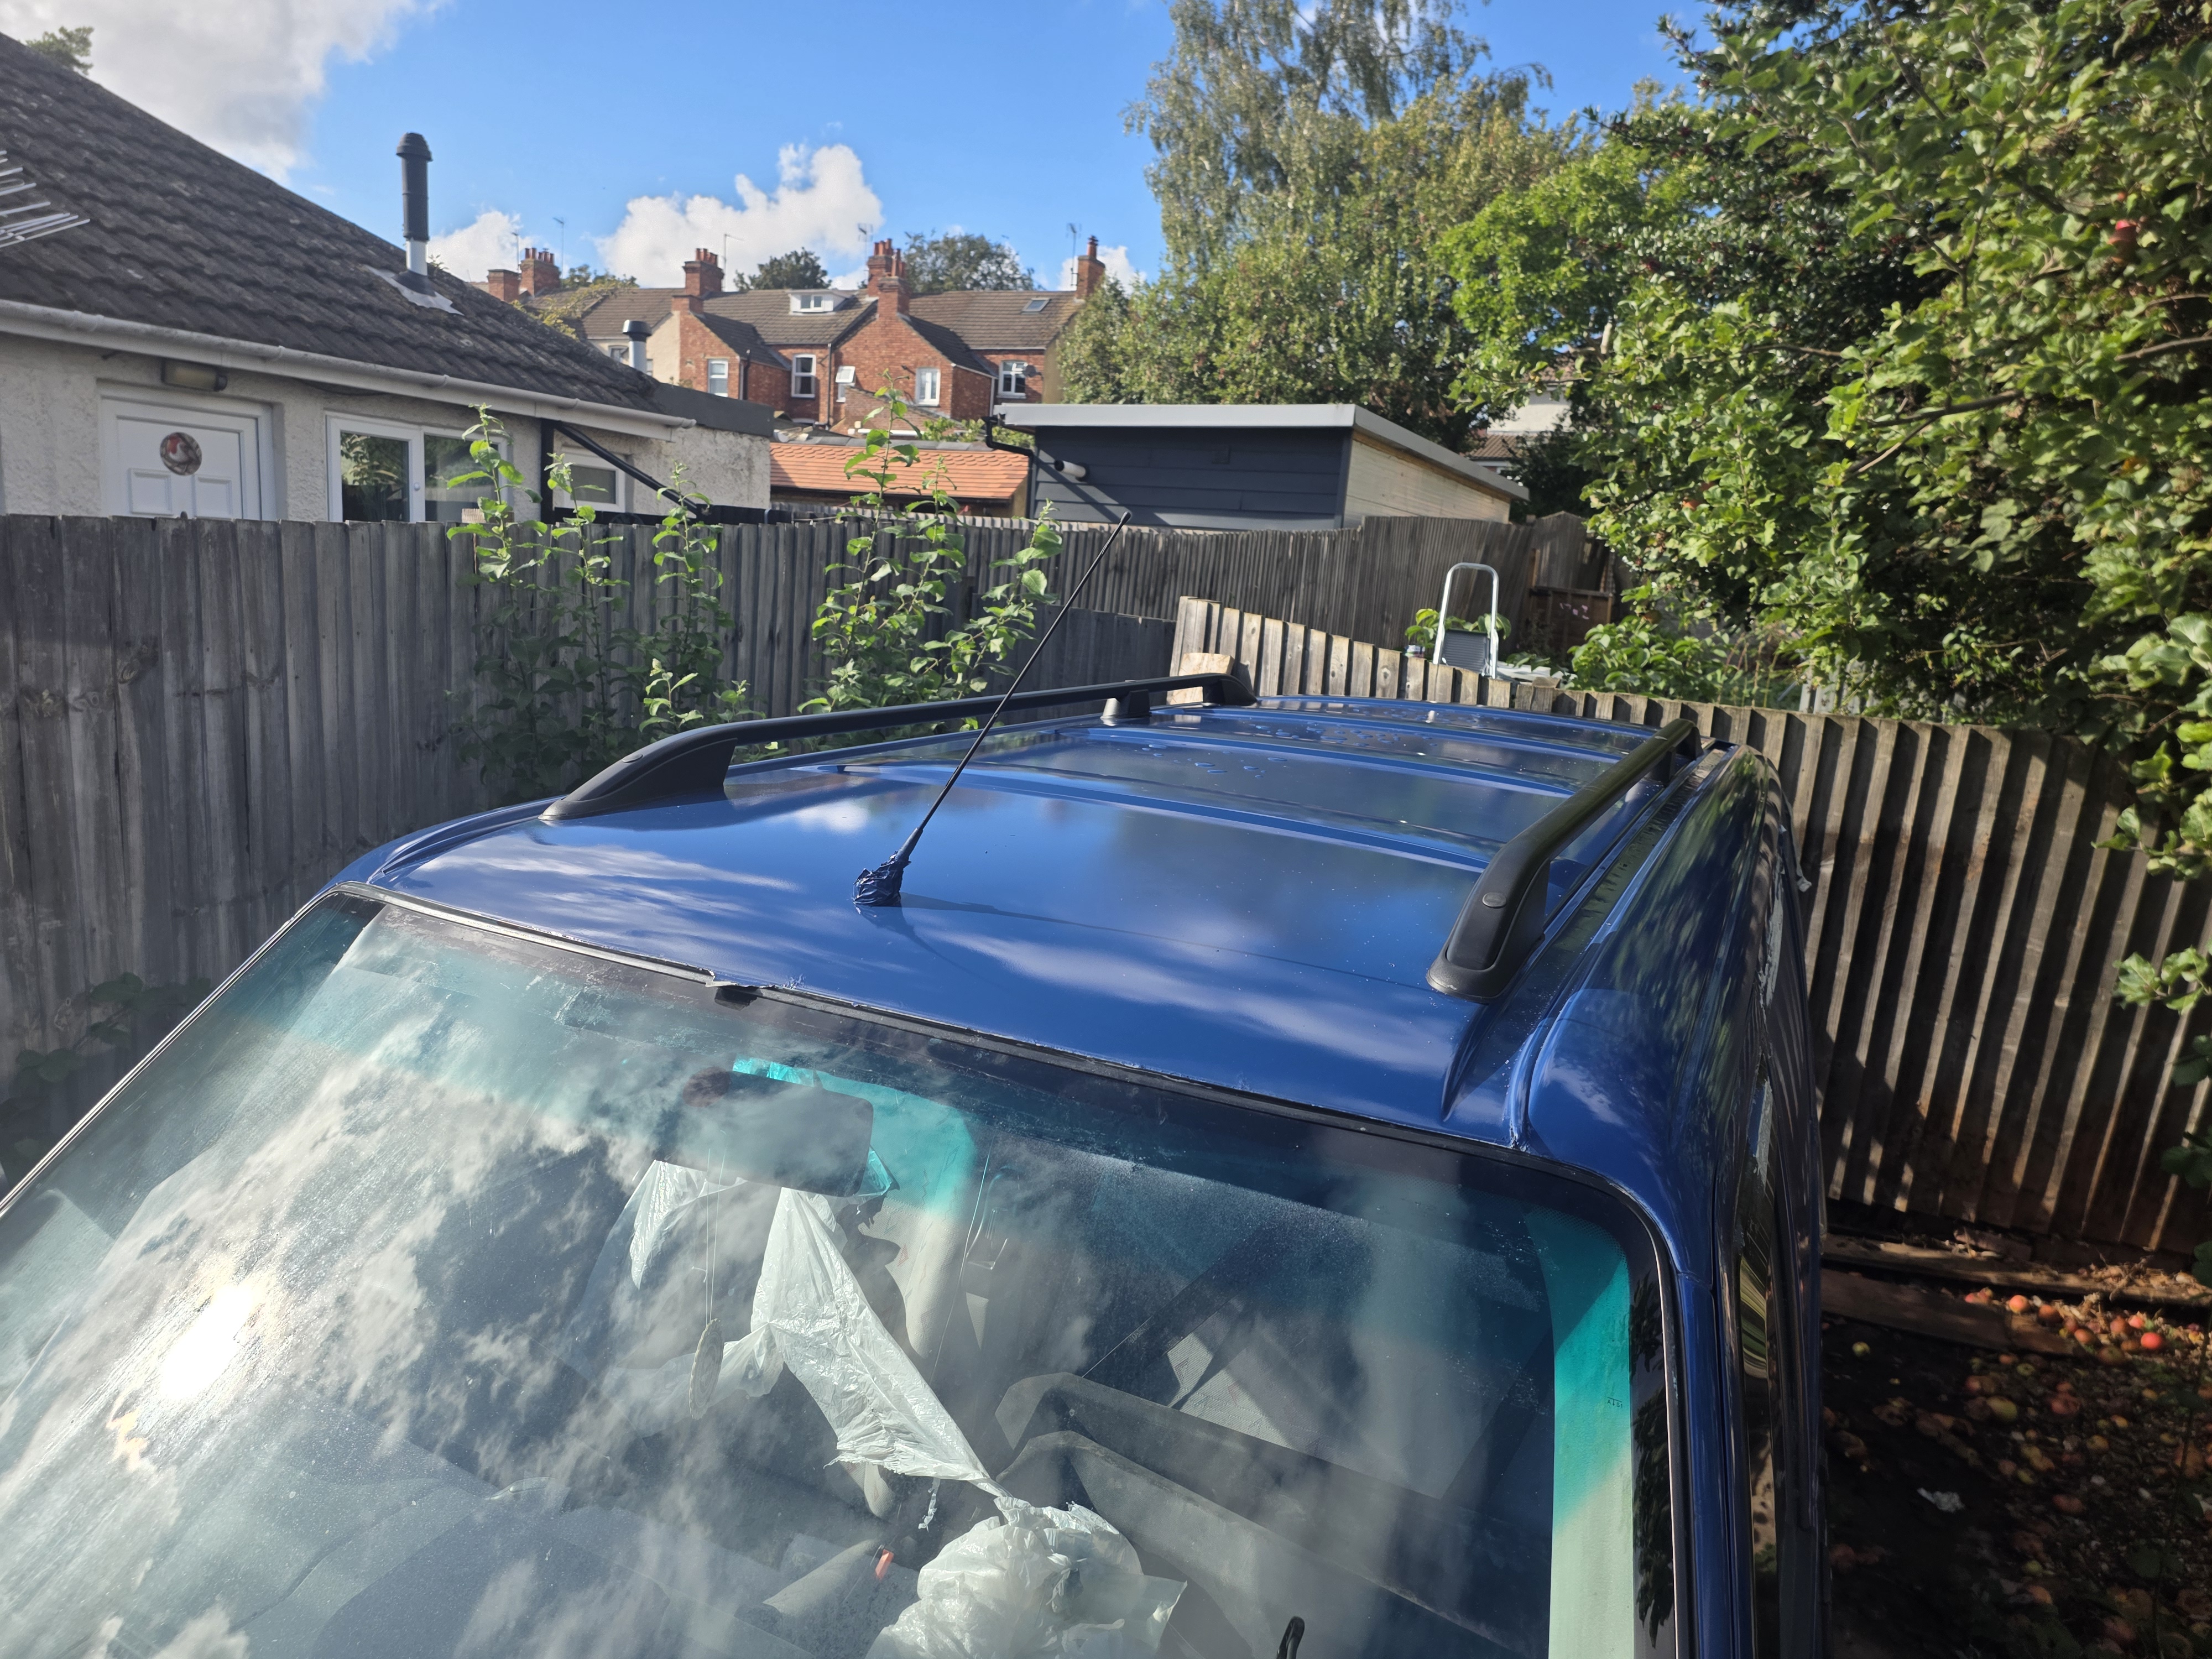
The beauty of installing like this is that the space between the rails allows the solar panels to be installed between the rails, giving me the option of securing a ply sheet above the panels to prevent them creating a charge and protecting them from anything falling until they are ready to come into use. Once the second rail is installed, these panels are the next thing to go up there and the wiring routed into the bed.
This is all part of the ground works I need to get done before the weather turns on us, allowing me to work on the van bed over the winter. Over the next few weeks, I want the solar installed, the antenna also fitted to the roof, a new window fitted to the drivers side static panel, bumper repaired, painted and installed and the brakes repaired so I am able to turn the van around to open up the rear for welding and the refit.
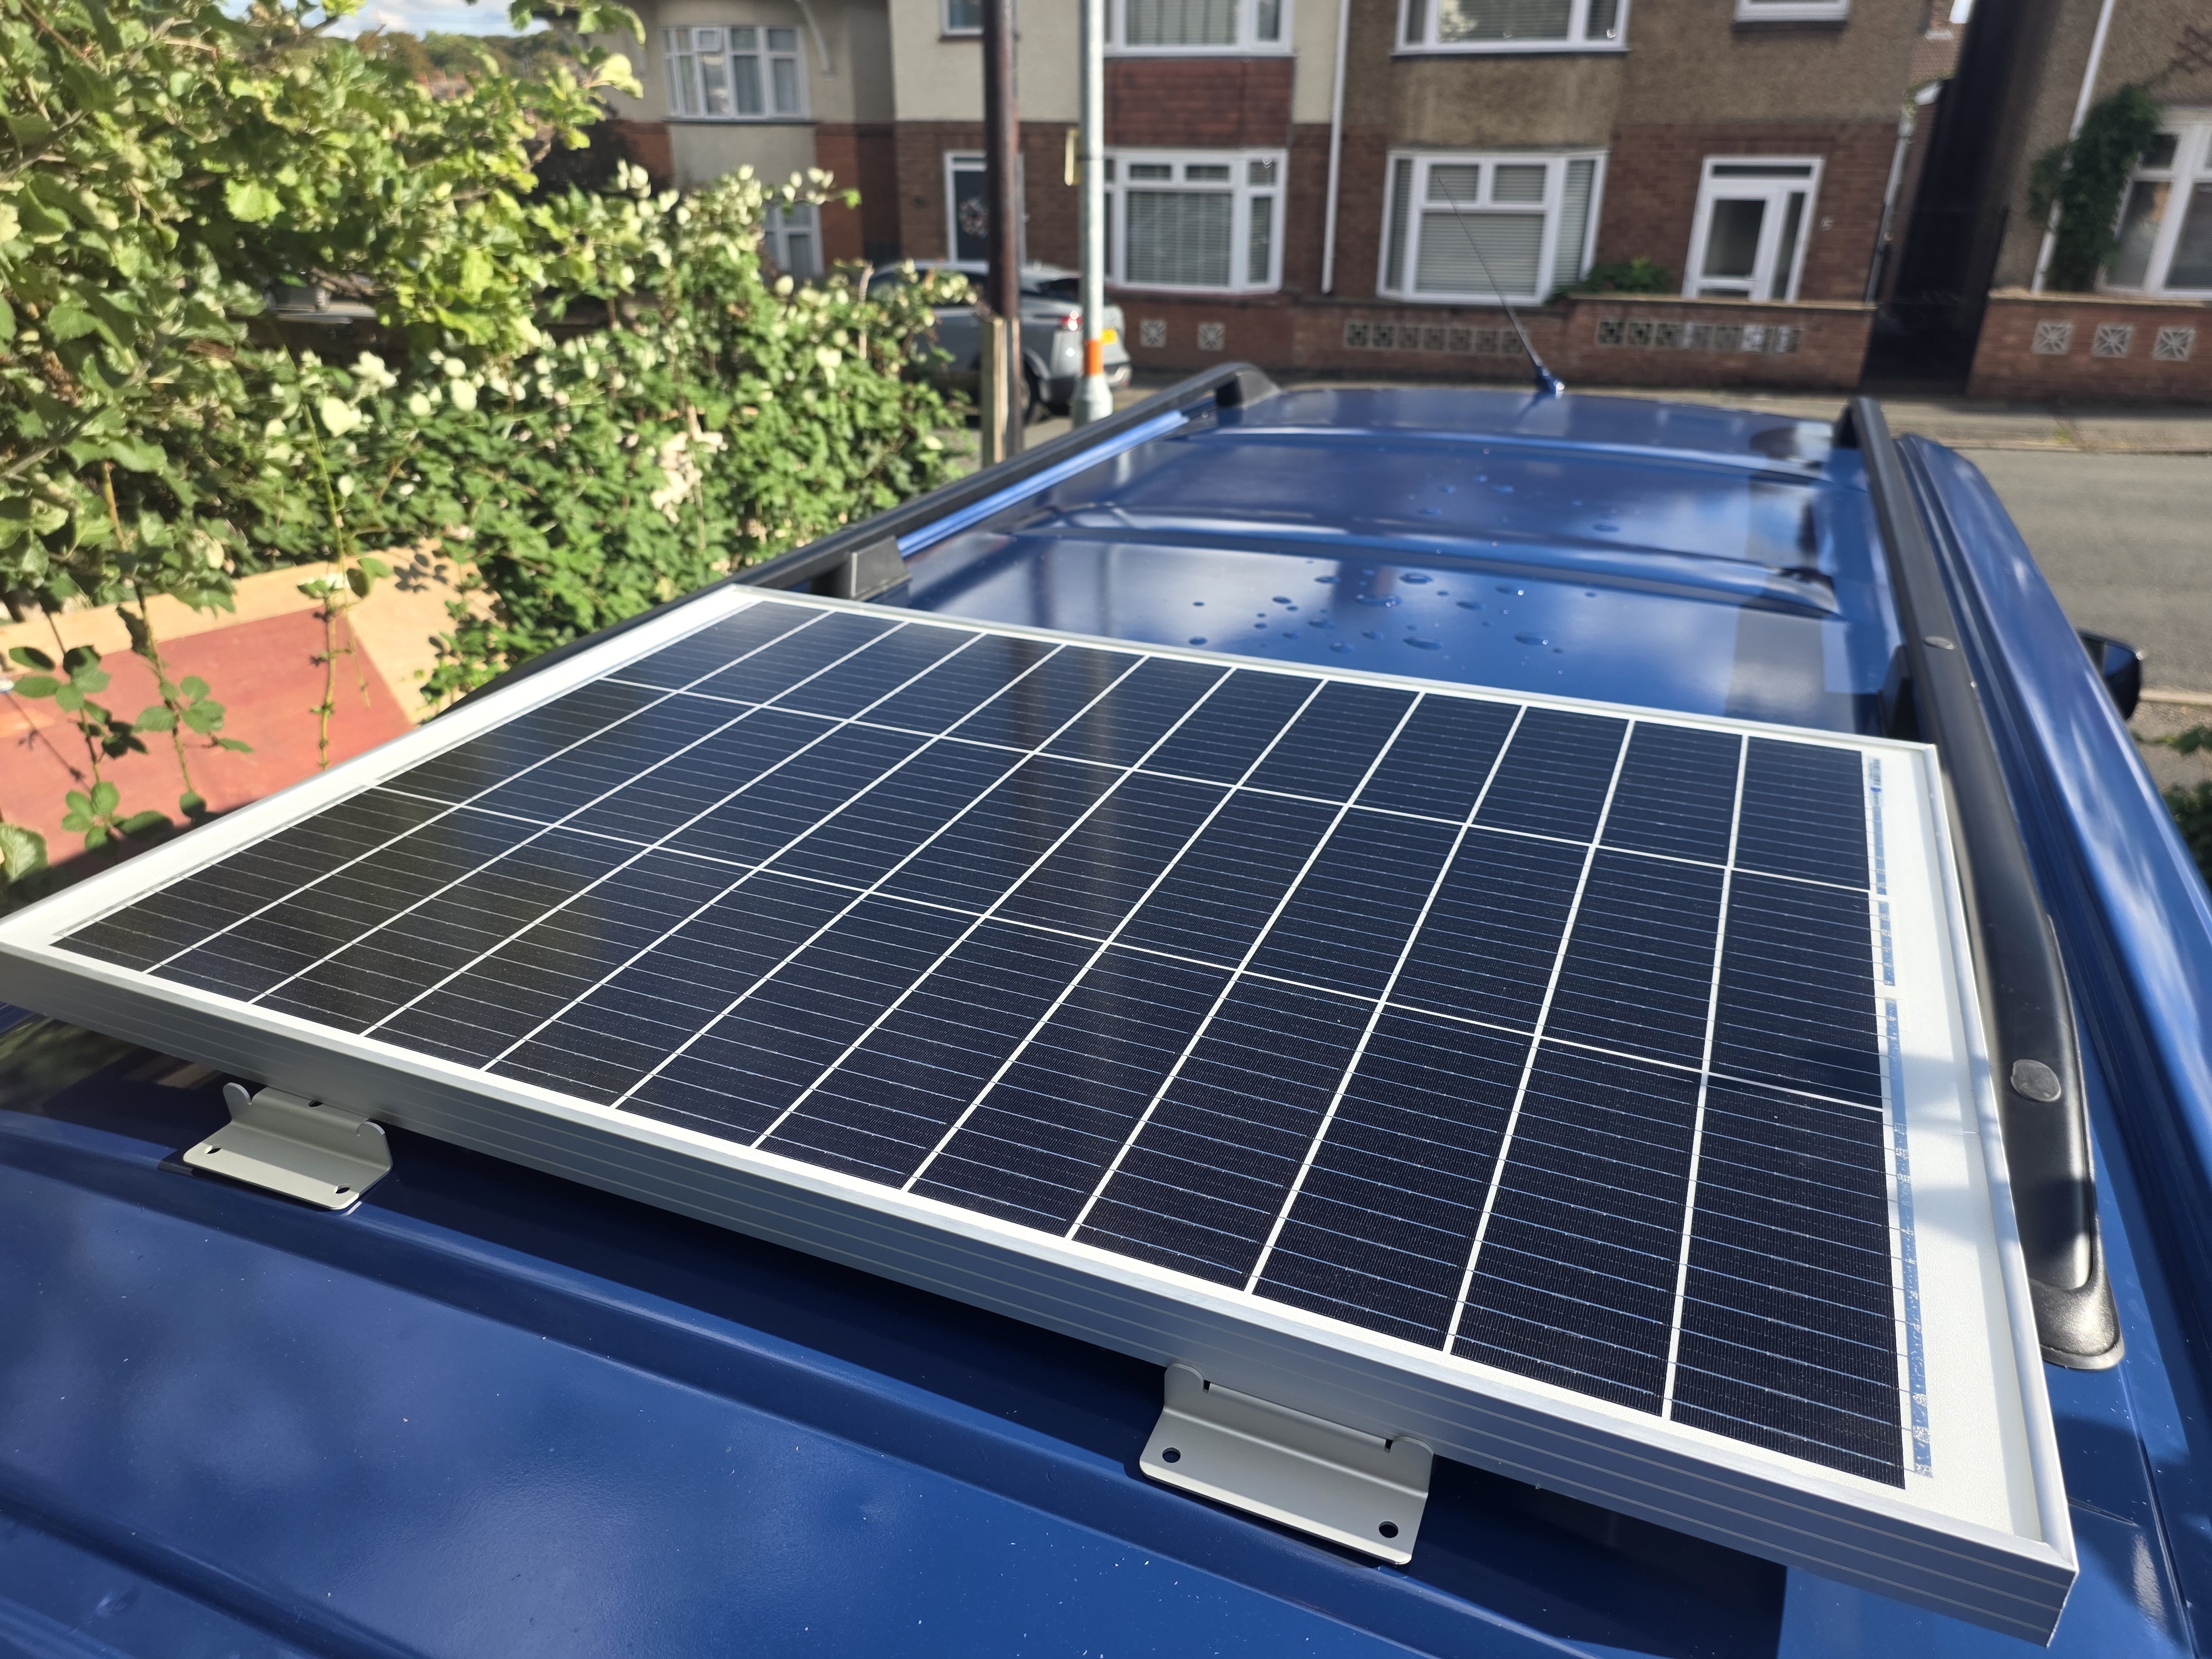
Also test fitted the panels this afternoon and I doubt I could have got it any better. Just need to work out if it is better to mount these on top, or between the ridges. Either way, the gap between the rails is perfect!!
So today is a bit of a mixed bag on my project. Weather seems all over the place so been shopping for parts, slowly building up the necessary stockpile to hit things quite hard. What I am trying to do is to get the electrical system all here so that once the van is boarded out, I can get the electrical cupboard all sorted out without having to dip in and out. I can’t afford to do this all at once but one benefit of being paid weekly is that I can keep a steady stream of parts coming through the door and keep this moving forwards.
So today’s haul?
1. Drivers side panel window and fitting kit
2. Renogy 30A DC-DC MPPT Charger plus monitoring screen
3. More paint (run out for now)
4. Window lifters to install the side window
5. 2no. 40A and 1no. 80A Fused Breaker
6. Battery Terminals
7. 10m 1.5mm wiring
8. 12 Way Fuse Box
9. Positive & Negative Busbars
10. 2no. 4 Gang Switches
11. 12V Battery Isolation Switch
12. Quick Charge USB Panel
13. 4no IP65 rated 12V LED Downlights
14. Roof cable cowl for Solar Panels
I’m doing what I can to avoid dropping the ceiling for wiring once it is up and in place so want to cut, fit and wire the lights back to the electrical panel before this gets installed. That also goes for the wiring to the flip down TV bracket I am looking to install as well as the wiring from the solar panels and WiFi antenna. That way, once the ceiling is carpeted and installed on the roof of the van, it doesn’t need to come down again.
Sat and worked out a plan of attack that I need to get done, with the goal being able to turn the van around to have the barn doors facing outwards. This will make repairing the rear quarters and fitting the van out so much easier over the winter. So, in order for this to happen, I need to complete the following jobs
1. Install Solar Panels and route wiring into the bed before isolating
2. Install WiFi Antenna
3. Install side window
4. Replace rear brake lines and bleed brakes
5. Repair, prep, paint and install front bumper
6. Weld, prep and paint drivers side wheel arch
7. Weld in new passenger step section.
Once these are done, then I can turn the van around, ready for the winter games to begin. Hopefully the roof gland arrives quickly so I can get the panels and antenna installed this week moving things forward. In the meantime, I have masking tape residue to remove and the cabin to go over, looking for broken or missing plastics as well as repairing the dent in the front bumper, starting the prep to get that into paint. If nothing arrives before the weekend, I might have to bite the bullet and sort the rear brakes, a job I’ve been putting off as I don’t fancy getting under the van.
So this week has turned into a major planning phase on the van, with 5 weeks to get as much done on the front as possible before turning her around to give more access. I have done a fairly comprehensive job list for each week, focusing on one major job (for the weekend) and several minor jobs I can do through the week. I am lucky in so much that I work from home, so I can nip out if the weather is good and get a few things done. Today for example, the weather is supposed to cheer up, so I am going to head out and tackle the dents in the bumper, clearing the way for the full prep next week as my “minor” works. This weekend, depending on the roof gland arriving, I’ll be getting the solar panels installed, along with the antenna as the major works. You get the idea.
One thing I have discovered though is a good friend of mine has access to a full CNC machine, as well as engraving facilities. I’ve known this guy for years, in fact we both started the 3D printing journey together, he has just taken it further. What this does mean is that once I have all the ply installed along with the Rock and Roller bed, I can fully design my own bespoke furniture layout and send him the cutsheets which can be sent through the machine, giving me perfectly cut pieces, including holes for panels, vents, the sink/hob unit already in place that I can just collect put together like a big Ikea set. My mind is already working overtime on this as to what I can (and can’t) achieve with this.
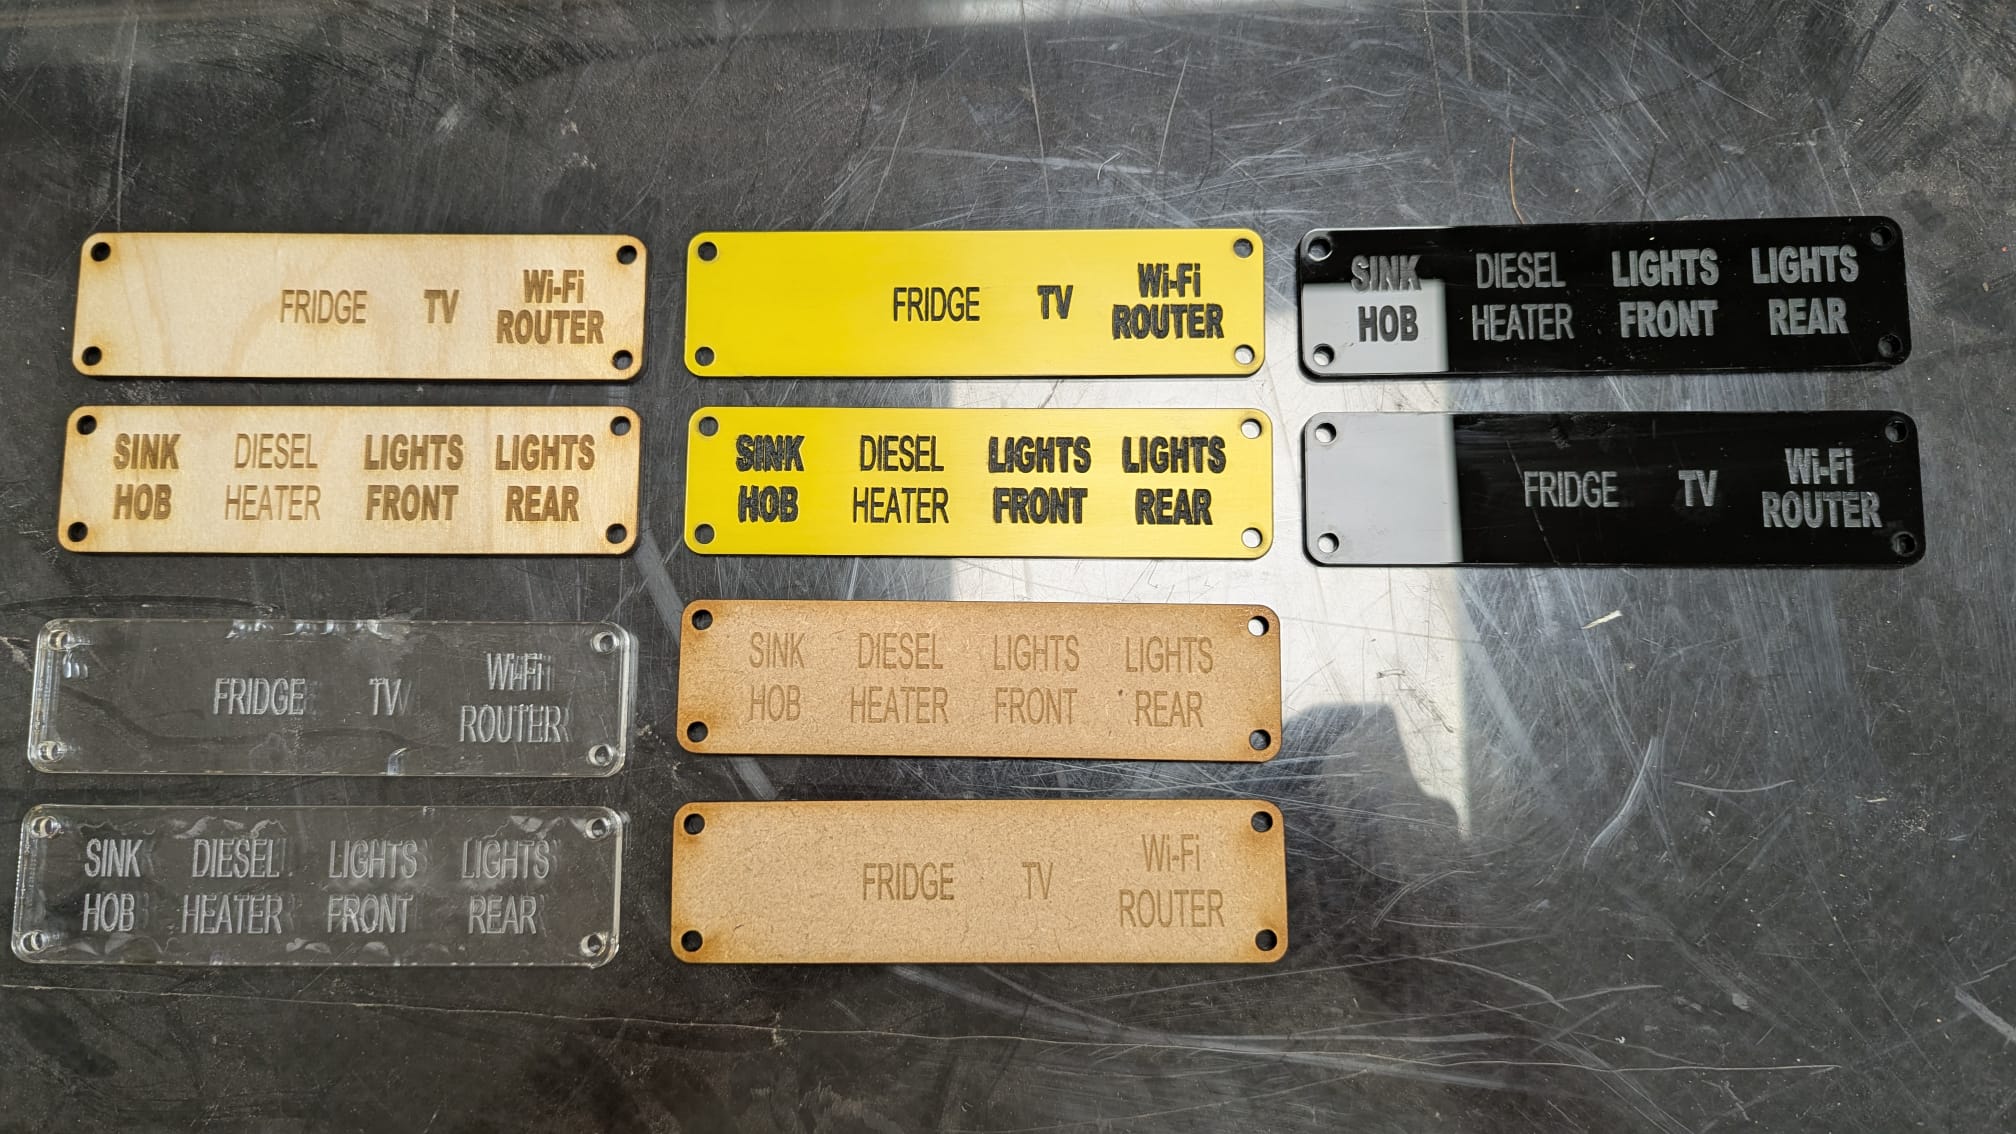
But, the reason I actually got chatting to him wasn’t for this. I have the switch panels turning up for the electrics in the van and it dawned on me that with kids (and for that matter, the missus has ADHD so more likely her) that will just turn things on and off looking for what they actually want, I could do with some plates to install above the switches. So we’ve been playing with designs, perfectly matching the backing plates on the switch panels. We’ve been playing with fonts and different colour contrasts and think we have identified the final material, font and size for these. Ordered in some brushed aluminium plated acrylic on a black background for these but here are the tests we ran last night
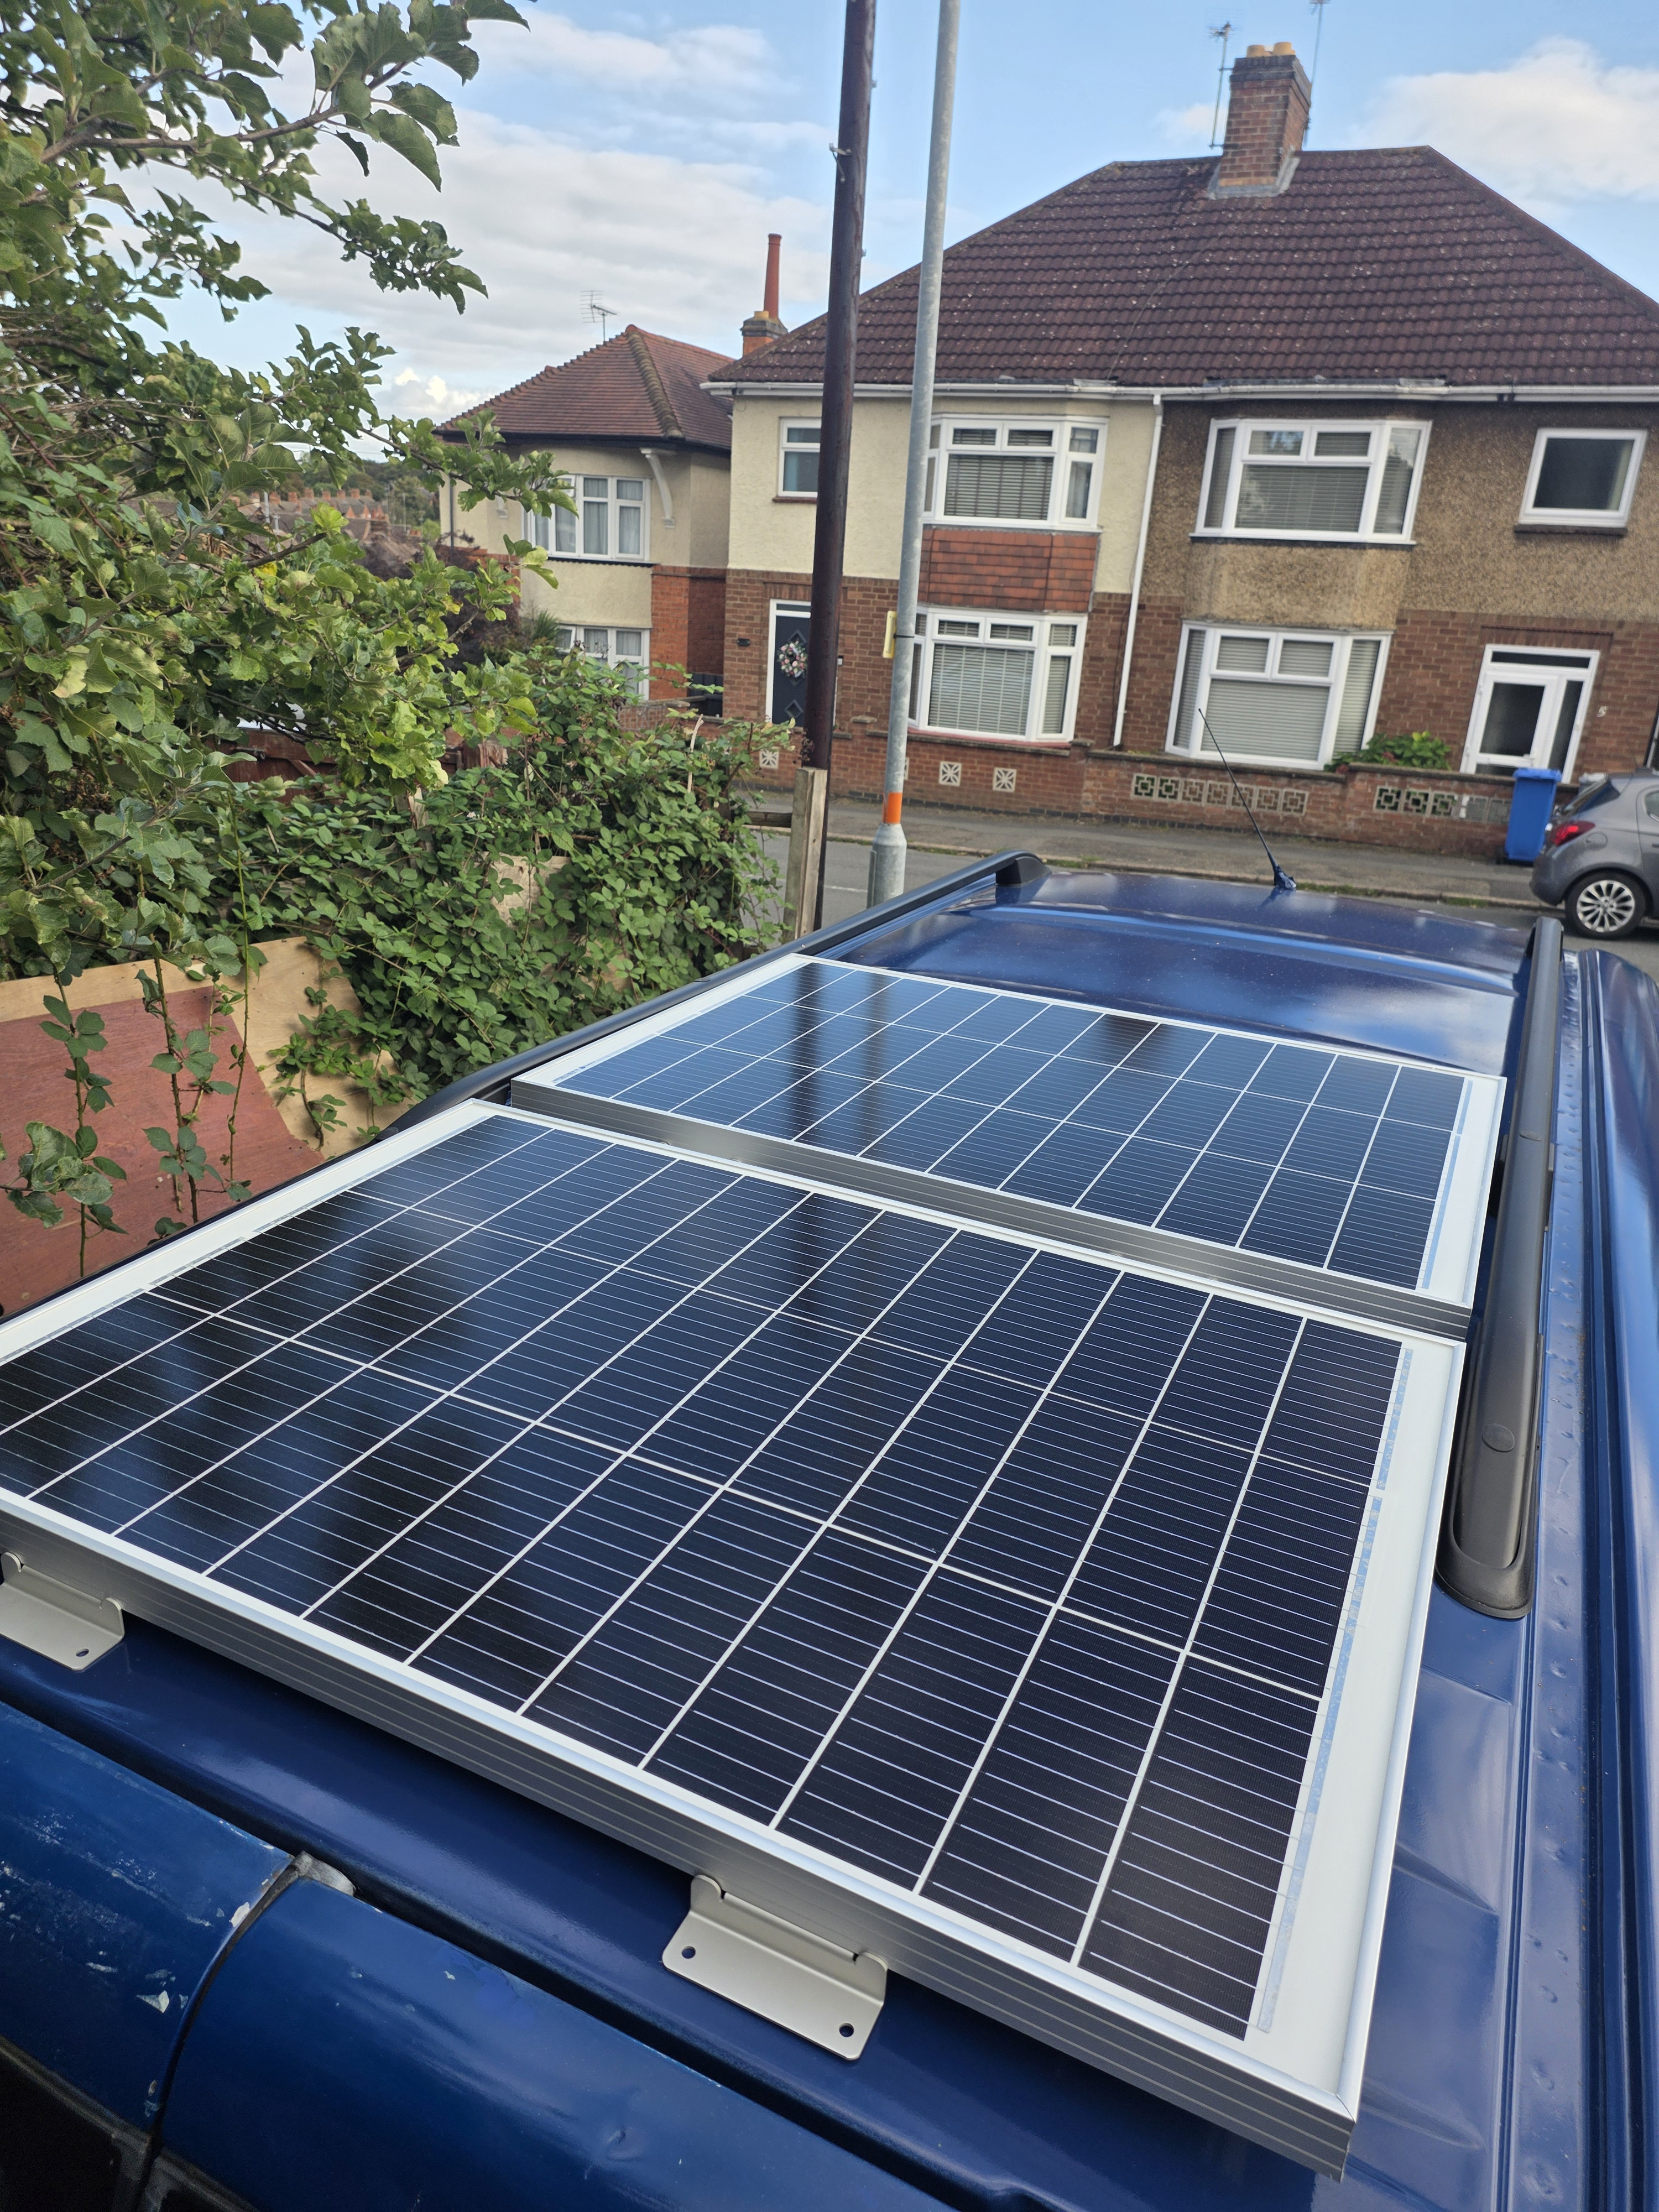
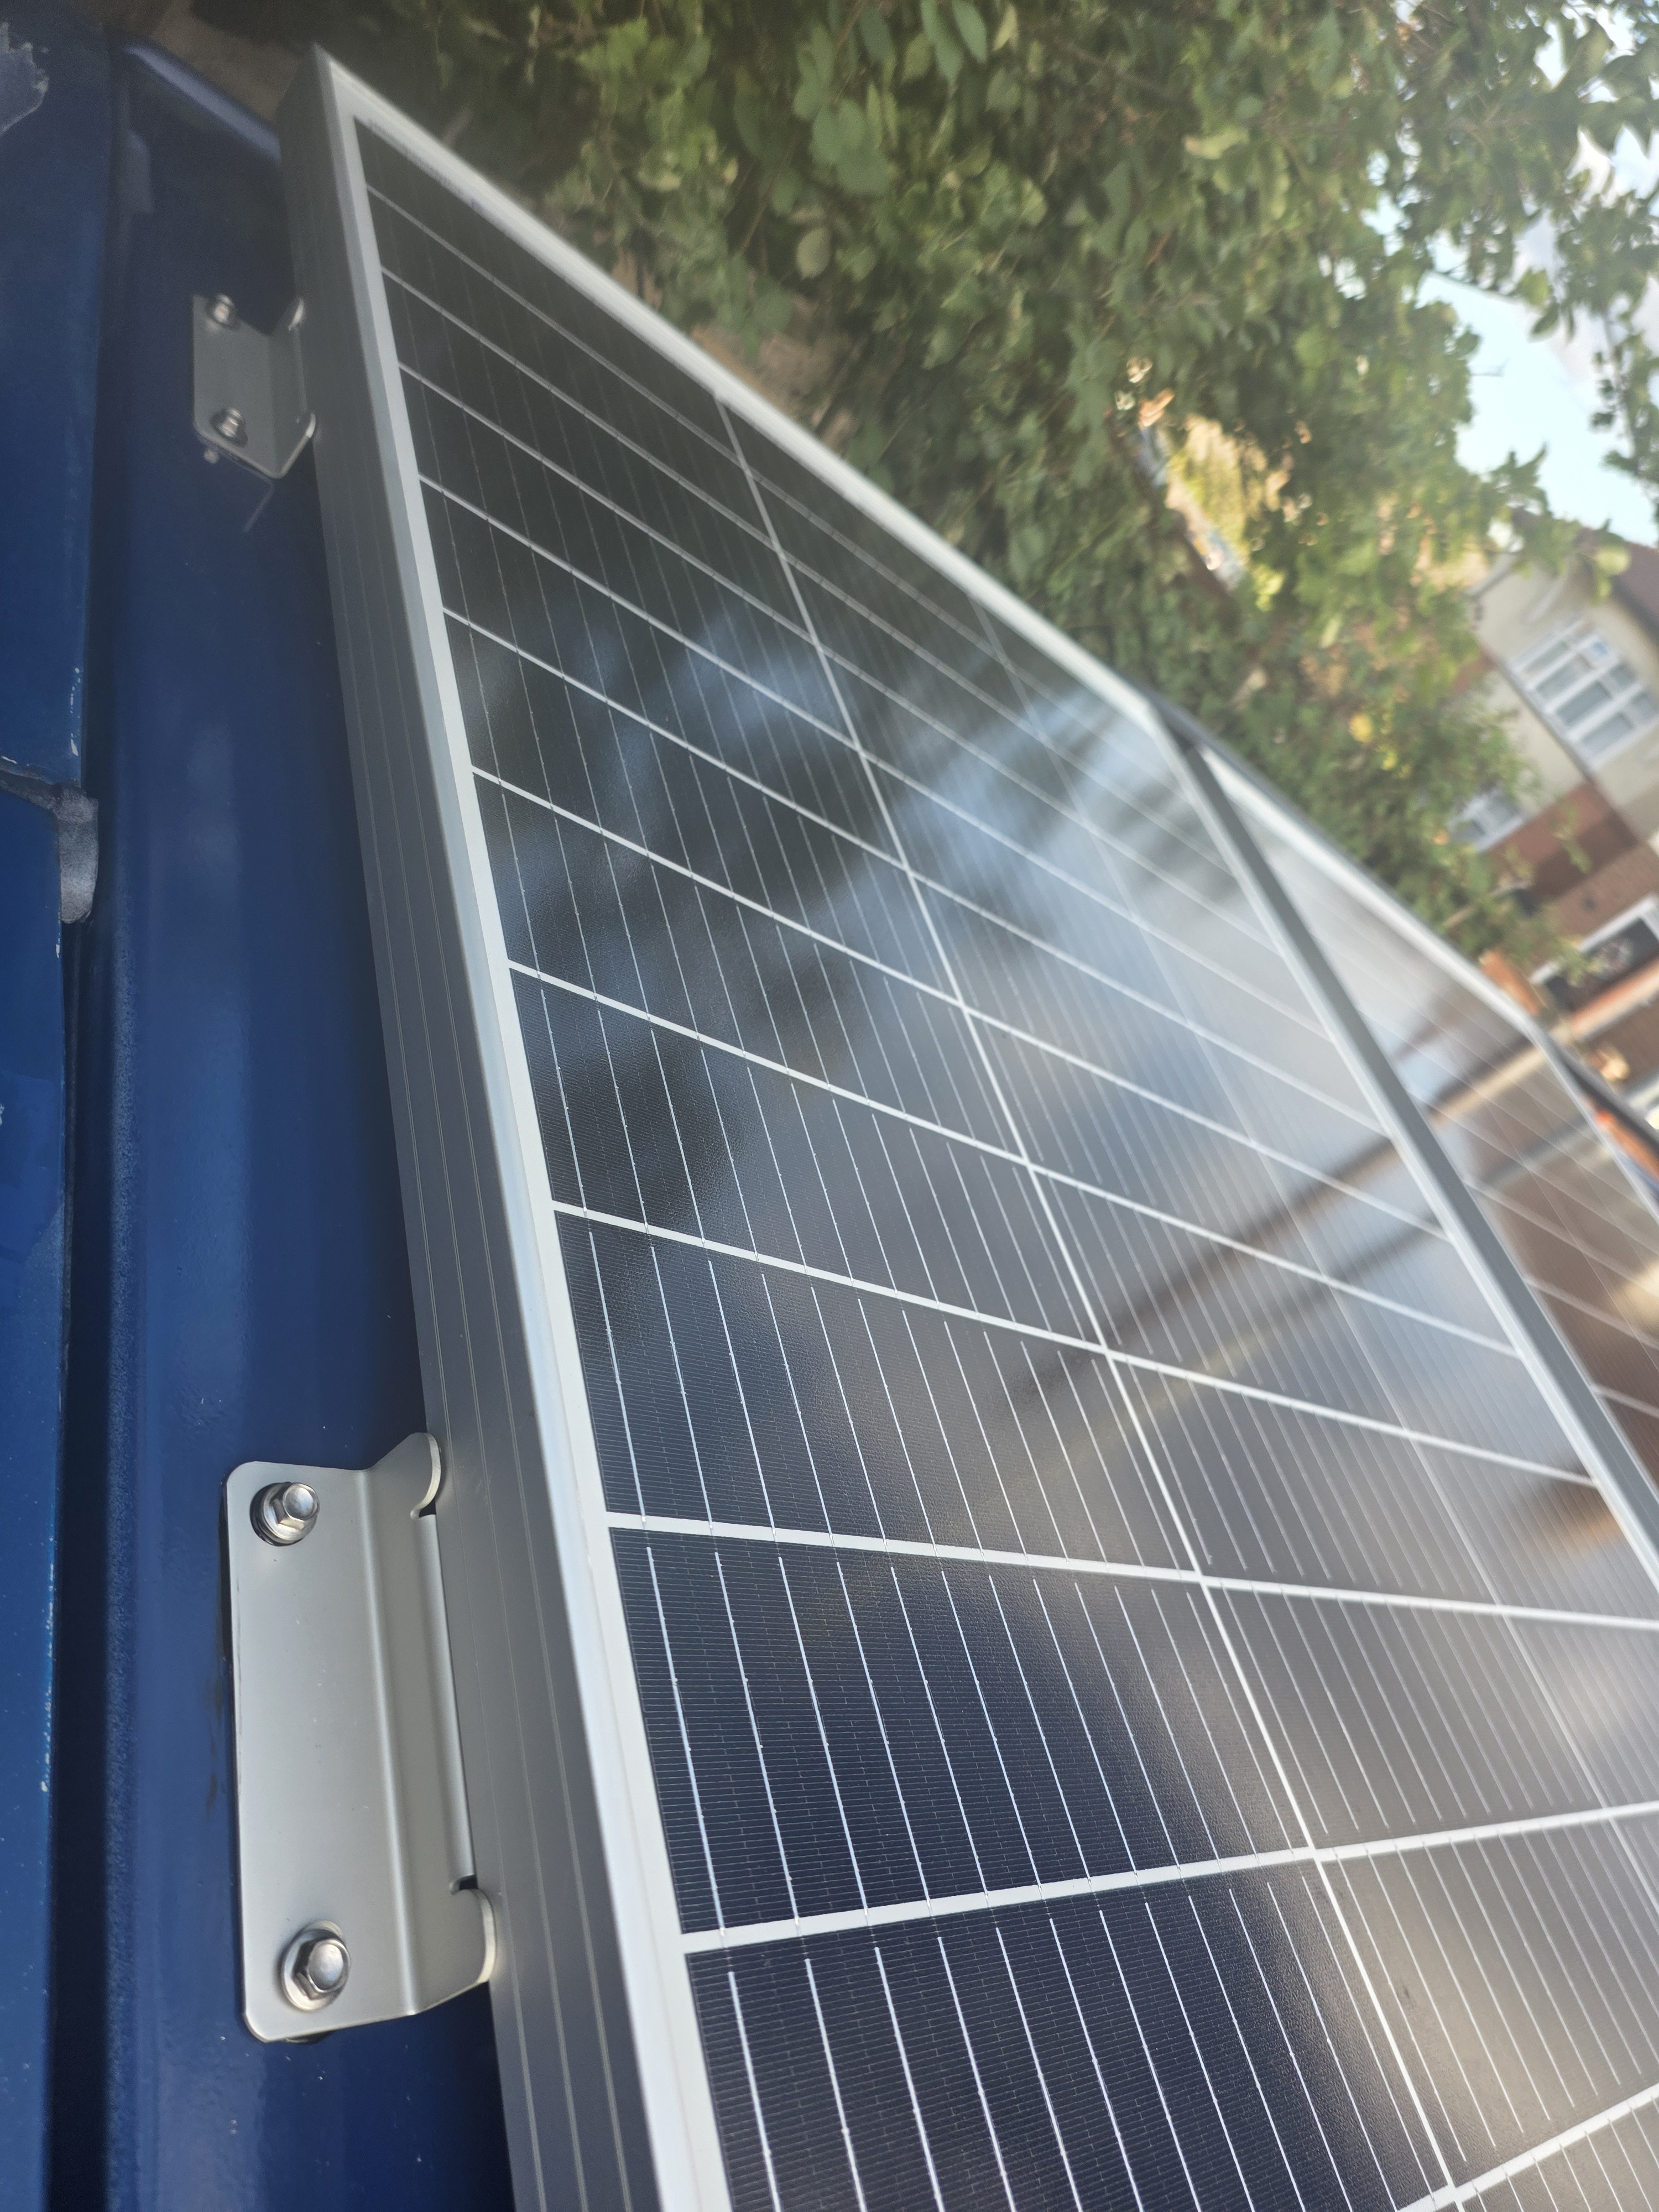
Some great weather has given me the chance to crack on with this before the weekend. Still waiting on parts to feed the cables from the solar panels into the van bed however I have now installed both of the panels up there and these aren’t going anywhere. Last thing I need to do is cut back the bolts on the inside to allow the insulation to get installed properly but given I will be down there with an angle grinder this weekend, I’ll kill two birds with one stone
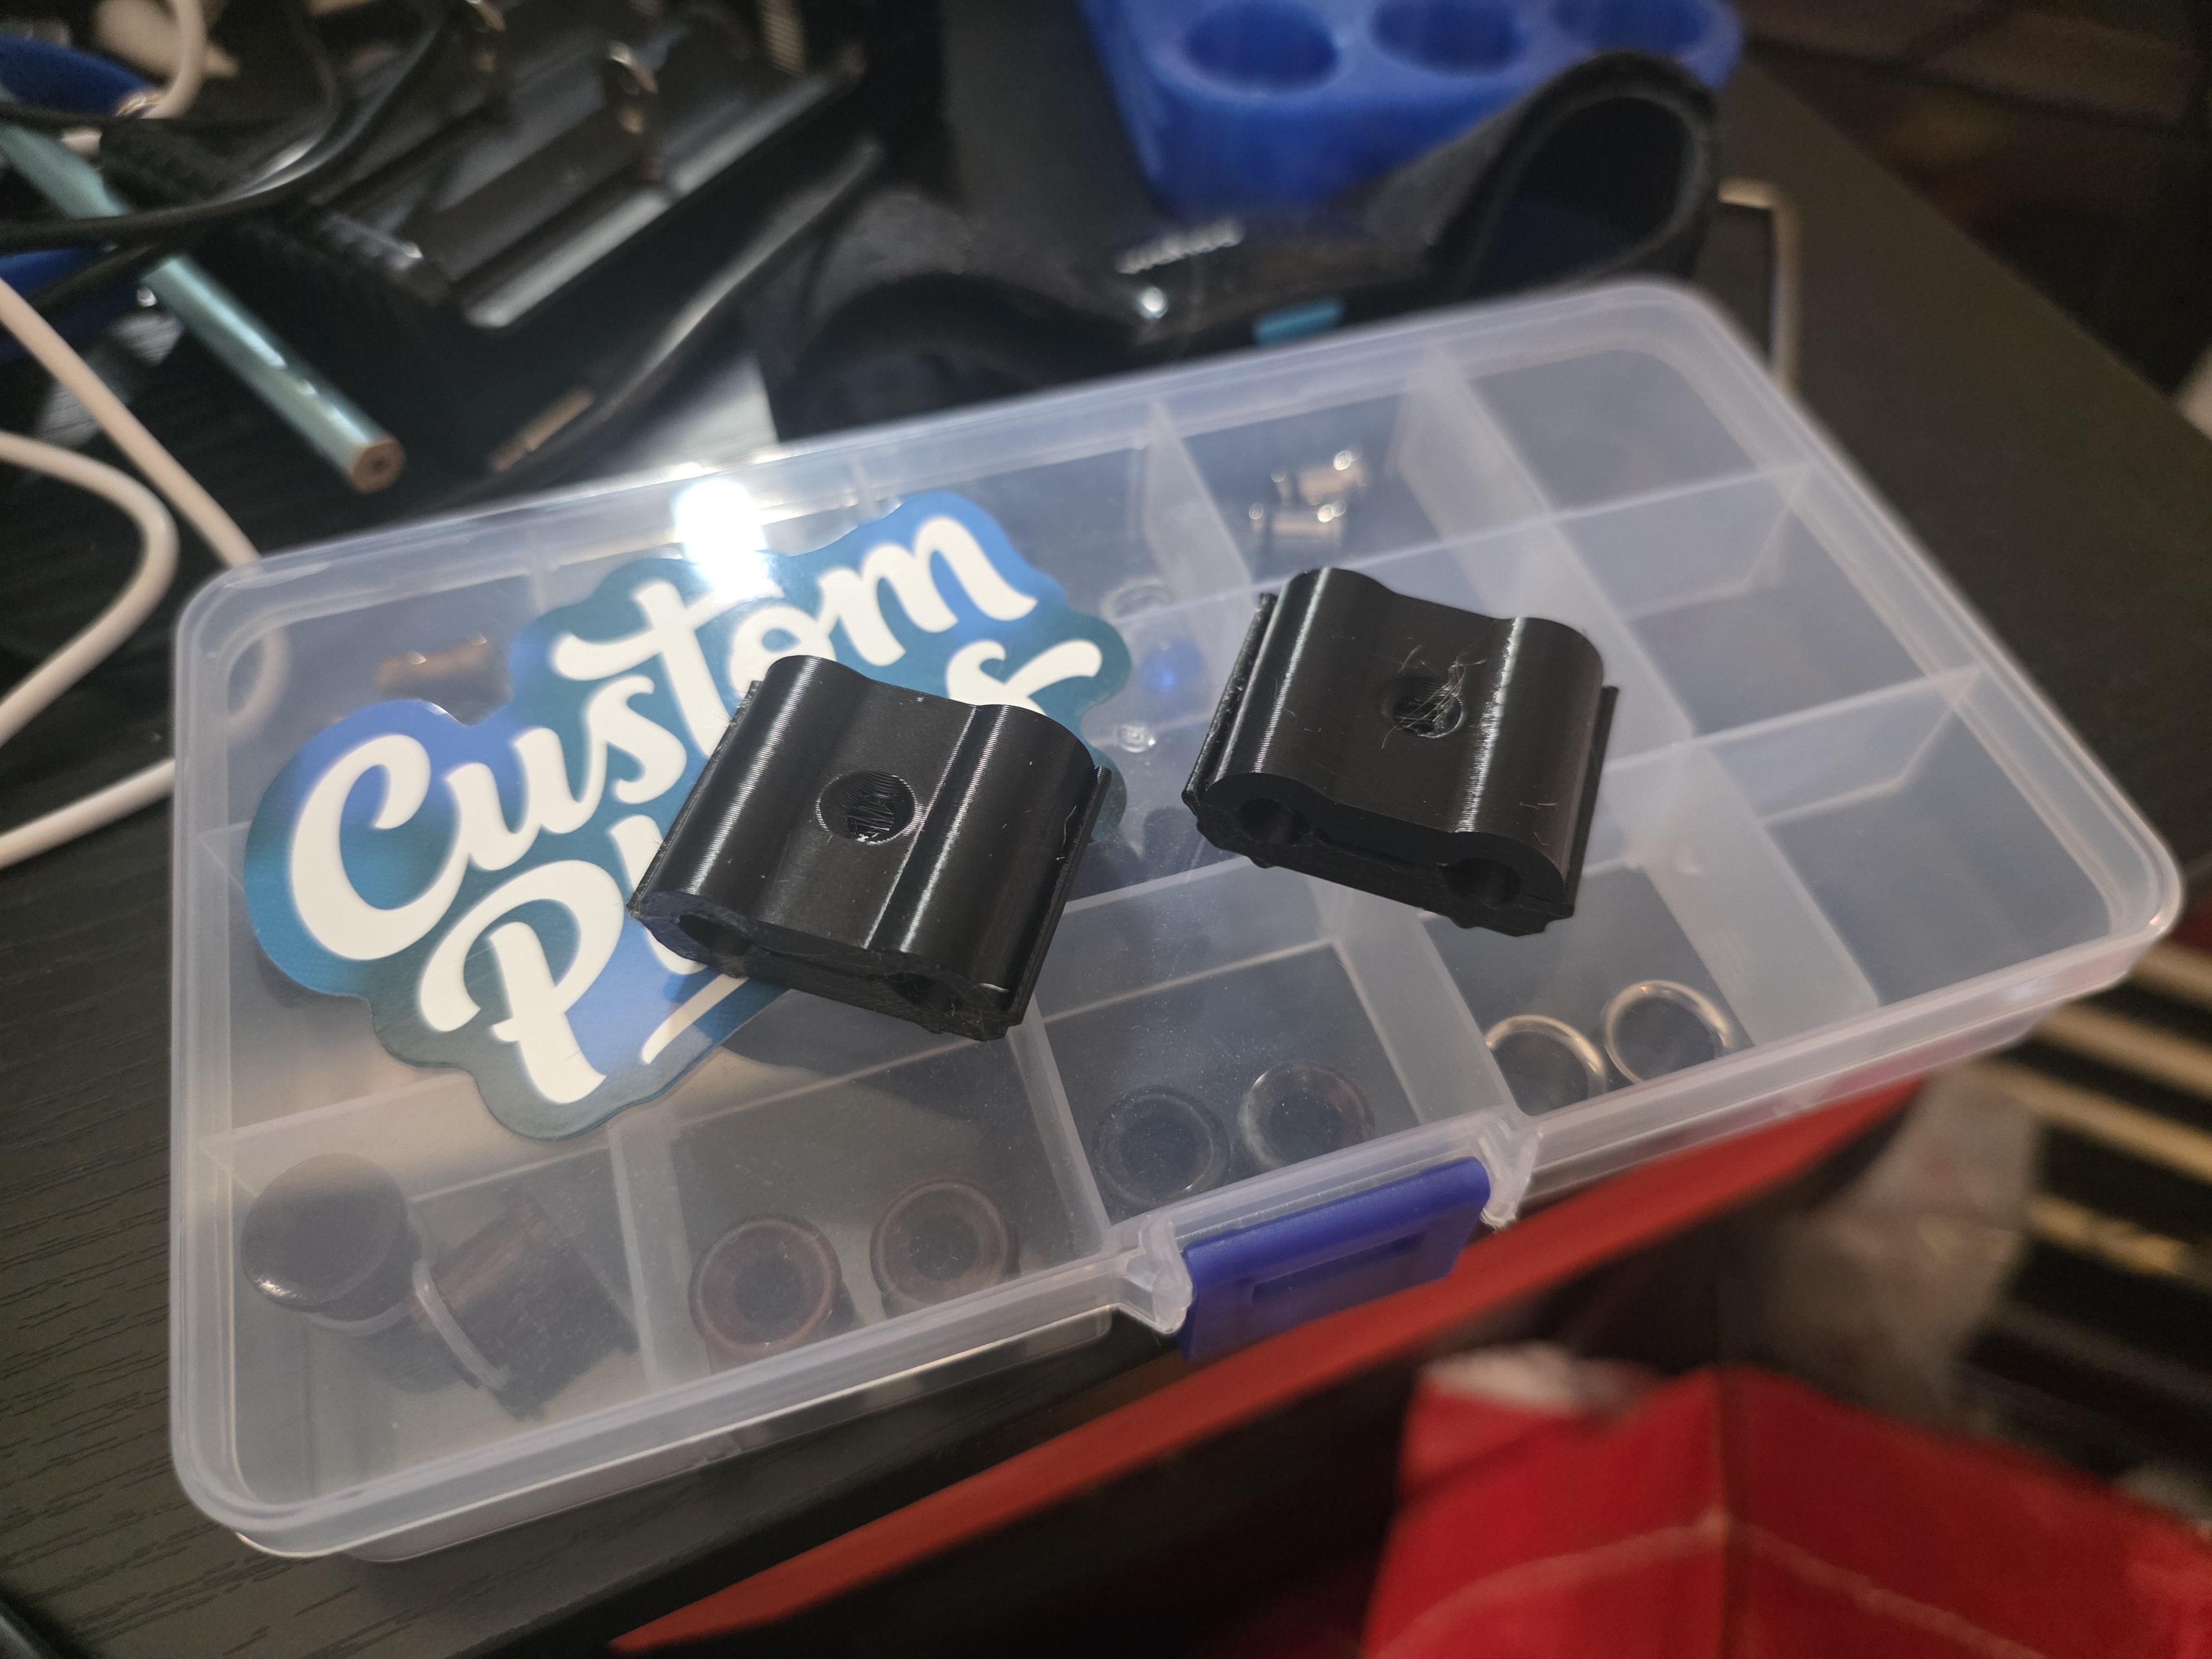
Each “foot” has been marked and a pilot hole drilled through the roof skin. The entire foot plate was covered in Tiger Seal before using the supplied bolts to self thread into the roof skin. Checking this morning and these are not going anywhere. I’ve also used the 3D printer to print up some cable cleats in PETG to secure the wiring on the roof. Last thing to arrive is some rubber cable glands and the roof shroud for the cabling into the bed
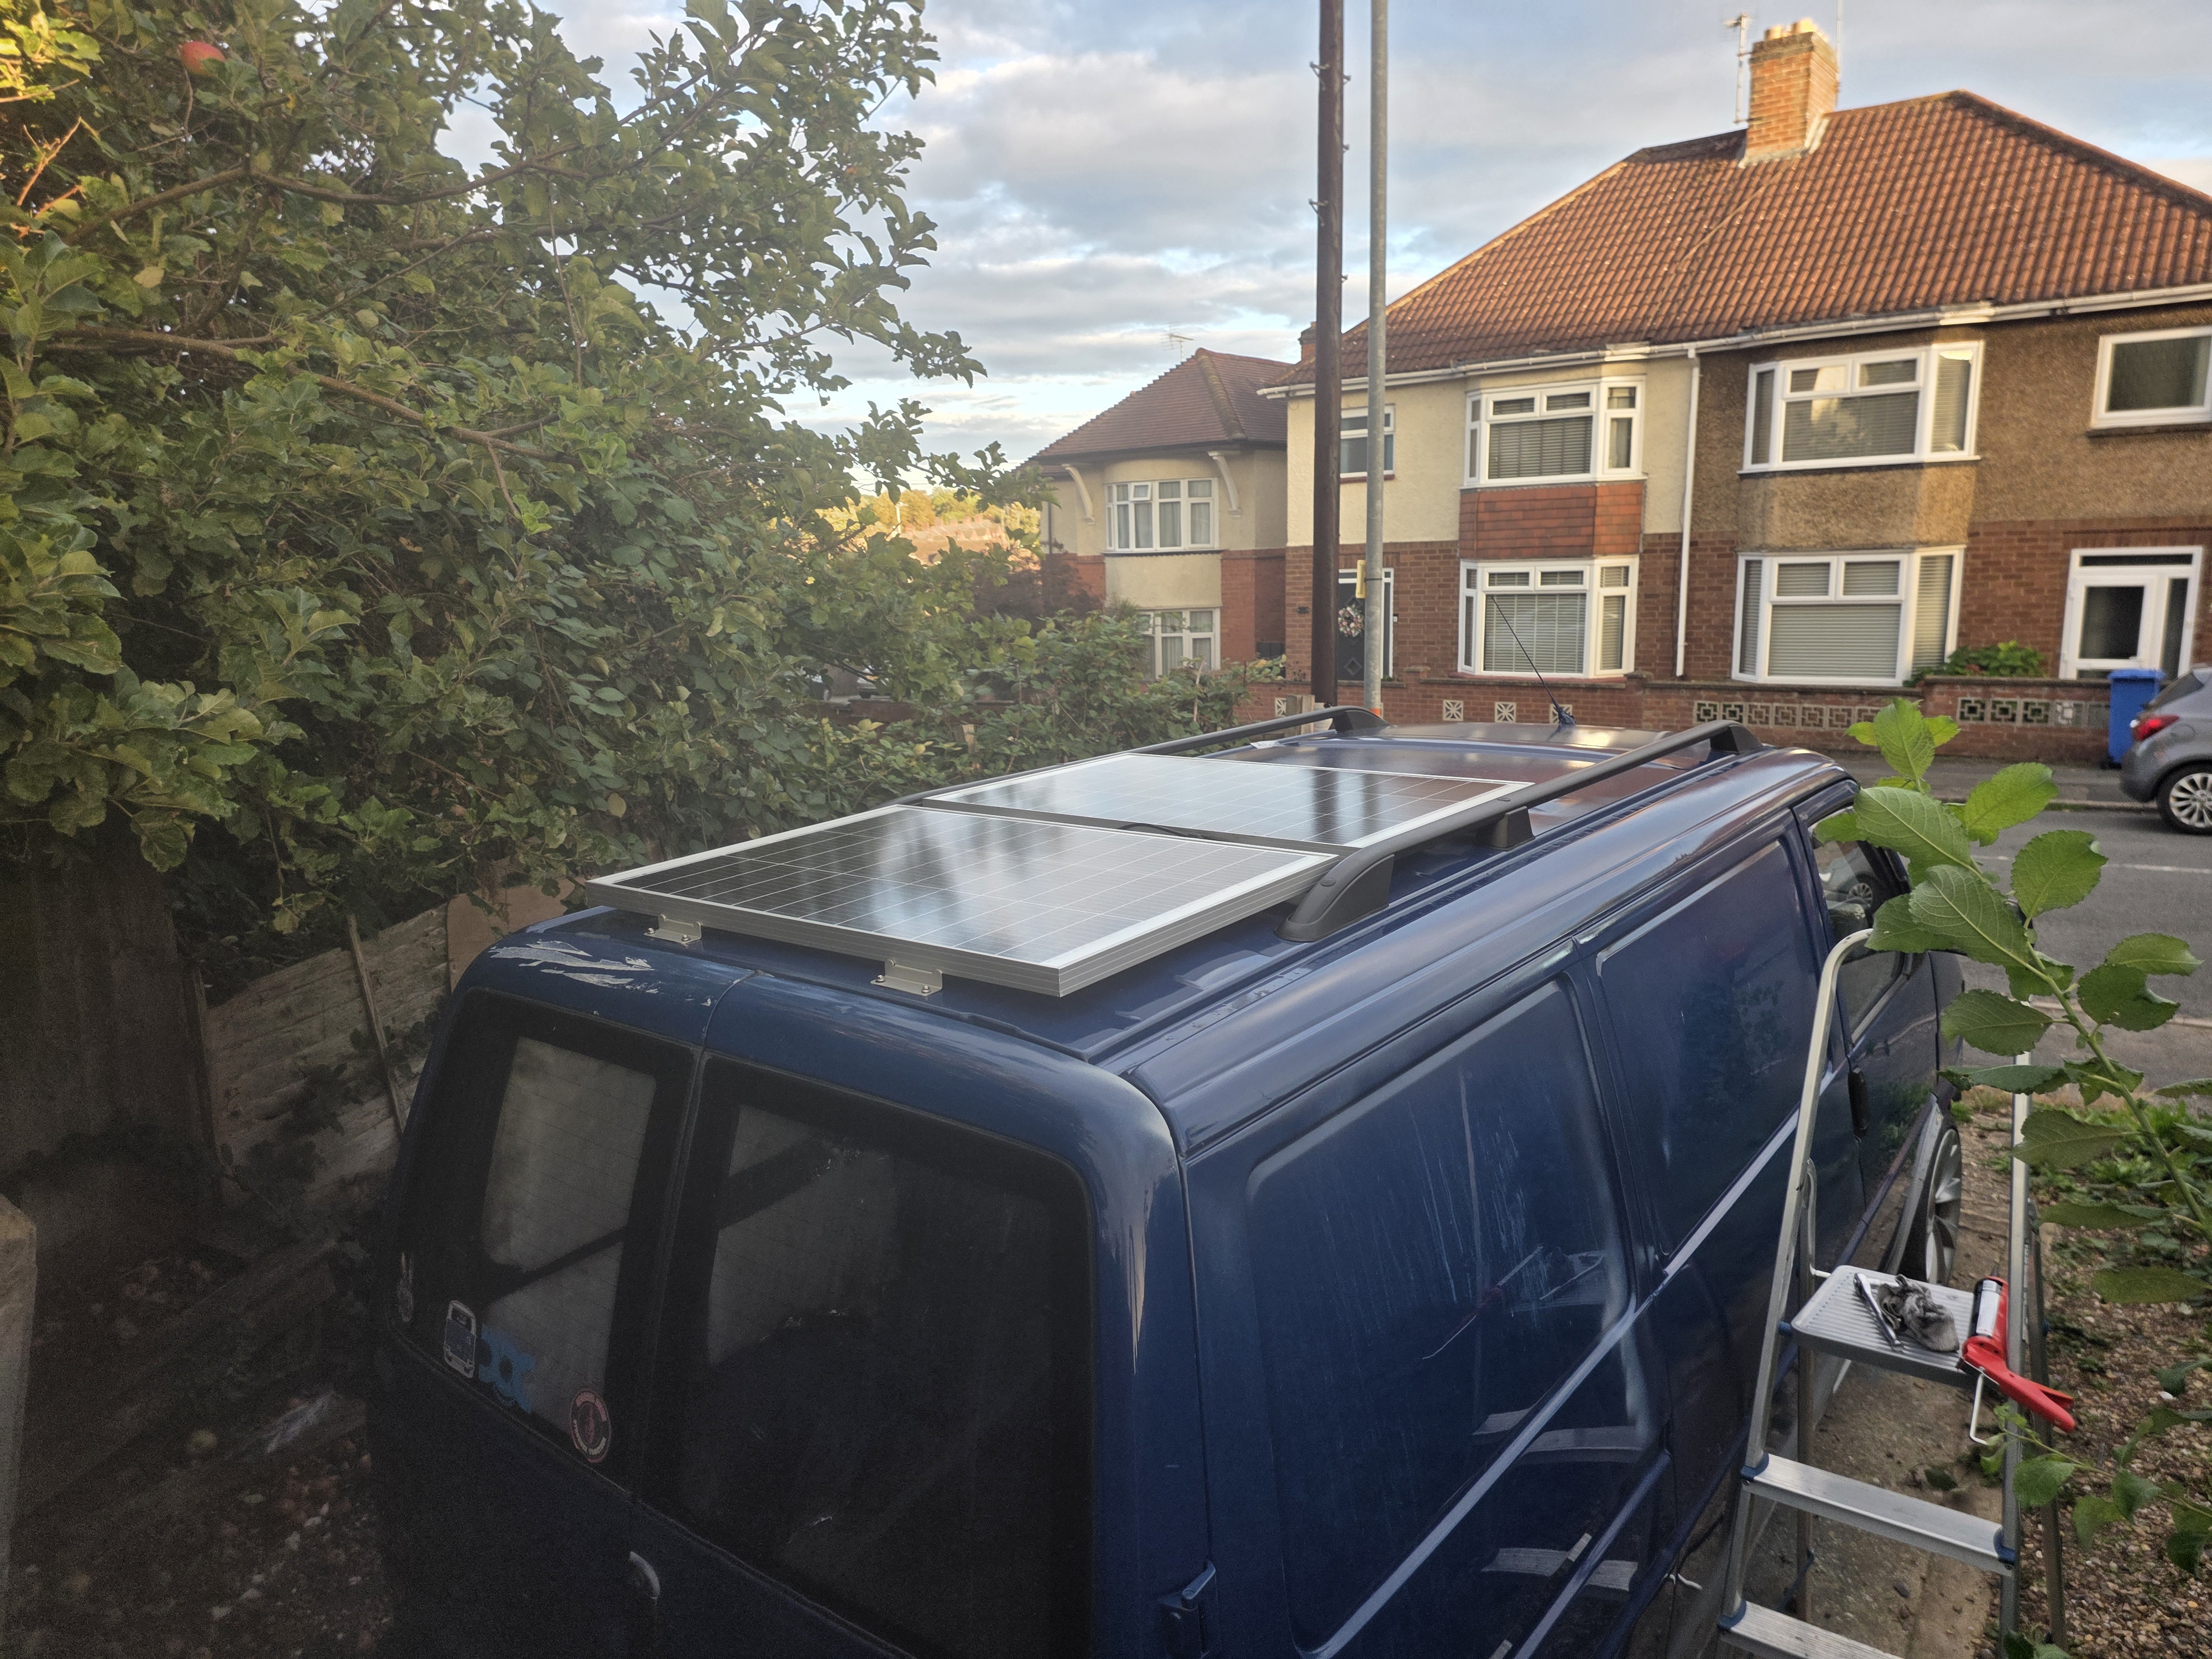
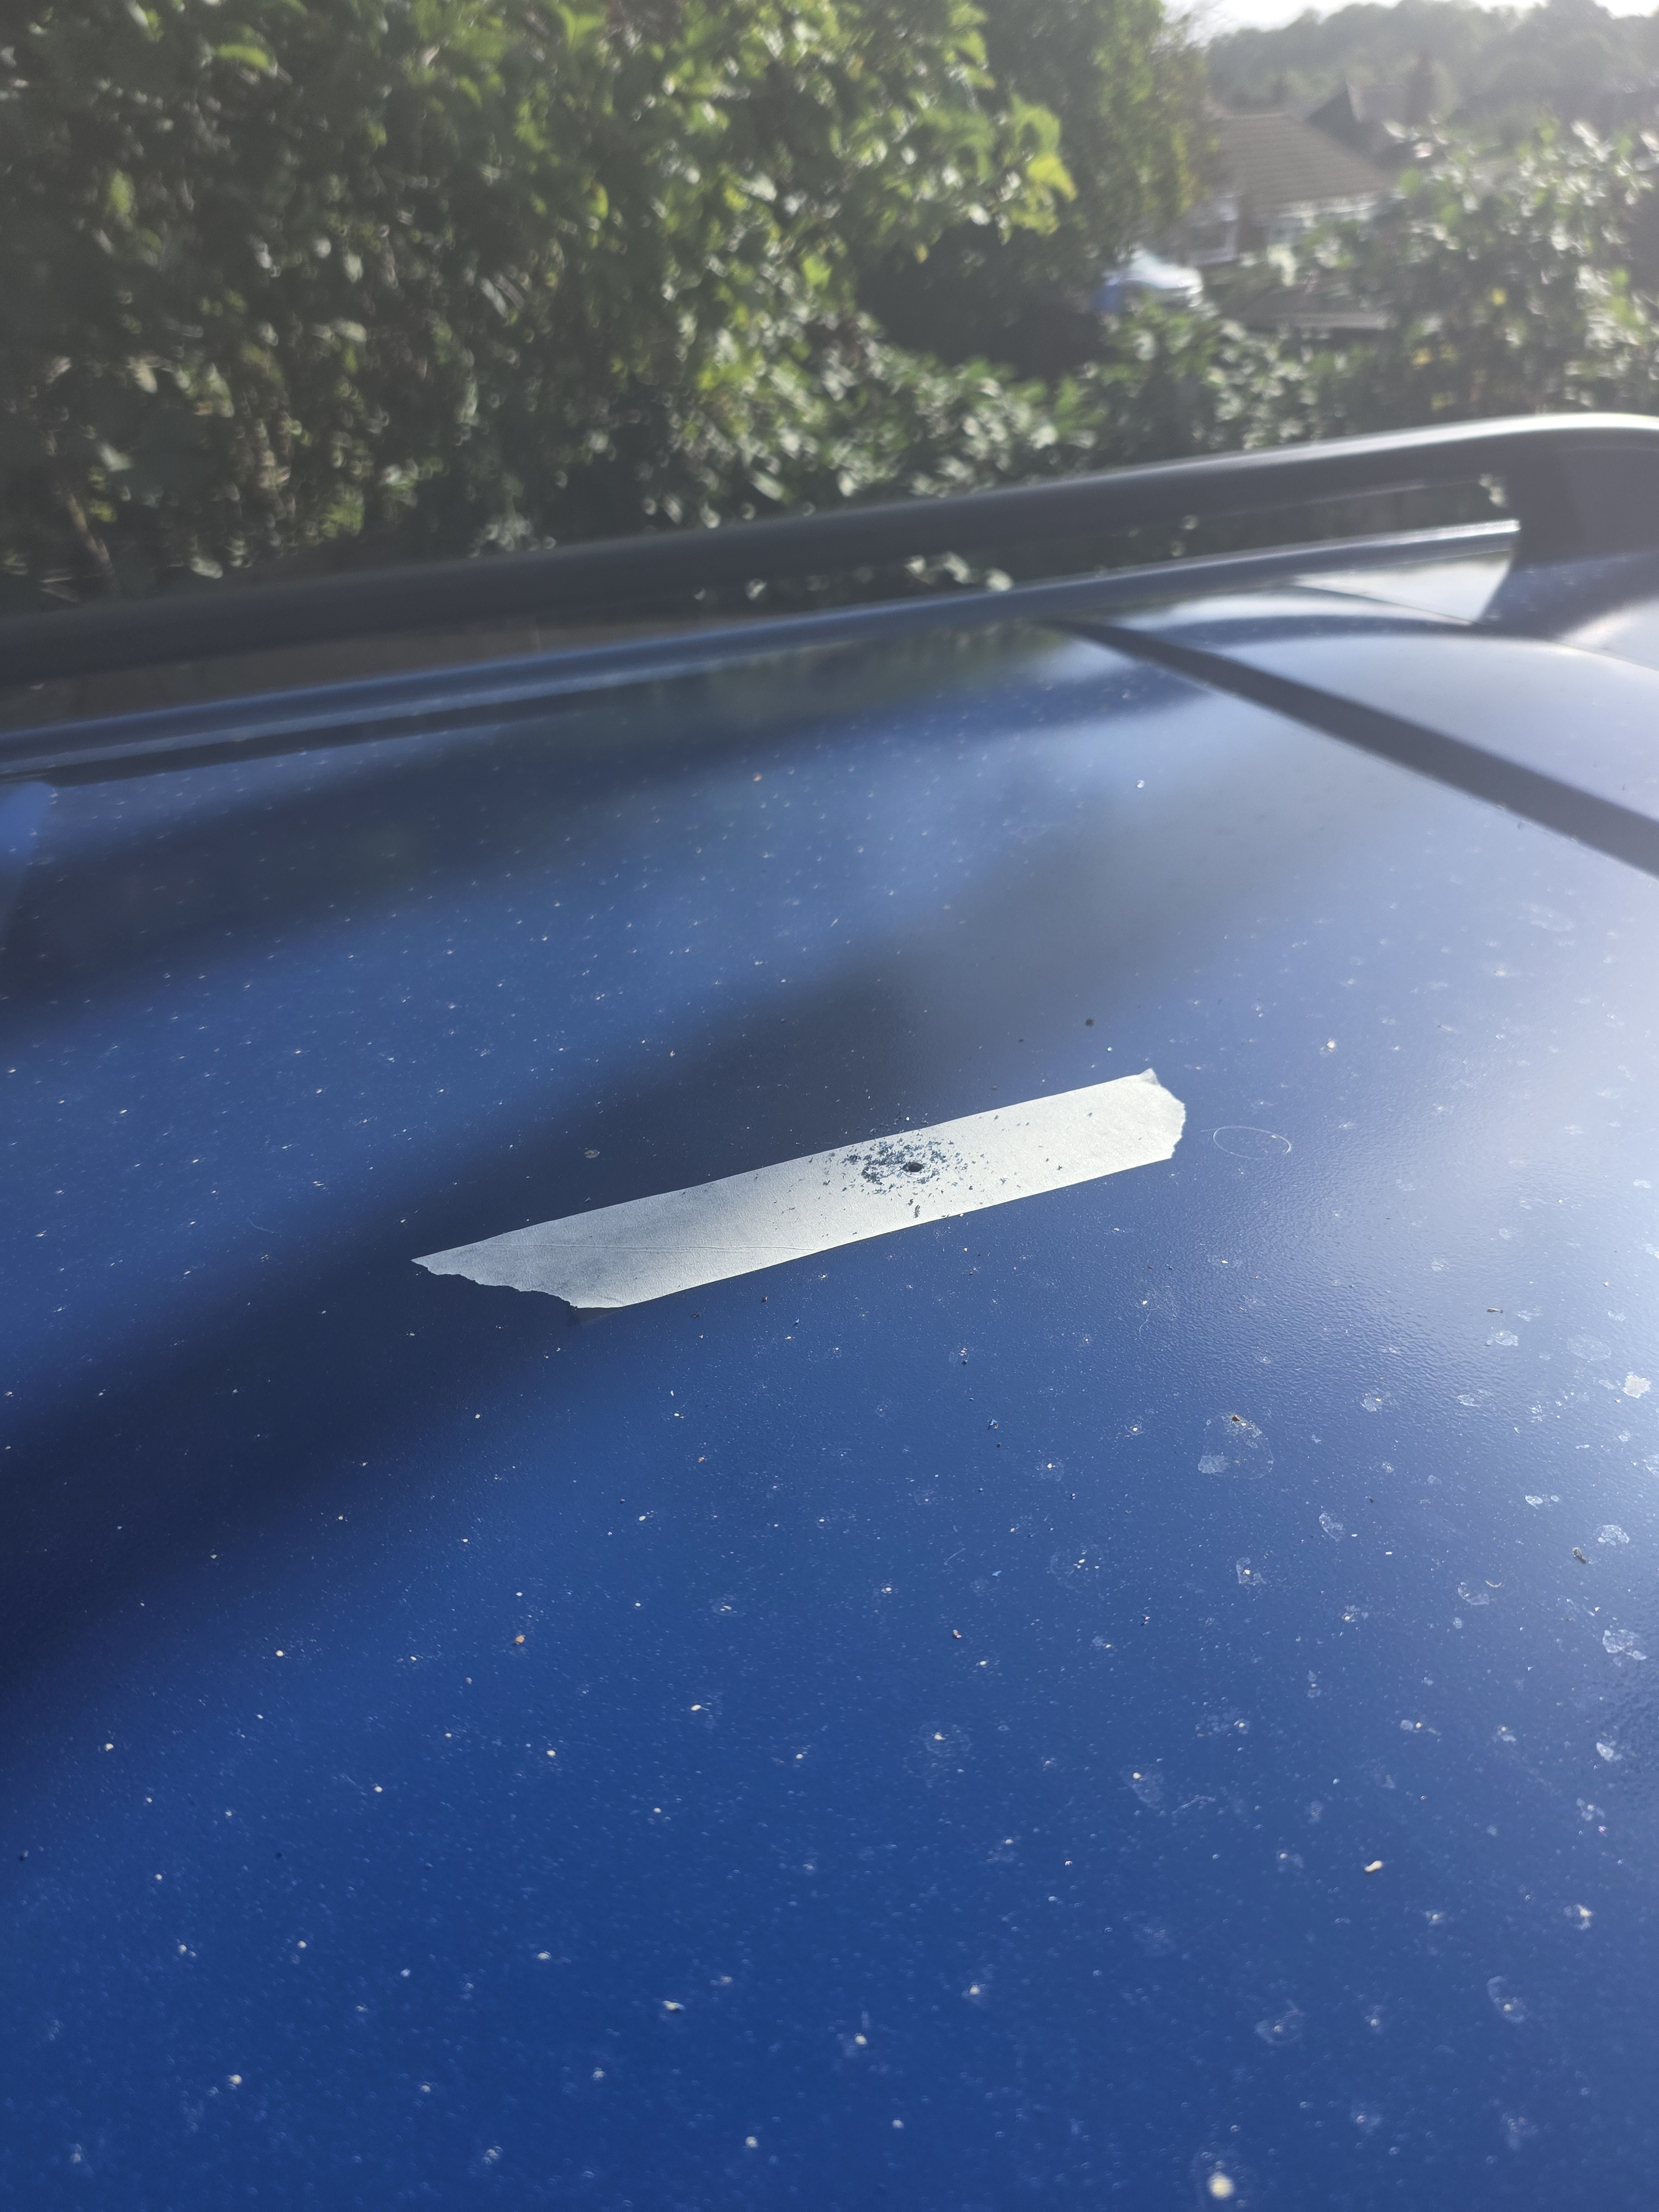
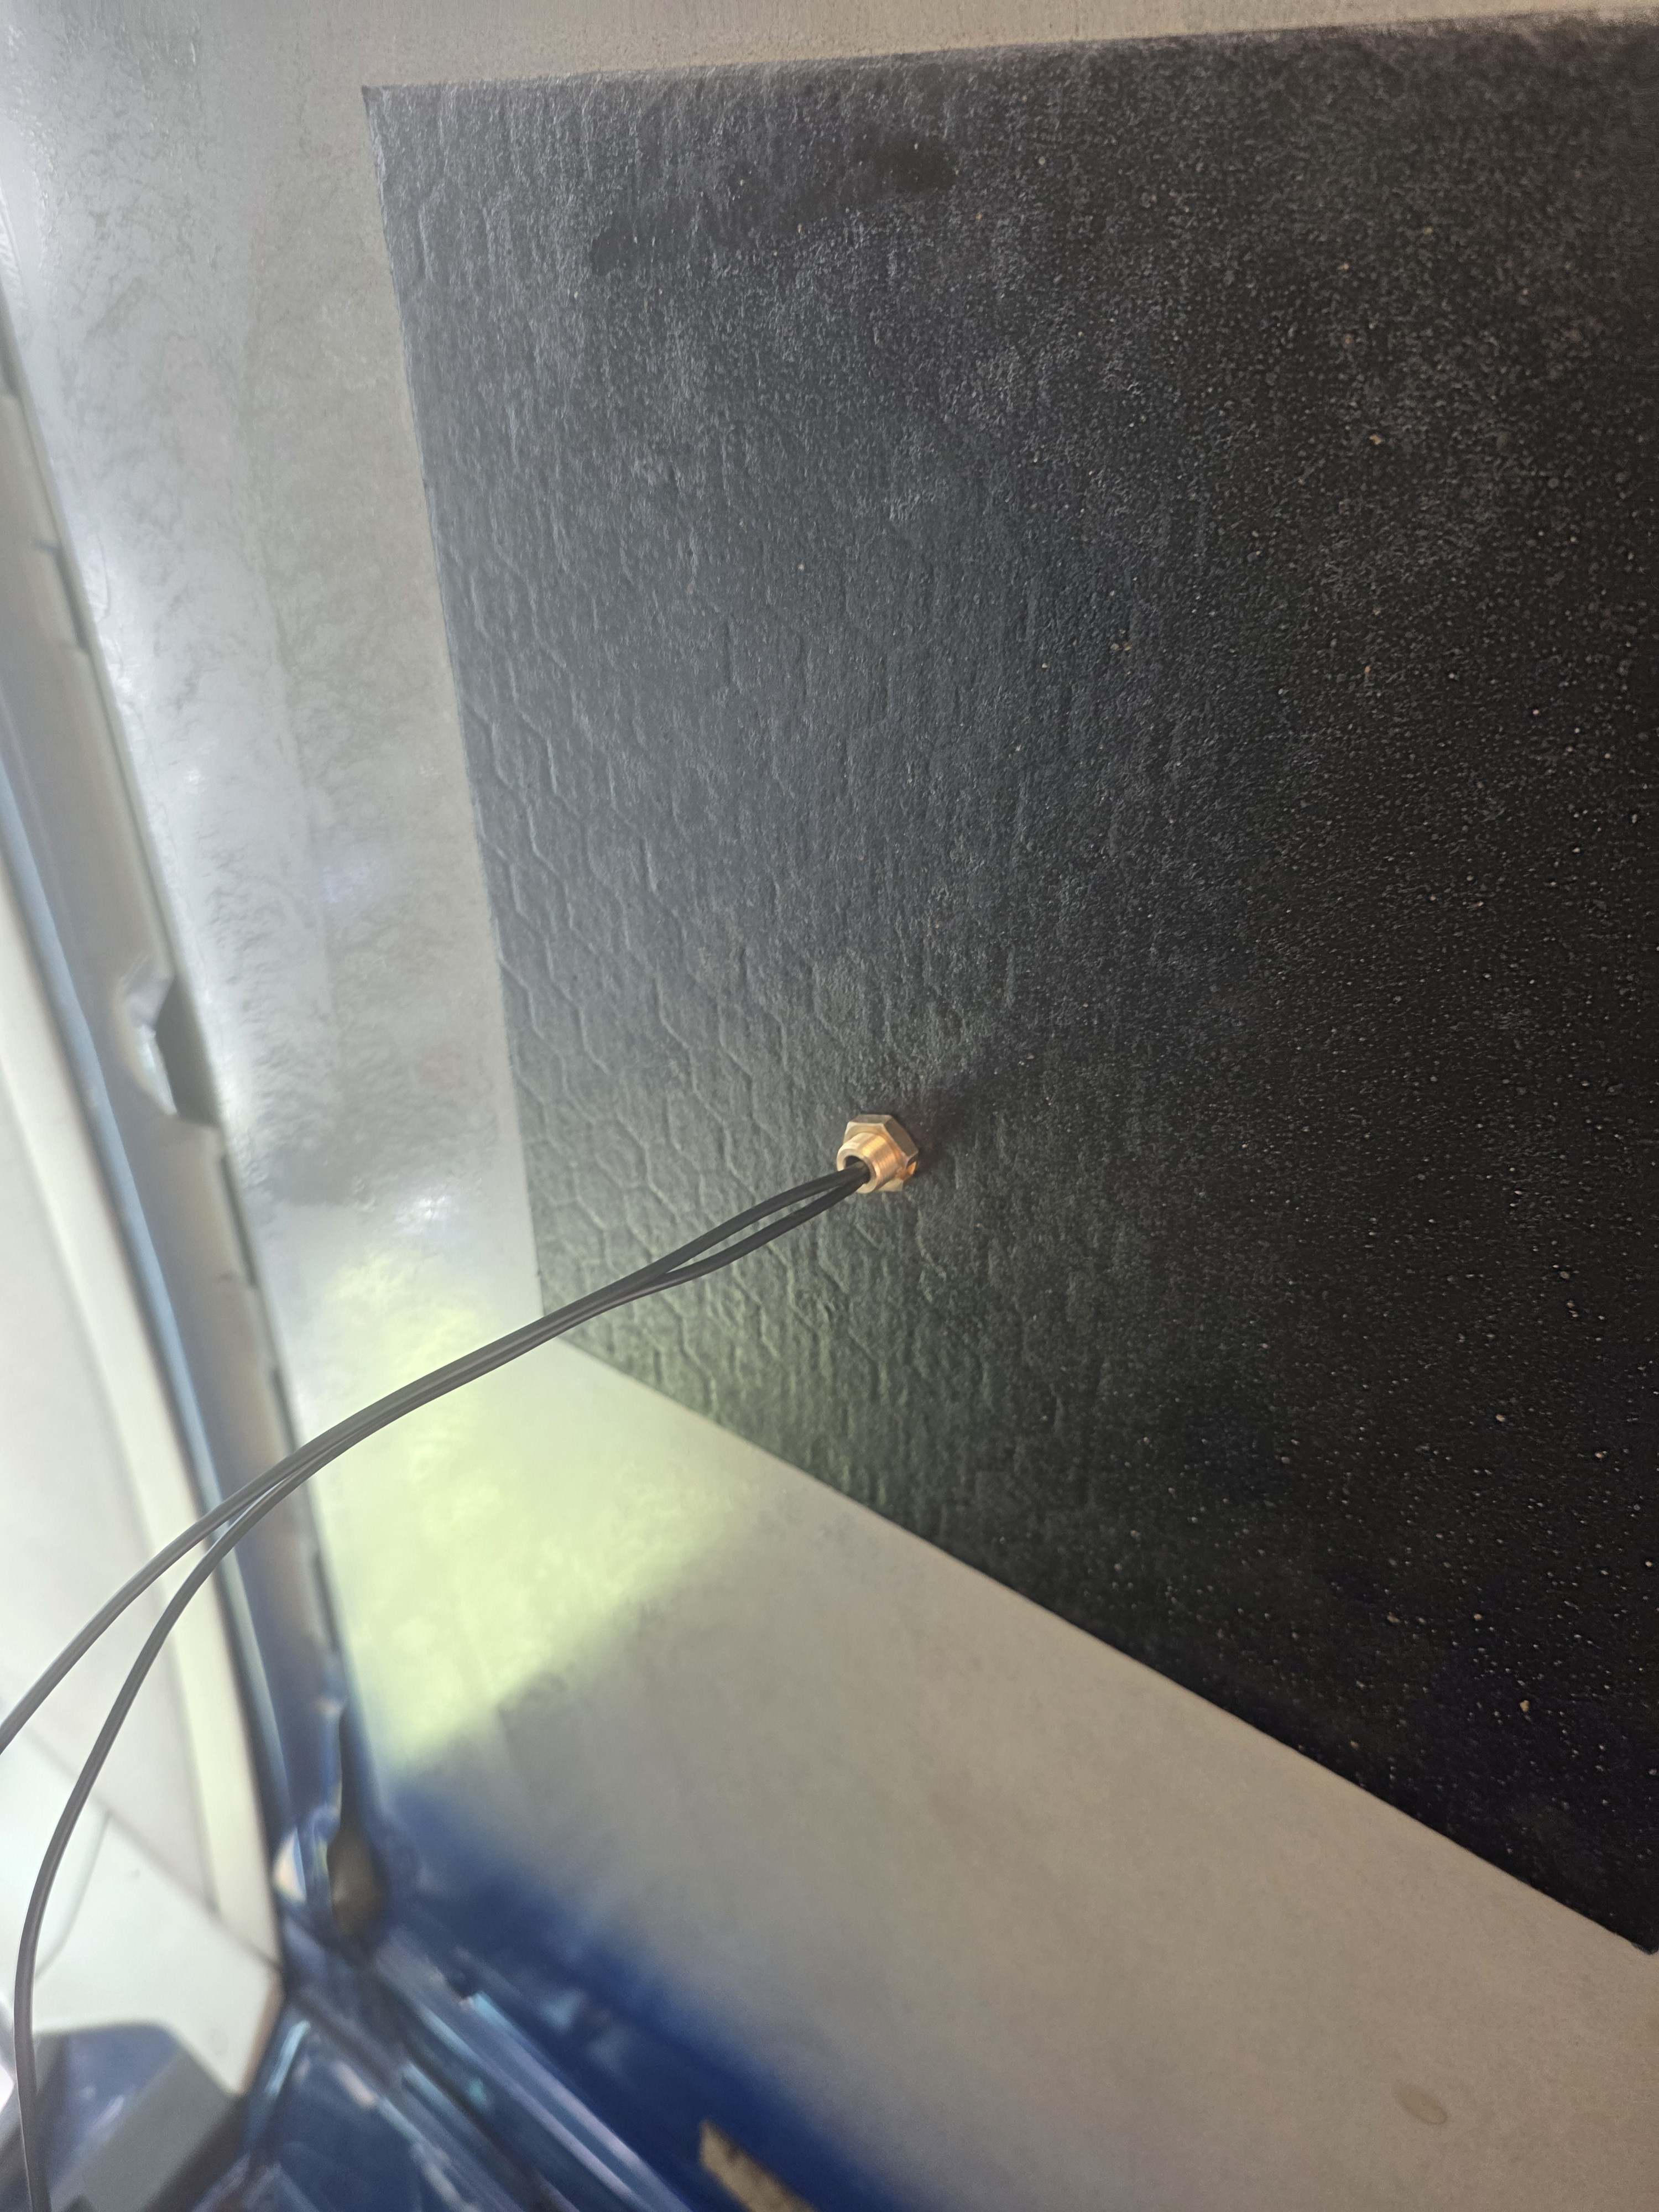
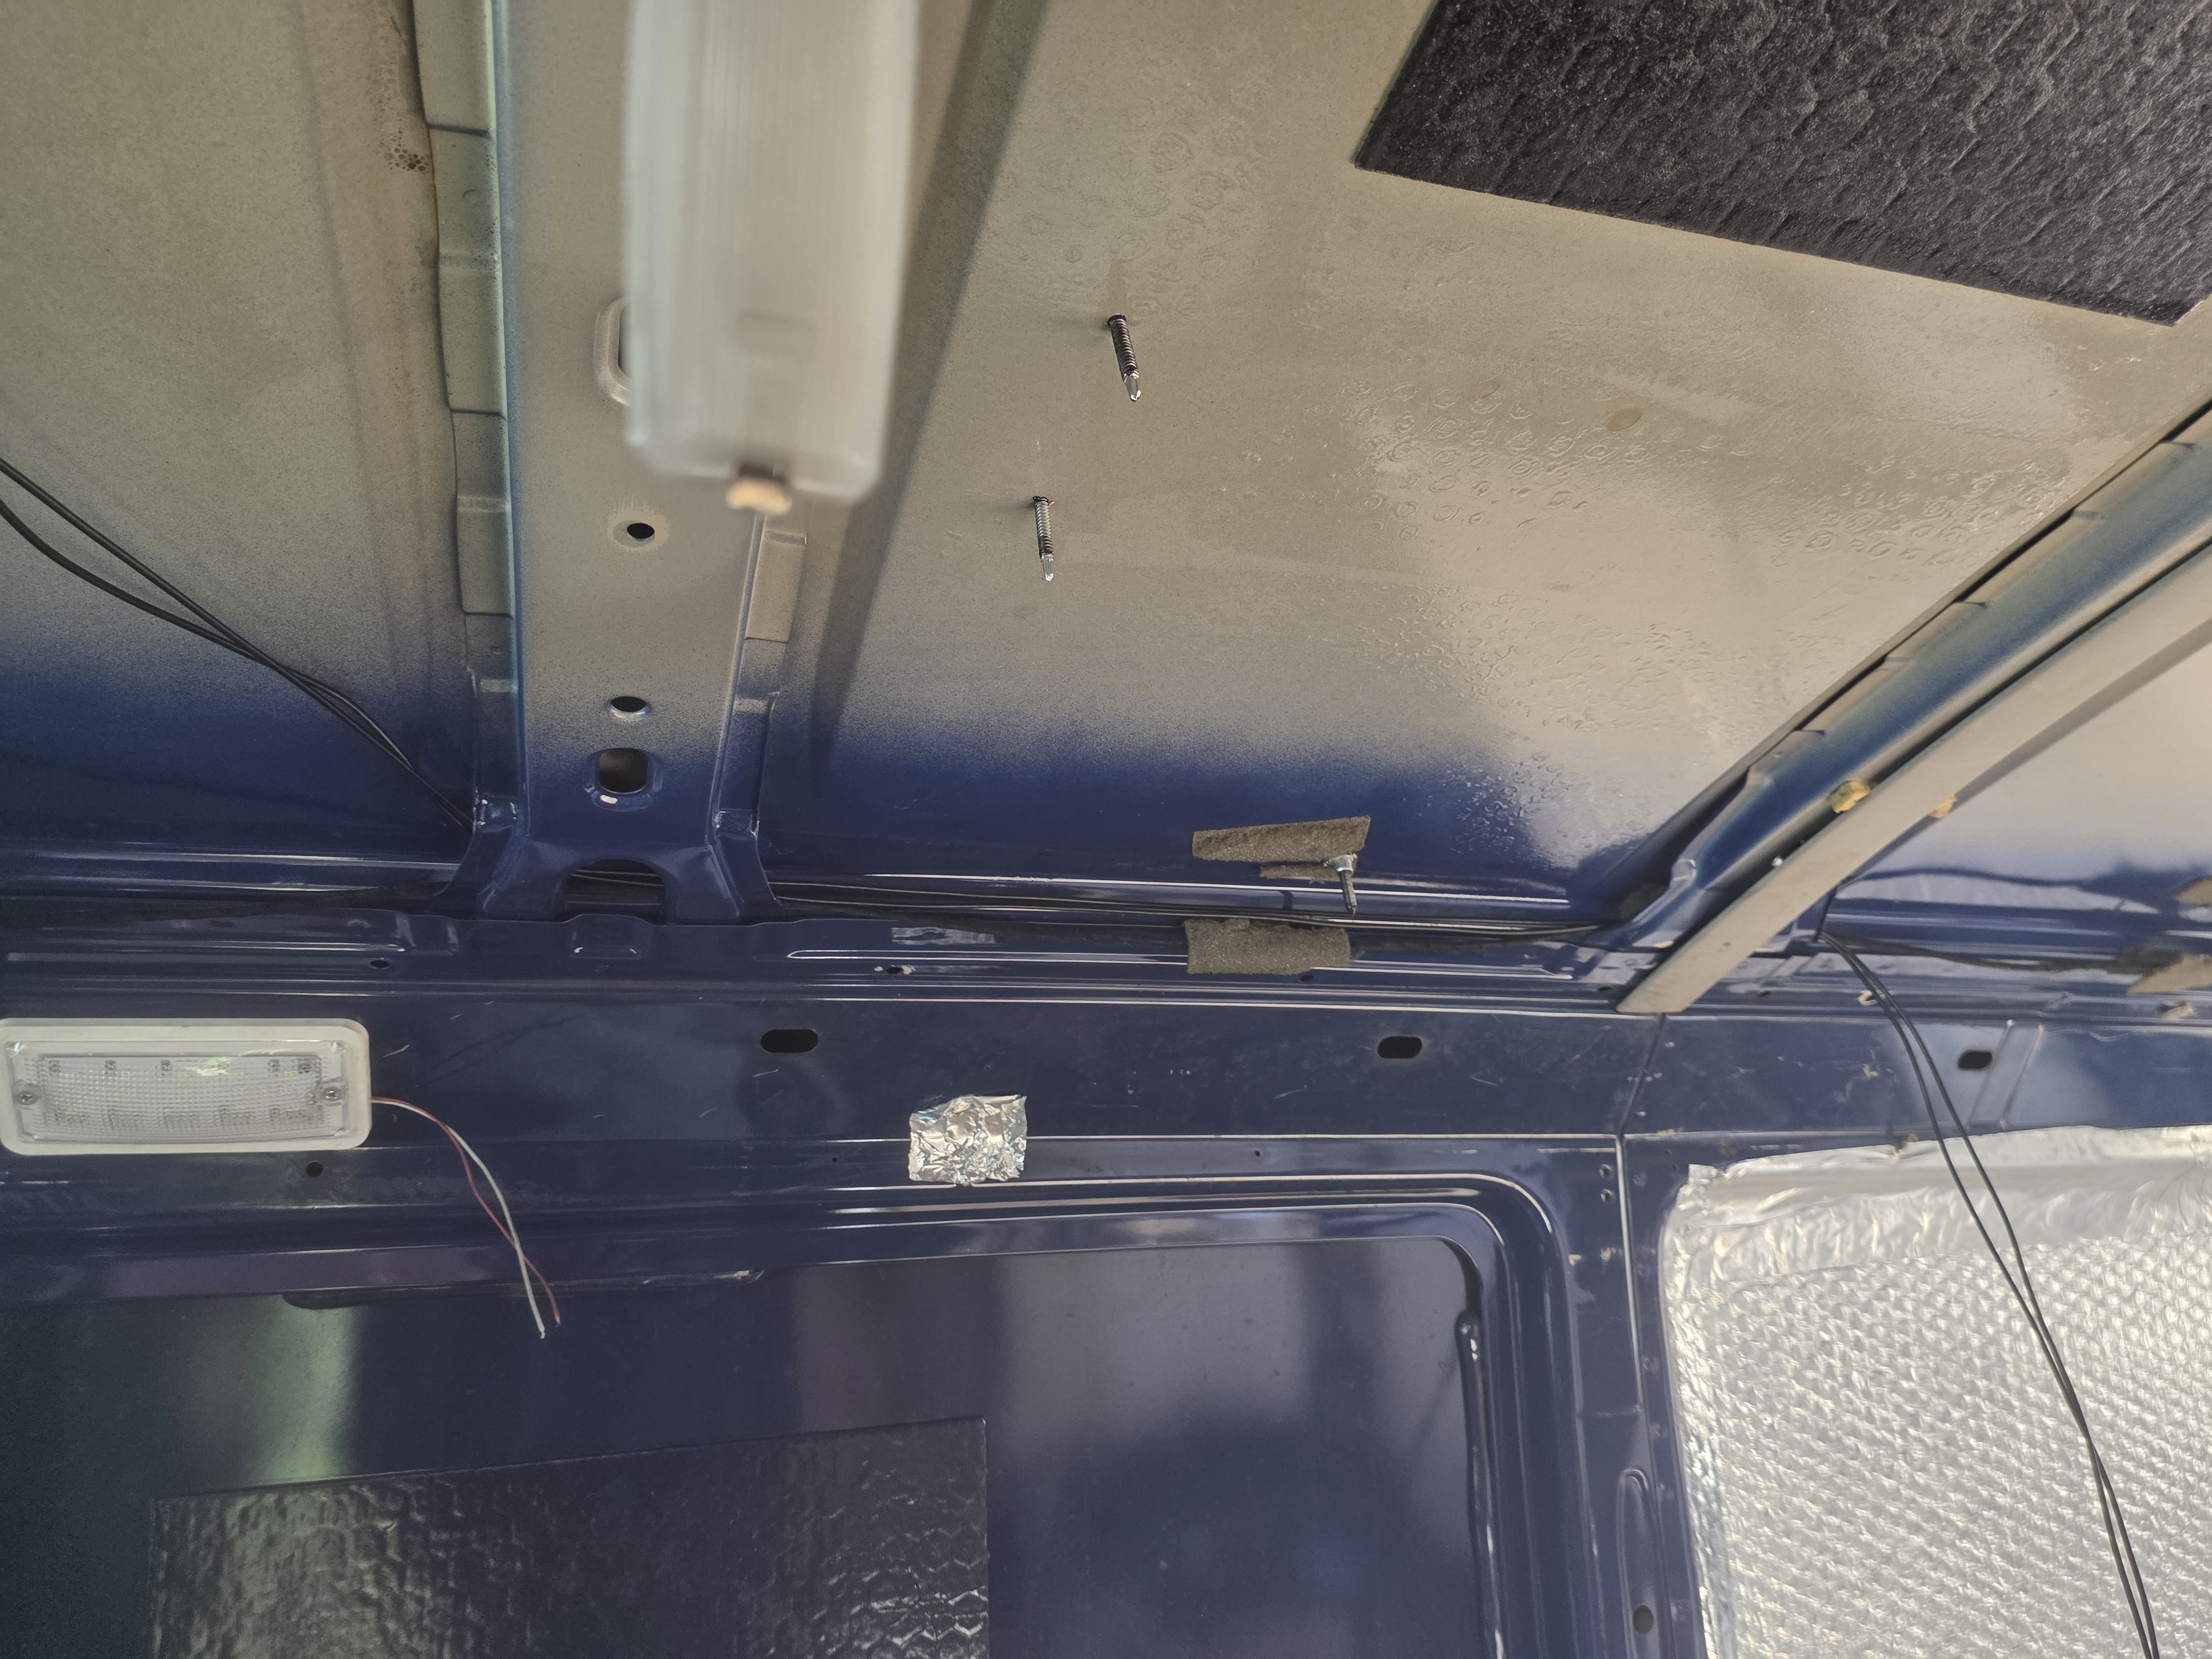
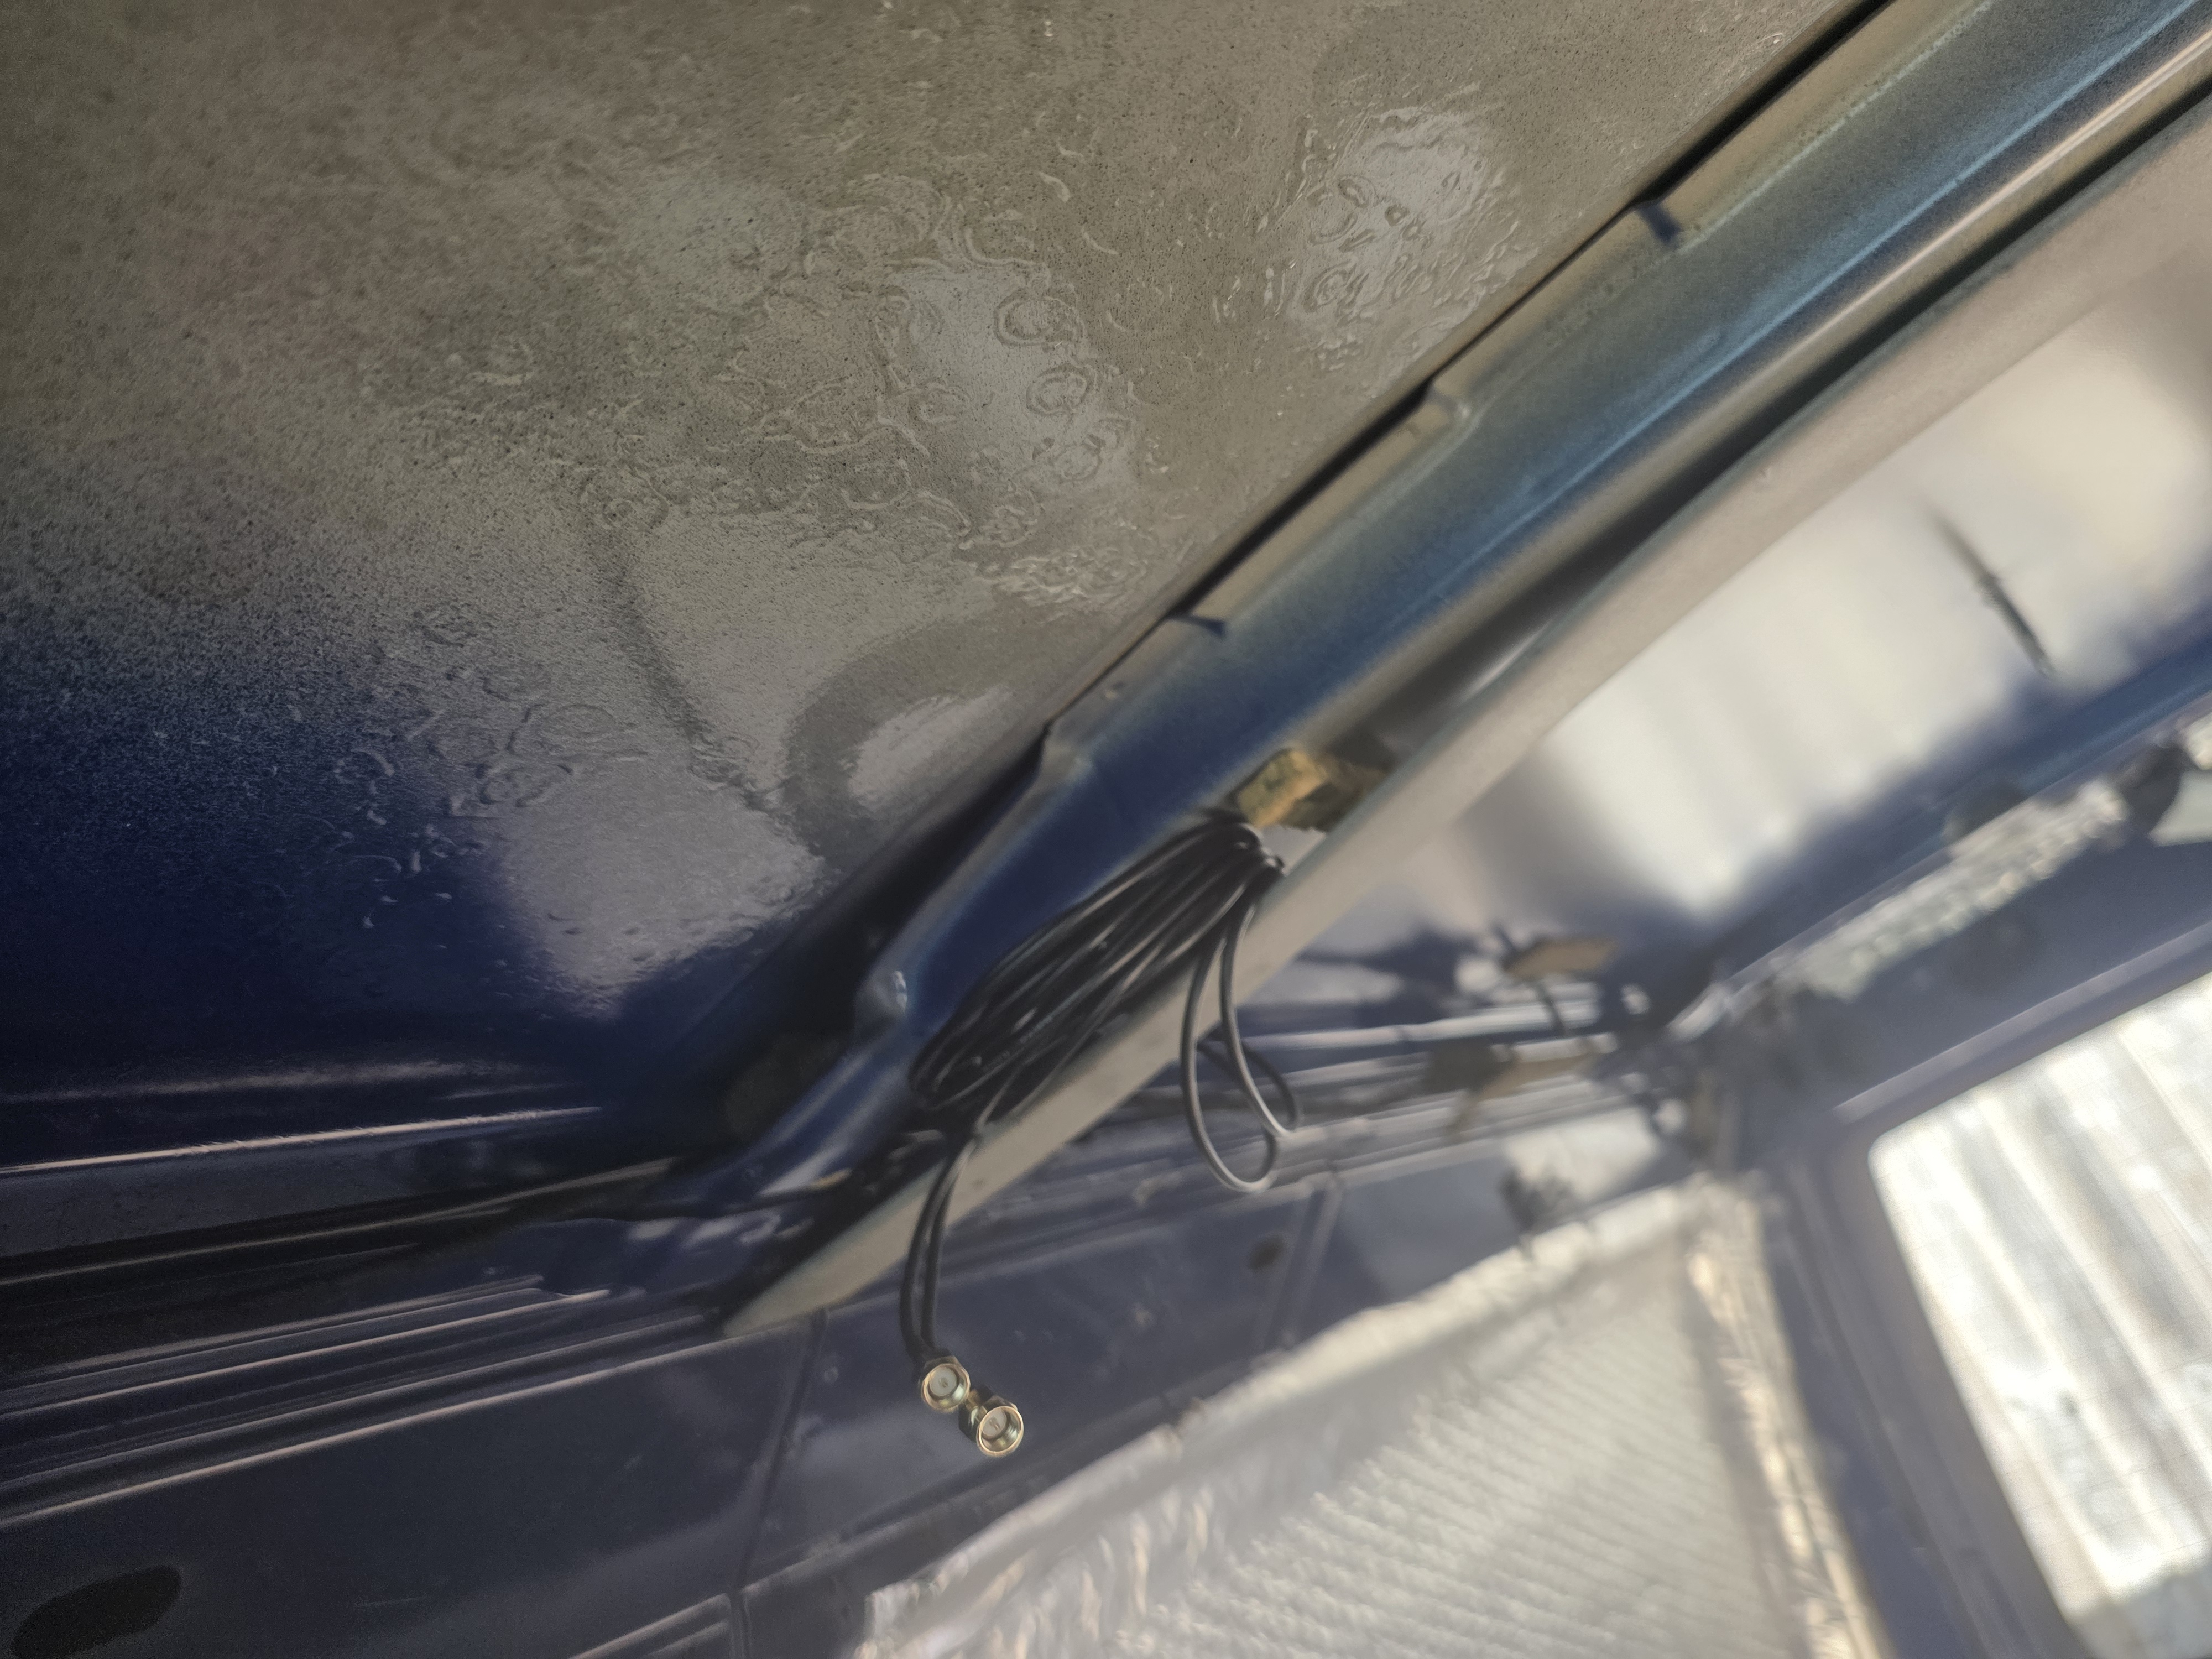
While on the subject of the roof, one job I could totally complete however was the installation of the WiFi antenna. This needed to be positioned 500mm in front of the solar panels to allow clear signal without interference from them. Nice and simple job, the centre was marked on the roof, then a 12mm hole drilled through. The wiring was fed through the hole and the rubber seal stuck to the roof. The antenna was then bolted from the underside and the wiring routed through the frame to roughly where the router will live and coiled up out of the way. With the 12v router I have selected, this should give decent WiFi coverage for mobile phones, tablets and the TV to watch Netflix when the weather isn’t great outside
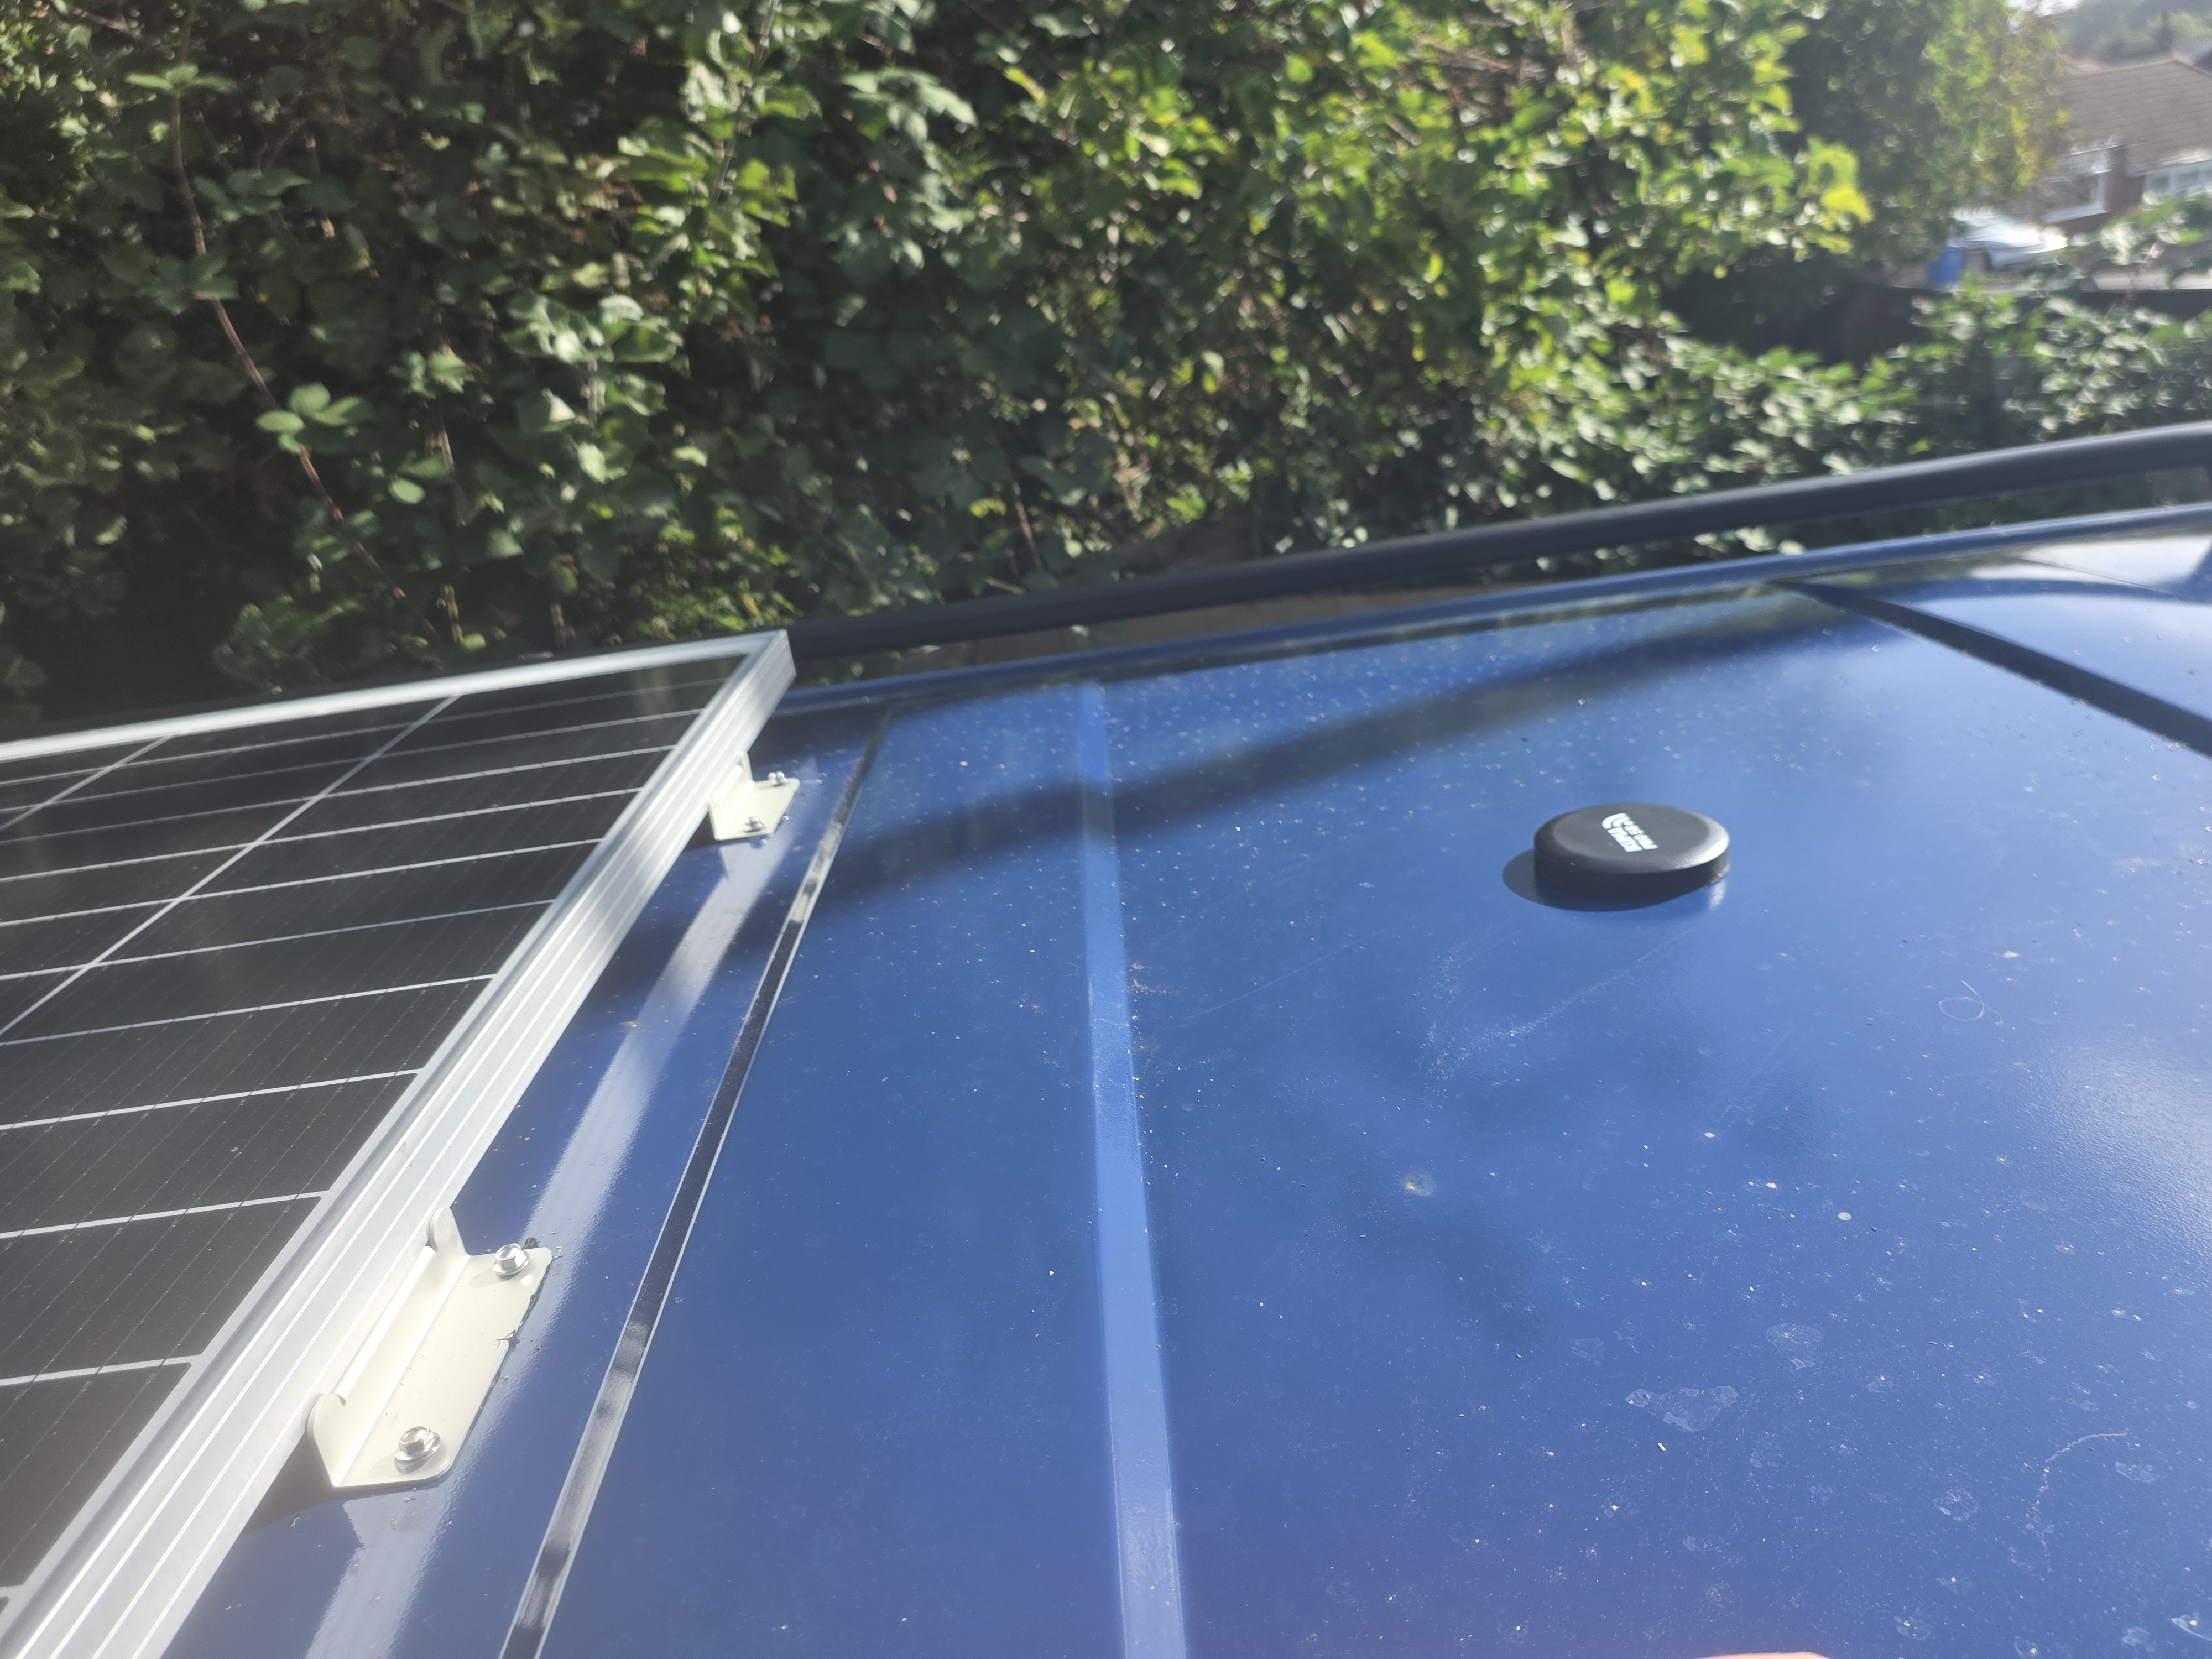
Just got a few minor jobs I want to get done today, nothing major like removing the dents in the bumper using a heat gun to soften the plastics but that’s ALMOST my list for this week completed. On target and looking good!!
Next on the list was a job I actually had down for next weekend. The side window kit has arrived so wish me luck, that’s the major job I’m tackling this weekend!! We are supposed to have a weekend with no rain so as the kit is here, I think I might have to bite the bullet and get it done while I know I have that window in the weather
What a weekend!! Frustratingly, the roof gland I need to finish the solar install still hasn’t arrived. It got lost in the Evri system for a few days but HOPEFULLY it’ll be here today. But as a result of this, I turned my attention elsewhere. One of the major jobs I have been putting off but is necessary for the winter fit out is installing the window in the panel behind the drivers seat.
There is something REALLY unnerving cutting massive holes in the bodywork. I did not want to start this job but put on my big boy pants and got stuck in. Started by using a hole saw in all 4 corners to get a smoother corner and then joined up the points on the outside with masking tape. This gave me a straight edge to follow with the angle grinder. Cleaned up the edges and attempted to fit the rubber edging. When offering up the window however, this caused it to stand too far proud so abandoned that idea. Added the primer to both the van and the window before the surprisingly difficult task of adding the window sealant around the opening. Offered up the window and secured it in place with tape, which has now been removed and the window is installed, sealed and looking amazing. It REALLY surprised me how much more light there is in the bed now with that installed. Final job is to locate a rubber seal to place around the inner skin edge with a lip to the window just to finish this all off.


Once completed, I moved on to another more minor job, but equally as important. I have many jobs that need doing before the fit out but one thing I want to do is to turn the van around to make the load bay more accessible. So while the weather is holding, I am going to try and get as much done on the front of the van in between large jobs. One of these was sorting the drivers side wheel arch. It has been repaired, however the fix has been a bit industrial. Unfortunately the weld on the arch itself has come away so I’ve cleaned back and ground out the weld and redone this. Turns out my welding machine leaves a lot to be desired so I might have to invest in a better setup before tackline the rear of the van. Didn’t take pictures of this but took one after I have skimmed with filler which I’m hoping to flatten back and prime today so I can paint the window surround, arch and door in one go.


Missed a pic out…..
Needs a final skim of filler and once flattened, I can get primer on today, etch primer mainly but once dried, a 1K primer ready for top coat

Frustratingly, I am now sat waiting for supplies to arrive to move things forward. One job I CAN get done but haven’t had the time to do so is to finish off the solar install as I have FINALLY had the waterproof cowl arrive to route the wiring into the bed, Given how mad work is at the moment though, I can’t see me getting onto that until the weekend alongside replacing the rear brake lines and bleeding the system.
Ordered some fresh masking tape as I was convinced I had some more rolls here before taking on the prep work on the arch and door. That has got so far and once the tape is here, I can get that finished off. Until then, I have been taking on the repairs and prep work on the front bumper.
What a mess this thing was. With several dents, big gouges taken out of it, it was almost tempting to buy another one and attempt to flatten the texture for colour but no, I have made good progress repairing the one I have. All the dents have now been teased out of the skin by heating with an heat gun, teasing the plastics back into shape and holding in position as the plastic cools. Thankfully, I have manage to get all of these out and the plastic itself hasn’t split. Using flexible plastics filler, I have then sanded it all back and filled all the scrapes I have found before flattening it back. It reached the point where it was extremely difficult to see what needed doing so I have cleaned it all off and put a coat of high build primer I had left from a previous crash damaged car rebuild I have done onto the skin to highlight the areas that still need more work. It’s close, in fact it’s closer than I thought but I still need some flattening and shaping done before I can put the final primer coat on and colour ready to refit onto the van.
That alone is going to make a massive difference to how the van looks on the front, especially if I can get the drivers arch all painted up this weekend as well


Small update today
Managed to get out and sand back the bumper, making the corrections I needed to and finishing it all off. Once properly cleaned off, out came the 1K primer and a properly final coat laid down. This is actually really good as I want to get the bumper in colour tomorrow so it has 24h hours to cure properly ready to go back on the van after I have done the rear brake lines on Saturday.
For the first time in months, there is every chance that she’ll be looking less like an abandoned vehicle and actually half decent


This is the part I missed most when the old place shutdown, a good build thread.
You´ve made a great start and appear to be making a high standard also. please keep it coming and don´t be shy with the details and photos.
Thank you.
This is the part I missed most when the old place shutdown, a good build thread.
You´ve made a great start and appear to be making a high standard also. please keep it coming and don´t be shy with the details and photos.
Thank you.
No, thank you. I put together these threads so I have a reference for myself as much as sharing what I am up to. She has a LONG way to go yet, that’s for sure but I am making good headway with her. But seeing other’s appreciate the work helps drive me on to keep going.
The build threads are certainly something that made the forums in my mind as seeing what others were up to helped shape my own plans and gave me insight into how to achieve things. Plenty of pics and updates gives a good record of work that’s done as well as giving others confidence to get stuck in
Agreed.
I did my thread on the old site for exactly the same reason. It´s gone now, of course but this is life.
Just keep it coming please.