

Well, this is a turn up for the books. Looks like I have a SERIOUS weekend on the van this week as we need two working vehicles on the road. The missus is using my BMW for work as her brother has borrowed her Corsa in Lancaster which means that the ONLY other option is to get the van working. As a result, I have sat back this morning and had a serious think about what I need to get done to make that happen. She does have a valid MoT, so don’t need to worry about that side of things just yet but right now, she isn’t moving. So, how do I make this happen? Looking over the van this morning, I will need to complete the following jobs
1. Paint Bumper
2. Paint Door, window surround and sill
3. Replace brake lines
4. Bleed brakes
5. Fit bumper and number plate
6. Fit Solar cowl
7. Rebuild drivers side door
8. Clean stuff out of the back so it doesn’t fly around
9. Refit new battery
I would also like to get the bonnet protector fitted, although that isn’t a major job and doesn’t affect it being on the road. It would just be nice to protect the fresh paint on the bonnet.
Think I am going to have to get some jobs signed off today to stand a chance, as well as trying to do my day job. Going to be a CRAZY few days, that’s for sure!!

WOW!! All I can say is good luck 😉
OK, managed to get the bumper in paint. Been a bit of a headache though as my hose connector snapped! Euro Car Parts to the rescue (at an high cost) so I was able to get the paint down.
This will cure overnight now and through the morning so once the brakes are done, I can rebuild the front end

Also went out to the van to find a lovely note from one of the neighbours asking if I would like to sell. As much as I appreciate the thought, I’ve waited far too long to get my hands on a T4 I could sort as a project so unfortunately she isn’t for sale. Nice thought though
Looking good, great job on the bumper.
Looking good, great job on the bumper.
Thank you, it was a nuisance to get where I wanted it but I’m glad I perservered
Seriously good morning on her so far, looking more and more likely that I am going to hit my target.
Got the front corner in paint and the bumper installed, Couldn’t find the two 13mm bolts for the bumper but managed to find some perfect replacements band new in my bolt stash


This afternoon I finished the painting I wanted to get done on the passenger side. That’s all of the window surround now painted, as well as half way down the passenger door. I didn’t want to take it any further as I have got repairs I need to get done on the passenger side. While the paint was curing enough to take off the masking, I also got the bonnet protector on. I know that was a bonus job but I found myself floating so thought I would tick something else off….
All in all, really pleased with today’s work. Tomorrow I have the brake lines to do, bleeding the, fitting the new battery and the solar to finish and it’s just a clear out and she should be back on the road


Well, day 2 was an utter disaster. Having done so well on Saturday, I woke with a sense of determination to get this across the line. I have cleared so much off the list, I had every hope that Sunday would be just as successful. How wrong could I be.
Part of the reason it has taken me so long to get the brake lines done on her is that I have been afraid to look under her properly in case I found issues that were going to set the project back. Nothing could have prepared me for what I actually found.
So, picture this…I am down there, laying on the ground looking for a decent jacking point for the rear, carefully looking over the chassis. All is actually looking good but something is bugging me. I can’t put my finger on what but I am convinced what I am looking at just isn’t sitting right. You know that realisation you get when you suddenly realise what you are (or in this case you aren’t) seeing?
There is no exhaust system under there!! Like, nothing!! The cat is there, but from that point back, she is certainly lightweight!!Now, I remember when I heard her running I though she was loud, like there was a hole that could be patched in mild steel, I really didn’t expect to see thin air.
Obviously, that puts the brakes on getting her on the road. And just to make matters worse, I literally just set the jack up to lift the van in to the air and the heaven’s opened on me!! Now, given the discovery that no matter what I did, she wasn’t getting on the road that weekend. I called it. I am not laying on the floor for an hour or two in the pouring rain when it isn’t necessary.
Anyway, managed to get a full stainless exhaust cat back exhaust system ordered which should be here soon, I’ll get the brakes and solar done through the week and hopefully that’ll mean she is back on the road before the MoT runs out on the 16th. Part of the reason I have this rush is I need to take it to Norfolk to a friend of mine to tackle this welding on the back of the van before she is tested. Looks like I am not out of the woods just yet
So, today I have started stripping out the brake lines on the back. I swear everything is welded together back there! It’ll all come out, I know that but it’s certainly fighting me.
The plan was to replace all the hardlines, which are split however I found this on the first flexi I removed….

As a result, I have taken the decision to replace ALL the pipes at the back of the van. I just can’t trust them and the brakes are kinda important.
With the back end up, it’s given me the chance to have a look at the lowering. Spotted the springs are branded VDub Monkey’s Effin Low springs, with a 100mm drop. These look quite new. While I thought that half a job had been done, on further investigation I have found that the van has almost new Sachs HD Super Touring shocks fitted with the relocated top mounts so it HAS actually been done properly and fairly recently.
So, exhaust ordered, new exhaust rubbers ordered and all the rear flexi brake lines ordered so HOPEFULLY it won’t be long before I can rebuild back there. In the mean time, I want to get the rest of the driver’s side brake lines stripped out ready to rebuild.
So yeah, additional problems found but thankfully not expensive ones to sort out.
Just a little update – Things have ground to a halt while I wait for parts….
OK, the good? Exhaust system has arrived, a tasty stainless steel offering with a twin 3″ twin outlets now sat here waiting for the chance to find it’s new home.
The bad? Managed to get the driver’s side brake line off the van but found the flexi sections are badly perished as well. So ordered 4 new sections for the rear, along with a flare spanner to try and get these brass bolts undone. I honestly thing that all of the braking system back there is the stuff it came out of the factory with and as a result, wow, it’s welded together!!
On top of this, the exhaust has thrown up another problem. What it looks like is that the previous owner thought it would be cool to try and make their own side exit exhaust and failed abysmally. Their method? Butcher the pipe just after the catalytic converter. I was struggling to work out why it was impossible to picture how the 4 parts to the new exhaust mounted to the van until I realised that there was about 2 foot of pipe missing!!
So, ordered a fresh cat section for the van as well but this week is turning expensive!!
Loving the progress, at least I get to read something new 🤣

Stick with it, the pain won´t last forever even if the financial recovery does.
Oh, don’t I know it….Once you start looking at the mechanical side of things, it tends to escalate. You’d have thought I might have learned this by now!!
Anyway, flexi pipes for the brakes are due to arrive today which means I should be able to completely refresh the rear braking system from the valve back. Personally, as annoying as that is, I’m actually glad I am doing it as at least I know for sure everything back there is as it should be
Also had the new CAT turn up today so decided it might make a lot of sense to mock up the exhaust off the van so I have an understanding of how this all goes together. I am still waiting on the new exhaust hangers but at least I now understand the system given I have nothing on the van itself to compare it to…..

The plan is that I need to get this thing roadworthy BEFORE the MoT expires on the 16th October. The reason behind this is I have been planning with a mate of mine who is a top notch welder to get her up to him so we can hit the welding on the back HARD so I have every chance to get her in for a fresh MoT. Now, in order for this to happen, there is a lot I need to do. There is obviously the brakes and exhaust but I also need to finish the solar system and rebuild the cabin before next weekend so I can drive her up to him in Norfolk.
I can see a few late nights on her coming up. I can’t wait until I can potter on this project again rather than having masses of work to do in a very tight timeframe!!
You know when you get those weekends where things just don’t quite go to plan? This was one of these. Saturday, the entire day was spent taking the eldest to Hemel Hempstead for a snowboard lesson which only gave me Sunday to try and get this on the road.
The work started well, I managed to get all of the brake lines replaces, not just the hard pipes, but the flexi’s as well. After 26 years on the van, these had certainly seen a better time and trying to get everything off without destroying the flexi mounts was an interesting experience. Regardless, they are now all done. While under there, I have had a GOOD look at the chassis and although it is rather crispy under there, everything is really solid. Might get a wire wheel and some proper sealant under there but that’s a job for another day. Far more pressing things to sort first

Next came the bleeding – yeah, that hasn’t go ne so well. Got a jack under each trailing arm and lifted the arms to the maximum elevation I could to open up the balancing valve on the rear. Attached a little hand held bleeding kit and nothing, I am getting air through but no fluid. The level in the reservoir is not dropping at all. It doesn’t help that the bleed kit is struggling to seal (so I have got a new one arriving that uses my compressor for the pressure) but something in the system is not playing ball. Thankfully this van has no ABS so the circuit is dead simple. Rear calliper, balancing valve, master cylinder and that’s pretty much it. So, I have left it to gravity bleed the balancing valve overnight and going to try again with the new bleed kit when it arrives tomorrow. If there is still no joy, is can only be either the valve or the master cylinder but hopefully this new bleed kit can give me more of an idea where the fault is. For now, still no brakes
Moving on, I have soaked all of the bolts to the CAT. now I have the full system here, the next job when I can lift the front will be installing this. So I have been through and replaced the exhaust hangers ready to get this fitted up once the brakes are working again
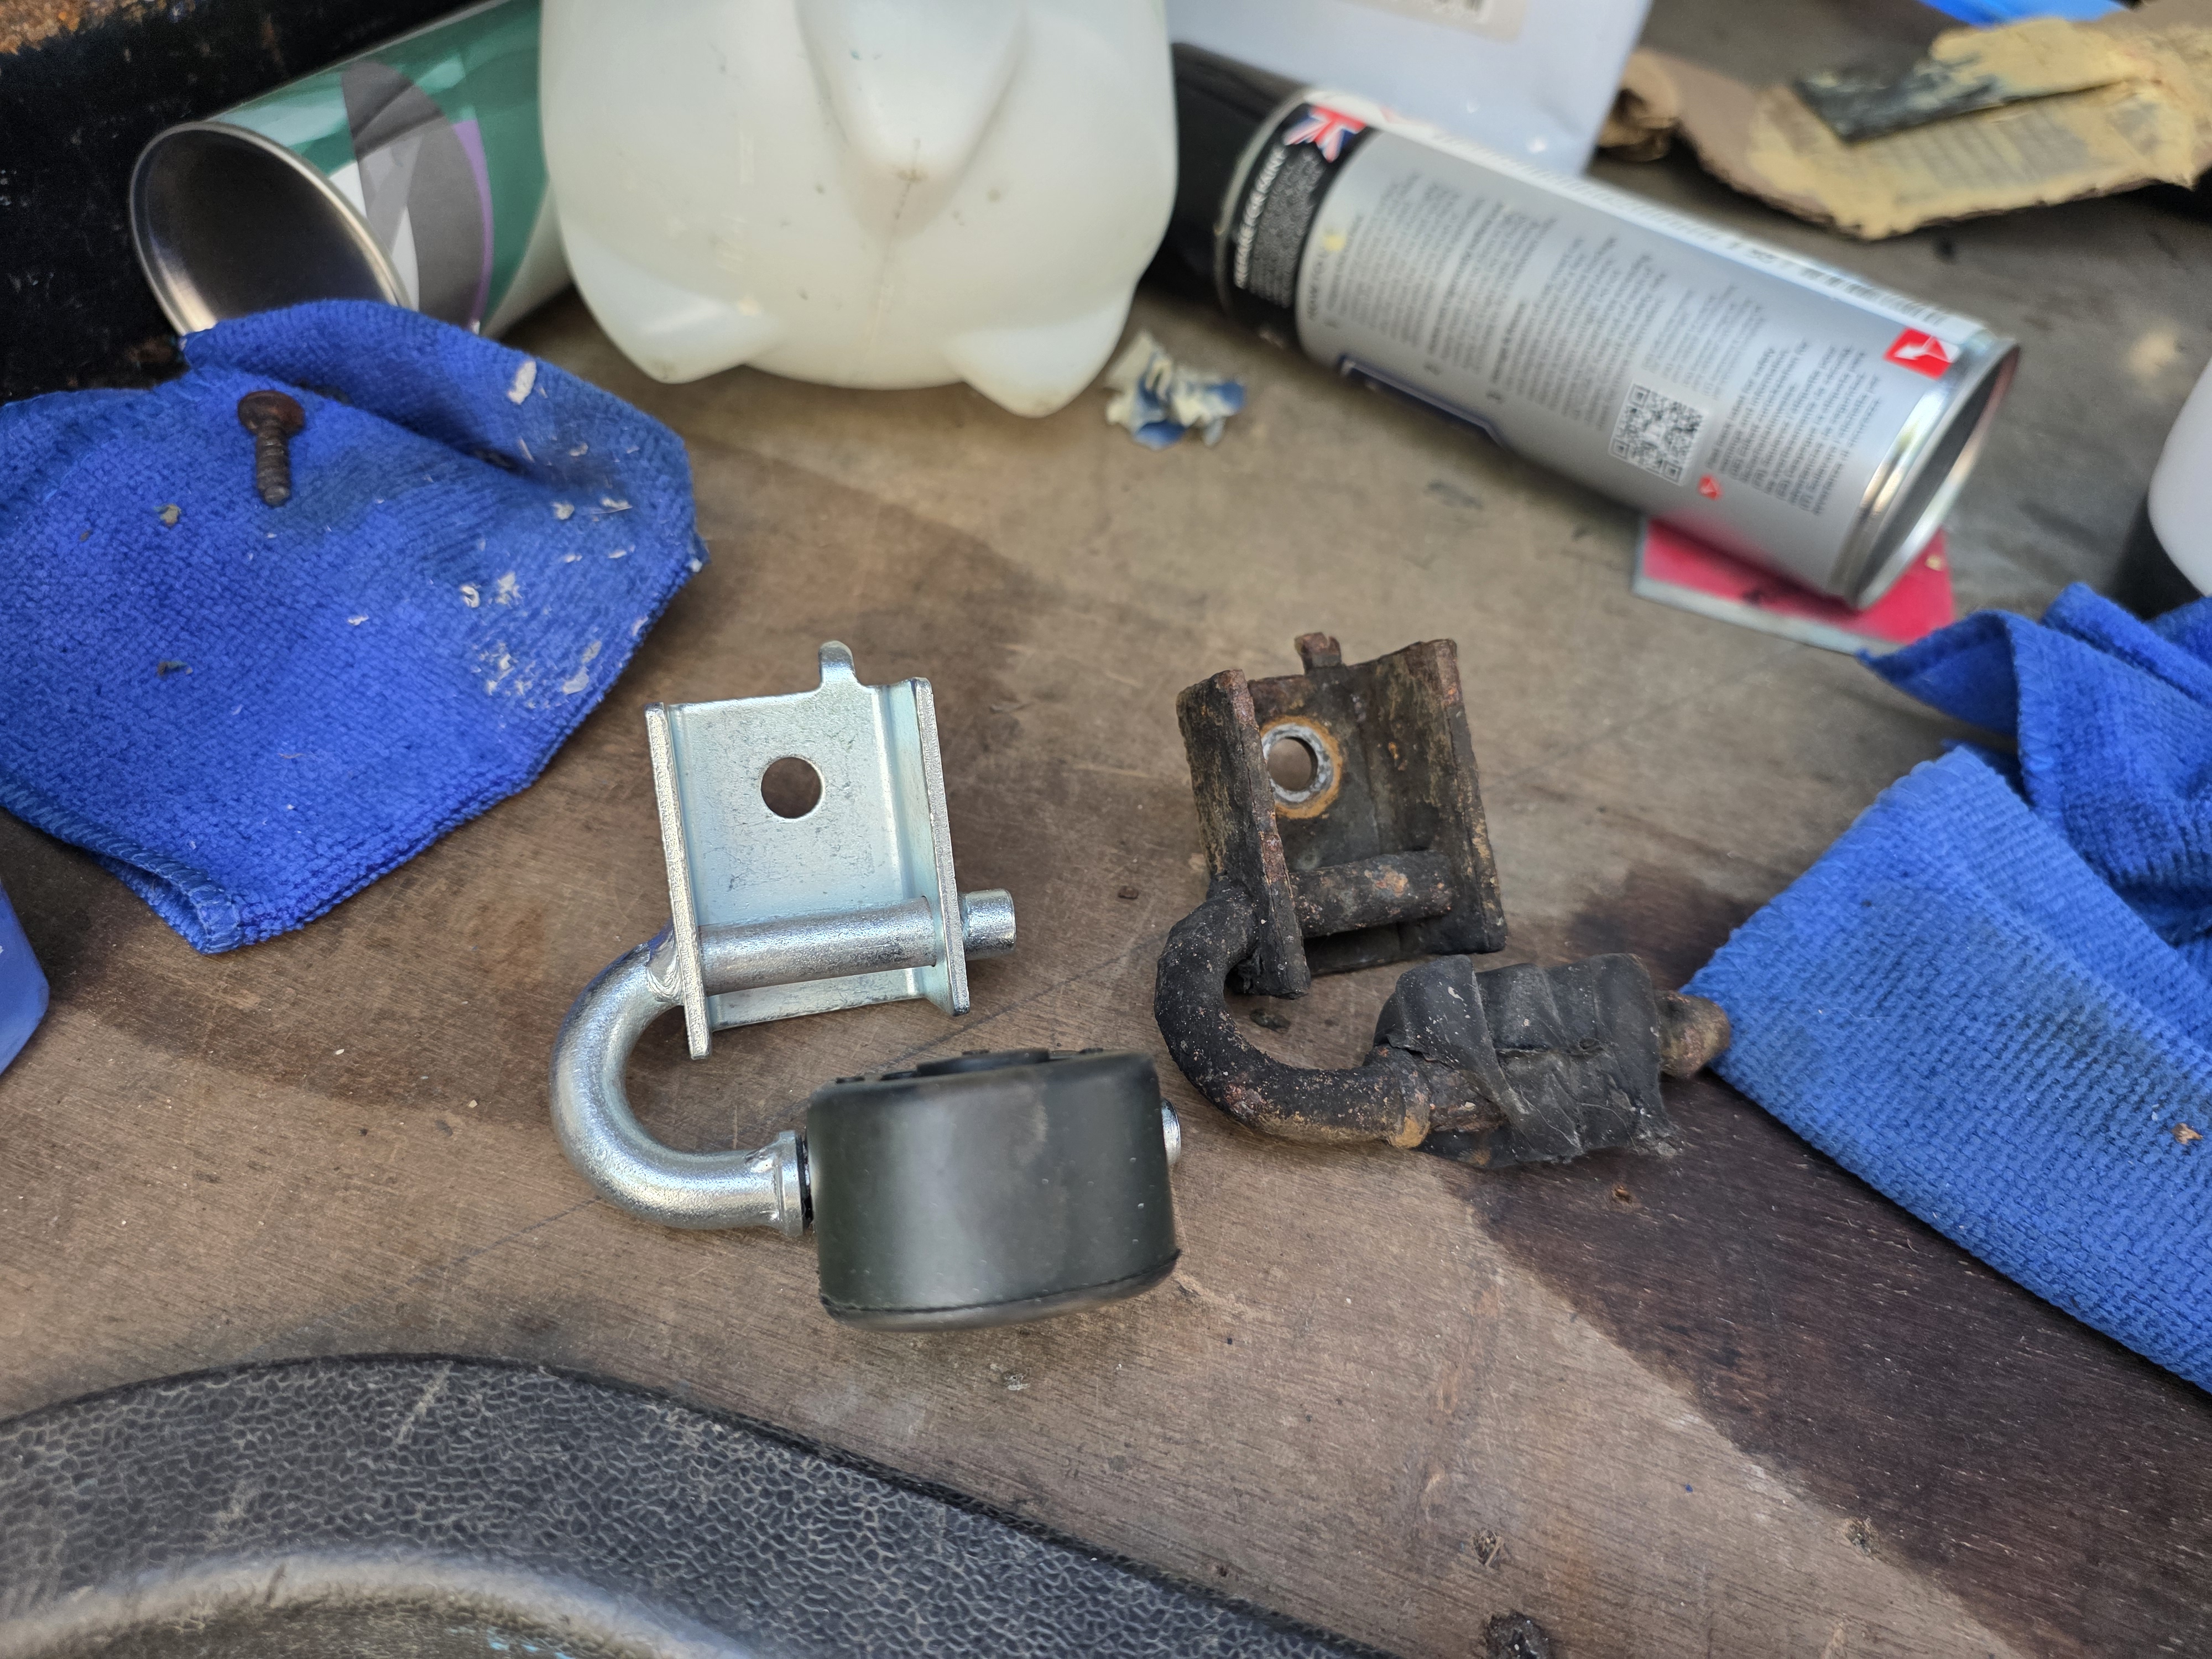
So with the brakes not giving me much joy and being unable to get under the front to start on the exhaust, I started with a few of the other bits that are going to be much easier with the nose pointing out into the road. First off, I have rebuild the driver’s door back up and generally tidied things up a bit

And the last job completed this weekend was the installation of the sun visor. I have to say, these are a tricky thing to install and look right!!


OK, time away from the van has given me a chance to step away and think logically about my issues with the brakes. You start with the symptoms and work back from there. So, what are the symptoms?
Unable to pull brake fluid to the rear callipers
No pressure built using the pedal
Pedal travels directly to the floor with no resistance
Same issue with the clutch
No signs of fluid leaking anywhere from the system
Reservoir drops to empty when left for about 12 hours
Next thing to do is to look at the system itself. With mine not having ABS, that simplifies the system. You press the pedal, that compresses a piston in the master cylinder with assistance from the servo vacuum system, this piston pushed the hydraulic fluid from the master to each front calliper as well as along the pipework to the load balancing valve in the rear before heading down the pipework to the rear callipers. The load balancing valve, when the suspension in the rear is compressed, is wide open giving full braking to the rear which as the suspension decompresses (the back of the van lifts), closes this valve to modulate the braking power to the rear.
With no pressure building on the pedal and the rear valve closed, you would either build pressure in the system as the rear is isolated from the system. Pressure building would put force on each of the components and if there is a failure in either the front callipers or the pipework to the rear of the van. If there is no pressure building, then the piston connected to the pedal is unable to build pressure. Curiously, if the piston is moving back and forth through the fluid but not sealing that would explain no pressure or resistance. What I would also would expect to see is the fluid not to move in the reservoir. This isn’t the case here which makes me thing there is one of two things happening. Firstly, the rear seal can be blown in the master cylinder and the fluid is slowly draining into the servo or secondly it could be gravity bleeding into the balancing valve.
Either way, it would appear that the master cylinder has failed. All that’s left to work out is where and how. So today I am going to pull the cylinder away from the servo enough to see if the rear seal is failing/failed. If the back is wet, then I need to work out how to pull the fluid out of the servo and replace the master. Either way, I think the master cylinder has given up on me.
As the clutch works of the same hydraulic system on these, if the path of least resistance is through the failed cylinder, then that would also explain the lack of feel through the clutch pedal as well.
Going forward? I need to park the brake refresh and order a new master cylinder. Get that all installed in the van and fully bleed not only the brakes, but also the clutch system.
So today I’ll check the master cylinder just to confirm how bad it is, then drop the back onto the wheels and put it on the floor. I can then lift the front of the van to get to the bolts to the catalytic converter. Remove this and start fitting the new exhaust system. I still want to move things forward, I just have to shift to another area that needs sorting out and I have all the parts here to sort that out.
The annoying thing is that this is going to give me a bigger set back as the MoT runs out on the 16th of this month. I was hoping to get the van up to Norfolk this weekend to get the welding done but unless I can get this all in, bled and happy before Friday, it’s not safe to take it up there and I’ll have to wait until my friend who is training me on welding is free to come to me. But the welding is far more important than just the MoT as that area needs sorting before the wall and floor work can be done to start the conversion. So many dominoes need to fall to open up other areas of work here.
Well, this is an interesting find. While digging through the paperwork looking for a build sheet (to ensure I buy the correct master cylinder) I stumbled across a full health check report done on the van in March. Most of this I knew about and have been tackling as I found them myself but there is a lot on there I wasn’t aware of. This is both a blessing and a curse because it affects my plans but on the plus side, someone has already been over the van with a fine toothed comb and listed out everything that needs doing. In a nutshell from the report….
1. Looks like the gear bushes do need doing
2. Been an issue with the brakes for a while, possible front calliper seizing
3. Both steering track rod ends need replacing
4. There is a split CV boot on the front
5. There is a split in the steering rack boot
6. Drivers side wheel bearing has play in it
7. Front brake pipes could do with being replaced as well as the rear
8. The Load Balancing Valve is Seized and needs replacing
9. Alternator is damaged and needs replacing
10. Welding – Most is at the rear of the van (Inner and outer arch, floor to the rear and wheel tubs) – Sill near the Drivers Front Jacking Point
11. Bad Oil leak – Suspected brake Servo Pump – Possibly Sump
12. New rollers needed on the sliding door
13. Full exhaust and hangers need replacing
14. Thermostat housing is leaking

That’s the summary – Things like door locks etc I have already sorted.
So, let’s break this down
Item 7 – Rears have now been fully replaced – Get the fronts as well to replace along with Item 2 – New Callipers on the front
Item 8 – Suspected this might be the case and been pricing it up along with the new Master Cylinder
Item 10 – Already aware of most of this and panels here already. Small amounts at the front are news but not unexpected
Item 12 – Suspected that was the case already
Item 13 – New exhaust and hangers here already waiting to fit
That leaves 9 other items on the list that given I haven’t taken her out, are really handy to know. Most of it is actually very minor (Thermostat housing, CV boots, Track Rod Ends, Front Callipers, Wheel Bearing, Sliders), a few others are a bit more pricey but can be sorted like the alternator. There are a few tricky jobs there, like the gear bushes and the steering rack boot. The only one that’s causing me some concern is the servo pump oil leak but that’s only because I haven’t come across that issue in the past. While I am at it with the brakes, I might as well replace the rear callipers and put new discs and pads on as well, making EVERYTHING on the braking system brand new
Looks like I am going to be changing direction on this for a bit, working on getting the van sound and solid.
Let’s start getting this show on the road, quite literally. Got a HUGE shopping list for next week giving me all of the parts to completely refresh the brakes on the rear, so new callipers, new discs, new pads and a replacement load balancing valve to pair with the replacement brake lines fitted on the rear. That will effectively be every component of the braking system apart from handbrake cables brand new on the rear. I’m also ordering a new master cylinder for the front so I am able to bleed the system on the back, closing out that section of the work. I have to put a HUGE thanks out to Heritage Parts for helping with this as there are effectively 2 non ABS systems used on top of another two ABS systems. They were able to take my VIN, look it up for the options list on the VW system and ensure I was buying the correct parts for my van.
Once the welding is sorted on the rear, I’m going to clean up the metalwork underneath and coat with Lanoguard but it’s pointless taking that route until the welding is all complete back there. In the meantime, I have the full exhaust system to replace. Well, I say replace…..
First job was to remove the existing system. This is it, in total, everything I had on the van. Certainly an interesting choice of exhaust system, that’s for sure!!

Well, I suppose it’s lightweight….Short of that, I’m struggling to see the benefits. The pipe section from the turbo to the CAT will need replacing at some point as it’s been welded in a style that makes my own welds look good but for now, it’s secure and not blowing and given the list of other parts I need to get, this can wait until phase 2 – the upgrading phase.
So to start with, the first section to put into place was the replacement CAT section. Not only am I replacing the exhaust itself, but I also fitting brand new mounts all the way back as well. New exhaust gasket is also installed, completely refreshing the first section of the system. This was closely followed by the first section of the stainless system from Cybox housing the silencer. Again, new mounts and clips used throughout however the one to hold the silencer caused me issues with the thread on the box section giving out. This was resolved by opening up the hole and inserting a rivnut into position to hold the exhaust mount in place. This finished what I was able to reach from the front of the van being lifted with the clamp finger tight to hold it in place but allow some movement to align everything so back on the deck it went…..


The following day, the weather has been certainly better, if a lot colder so it was time to button this up. The van was lifted from the rear and placed on axle stands as I had to get right underneath in order to install the last three segments of the system. Thankfully the worst parts had been already installed so this made life a lot easier. The one thing that isn’t clear prior to starting is the mount locations. The exhaust system came with a new mount and rubber but no indication where this would go. Looking at the system, it runs between the rear suspension arms whereas the stock pipe runs to the opposite side and passes over the passenger side arm. I have asked on the Facebook page if anyone has any pics of this system installed to confirm but also sent an email to Cybox for confirmation as I don’t really fancy laying on my back in the cold figuring this out. Cybox came through first with a really helpful phone call, not only clearing up how it is mounted, but also explaining the engineering behind it (for reference they also sell a twin pipe system and to keep costs down, they developed a bracket that could be mirrored to get the fitment spot on and equal both sides)
So, in summary, the L shaped bracket supplied goes onto the rear chassis leg pointing towards the back of the van, the stock rear mount is removed all together and the central section is mounted to the existing mounting point between the wishbones.
So, van up in the air, removing the centre mount from between the wishbones and…..SNAP!! Both bolts snapped off in the holes in possibly the most awkward place to get to underneath!! I swear, this van is fighting me every step of the way. When is she going to realise I am doing it for her own good?
With this, I need to take a break, Ordered a few tools off Amazon to try and get these broken bolts out, some decent drill bits, some stud extractors and some stainless steel M8 bolts. All of this should arrive tomorrow. This van is fighting me every step of the way but I WILL get past it and get her where she deserves to be!!! Trying option one to get the broken parts out first before resorting to drilling it out completely and fitting more rivnuts to the frame. At this rate, I think I need to get more M6 and M8 rivnuts!!